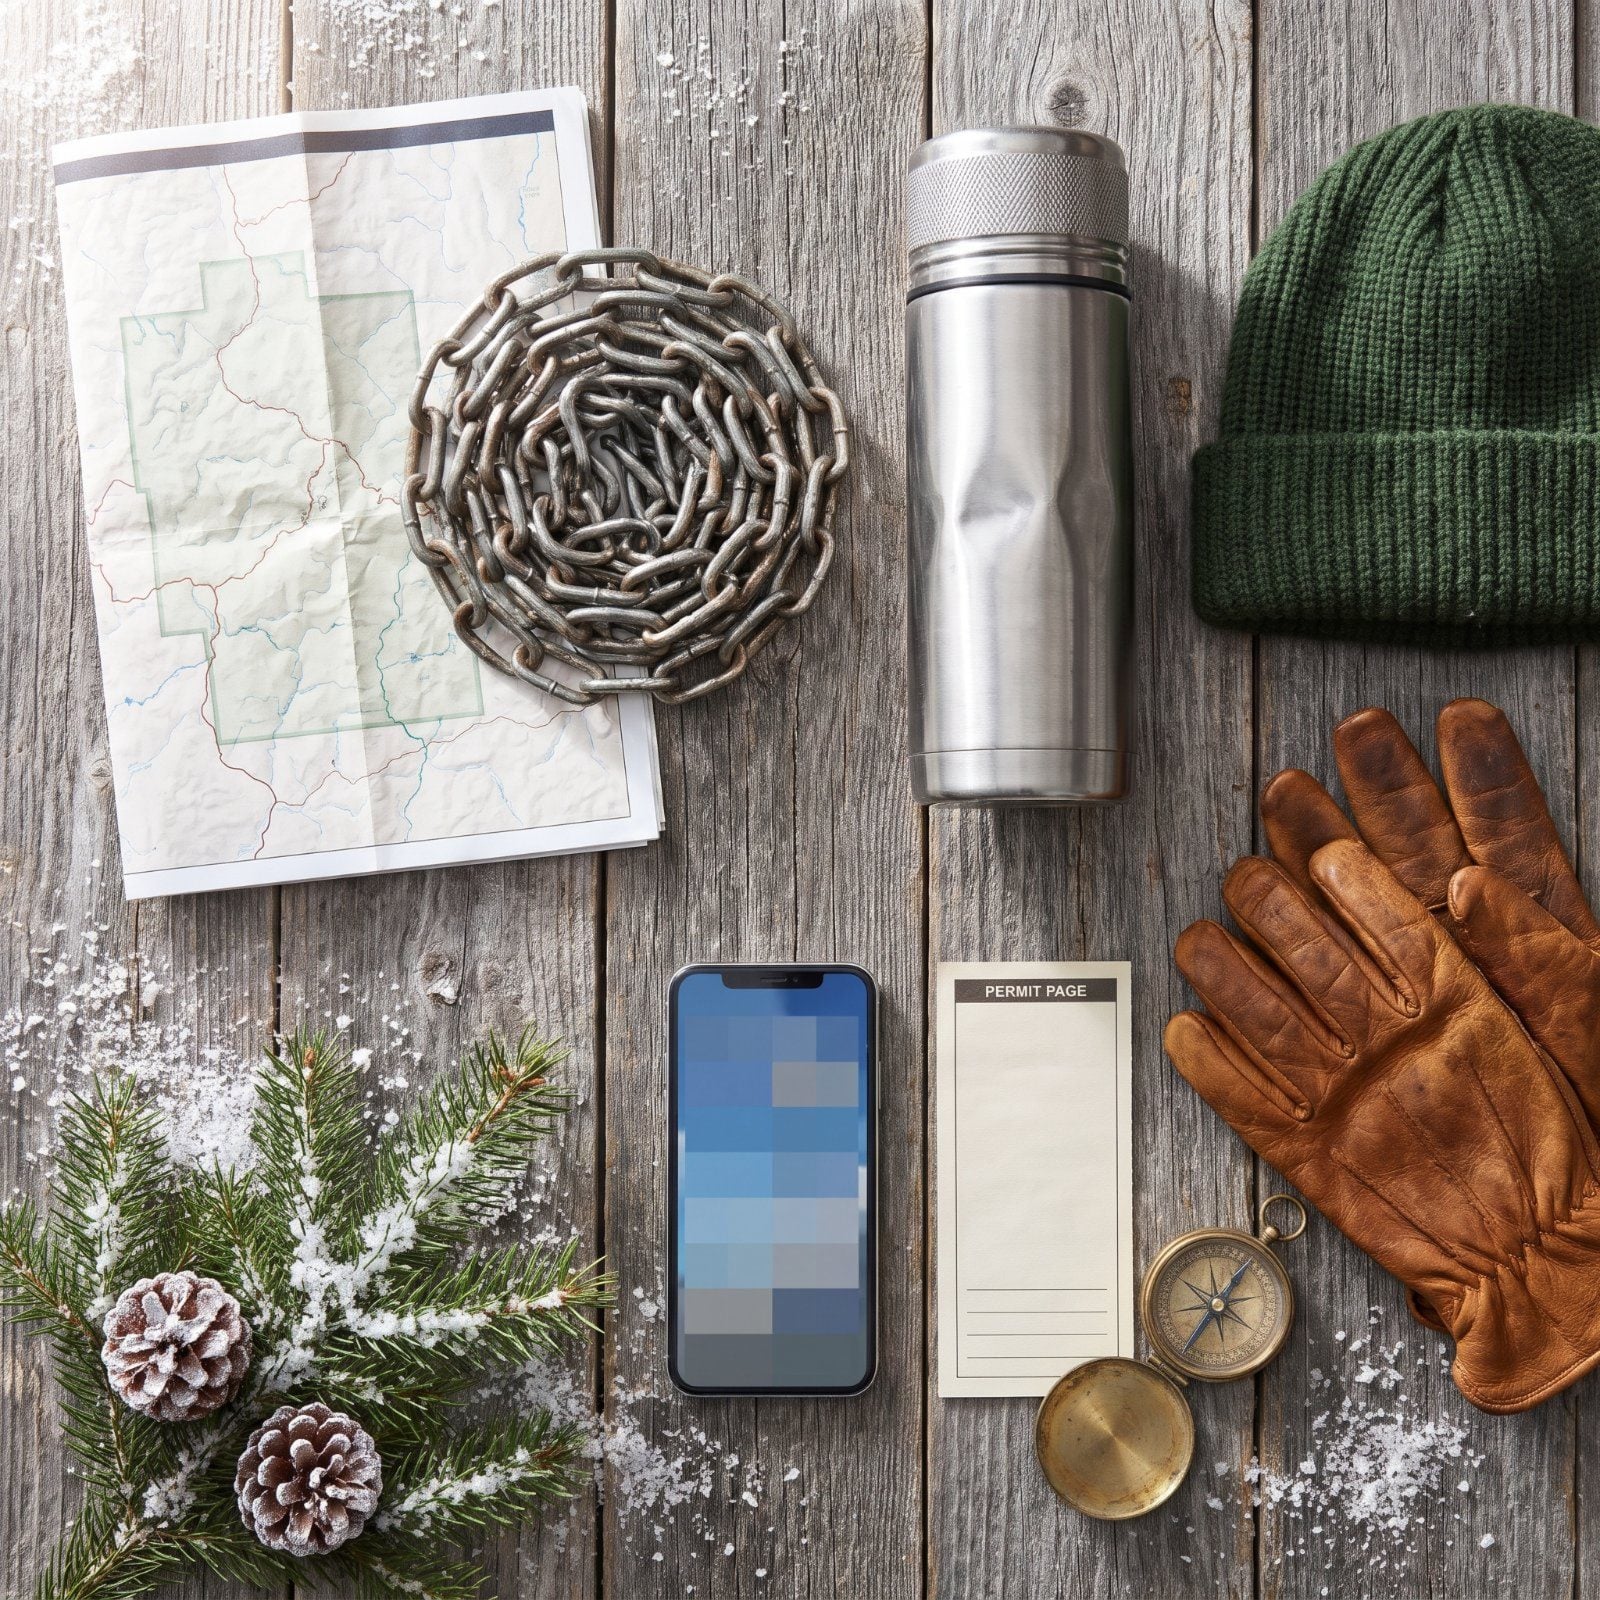
The gate was closed. We’d driven three hours in the dark to find a chain across the road and a laminated sign flapping in the wind. Nobody tells you that half a national park shuts down the week of Christmas, that roads ice over and visitor centers lock early and the water gets turned off so pipes don’t burst. This is the stuff that turns a holiday into a tailgate picnic in a parking lot. Work through these checks before you leave the driveway.
Please note that some of the images in this article were created with the assistance of AI.
42. Confirm the Park Is Open
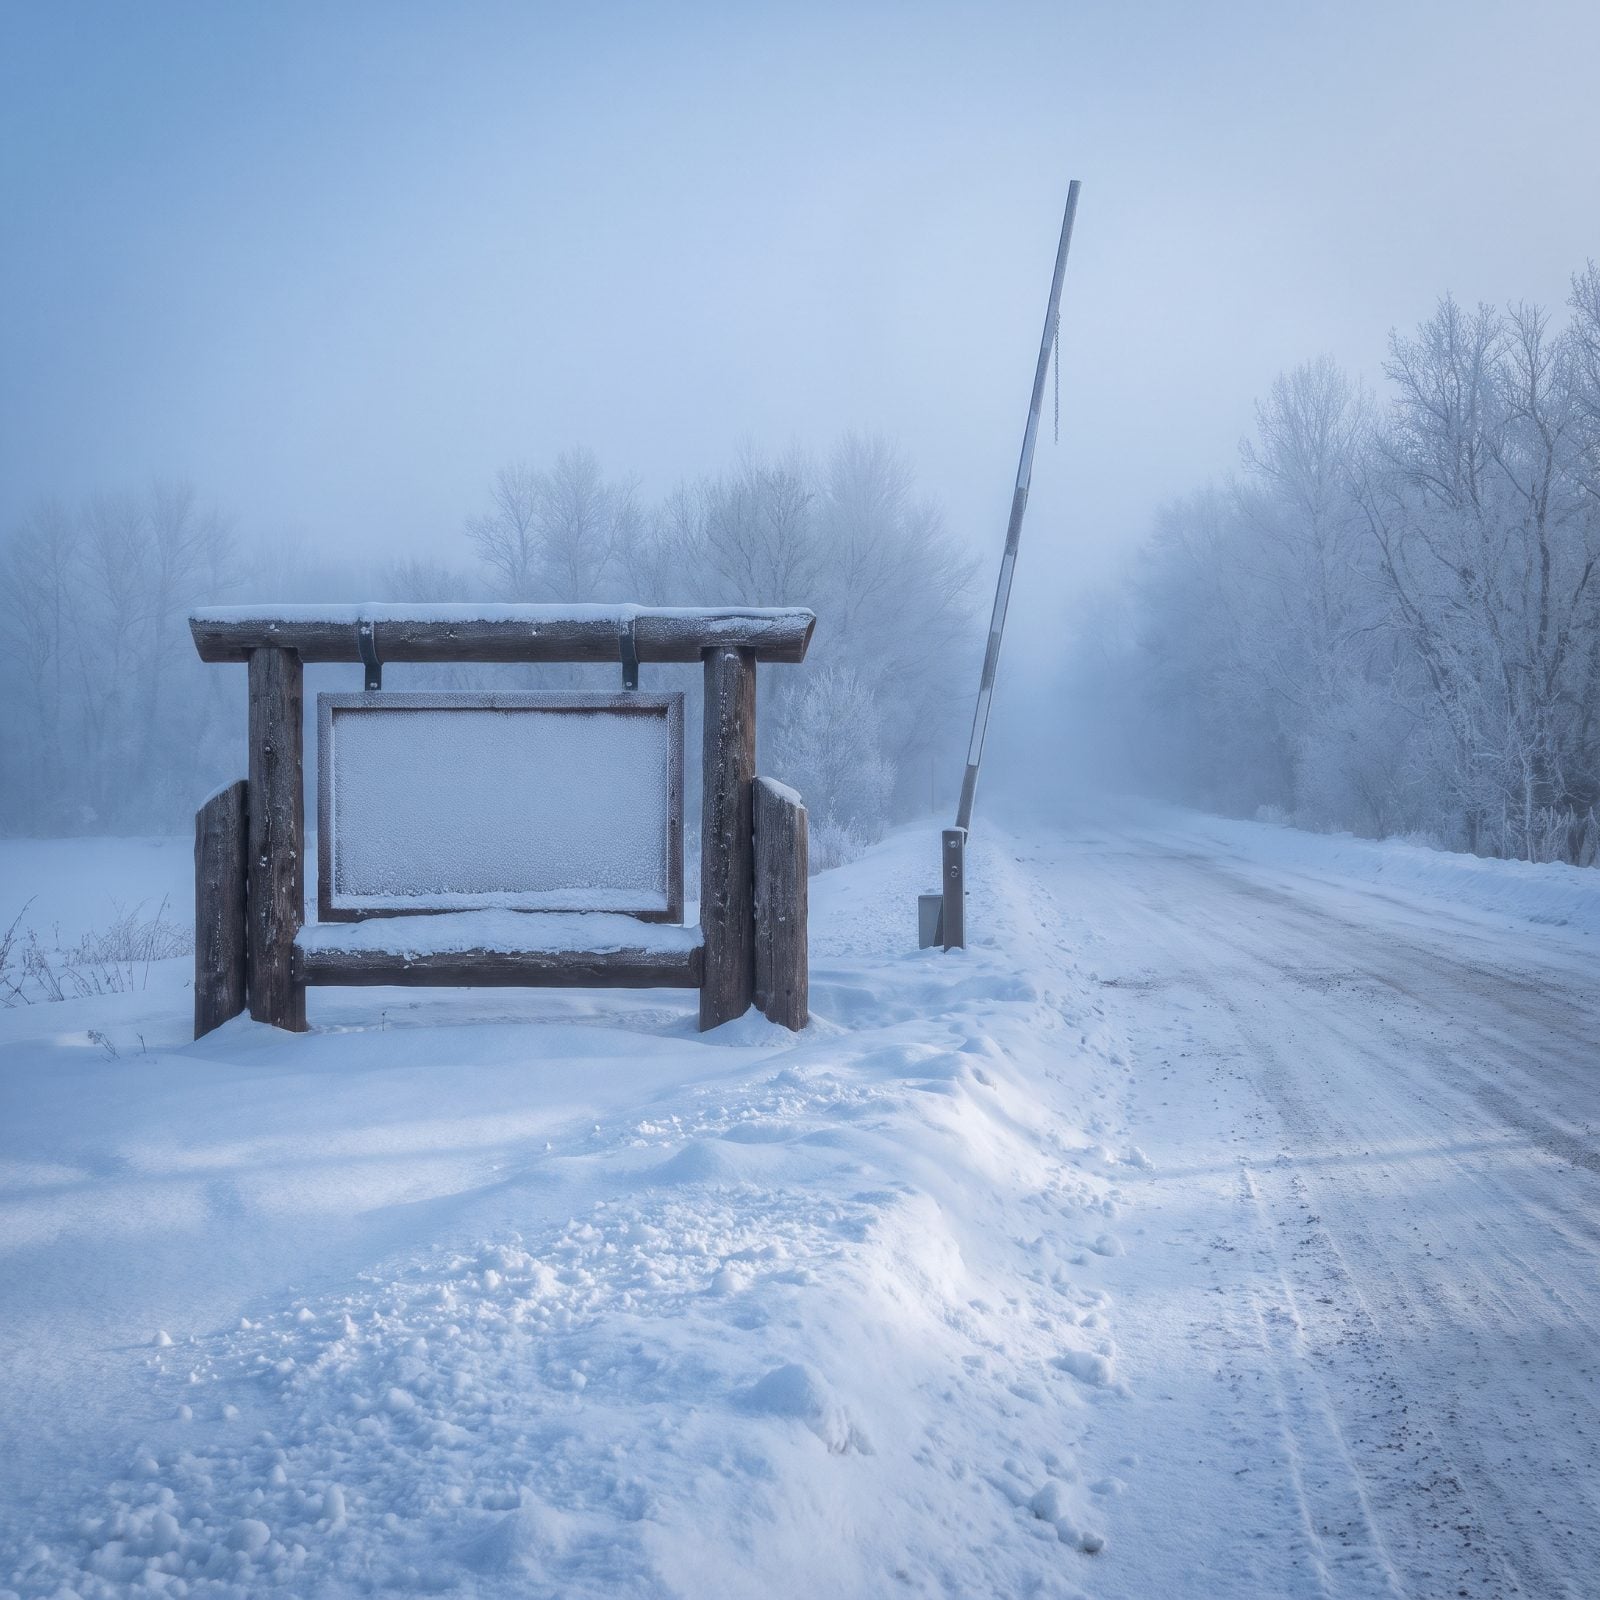
Open does not mean fully open. A park can be “open” during Christmas week while most of its interior roads, lodges, and services sit shut tight. We’ve seen parks that were technically operating while everything worth seeing past the entrance was buried and out of reach.
Start at the park’s official website, not some third-party travel blog that hasn’t updated since October. Look for the alerts banner at the top of the page. Federal budget hiccups, staffing shortages, and winter storms can close a park on a few hours’ notice, and the holidays are prime season for all three.
41. Review Current Road Closures
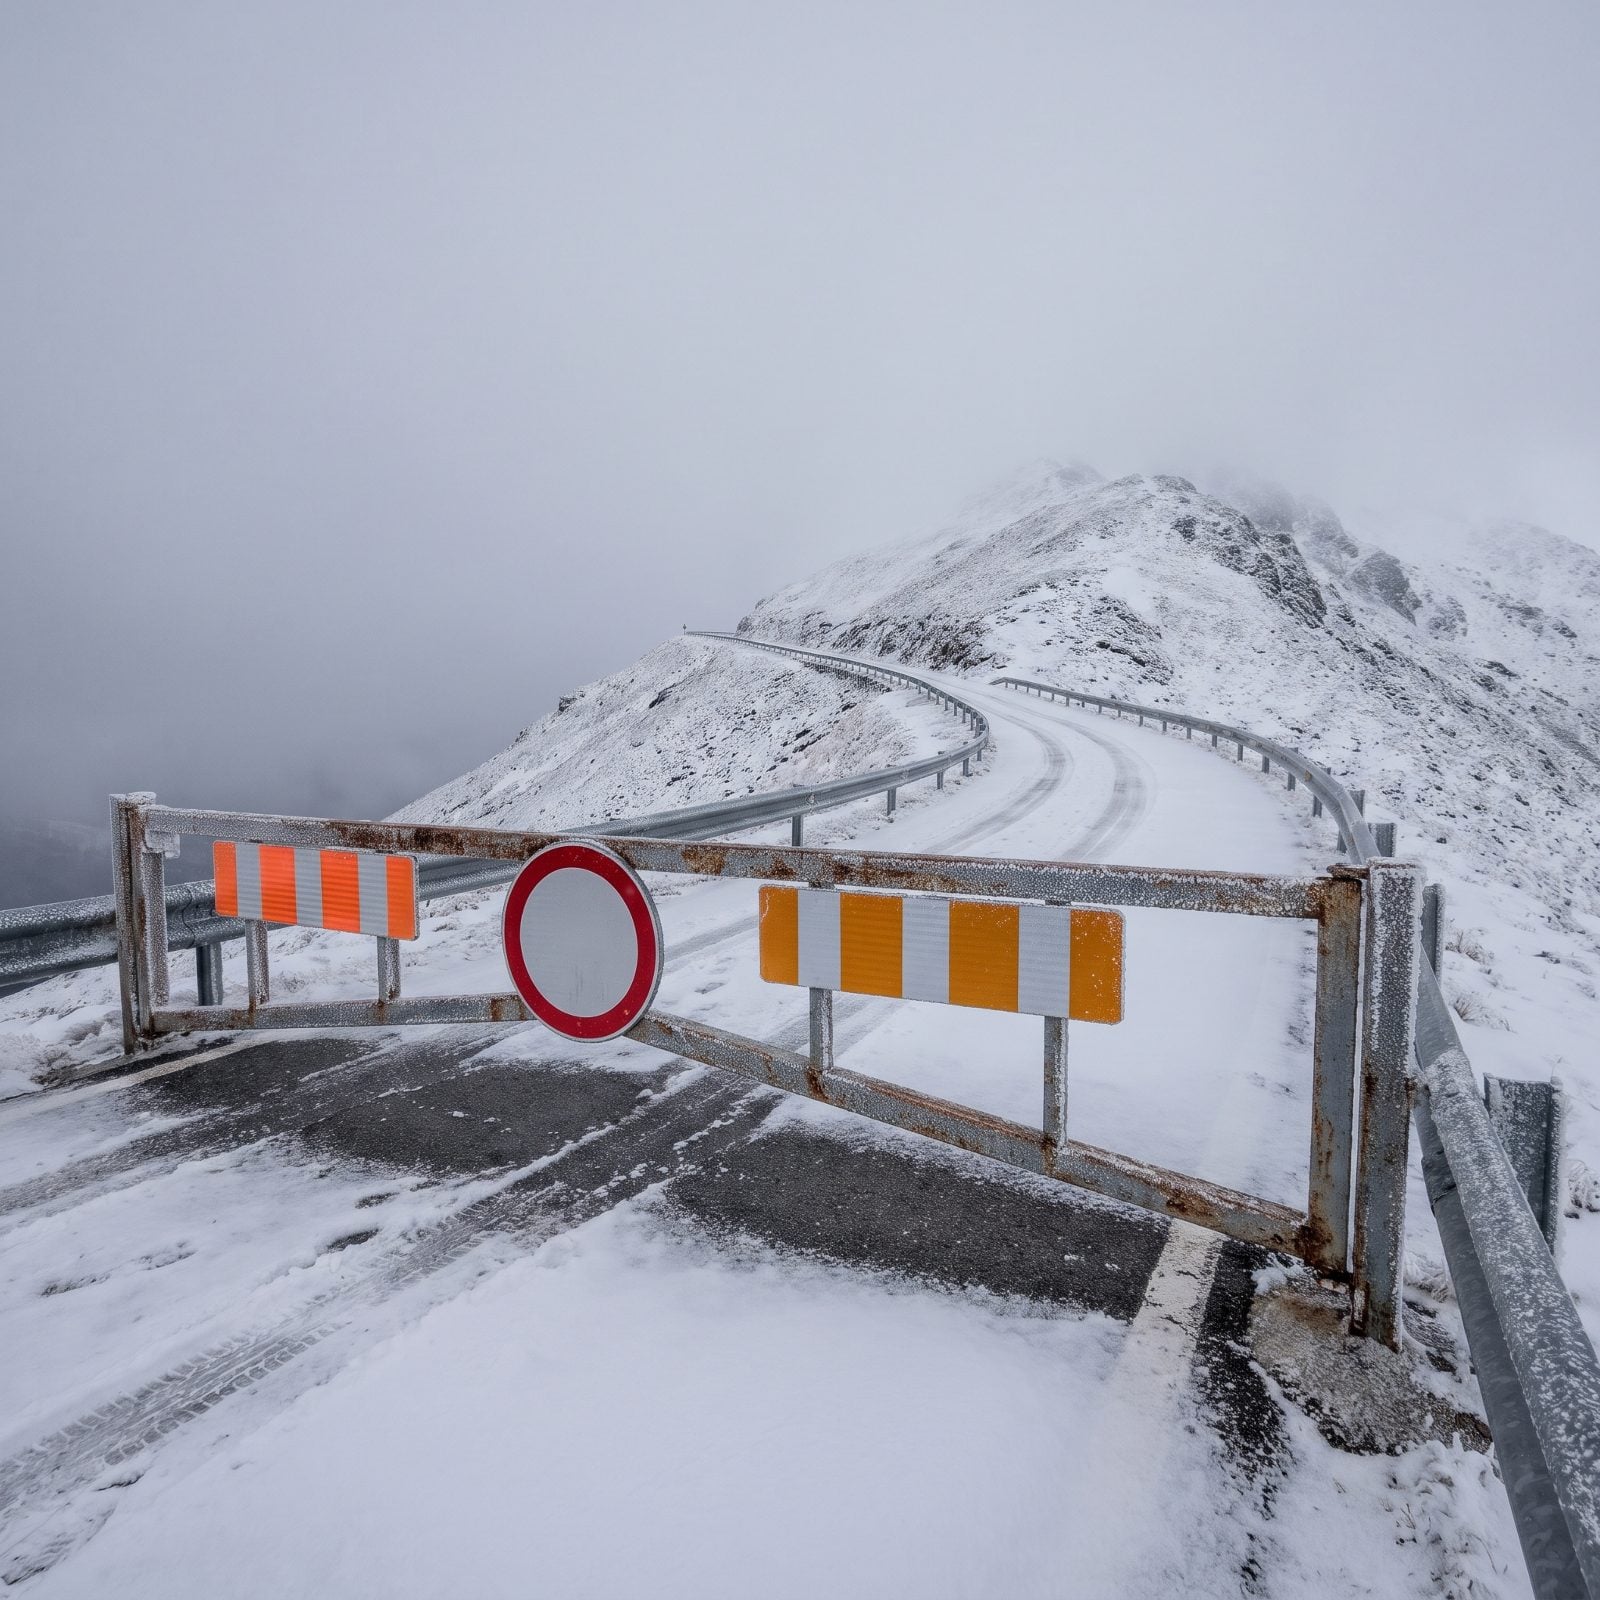
The single scenic drive you built the whole trip around might be closed from November through May. Plenty of high-elevation roads in parks like Rocky Mountain, Yosemite, and Lassen shut down for the season entirely, and no amount of wishing opens them.
Pull up the park’s road status page and read it line by line. Learn the difference between “closed for the season,” “closed due to conditions,” and “open with chains required.” That last one means exactly what it says, and rangers at the gate will turn you around if you show up without them.
Then check the status again the morning you leave. A storm overnight can flip an open road to a closed one before your coffee cools.
40. Check Holiday Visitor Center Hours
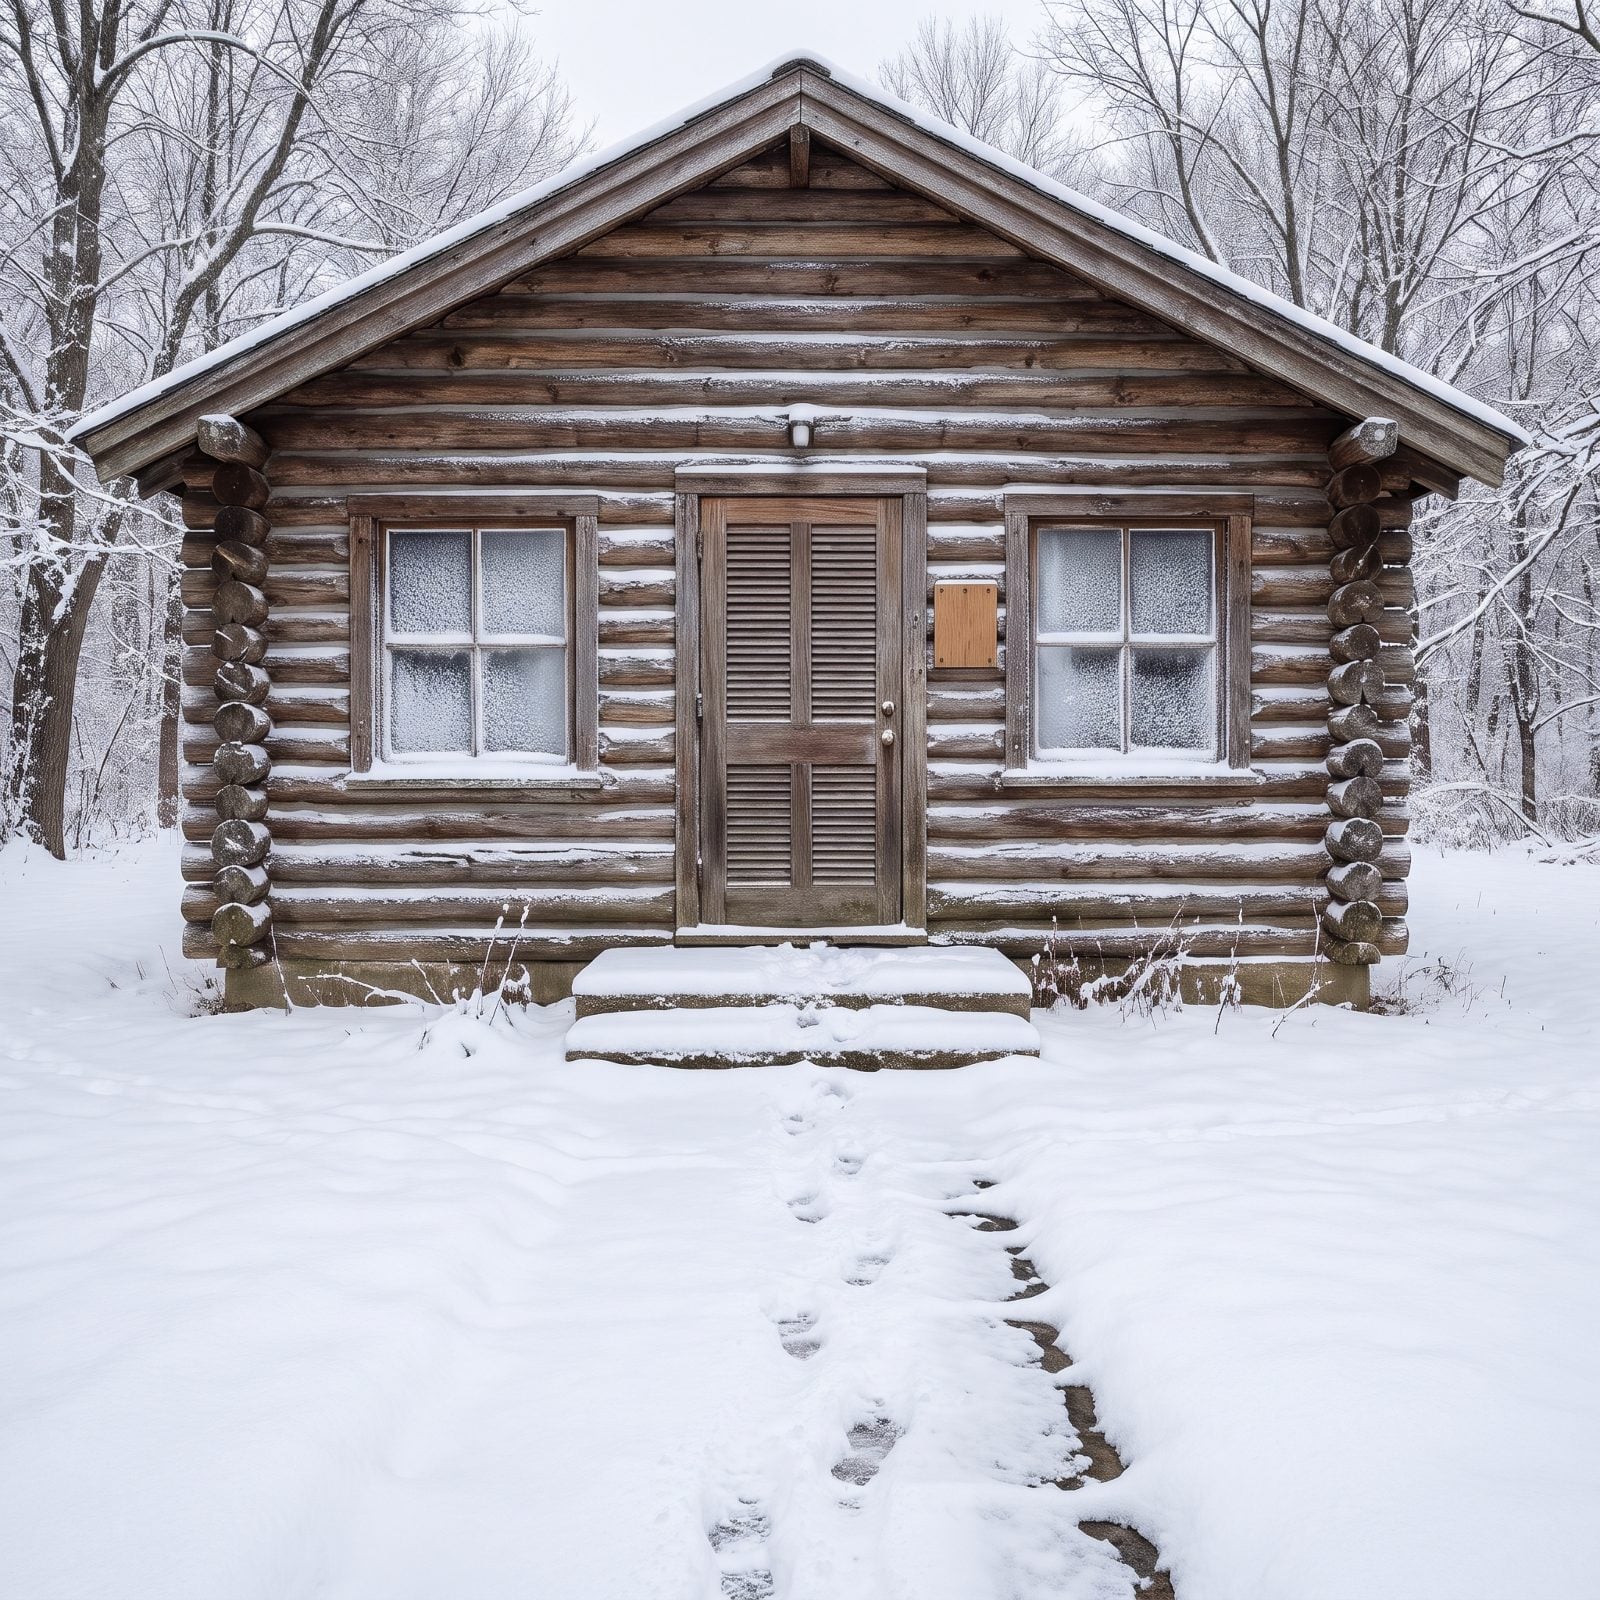
That warm building with the restrooms, the maps, and the only ranger for twenty miles? It may be locked. Visitor centers run skeleton hours over the holidays, and many close outright on December 25th. We’ve stood at a dark door with a full bladder and a lot of questions. Not a good feeling.
Find the operating hours page and look specifically for holiday exceptions. Christmas Day, and often Christmas Eve afternoon, get special reduced or closed status. Backup restrooms exist, but they’re usually vault toilets at trailheads, so plan accordingly.
39. Read the Latest Weather Forecast
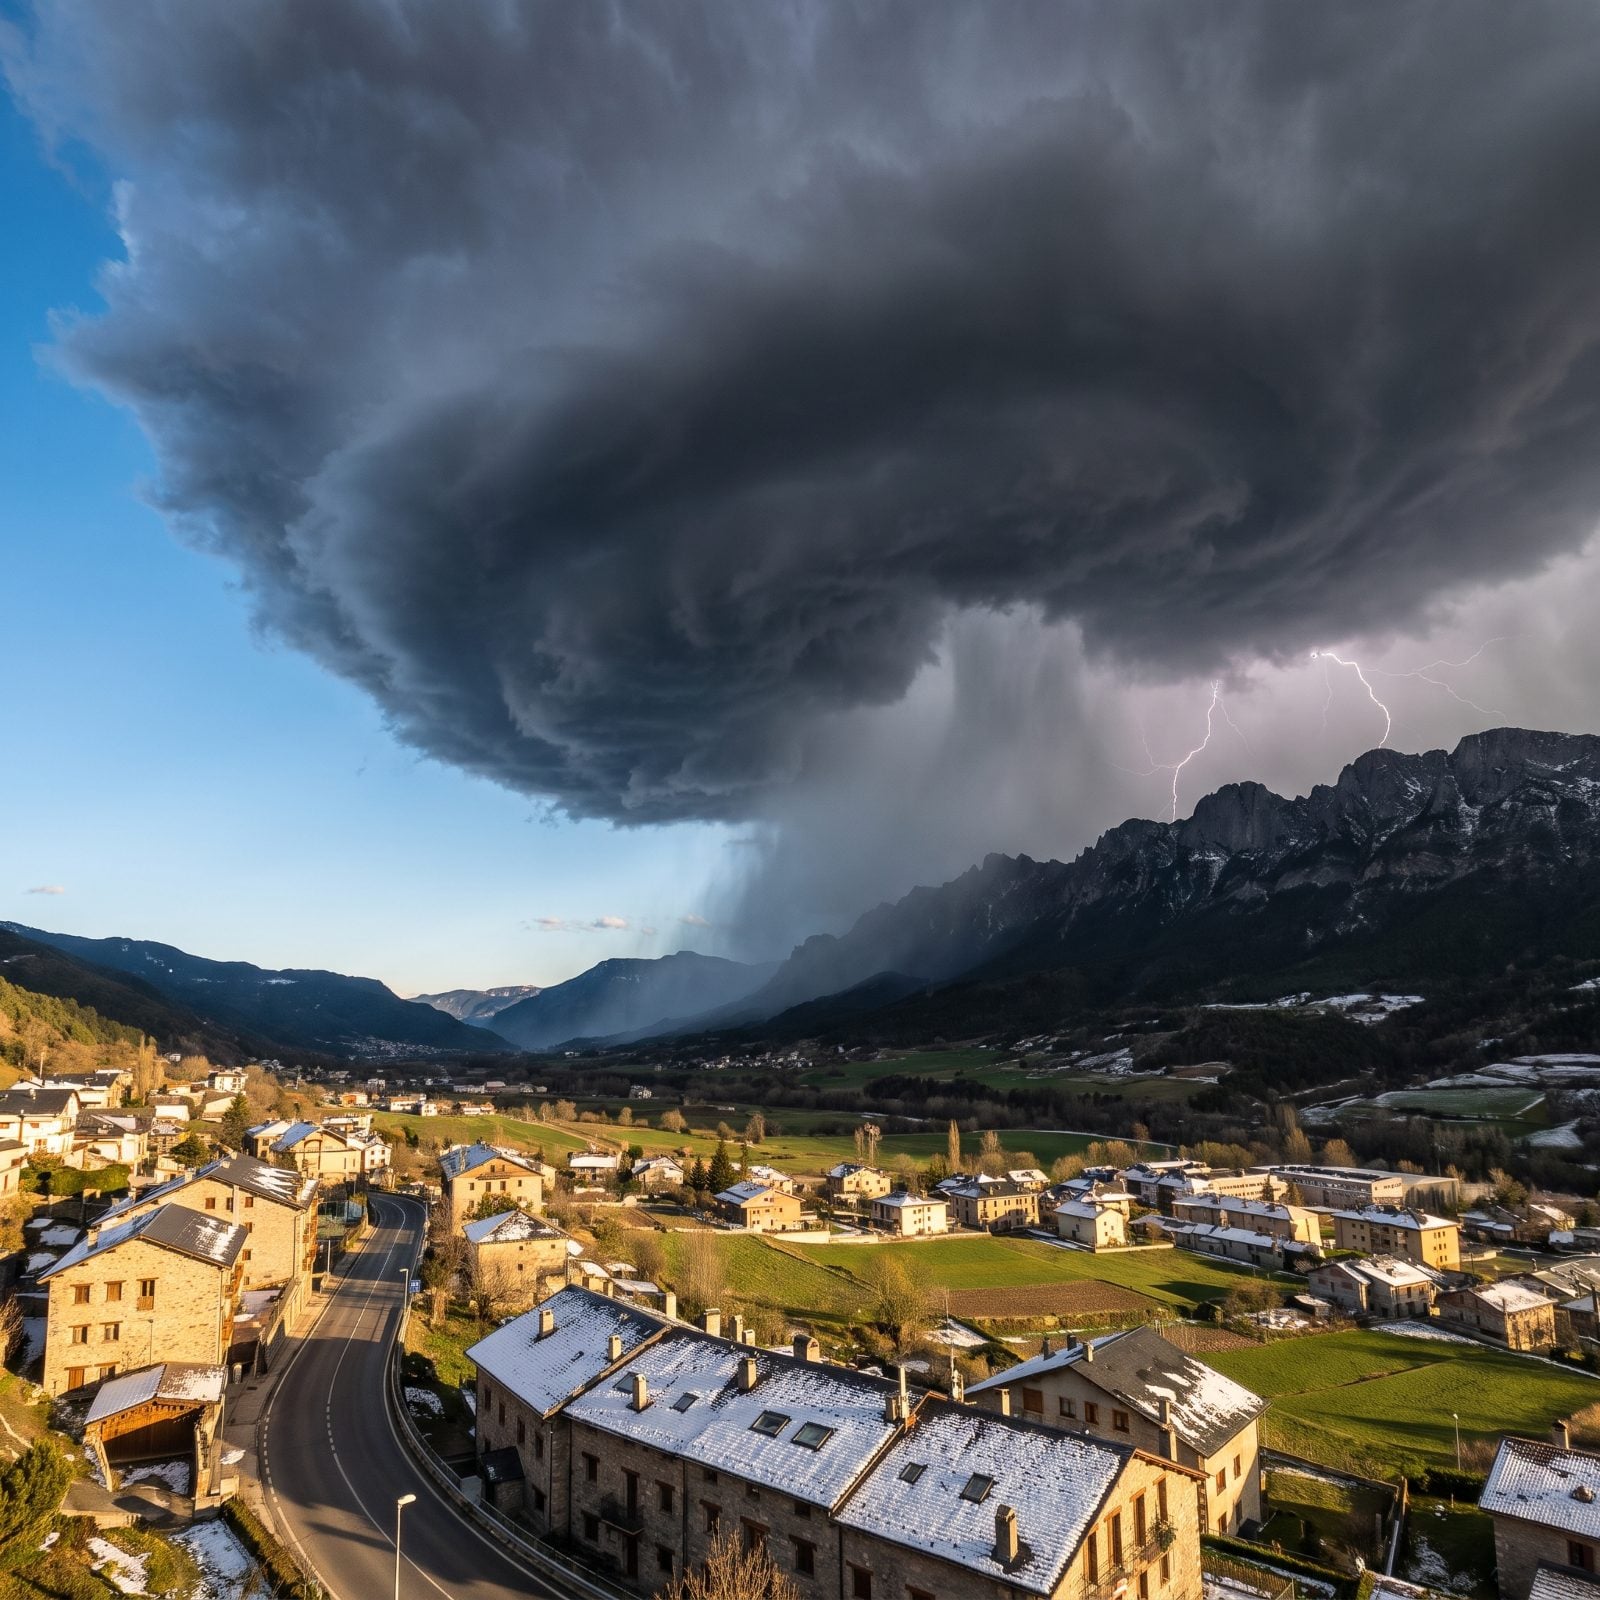
Valley weather lies to you. The forecast for the town outside the park is almost never the forecast for the ridge you want to stand on, where it can run thirty degrees colder and a full foot deeper.
Use the NOAA point forecast and drop the pin on the actual elevation of your destination, not the entrance. Read the hourly breakdown for wind chill and snow timing. Mountain weather turns fast in December, and a bluebird morning can close in by noon.
38. Check the Park Webcam
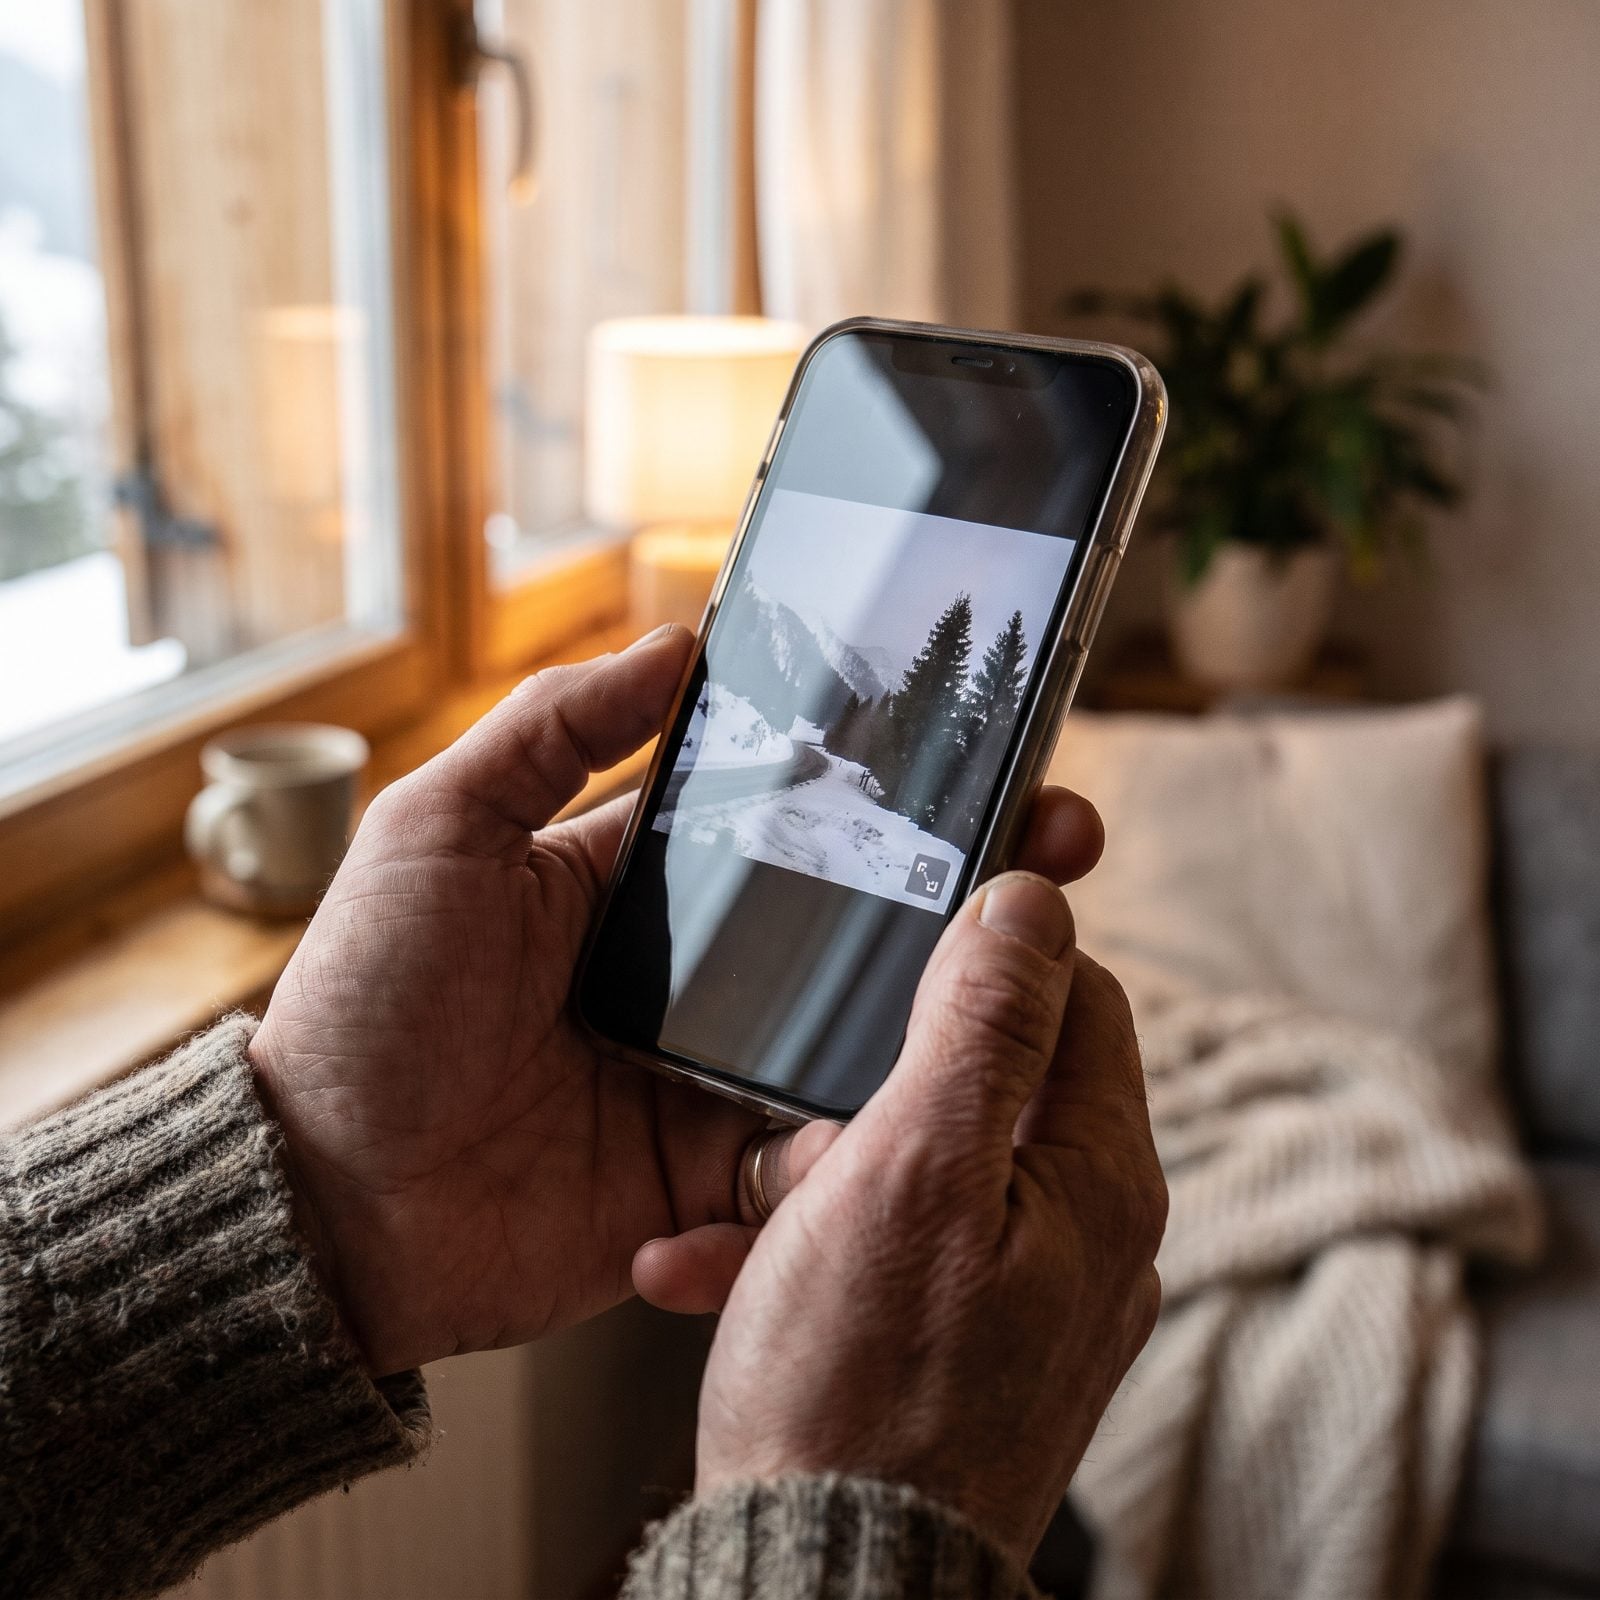
A webcam shows you what the forecast only guesses at. Snow on the ground, snow in the air, fog socking in a pass, an empty parking lot that should be full by nine. It’s the closest thing to standing there yourself.
Most parks run several public webcams, usually filed under “conditions” or “photos and multimedia.” Pull up one at a high overlook and one near the entrance so you see both the destination and the approach.
Honestly, this is the check I skip most and regret most. A thirty-second glance at a live cam has saved us a wasted drive more than once. Check the page’s last-updated time to make sure the image is current, since frozen cameras sometimes get stuck on an old frame.
37. Verify Holiday Shuttle Schedules
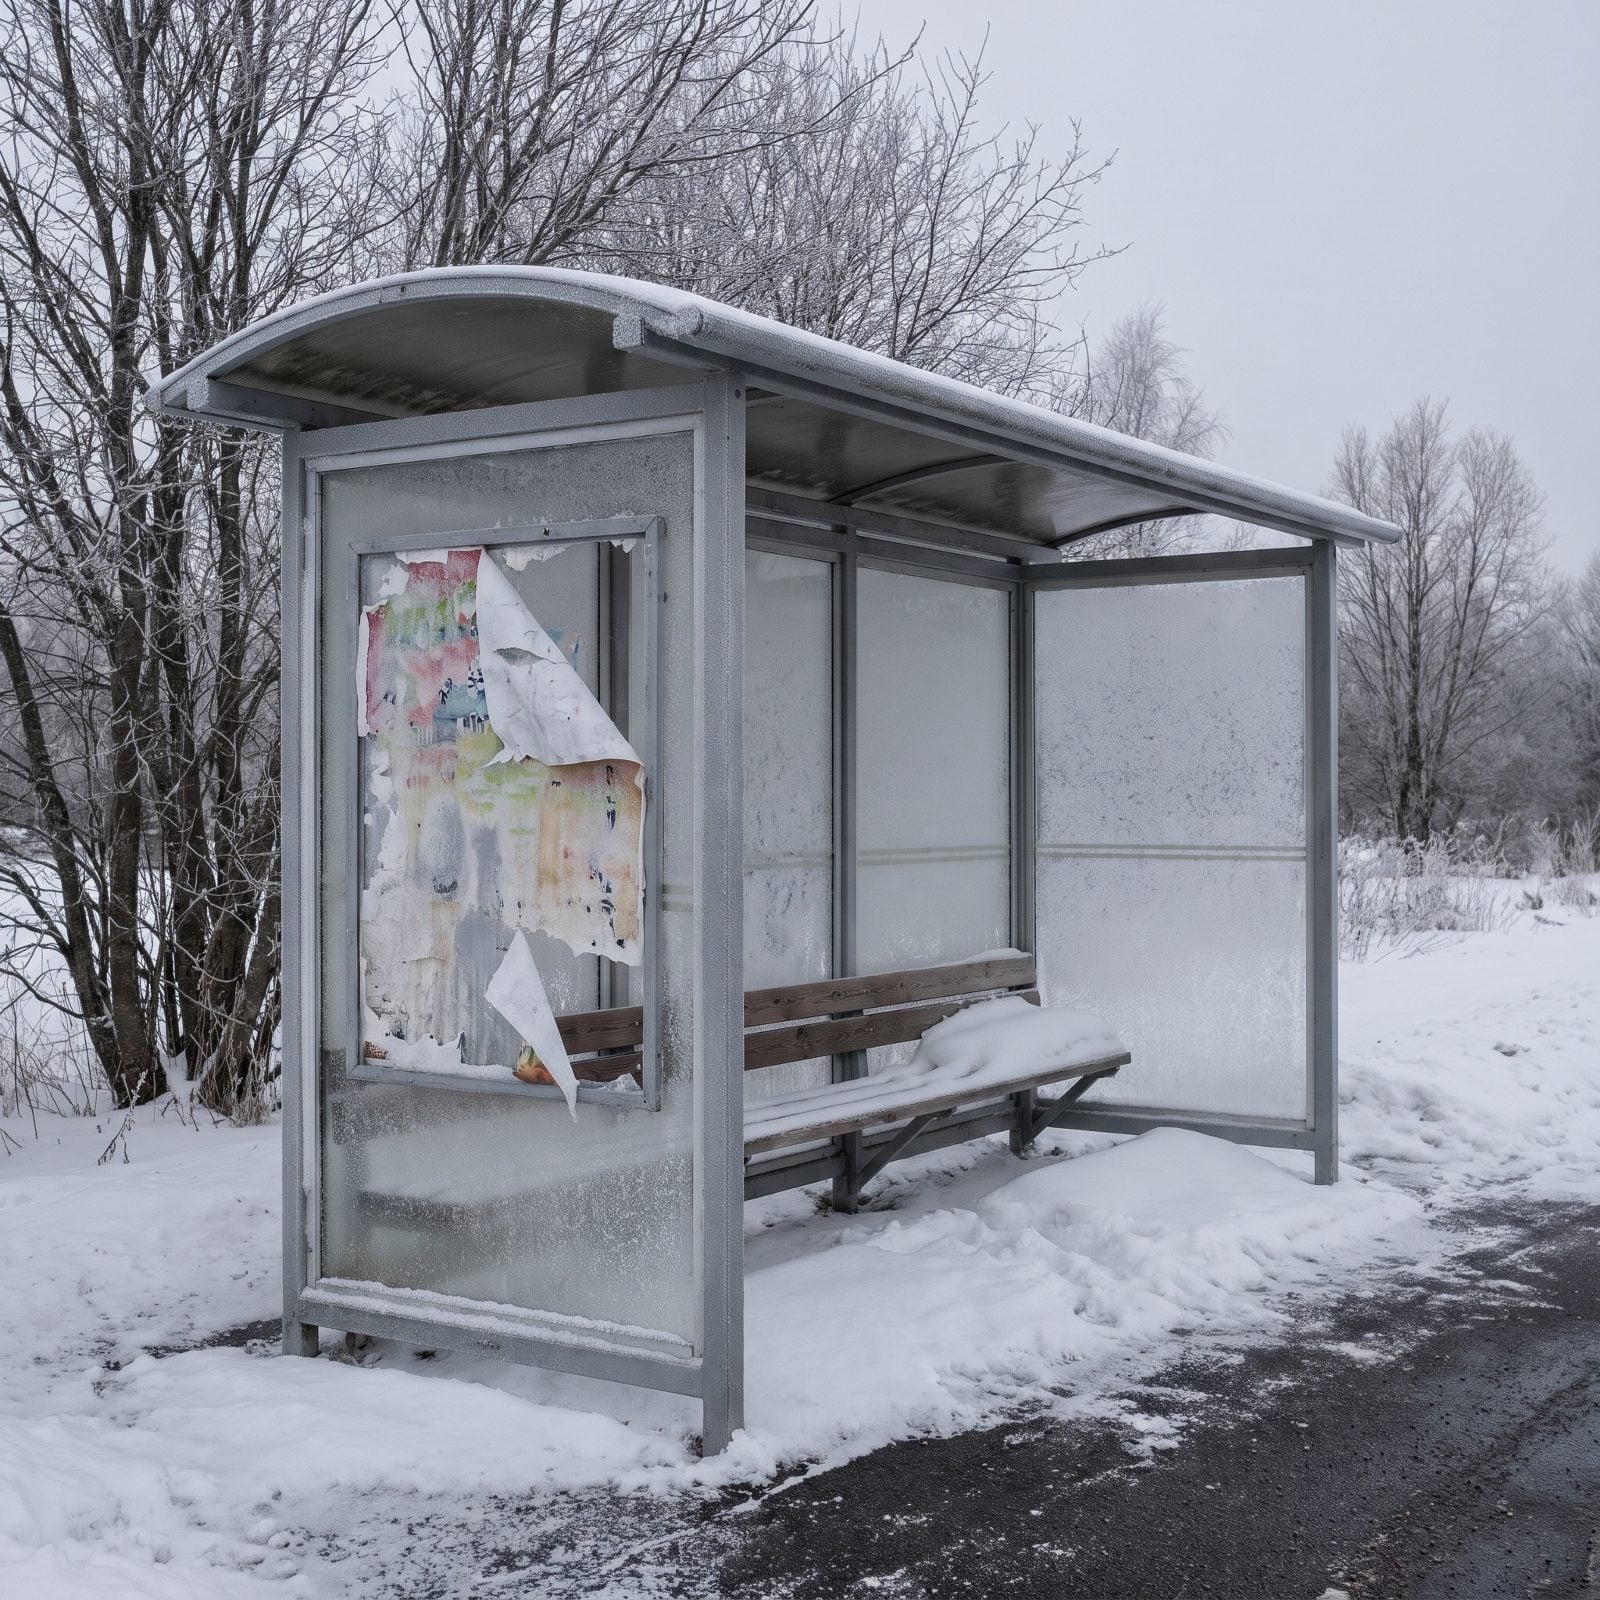
Shuttles don’t run on their summer schedule in December, and in many parks they don’t run at all. Zion, for example, lets private cars back into the canyon in winter because the shuttle is parked for the off-season. Show up expecting a bus that isn’t coming and you’ll be standing in the cold doing math.
Check the transportation page for winter service dates and frequency. If shuttles are suspended, confirm that private vehicle access is actually allowed where you want to go. The two things are linked.
36. Reserve Timed Entry When Required
Some parks keep timed-entry reservations running into the holidays, and the window to grab one closes fast when every family in three states has the same week off. Miss it and you may not get past the gate at all.
Check Recreation.gov and the park’s own reservation page to see whether timed entry is active in your date range. Winter dates sometimes drop the requirement and sometimes keep it, so don’t assume it ended with the fall color.
Book the earliest entry slot you can stomach. The crowds thin before nine, and the light on fresh snow in that first hour is the whole reason to go early anyway.
35. Confirm Campground Winter Services
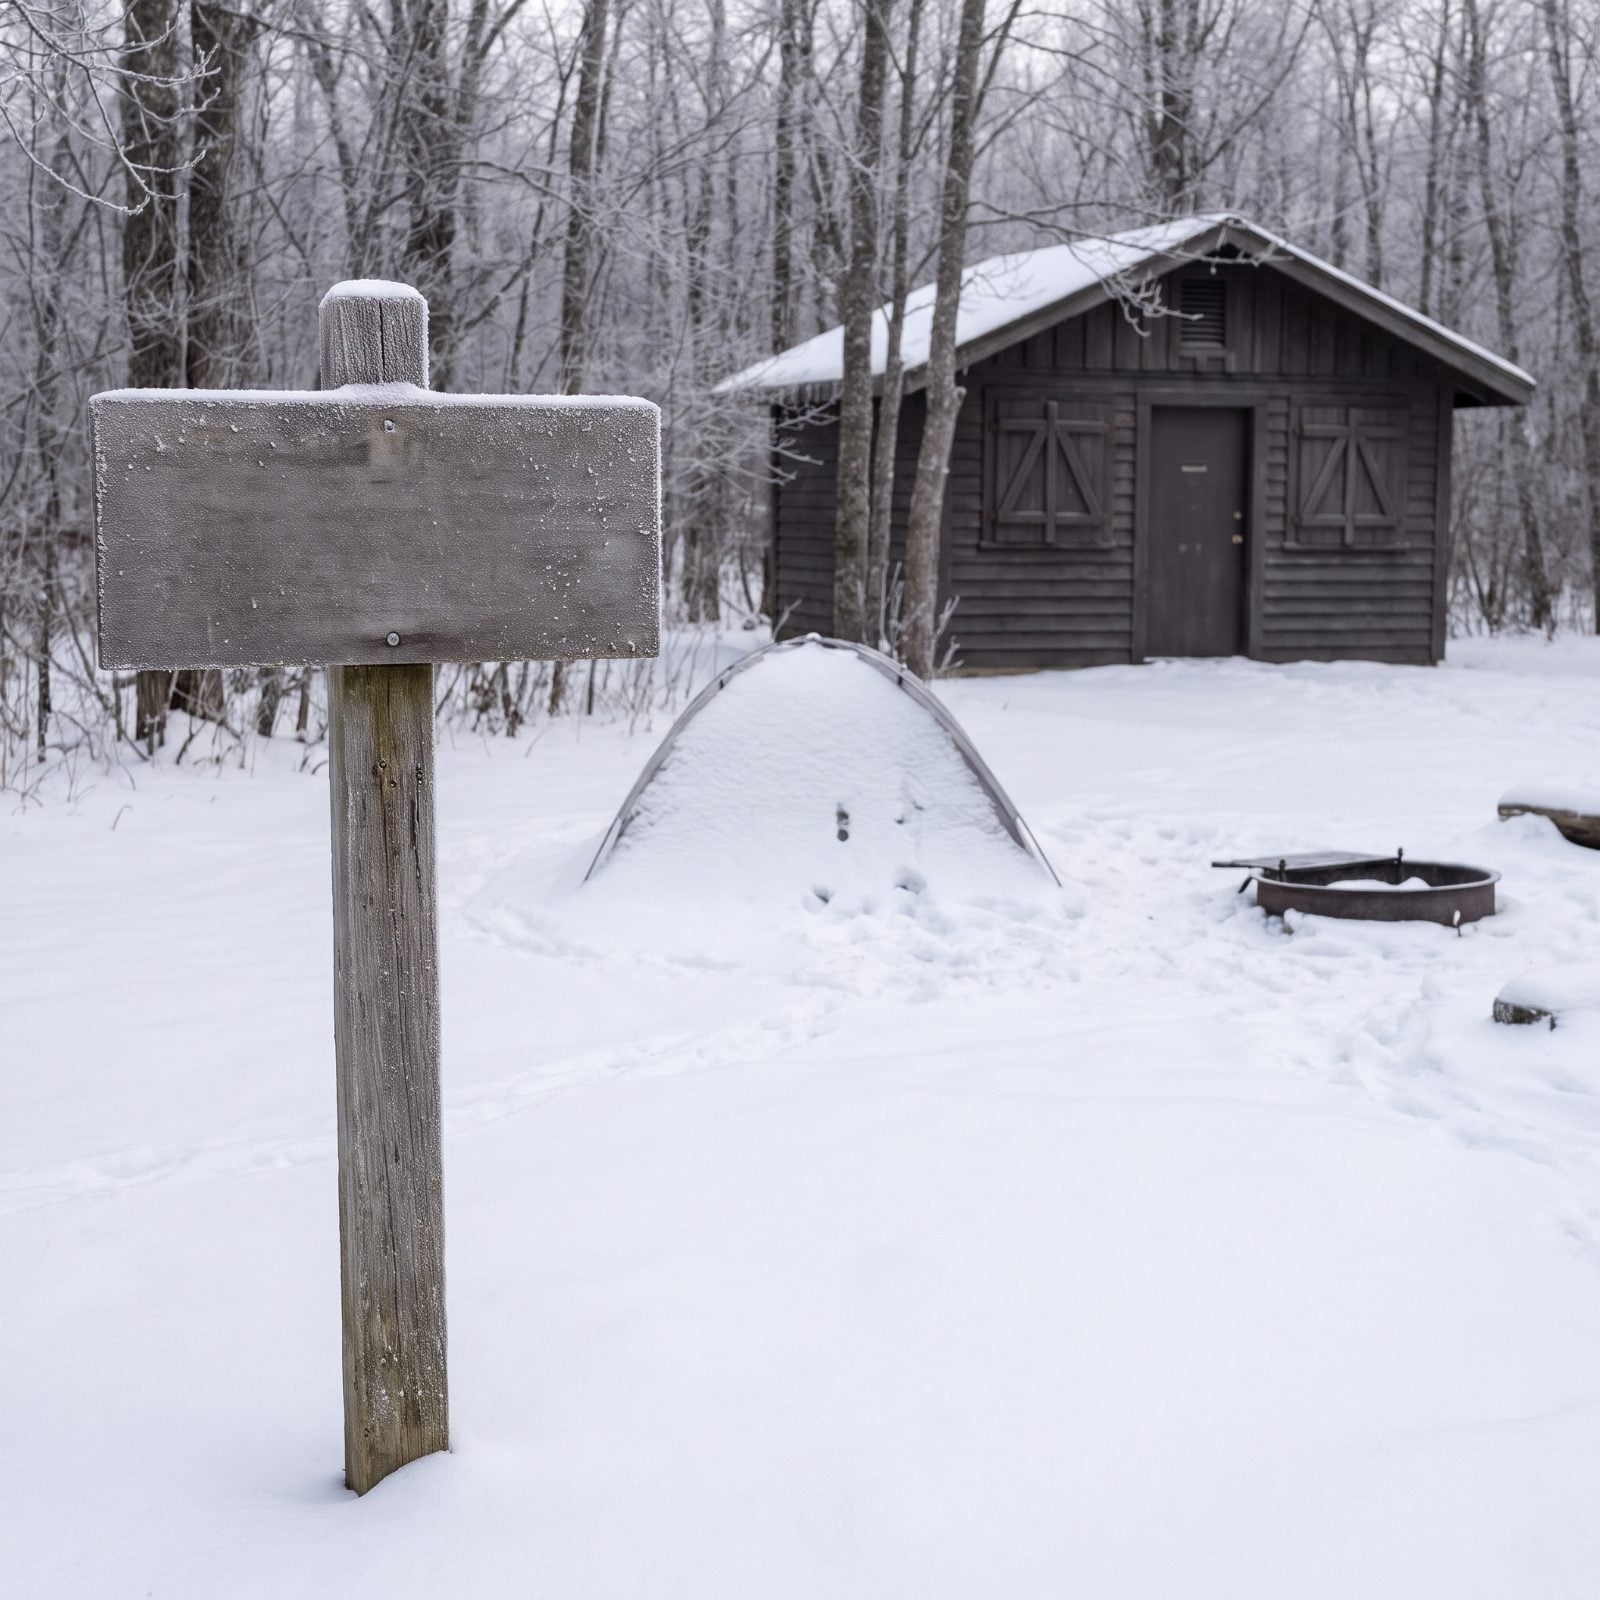
Most campgrounds go primitive in winter, and “primitive” is doing a lot of work in that sentence. That often means no flush toilets, no hookups, no trash service, and gates you have to walk your gear past because the road isn’t plowed to the sites.
Read the specific campground page, not the general camping overview. Note whether the loop you want is even open, whether sites are first-come or reservable, and what facilities actually function in December.
RV camping? Confirm the access road is plowed wide enough and that nothing freezes solid overnight. We’ve watched a perfectly good trip end at a snowed-in gate a quarter mile from the site. Pack like you’re hauling everything in on foot, because sometimes you are.
34. Check Whether Potable Water Is Available
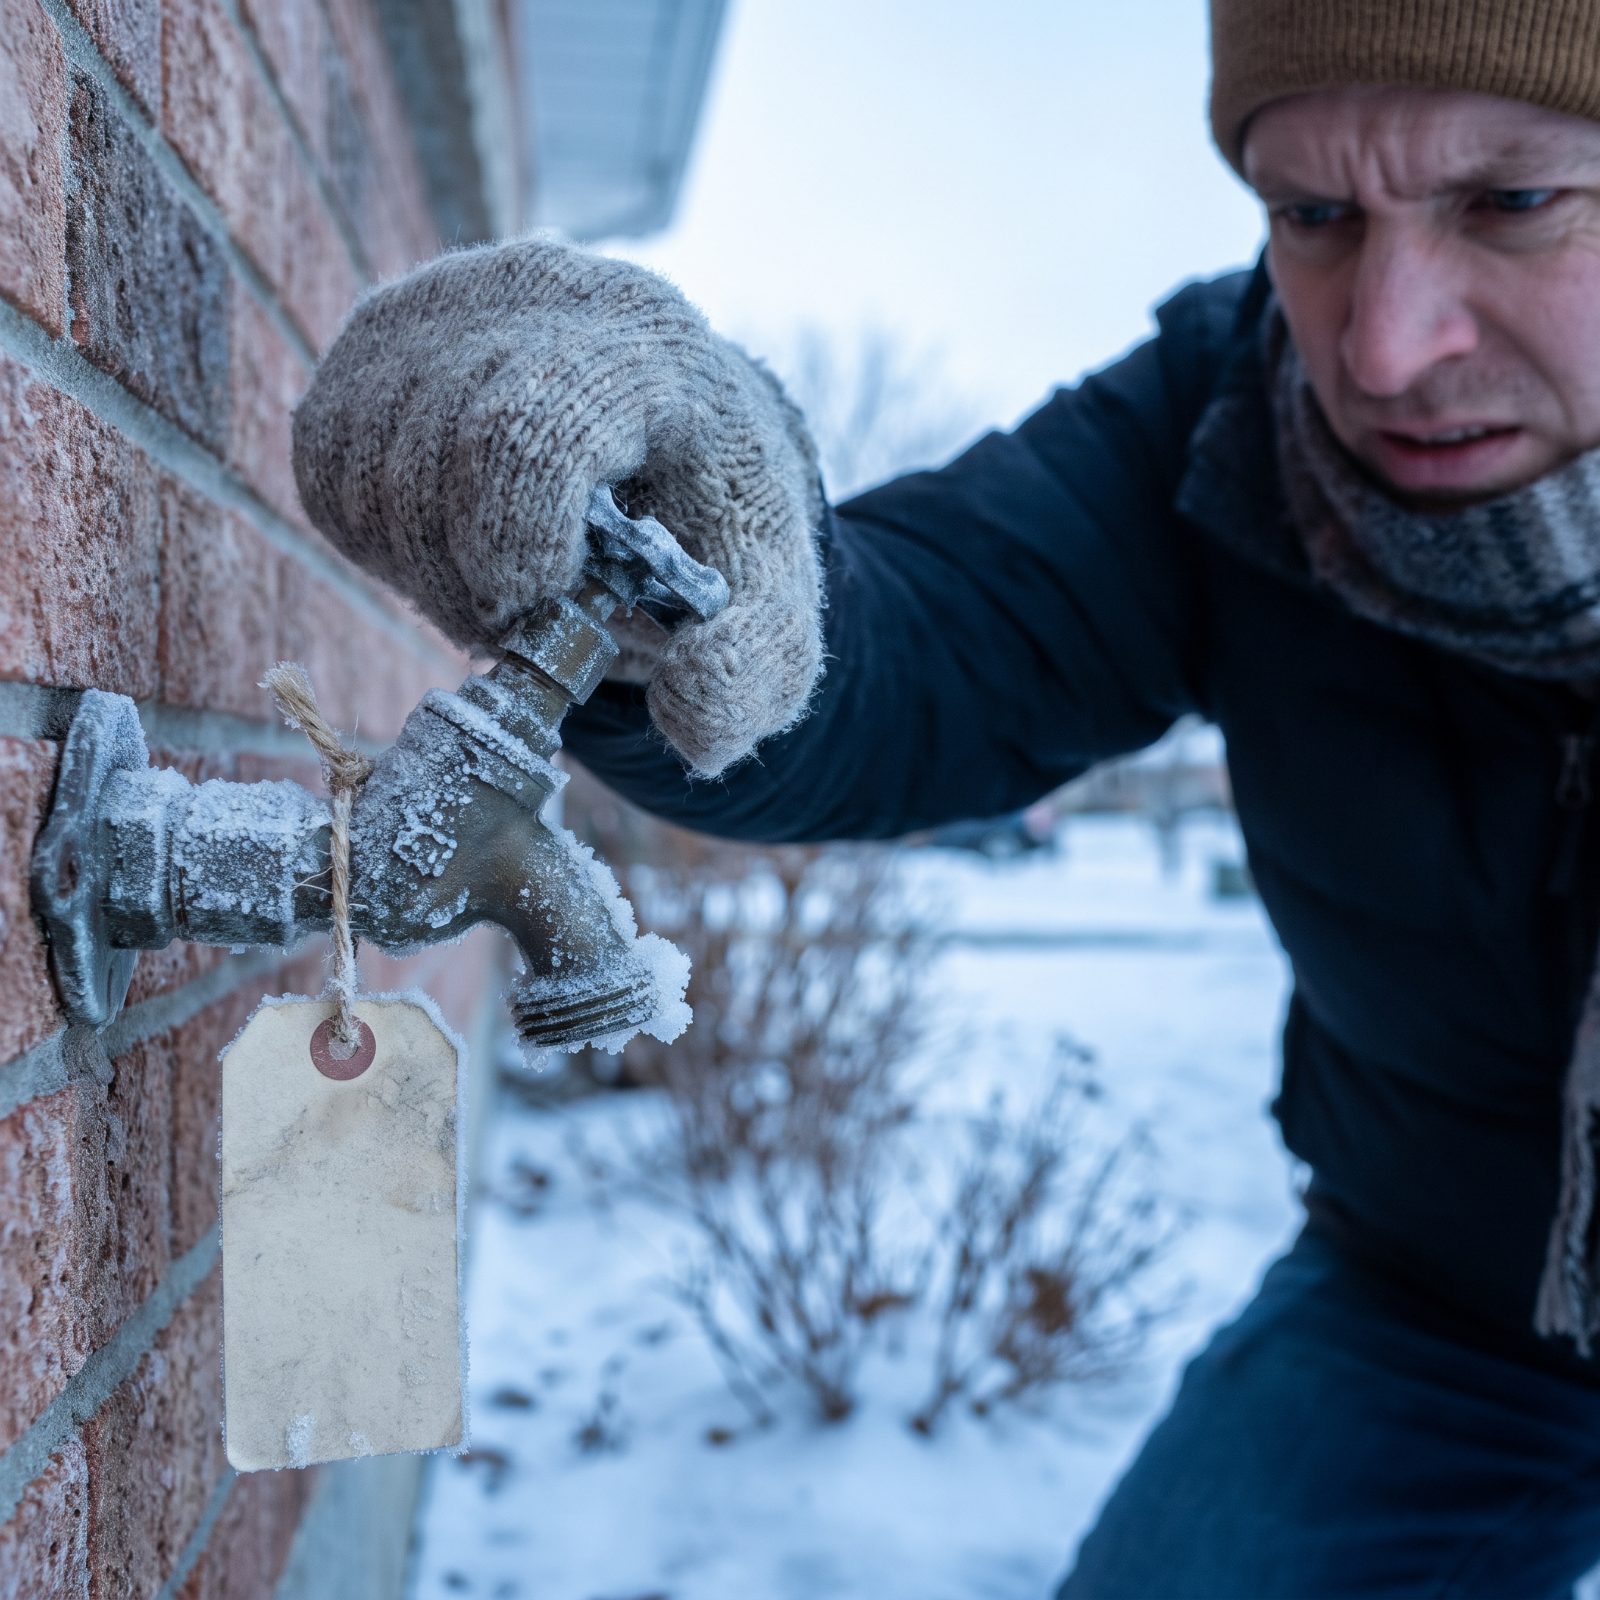
Here’s the one that gets overlooked until you’re thirsty. Parks shut off potable water lines in winter so the pipes don’t freeze and burst, which means the spigot you counted on is capped and dry.
Assume there’s no drinking water unless the park explicitly says otherwise for your dates. Call and ask directly if the website is vague.
33. Download Permits Before Arrival
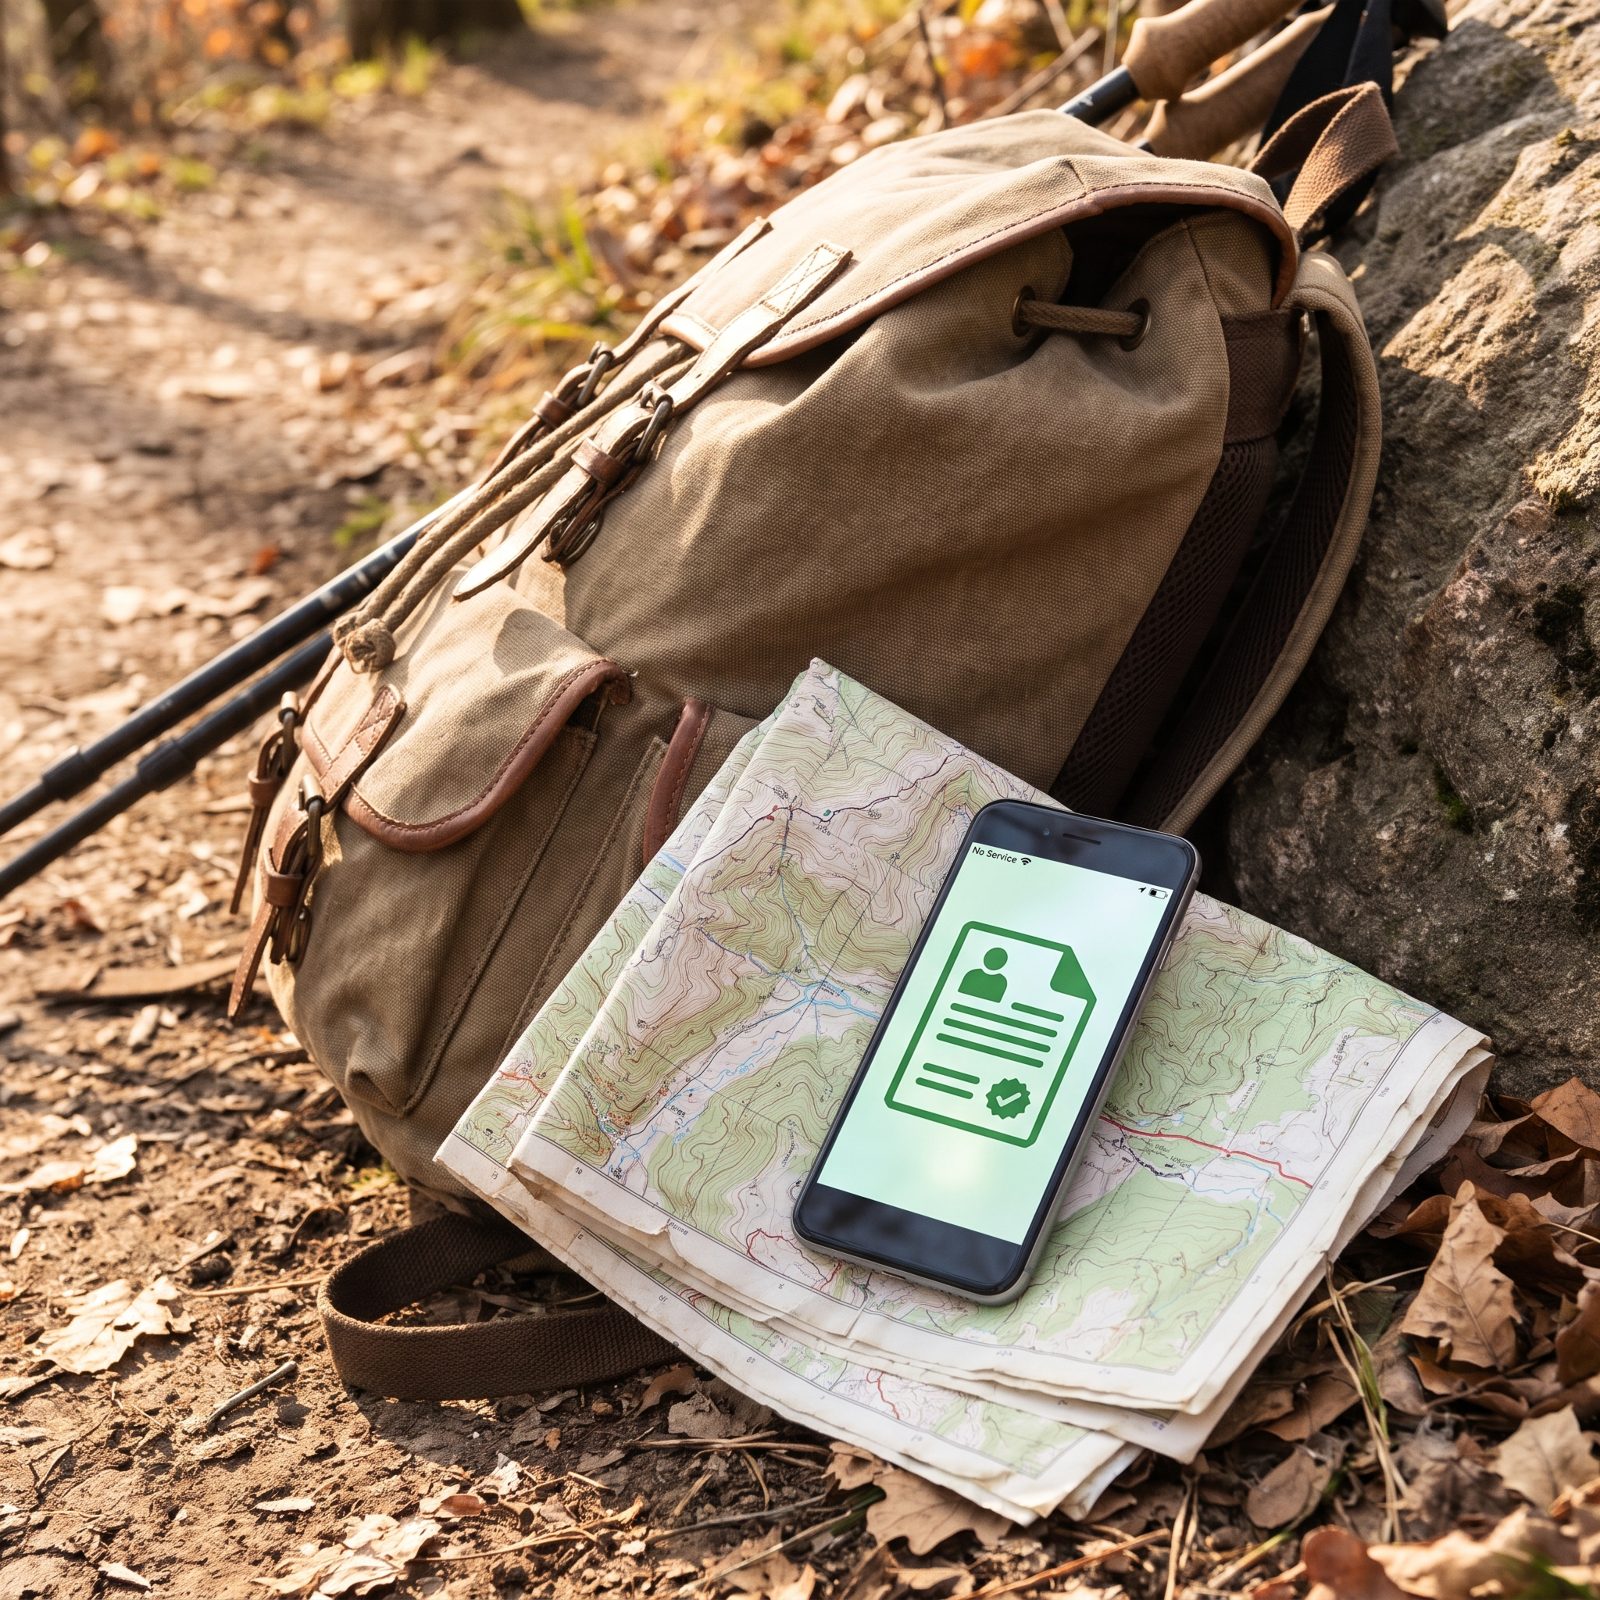
Permits live on an app or a website, and both need signal you won’t have once you pass the entrance. The backcountry and the canyon bottom are famous dead zones, and a permit you can’t open isn’t a permit.
Download your reservation, timed-entry pass, and any backcountry permit to your phone while you still have bars, and screenshot them as a backup. Then print a paper copy and keep it in a ziplock bag in the glove box. Phones die in the cold, sometimes without warning, dropping from forty percent to dead the moment the battery gets chilled.
Paper doesn’t freeze and it doesn’t need a charge. Rangers accept it, and it has saved more than one trip from ending at a checkpoint over a technicality.
32. Download Maps for Offline Use
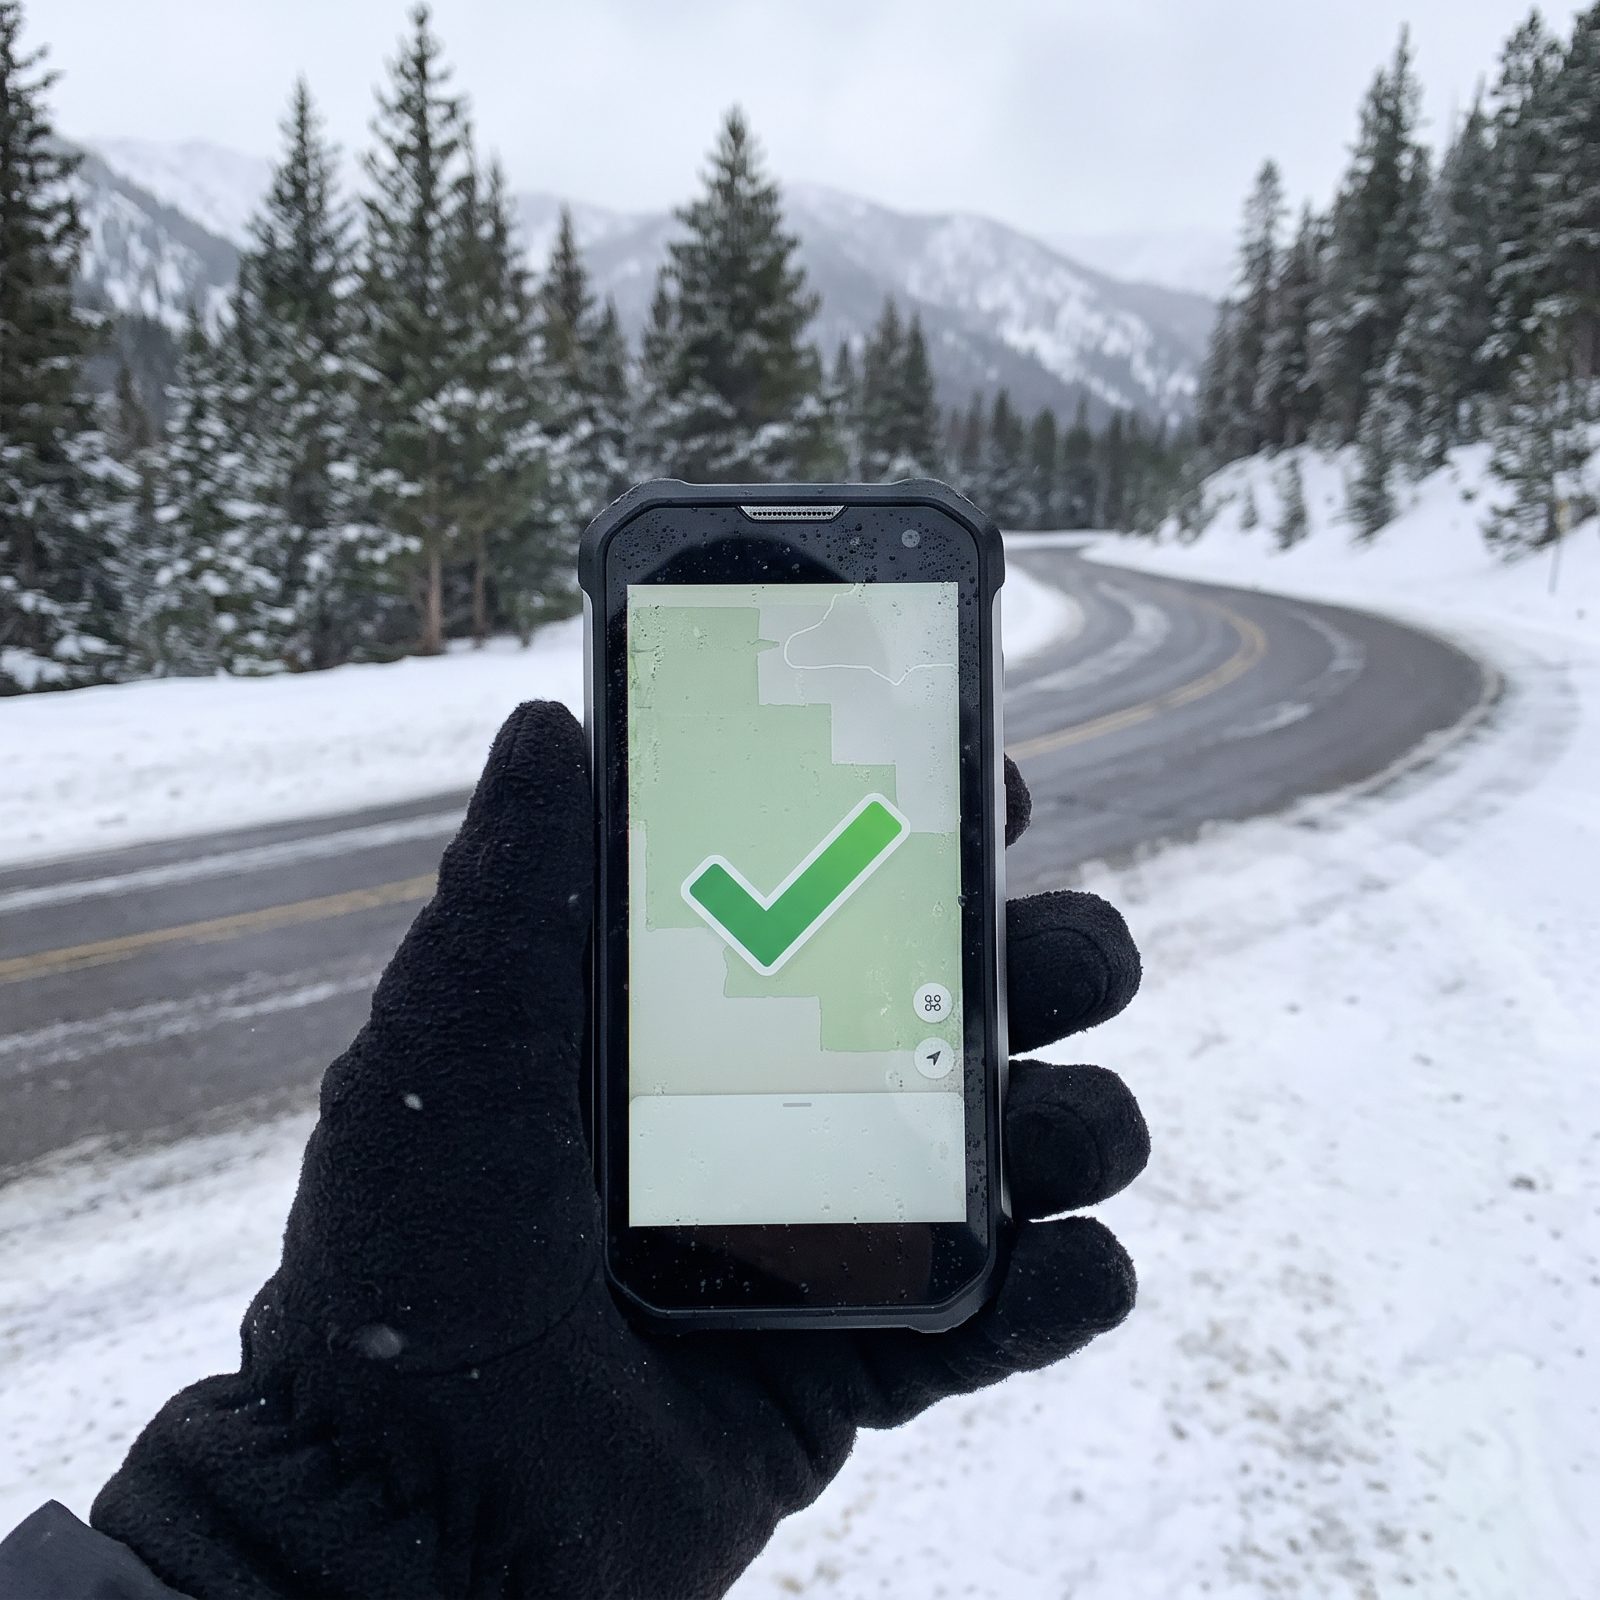
Cell signal dies the second the road climbs, and by the time you actually need a map you can’t load one. So pull it onto the phone before you leave the parking lot with bars.
Open your mapping app at home on wifi, find the park, and download the whole region for offline use. Google Maps, Gaia GPS, and AllTrails all let you cache areas. Grab the trail layer too, not just the roads. Then switch to airplane mode and test it from the couch. If the map still pans and zooms with no service, you’re set. Goes gray? You downloaded the wrong thing.
31. Save the Park’s Emergency Number
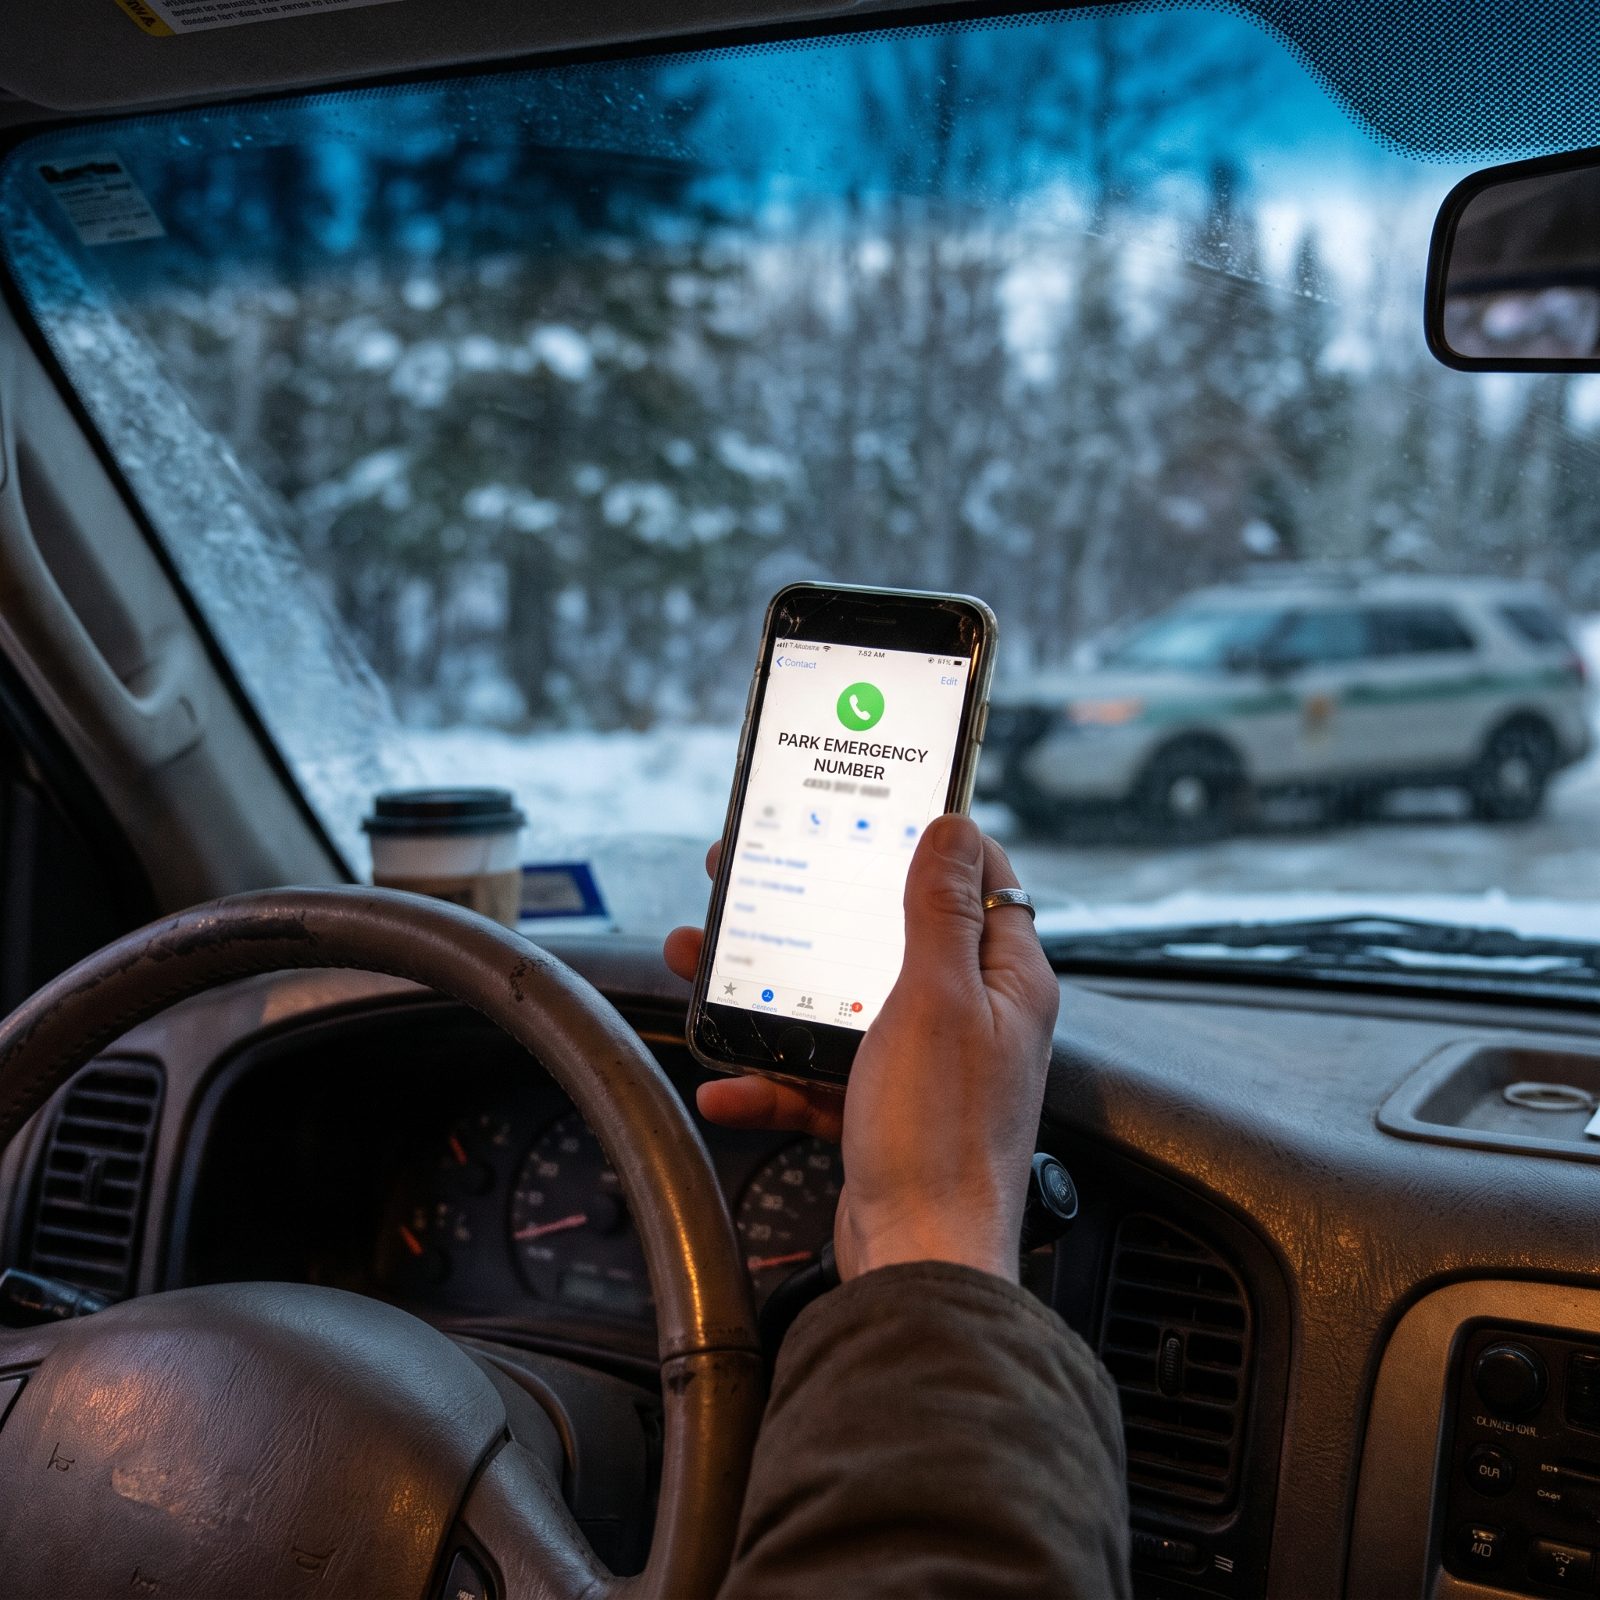
911 is not always your fastest line in a national park. Dispatch may route through a county that then hands you back to park dispatch, and that relay costs minutes you don’t have when someone’s hypothermic or a car has slid off an icy curve.
Every park publishes a direct emergency and ranger dispatch number. Find it on the park’s official website, not some random blog, and put it in your phone contacts before the trip. Write it on paper too, tucked in your glove box. A dead phone can’t dial anyone.
I’ve watched people assume the visitor center is open on Christmas week. Half the time it isn’t. Know who answers when the front desk is dark.
30. Expect Weak or Missing Cell Service
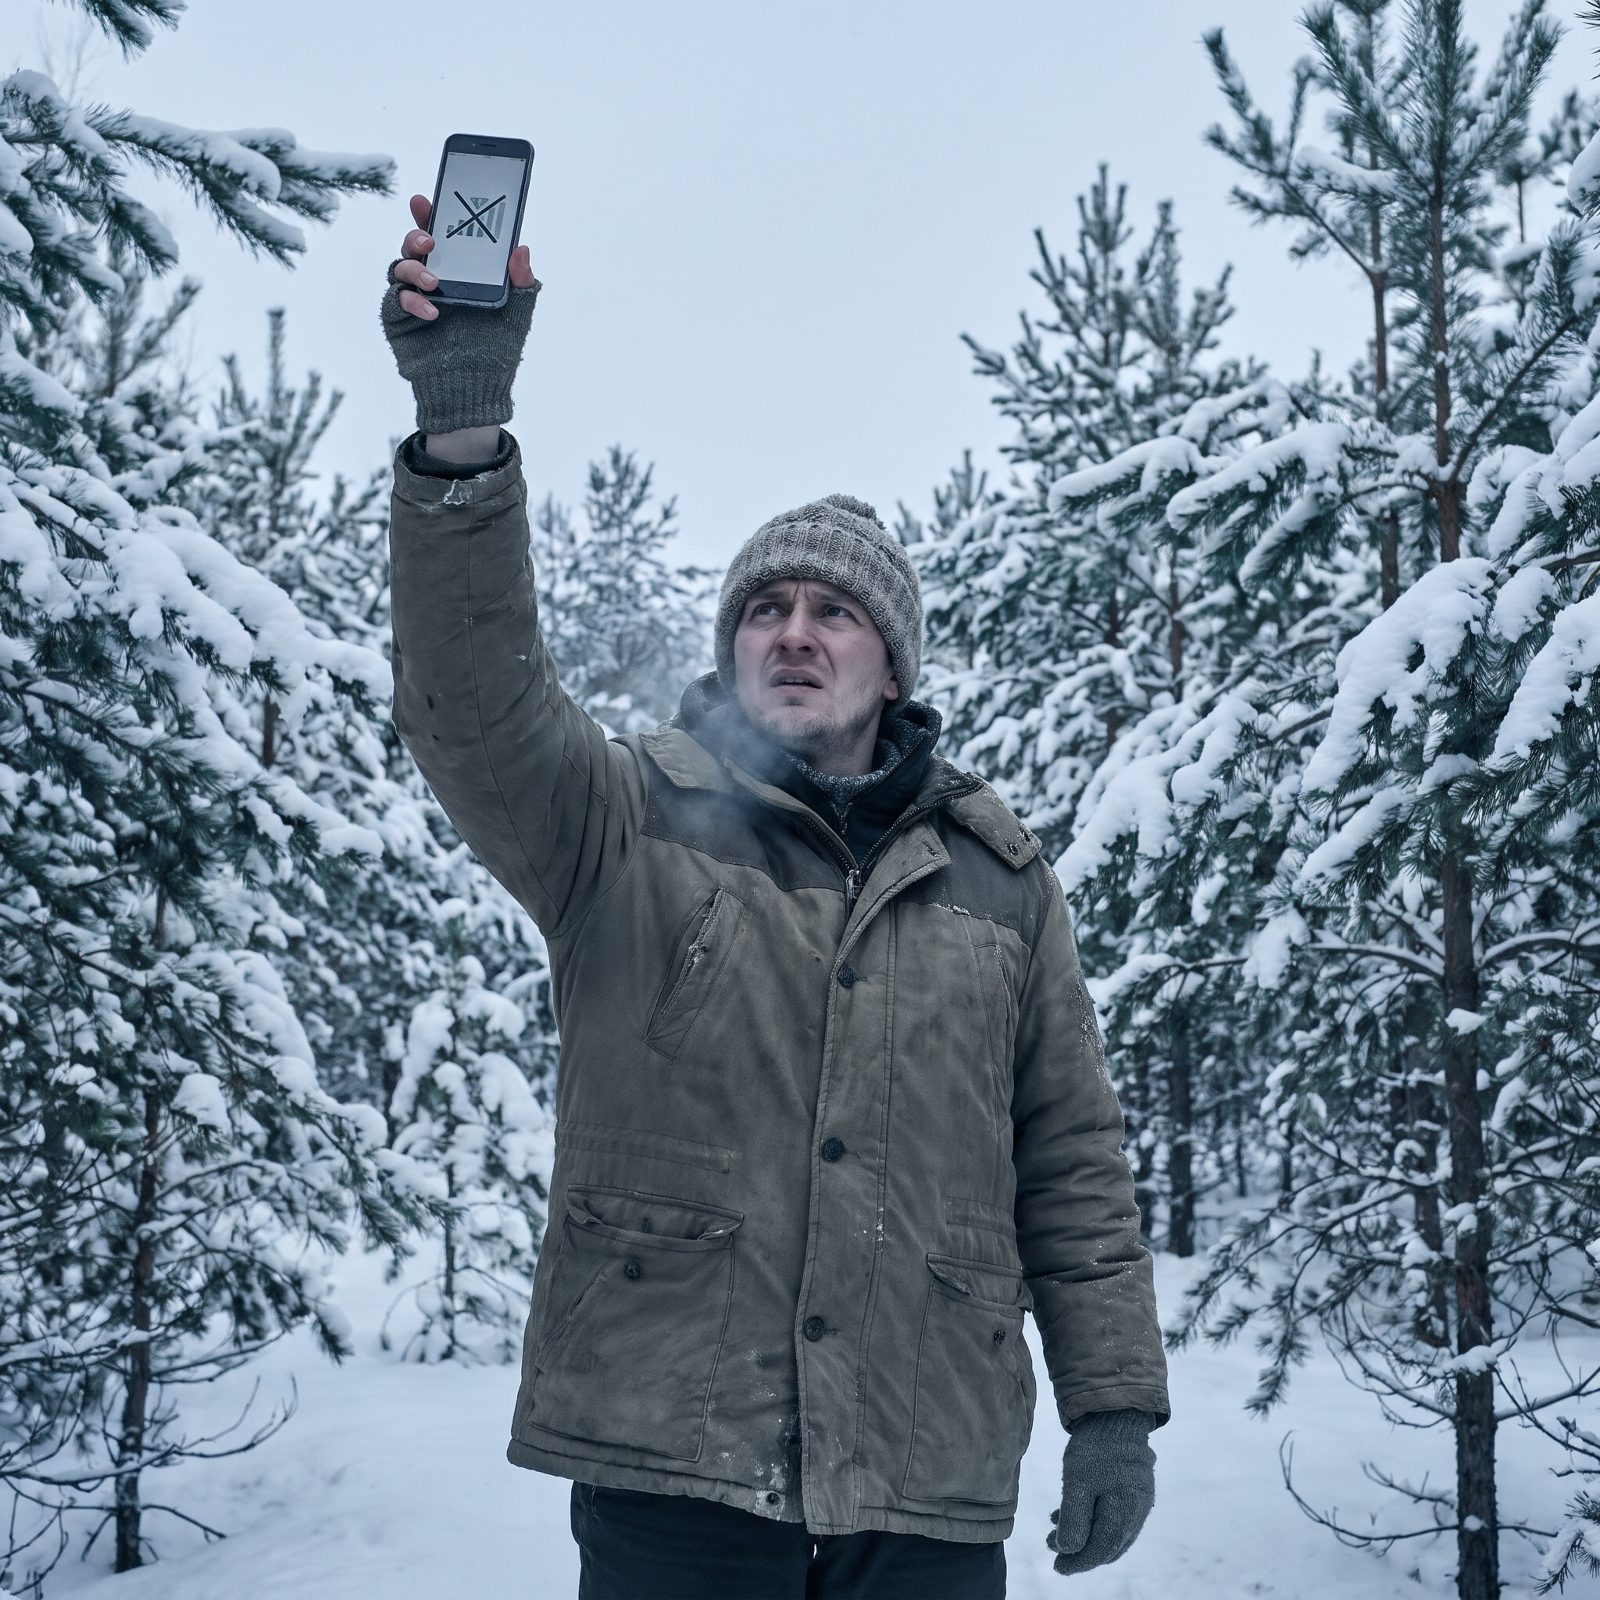
Assume you have no signal, and build the whole day around that.
Most parks have dead zones that swallow entire canyons and valley floors. A bar on the rim means nothing a thousand feet down, and carrier coverage maps lie in the mountains, so don’t trust them.
Plan as if you cannot call, text, or search once you leave pavement. Carry a paper map. Agree on a turnaround time out loud. If you go deep and often, a satellite messenger like a Garmin inReach or the newer satellite SOS on recent iPhones is worth the money. Test it before you need it, not during.
29. Plan a Bad-Weather Alternative
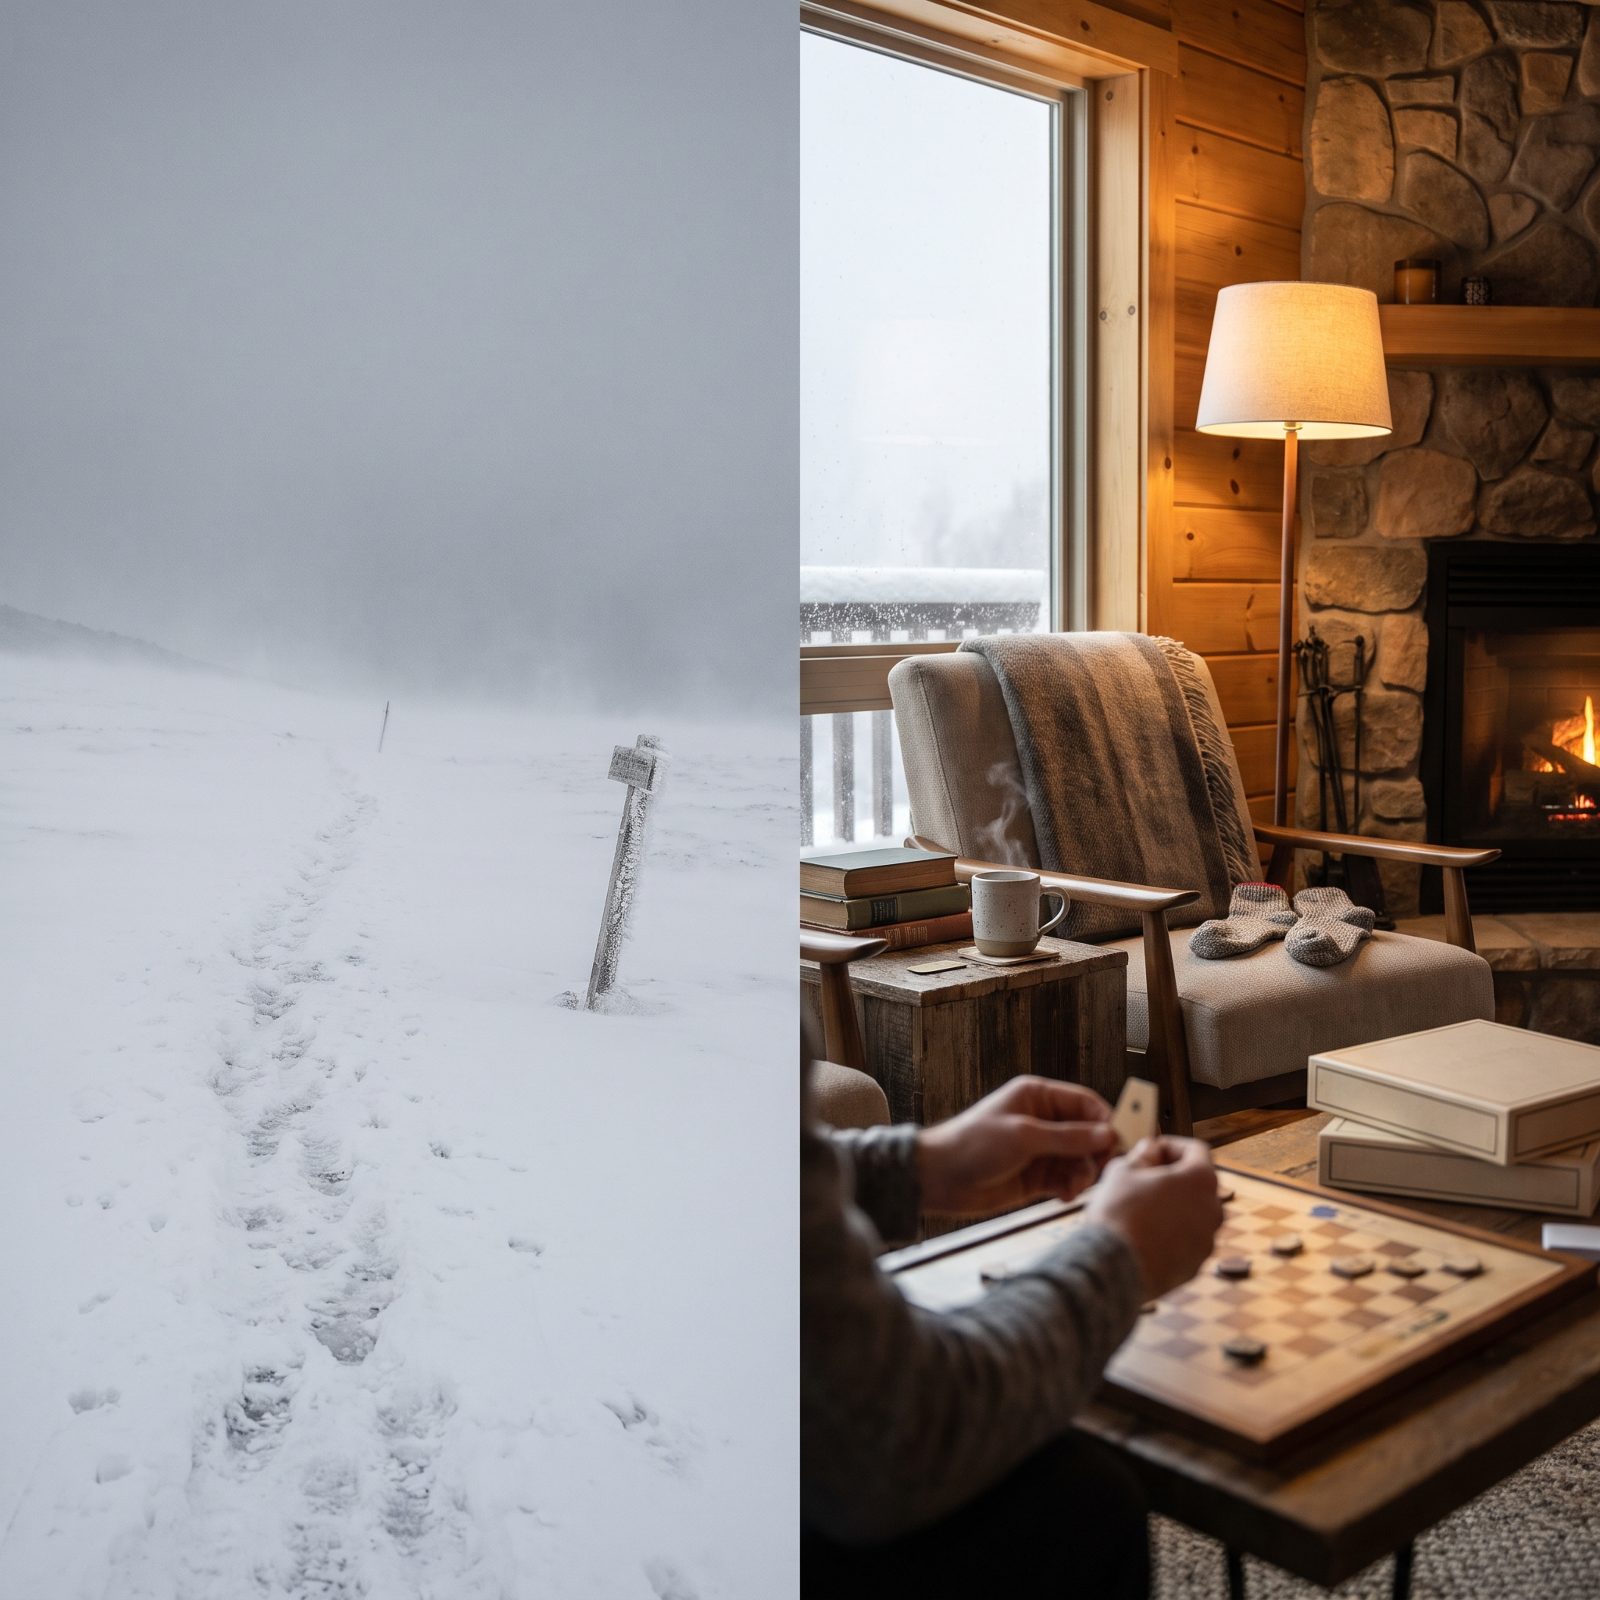
Mountain weather turns in an hour. A clear dawn becomes a whiteout by lunch, and that summit hike you drove three states for becomes a bad idea with a view of nothing.
Have a plan B in your pocket before you arrive. A lower-elevation trail that stays below the snow line. A short, plowed loop near the road. Maybe a visitor center film, a historic lodge, or a scenic drive you can do from a warm seat. Write them down.
The folks who get into trouble committed to one plan and couldn’t let it go when the sky changed its mind. Stubbornness is the most common piece of gear that gets people hurt.
28. Pack Approved Tire Chains
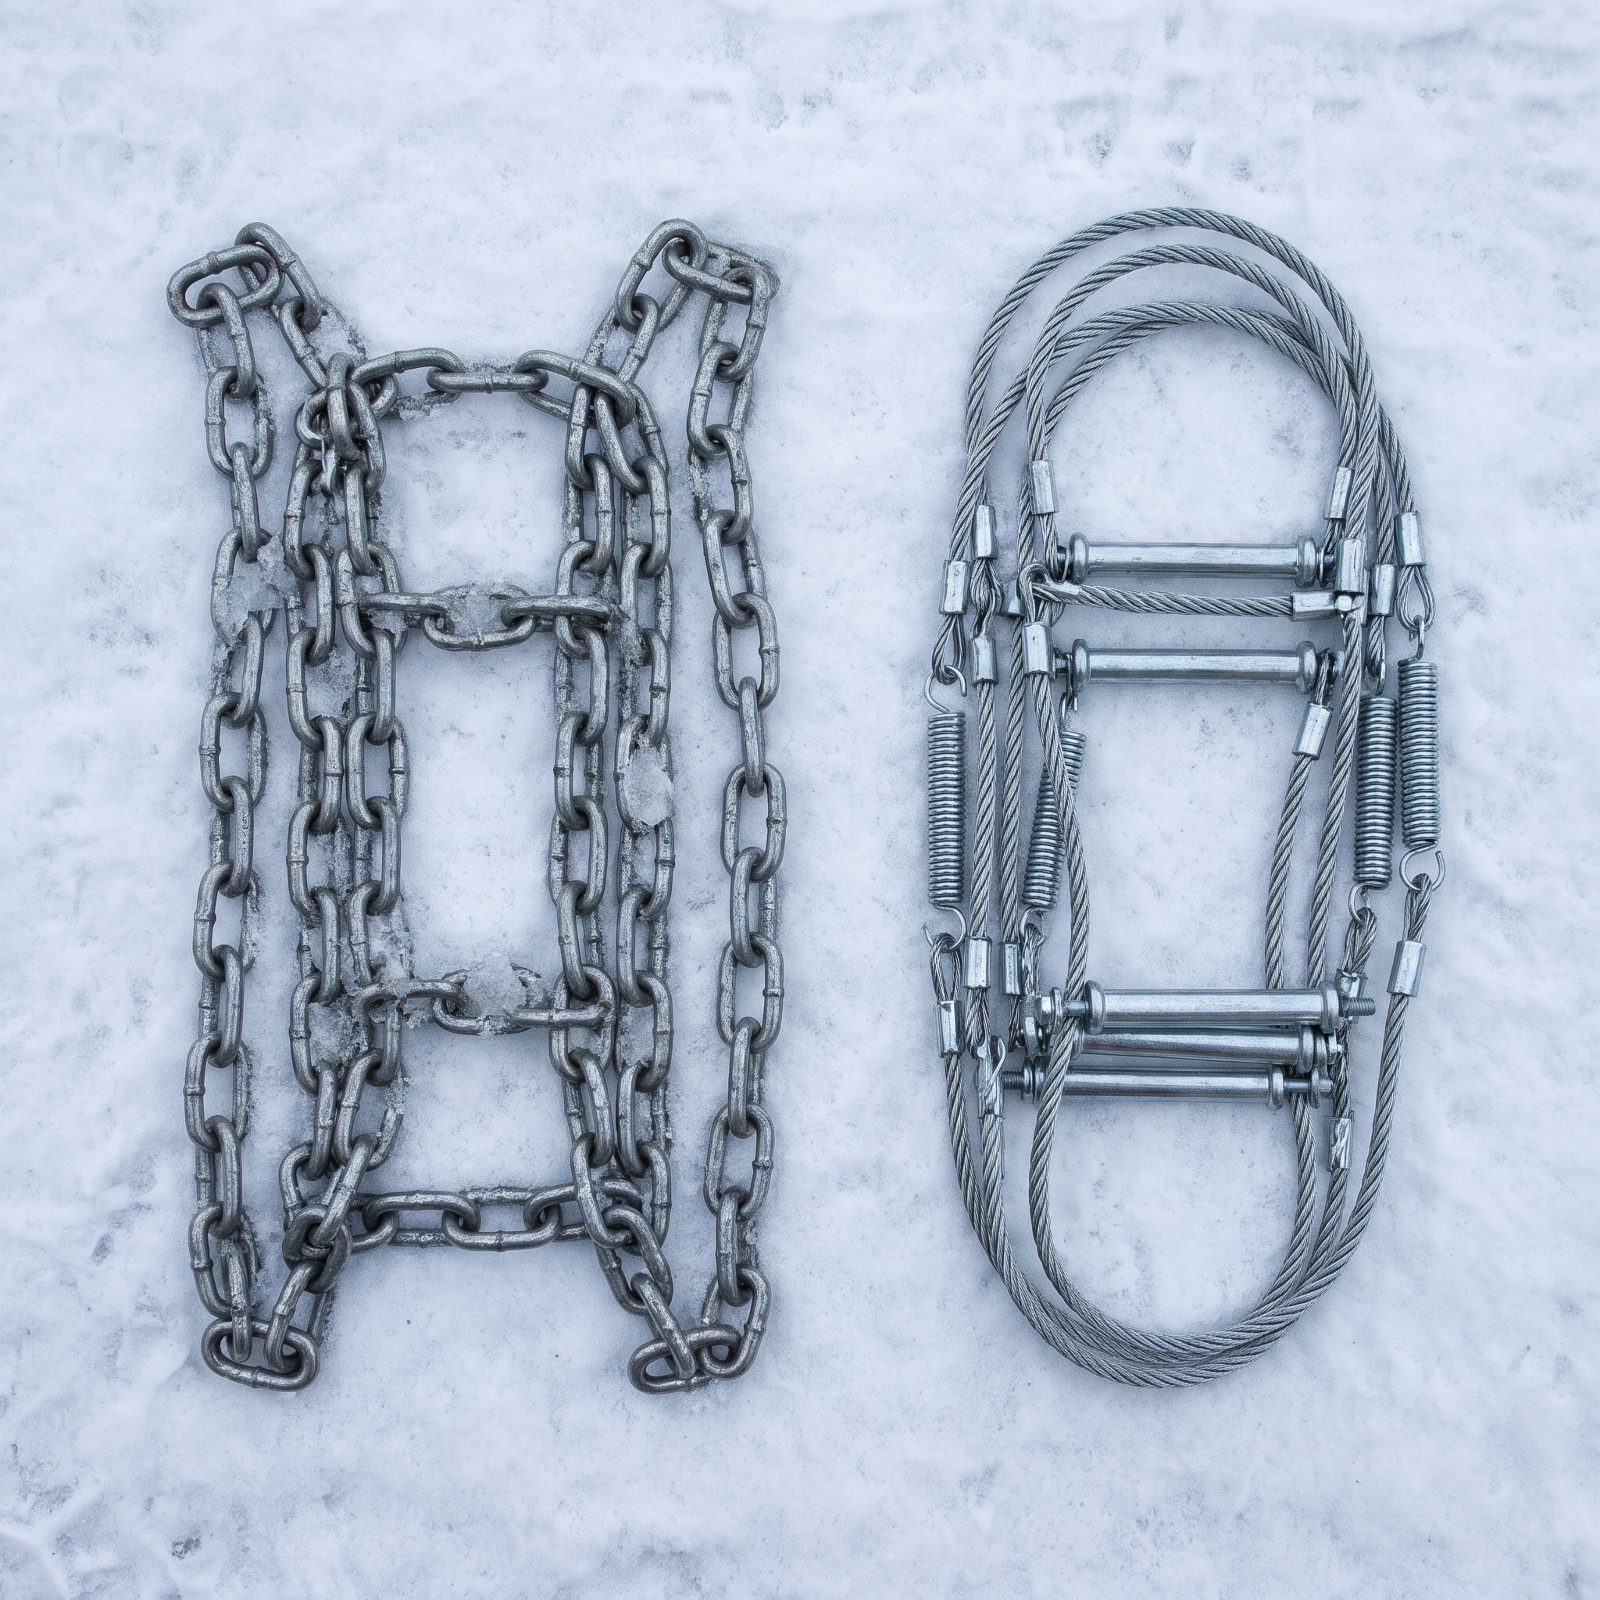
“Cables” and “chains” are not the same thing. Some parks only accept true link chains when they post a chain requirement, and if you show up with the wrong ones you get sent back down the mountain to a gas station that sold out at dawn.
Buy chains sized to your exact tire. The size is stamped on the sidewall, that string of numbers like 265/70R17. Match it. Keep them in the trunk the whole winter season, not just for the one trip, because you’ll always need them the day you decided to leave them home.
All-wheel drive does not exempt you. When the sign says chains required, it means your vehicle, your tires, today.
27. Practice Installing Chains at Home
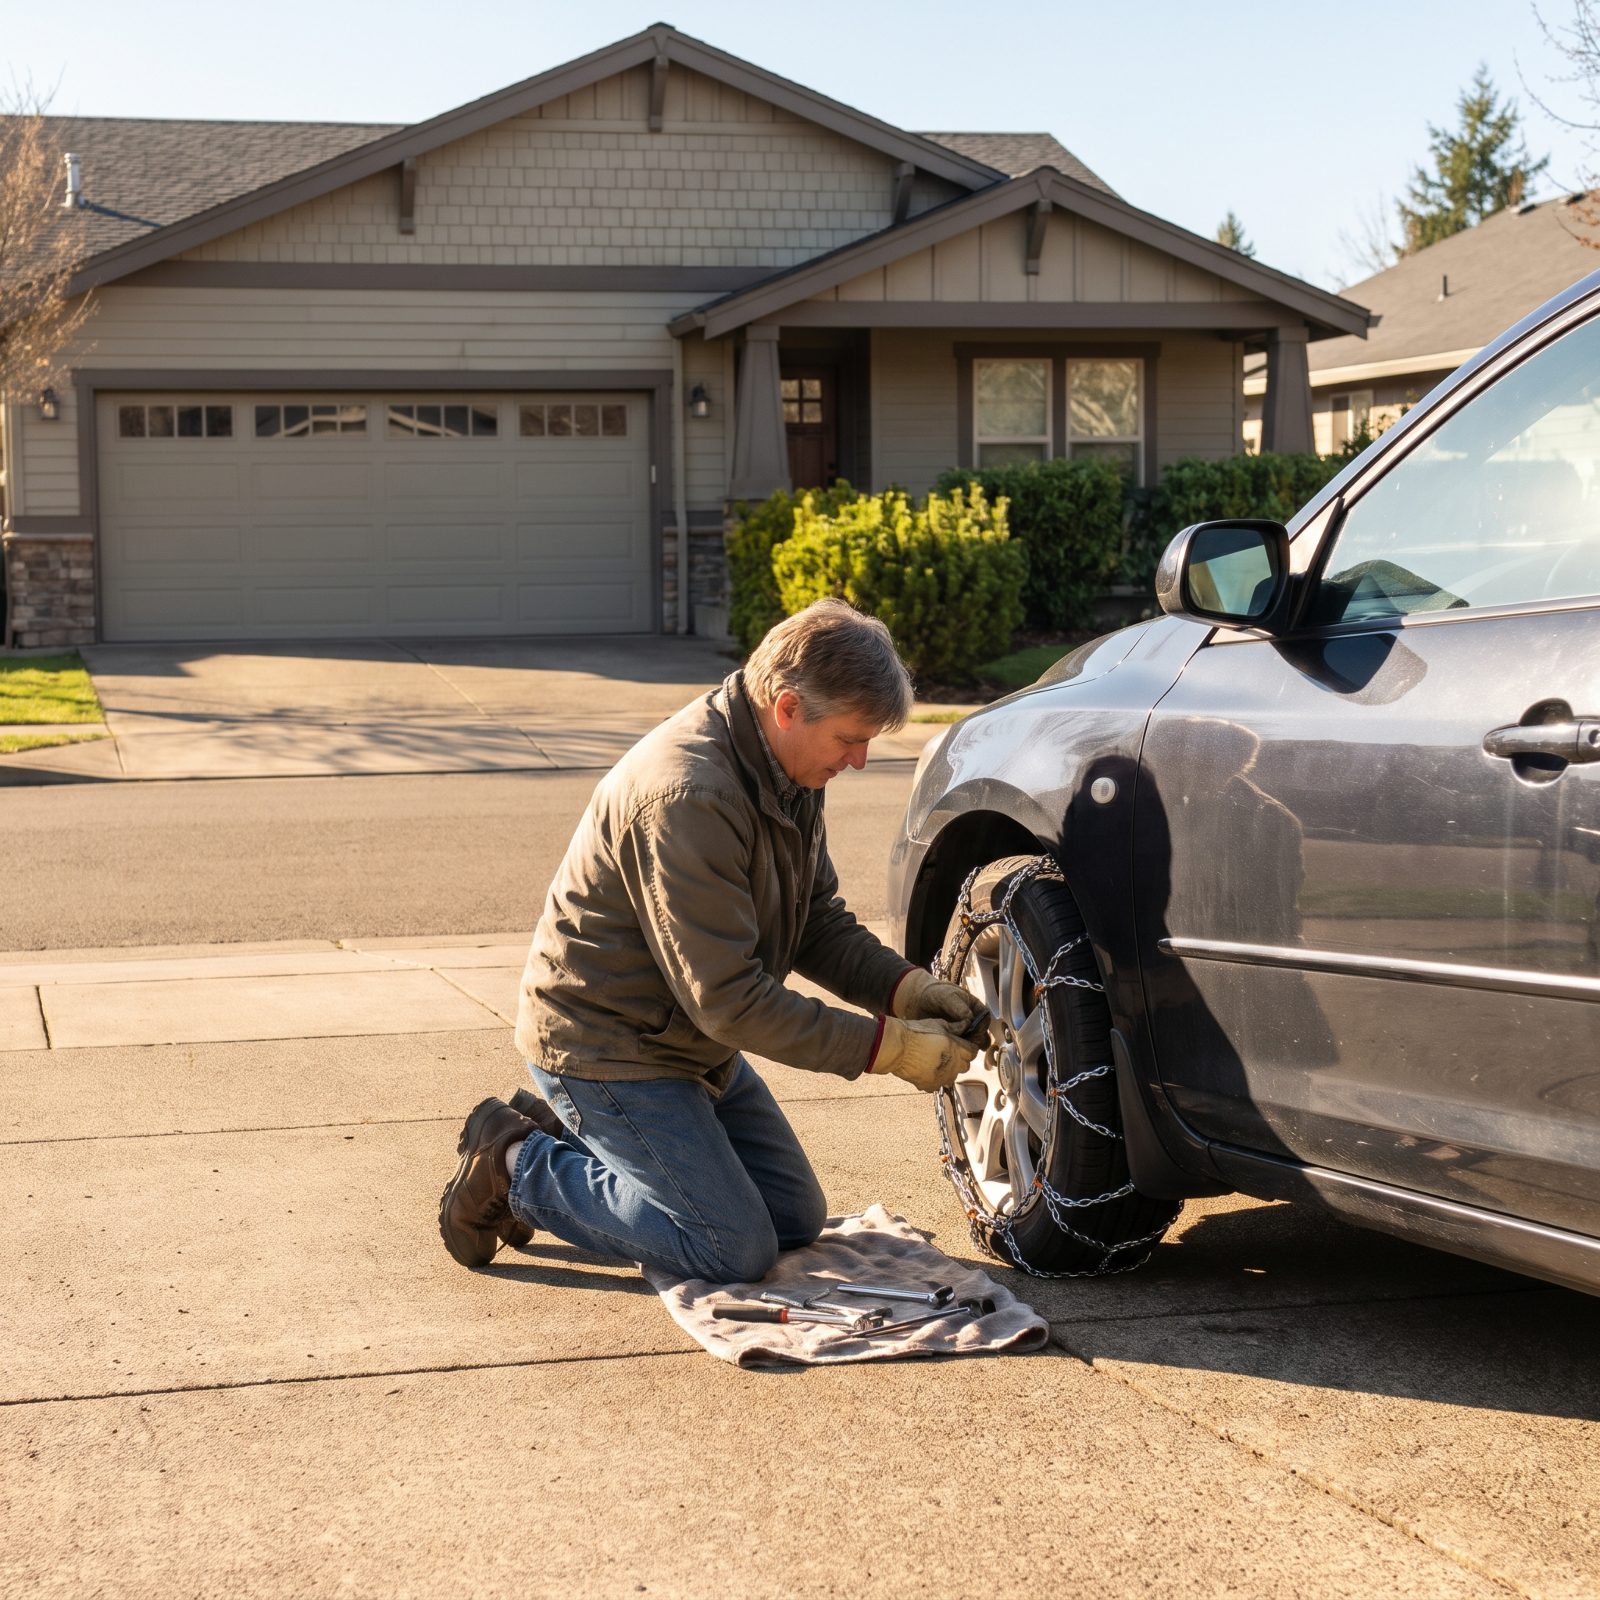
Your first time fitting chains should not be in a blizzard, on a shoulder, in the dark, with cars sliding past your knees. It’s fiddly, your hands go numb fast, and the instructions in the bag assume you’ve done it before.
Do a dry run in your driveway on a dry afternoon. Put them on, drive a few feet, take them off. Then do it again. Learn which way the hooks face and how the tensioner cinches, and the whole thing drops from twenty cold miserable minutes to about five.
Recommending practice runs at home first, a state highway spokesperson who covers mountain chain-control routes cautions: “You definitely don’t want your first time putting chains on to be actually up on the mountain”
26. Check Electric-Charger Availability
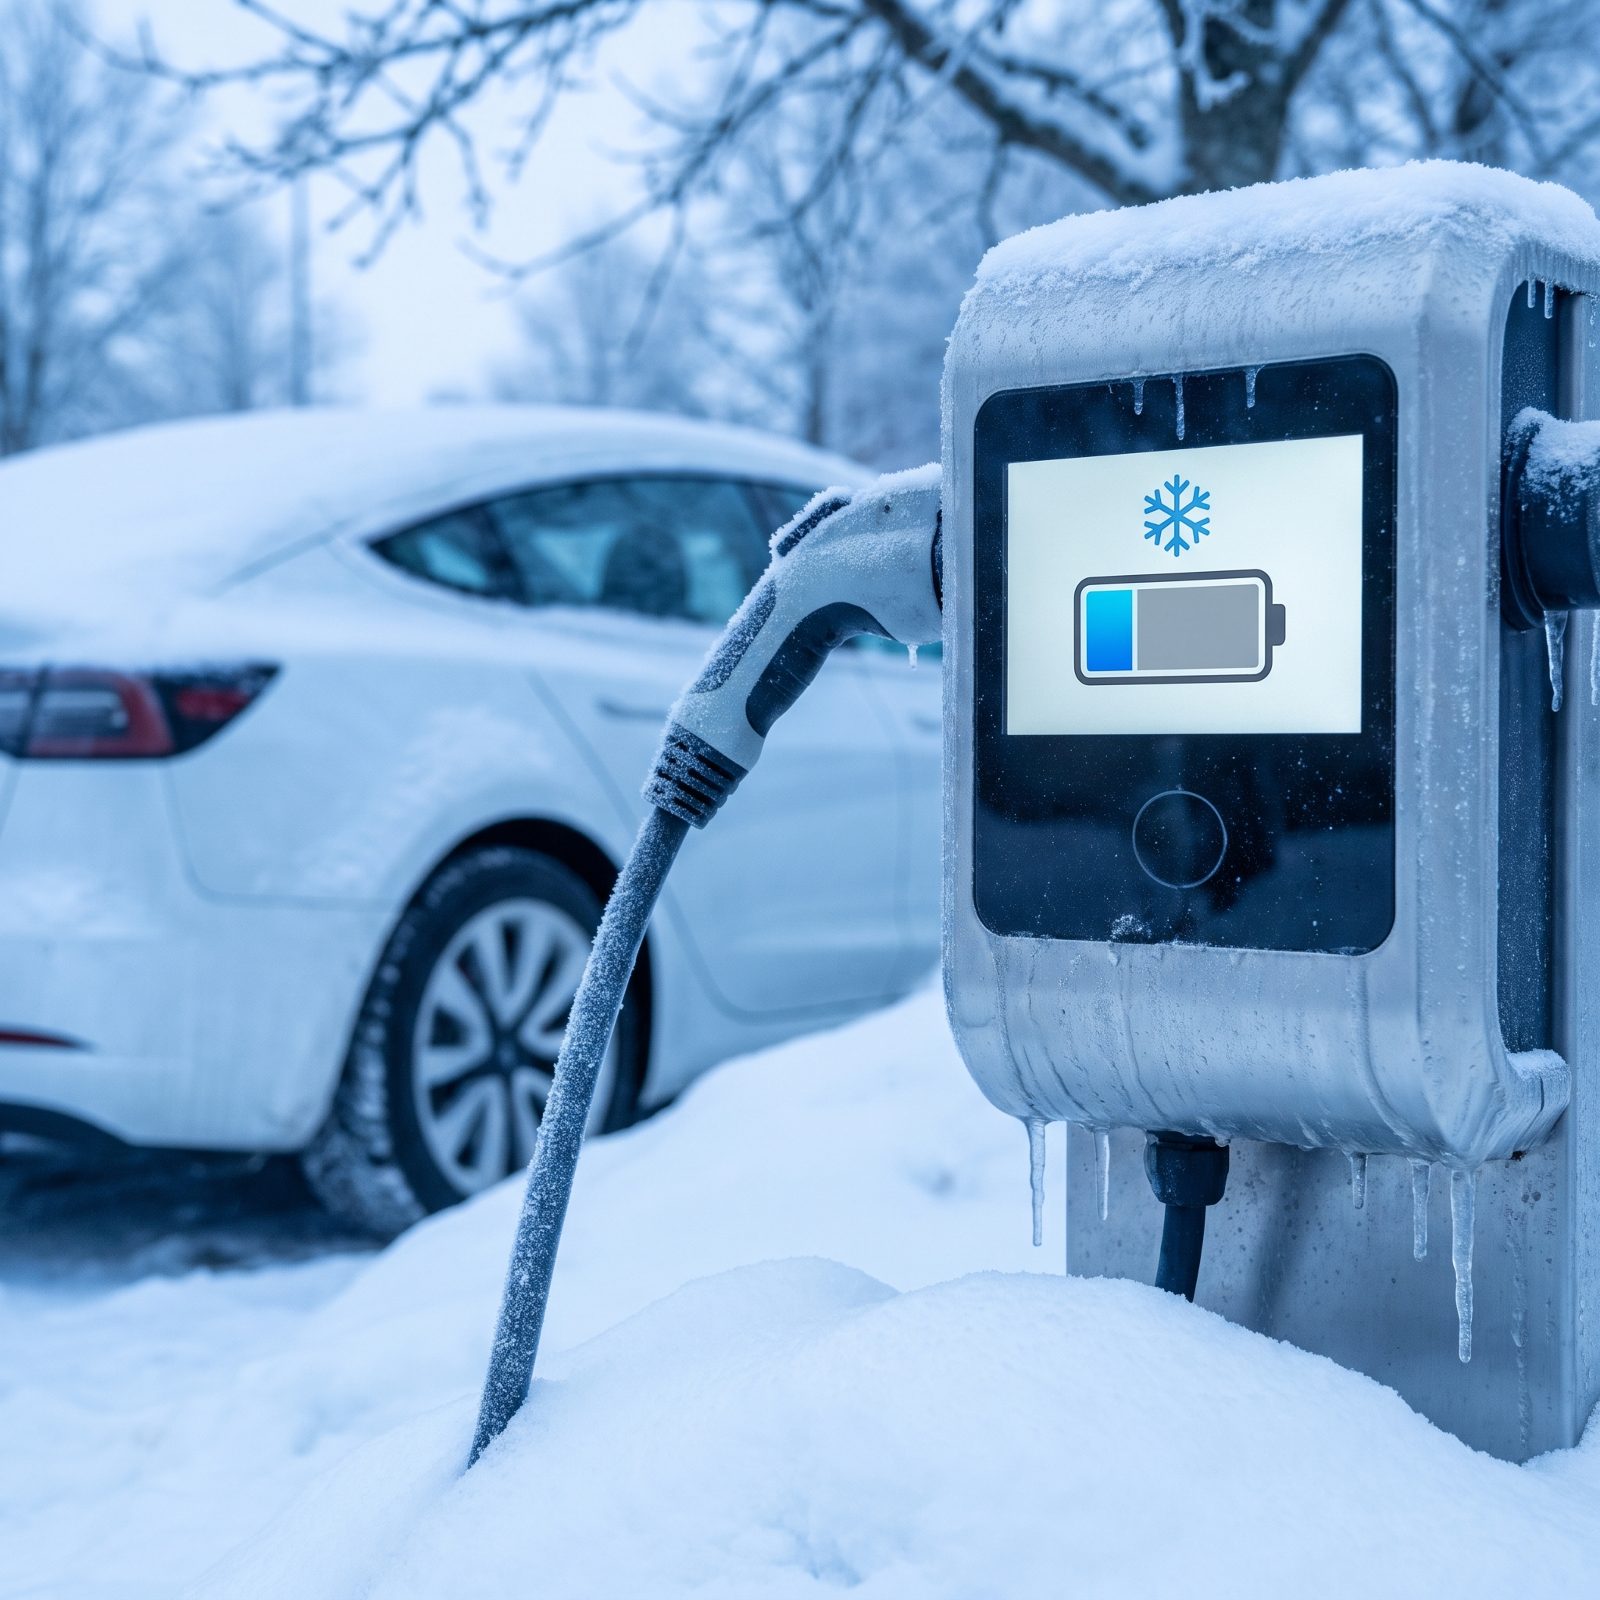
Driving electric to a winter park takes more math than it does in July. Cold cuts range, sometimes by a third. The heater pulls hard. And the charger you were counting on may be snowed in, out of order, or occupied by a line of other holiday travelers who had the same plan.
Map every charger between home and the park, plus the handful near the gateway town, before you leave. Check a live status app so you know which ones actually work right now. Don’t assume the park itself has fast charging. Most still don’t.
Plan to arrive with a buffer, not fumes. A dead battery in a cold lot miles from the nearest working plug is a long, cold wait for help that’s already busy.
25. Clear Snow From the Entire Vehicle
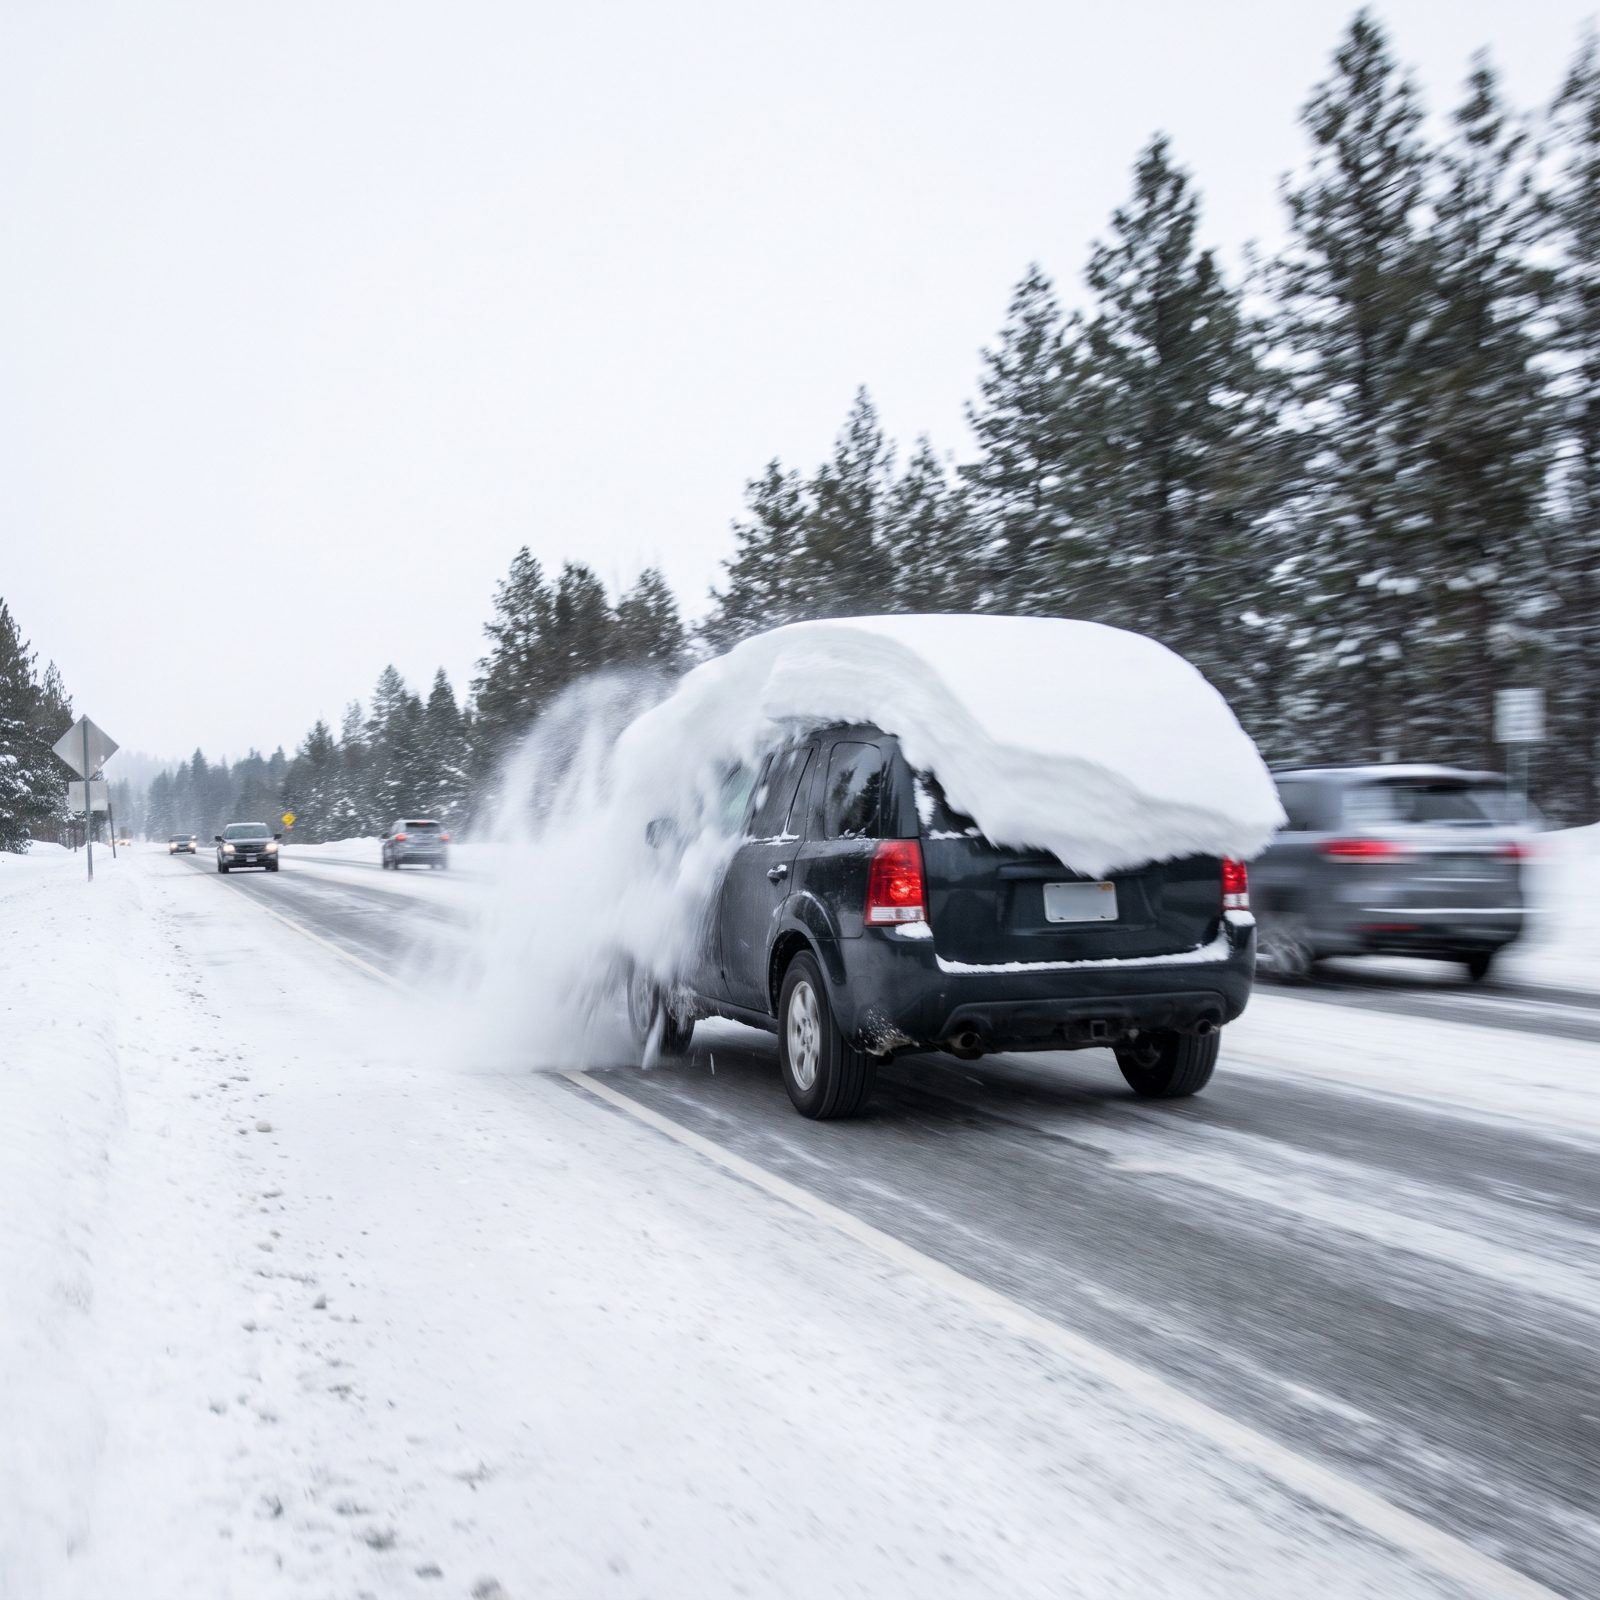
A sheet of roof snow that slides onto your windshield at 40 miles per hour is how a calm drive becomes a white-knuckle one. Clear every surface before you move: roof, hood, trunk, all glass, both side mirrors, and the lights front and back. Those lights matter most on a short December day when dusk arrives by four.
Don’t just carve a letterbox slot in the windshield and call it done. I’ve done exactly that, running late, and spent the next ten miles with a roof avalanche thumping down the back window every time I braked. Clear the brake lights last so the car behind you can actually read what you’re doing.
24. Top Off Winter Windshield Fluid
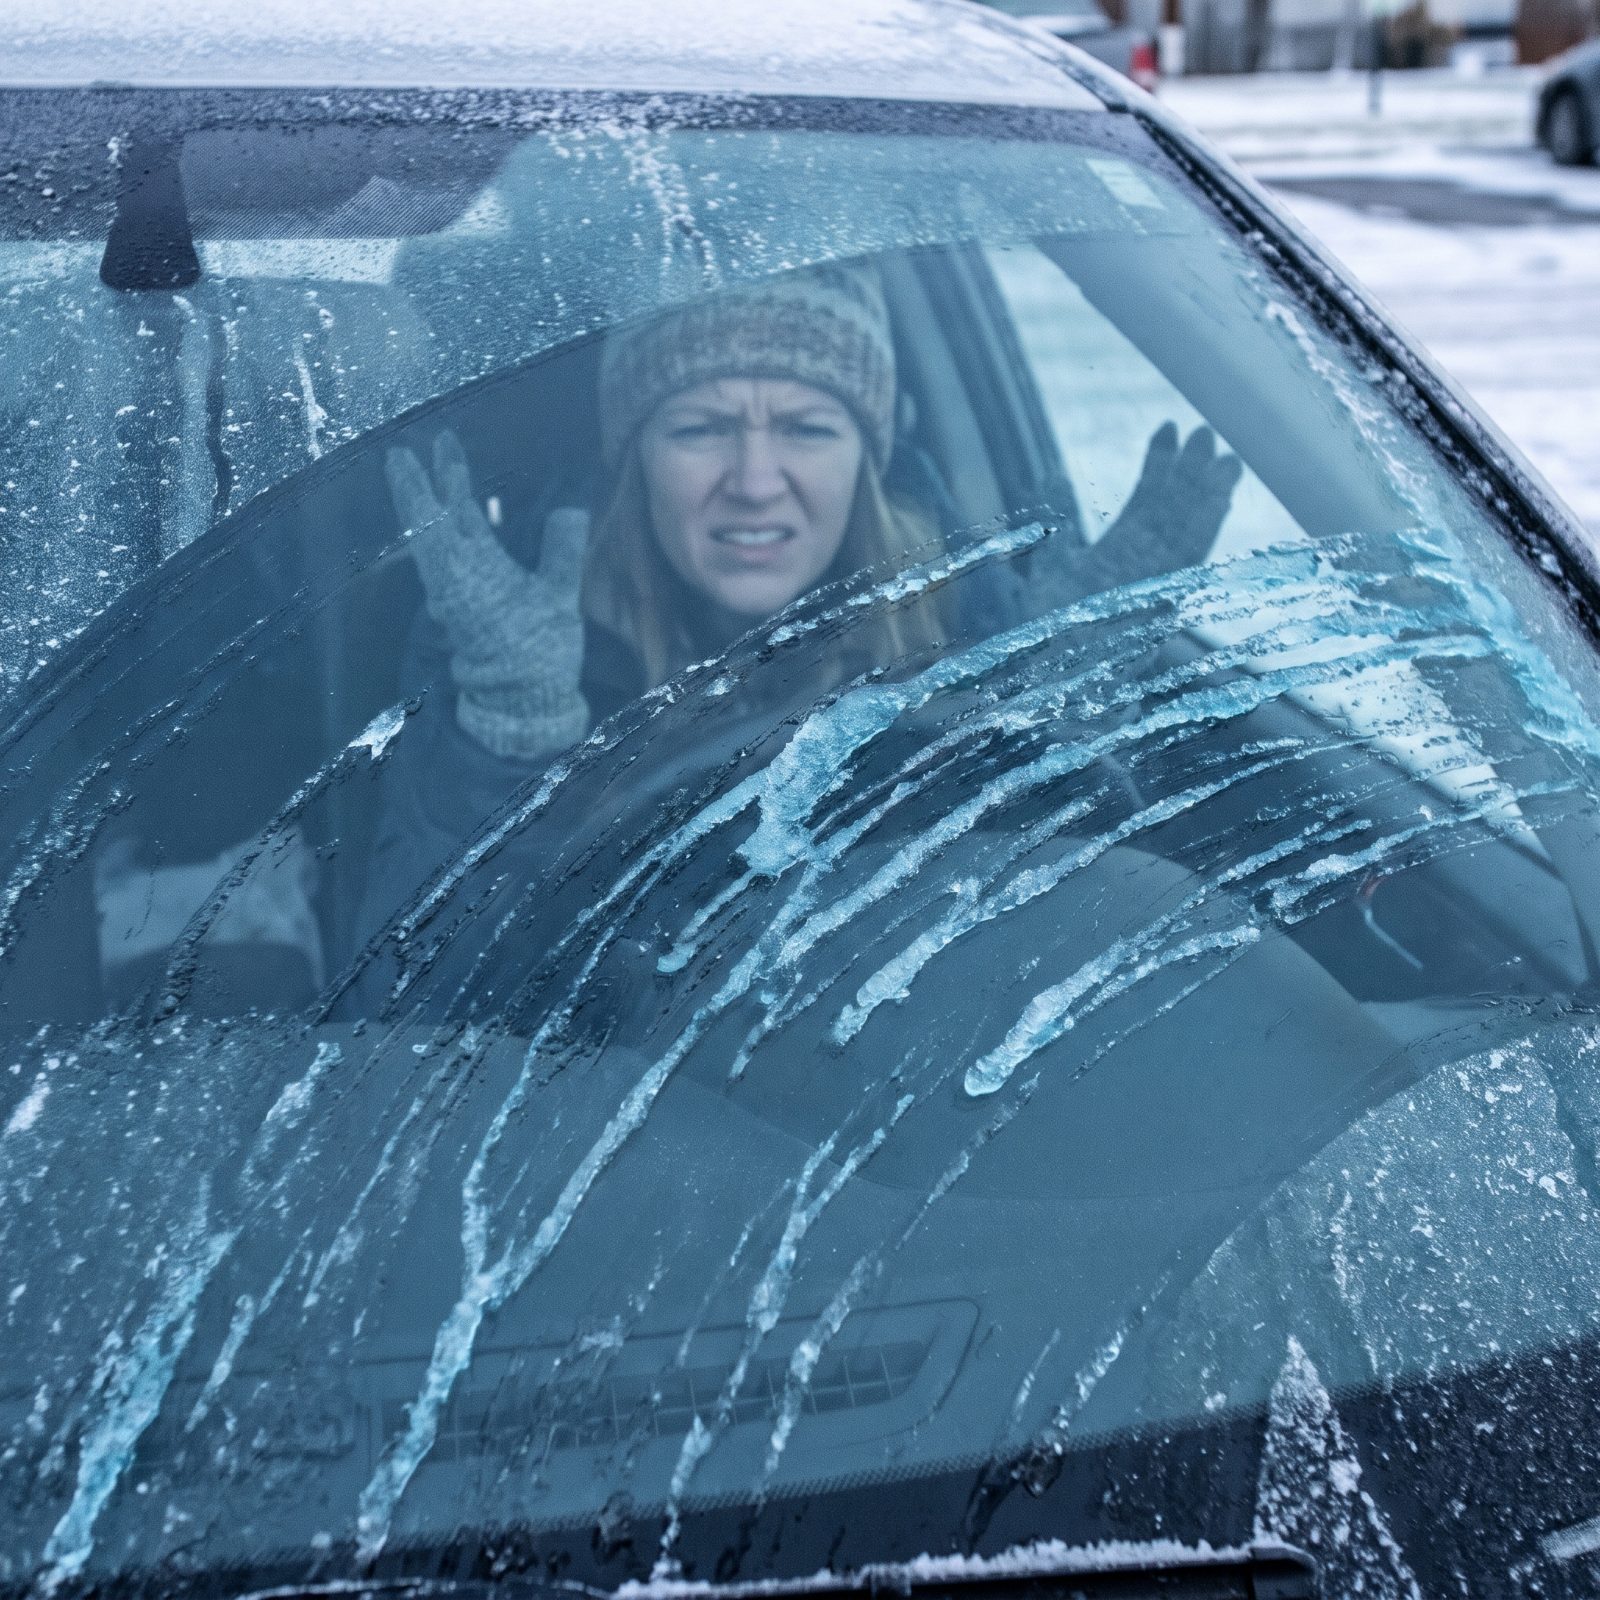
Summer washer fluid freezes. It freezes in the lines, freezes on contact with glass, and turns your windshield into a sheet of smeared ice at the worst possible moment — usually behind a line of brake lights on an icy grade.
Buy fluid rated for the actual low temperatures you’ll see, not just “winter.” For most mountain parks, look for a rating down to at least minus 20 Fahrenheit. Fill the reservoir to the top before you leave. Road spray on a slushy highway drains it fast, and a lot of park shuttle roads throw up a brown film that needs constant clearing.
Keep the spare jug in the trunk, not the cabin. You won’t need it in a warm garage. You’ll need it in a cold lot at 9,000 feet.
23. Pack a Windshield Ice Scraper
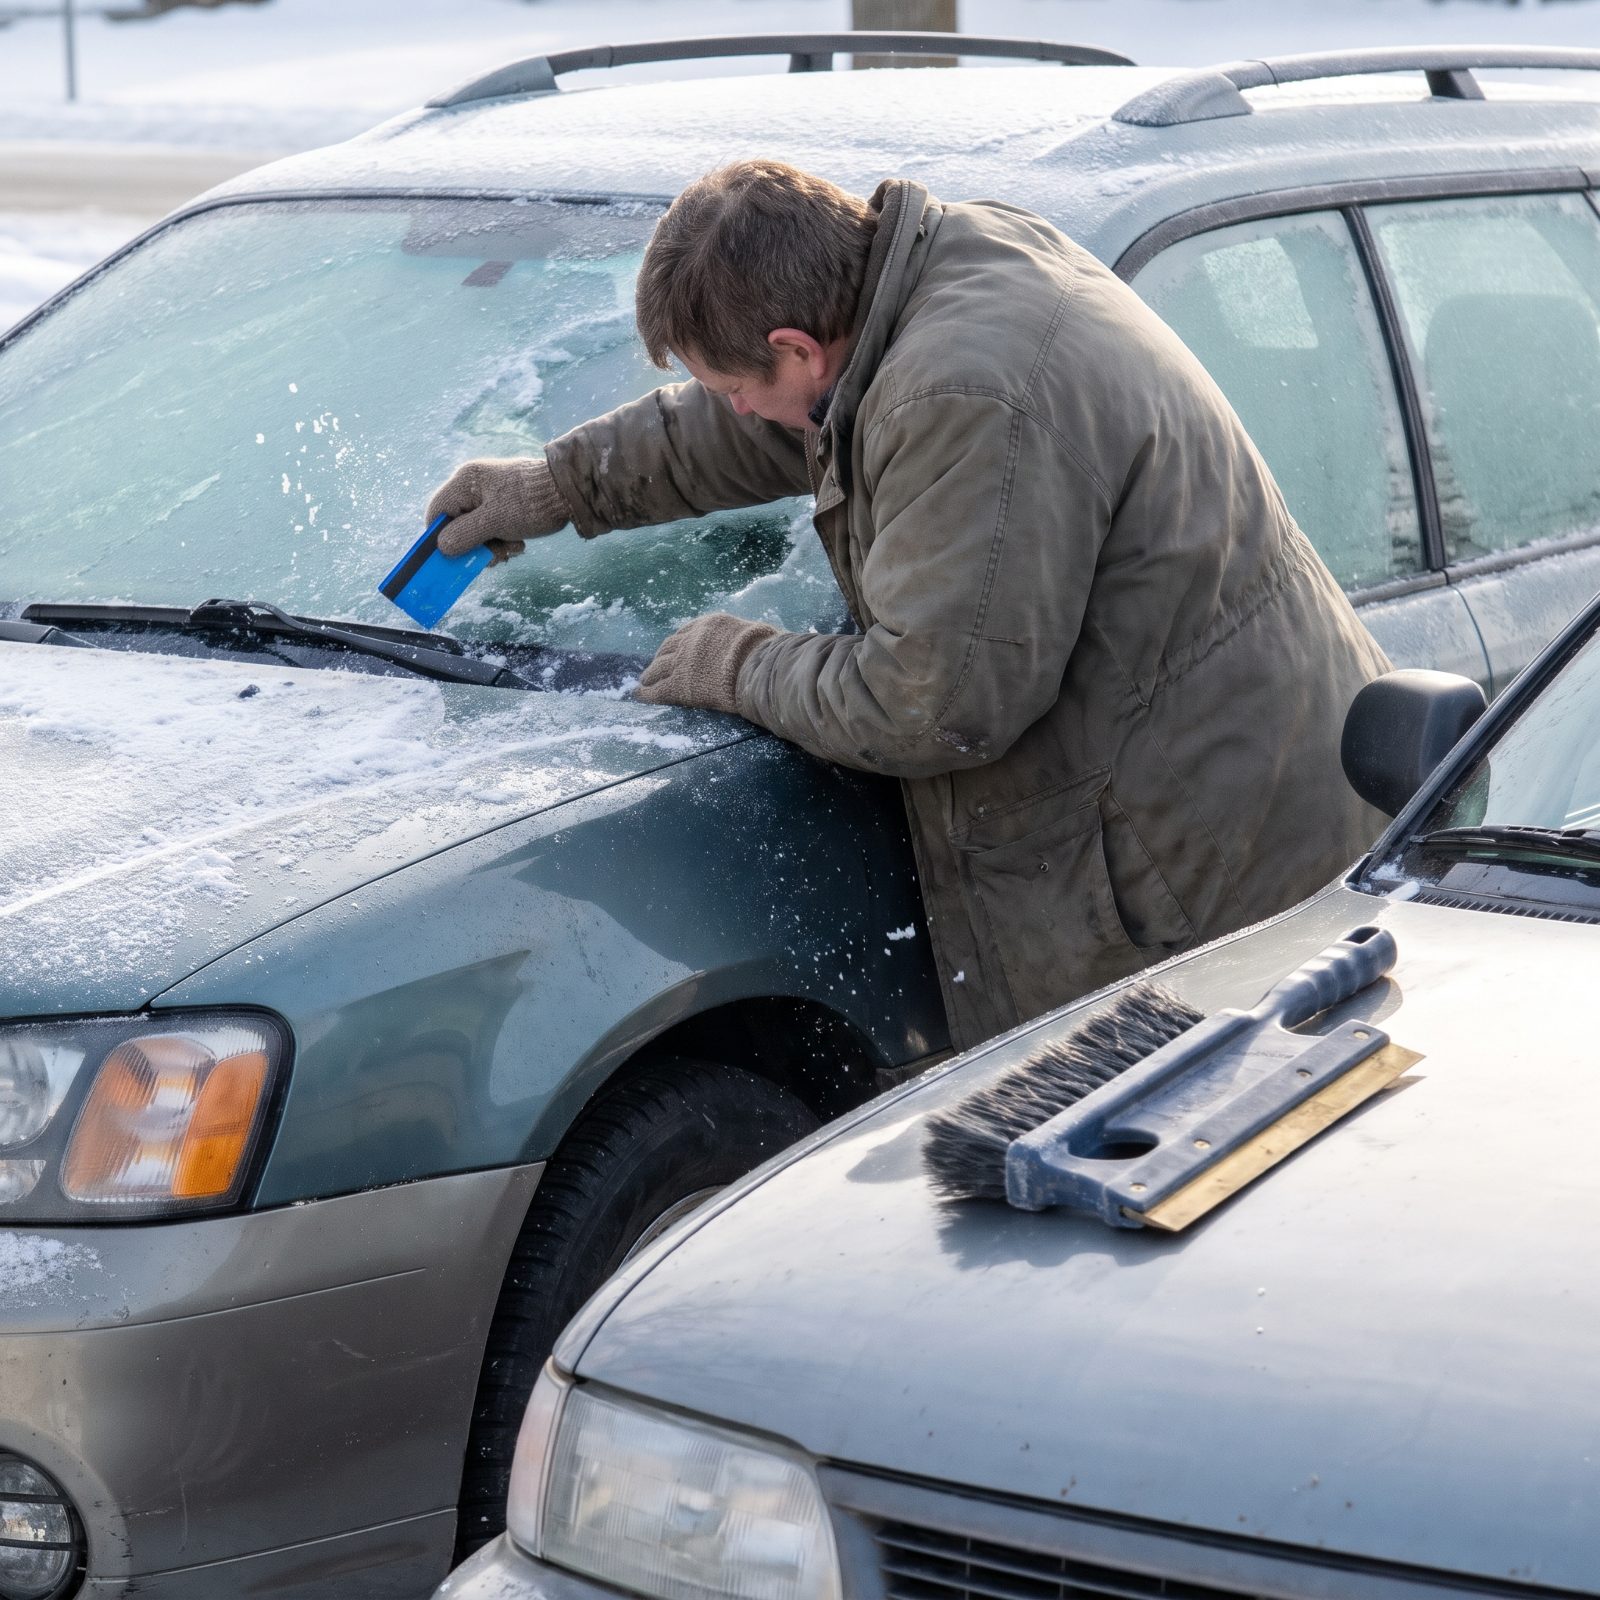
A credit card is not an ice scraper, and a brush without a blade won’t cut the ice. Christmas week in a cold park means waking up to a windshield glazed solid, and trying to clear it with anything but the right tool either scratches the glass or wastes twenty shivering minutes.
Carry a real scraper with a sturdy blade and a long handle so you can reach the center of the glass without climbing the hood. A short snow brush with a built-in brass blade sweeps off the powder and scrapes the ice underneath, so you never end up hacking at the glass with a credit card. Keep it in the door pocket. A scraper locked inside a frozen car does you no good.
22. Carry a Compact Snow Shovel
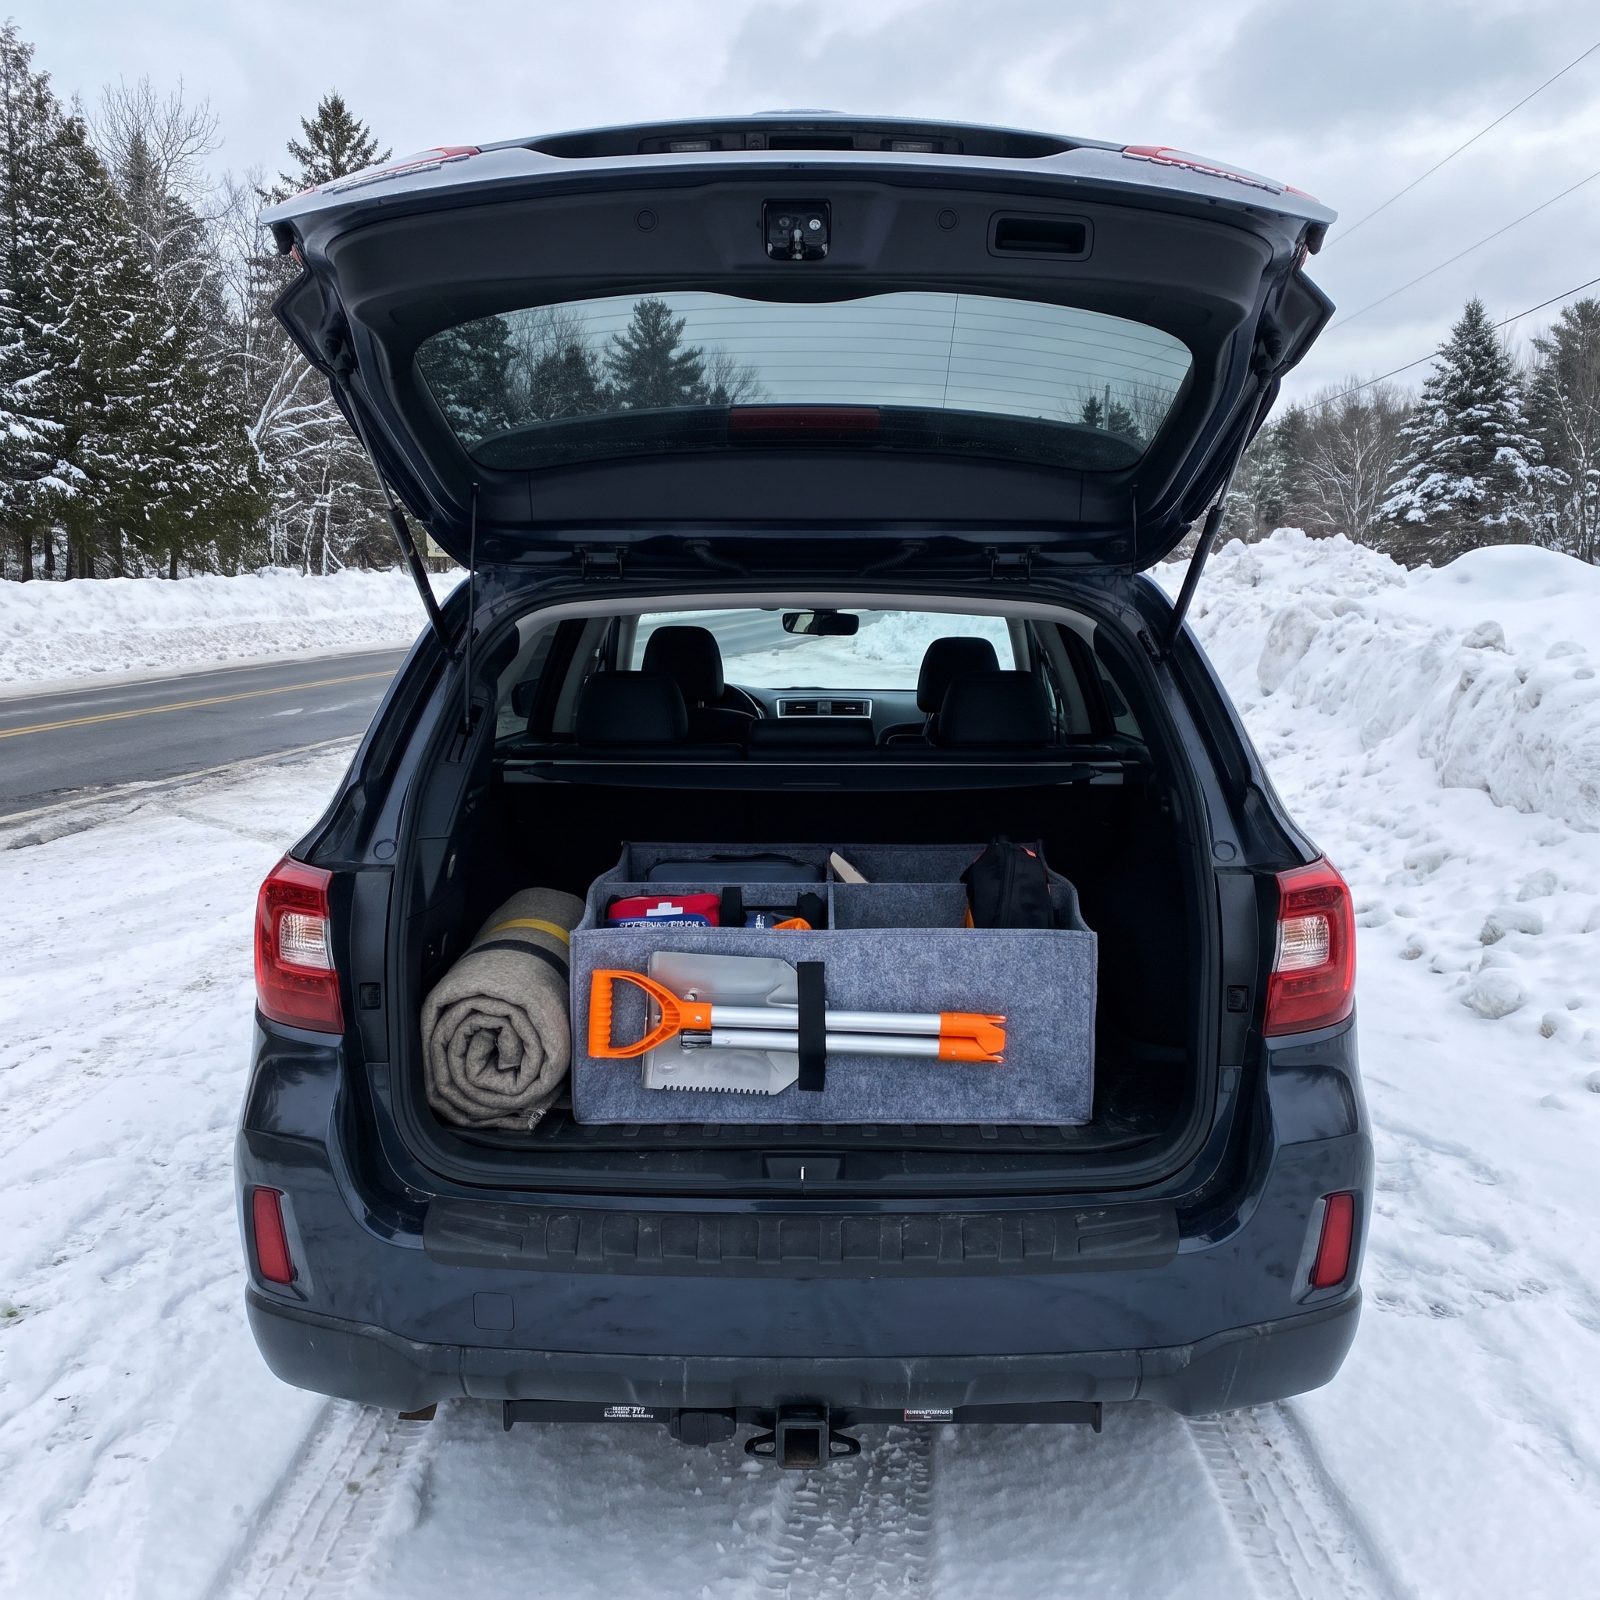
You pull into a snowy pullout for a quick overlook photo, the snow turns out deeper than it looked, and now your drive wheels are buried. A full-size shovel lives in the garage. A folding one lives in your trunk, which is the only place it does you any good.
Get a collapsible aluminum shovel with a metal blade, not plastic — plastic cracks in hard cold and goes useless the first time you hit a crust of refrozen slush. Clear snow from around all four tires. More importantly, clear it out from under the belly of the car, where it high-centers.
Here’s a trick rangers watch people ignore constantly. Dig a gentle ramp in front of the tires, in the direction you plan to go, before you ever touch the gas. Spinning on packed snow just polishes it to ice.
21. Pack Warm Emergency Blankets
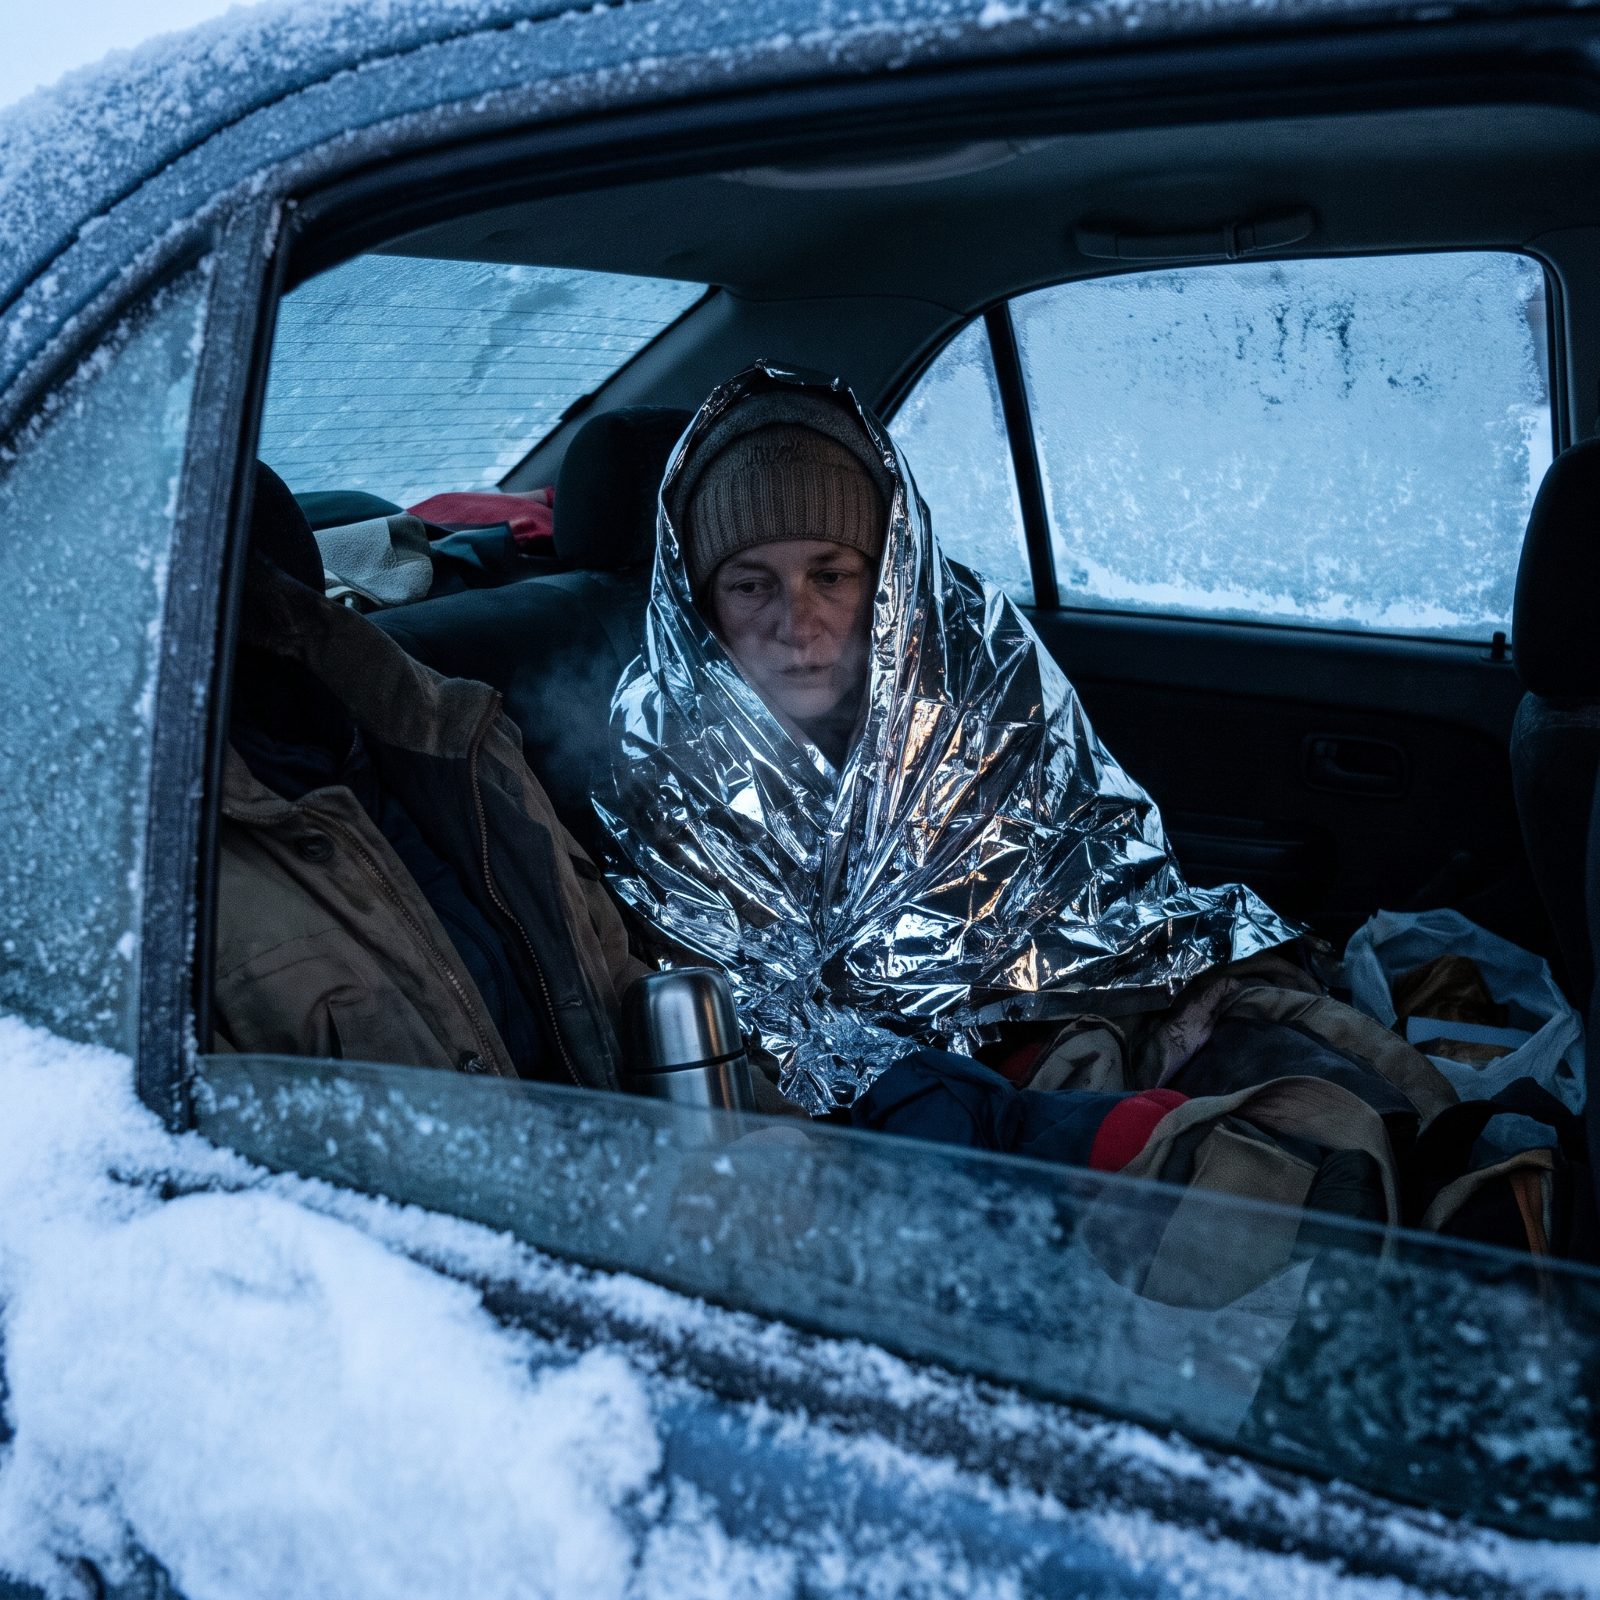
Slide off a park road at dusk with help an hour out, and your car becomes a cold metal box fast. The heater only works while the engine runs, and you can’t idle forever with the tailpipe packed in snow. Blankets are the difference between uncomfortable and dangerous.
Pack a mix: one or two real wool or fleece blankets per person, plus a couple of cheap Mylar space blankets that fold down to the size of a deck of cards. Wool keeps warming even when it’s damp. Mylar can’t do that on its own.
Keep them in the cabin, or somewhere you can reach without climbing out into a storm. A warm blanket sealed in the roof box might as well be sitting at home.
20. Carry Extra Food and Water
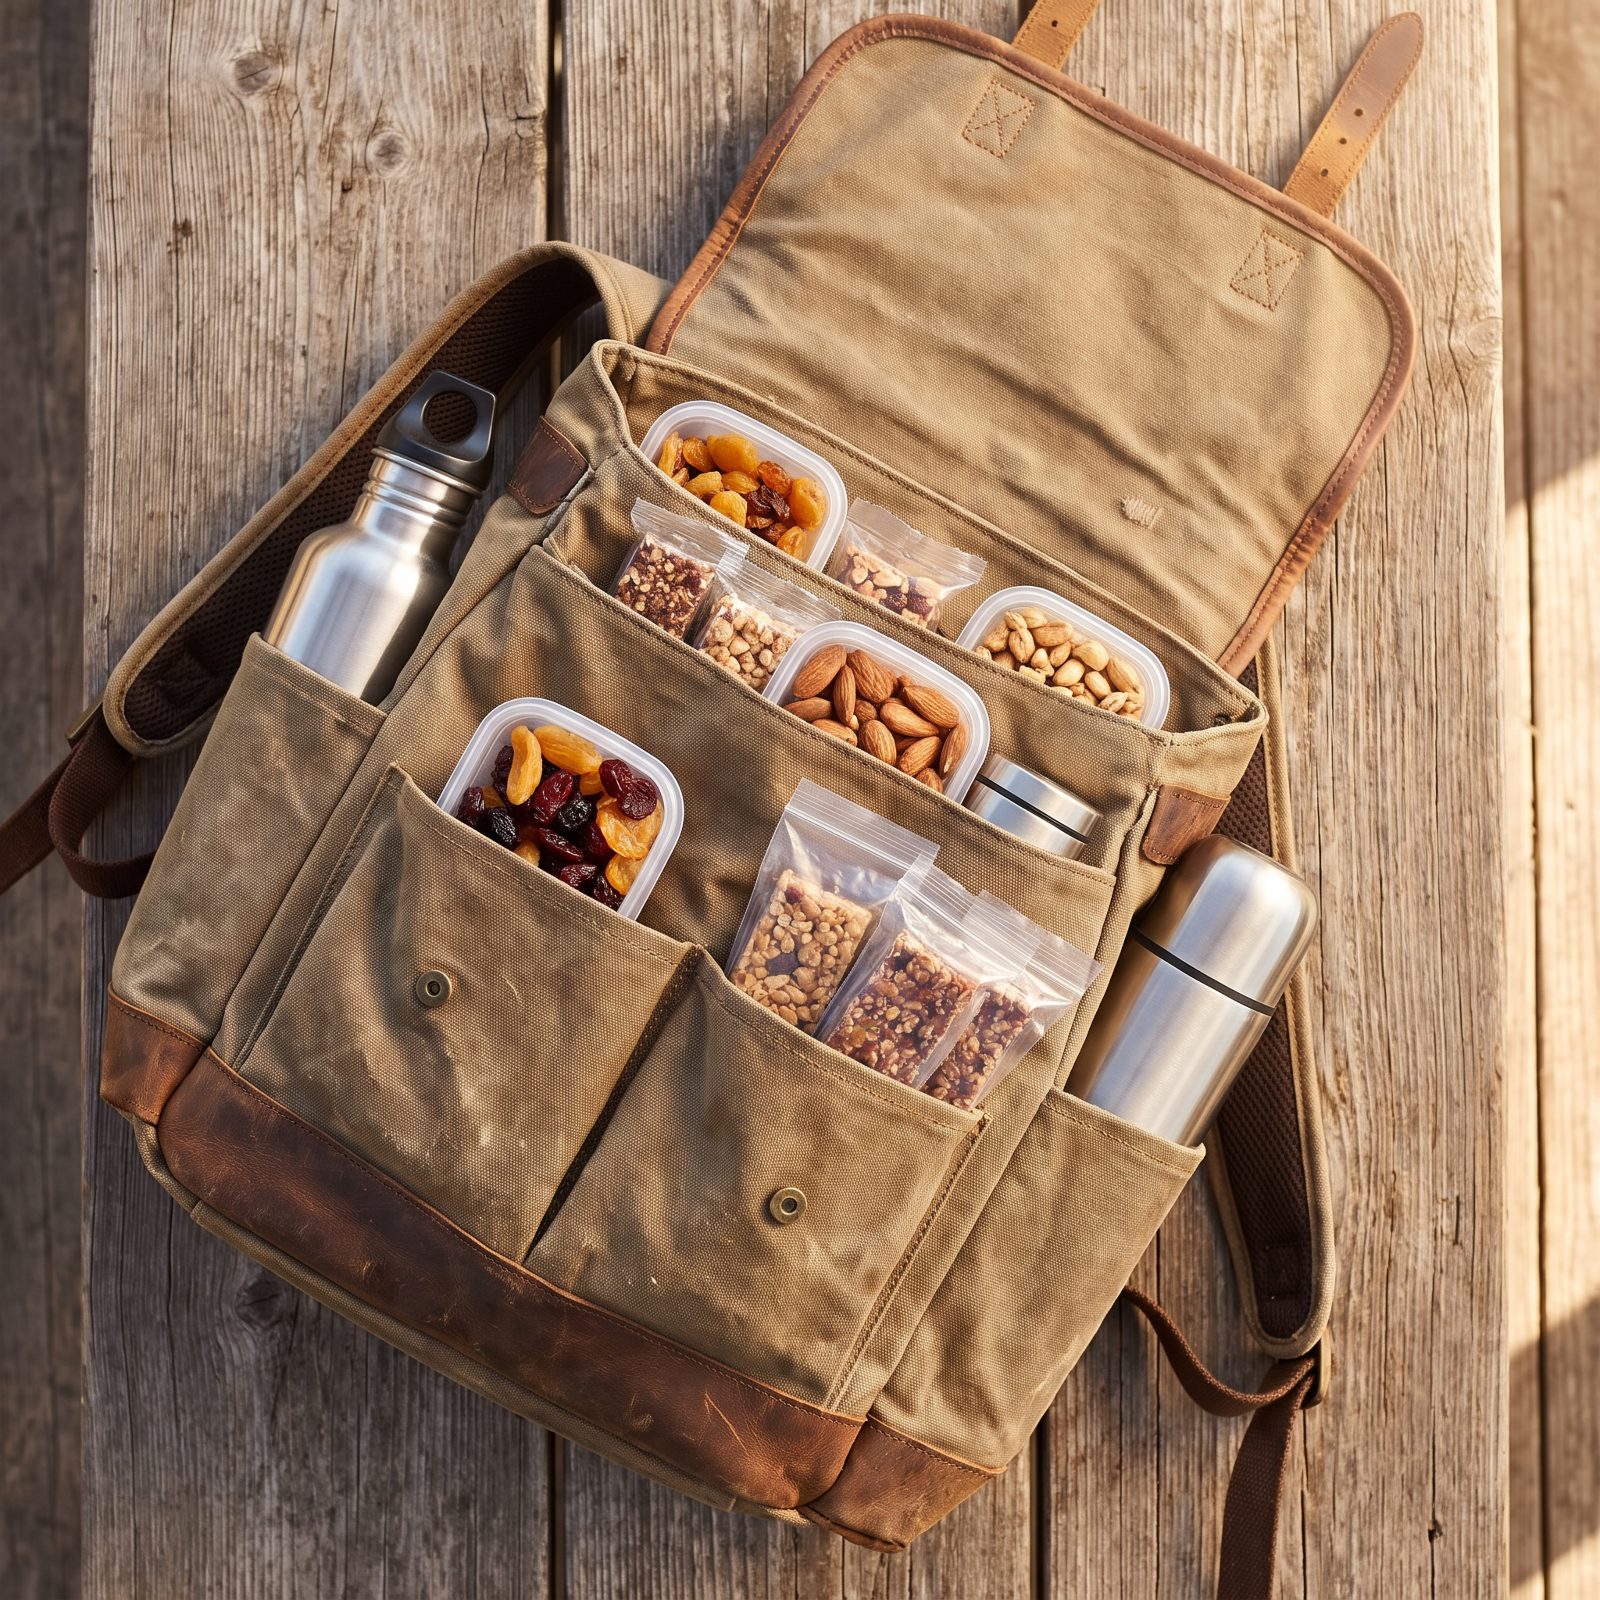
Park concessions keep short holiday hours, and plenty of them close entirely between Christmas and New Year’s. That snack bar you were counting on might greet you with a hand-lettered sign and a dark window. Plan to feed yourself.
Toss in calorie-dense food that won’t freeze into a brick — nuts, jerky, energy bars, hard cheese. Skip anything with much water in it, because a frozen apple is just a cold rock. For water, insulated bottles stay liquid far longer than the drugstore plastic kind, which turns to a slush you can’t drink.
Fill a thermos with hot tea or soup before you leave the lodge. On a cold, stuck afternoon a warm drink does more for morale than almost anything.
19. Park Only in Plowed Spaces
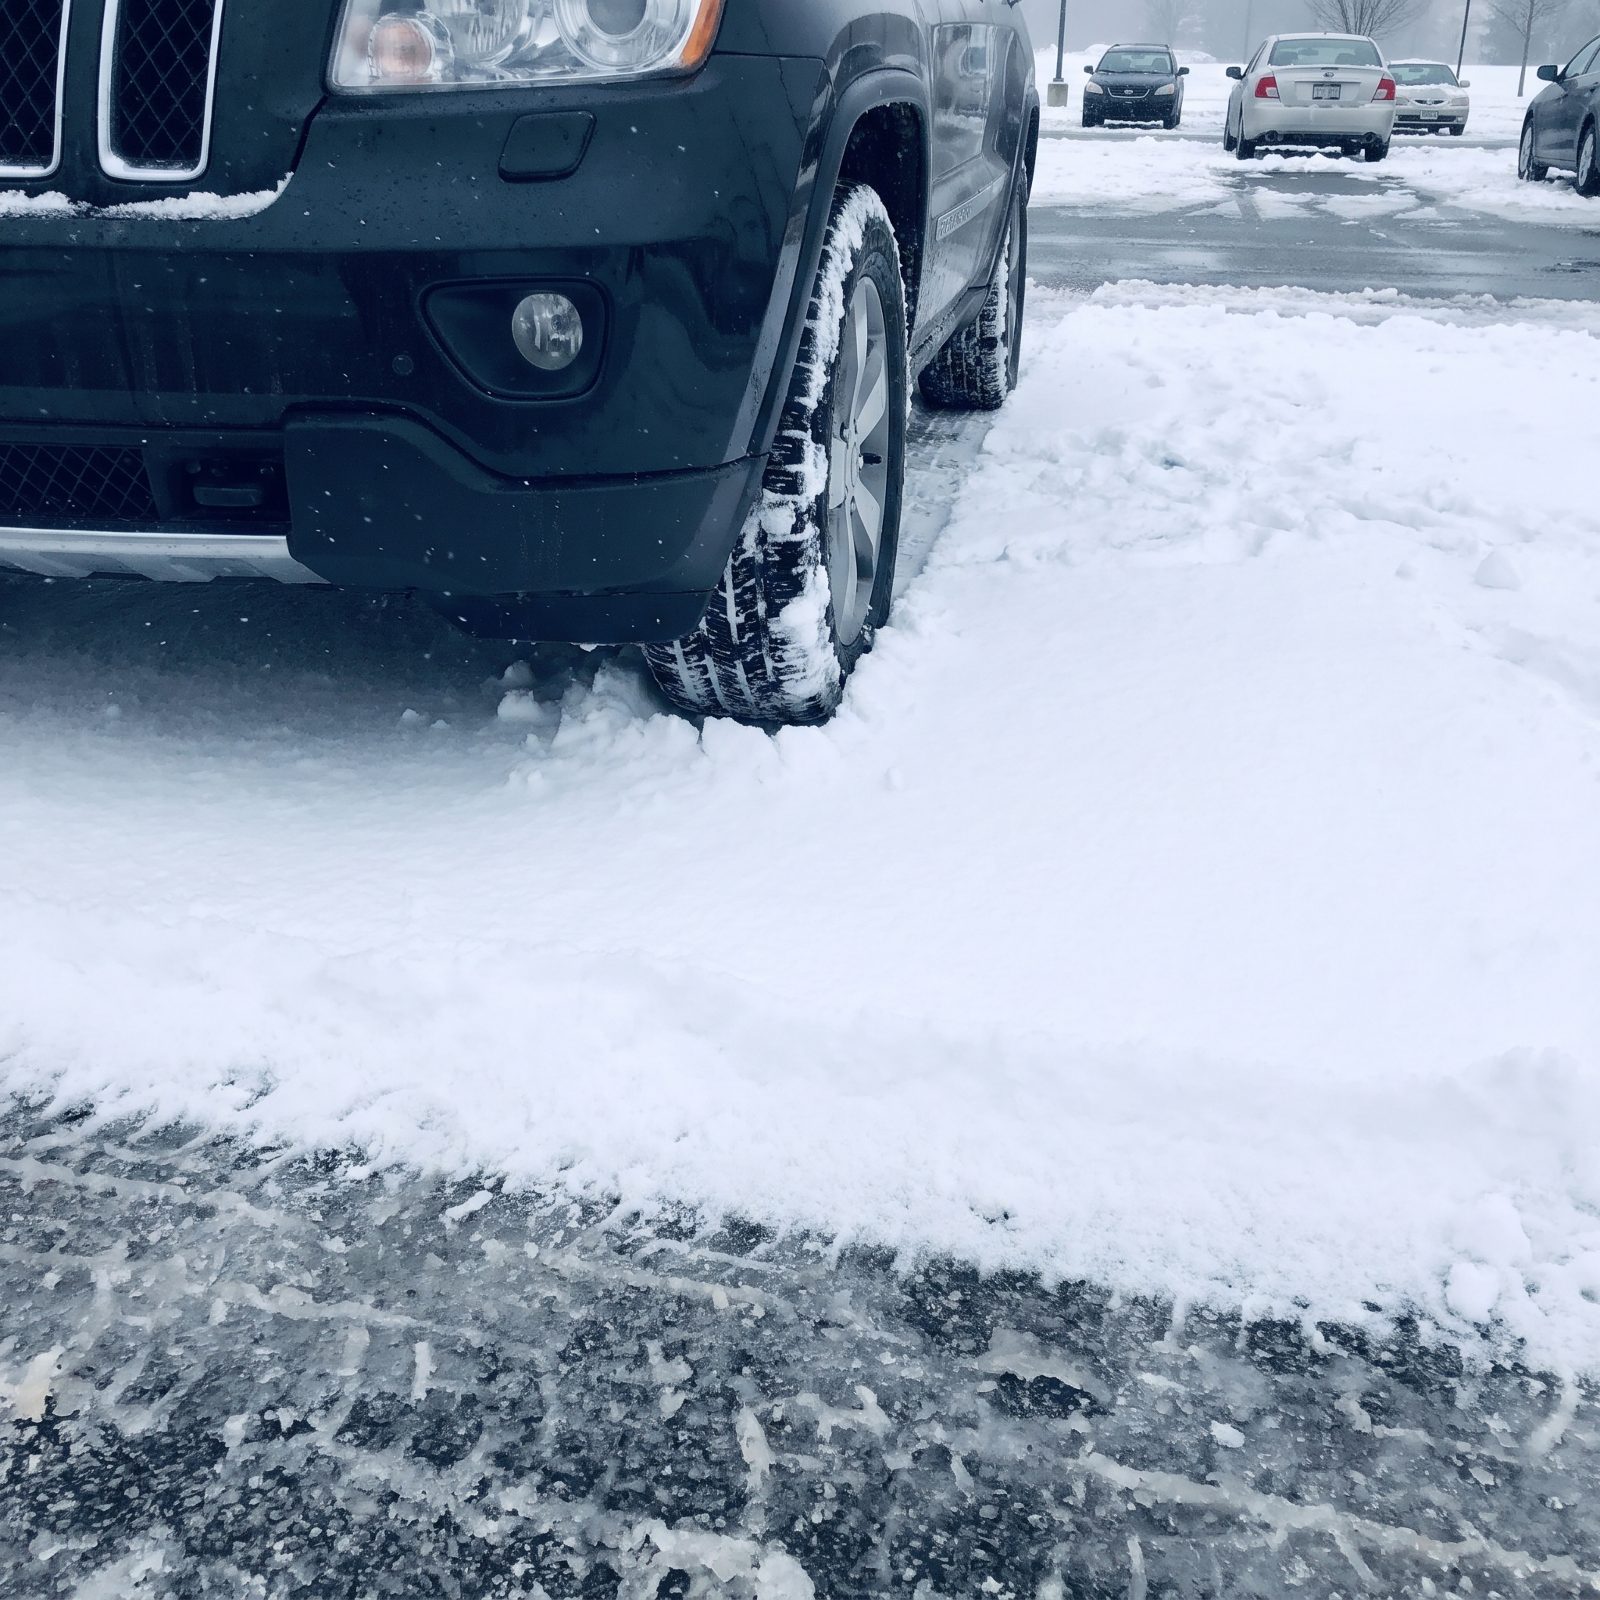
A patch of snow that looks like a shallow dusting can hide six inches of crusted drift, a frozen rut, or a curb you’ll bottom out on. Plow crews clear specific bays for a reason. Use them.
If the plowed spaces are full, that’s the park telling you the lot is full. Carving your own spot out of an unplowed margin isn’t resourceful — it’s how you spend your holiday afternoon waiting on a tow truck that has fifteen calls ahead of you. It also buries the snow the plows need somewhere to push.
Nose in where the pavement is clearly cleared down to gravel or asphalt, and leave room for the vehicles beside you to open a door against the snowbank.
18. Never Block Snowplow Turnarounds
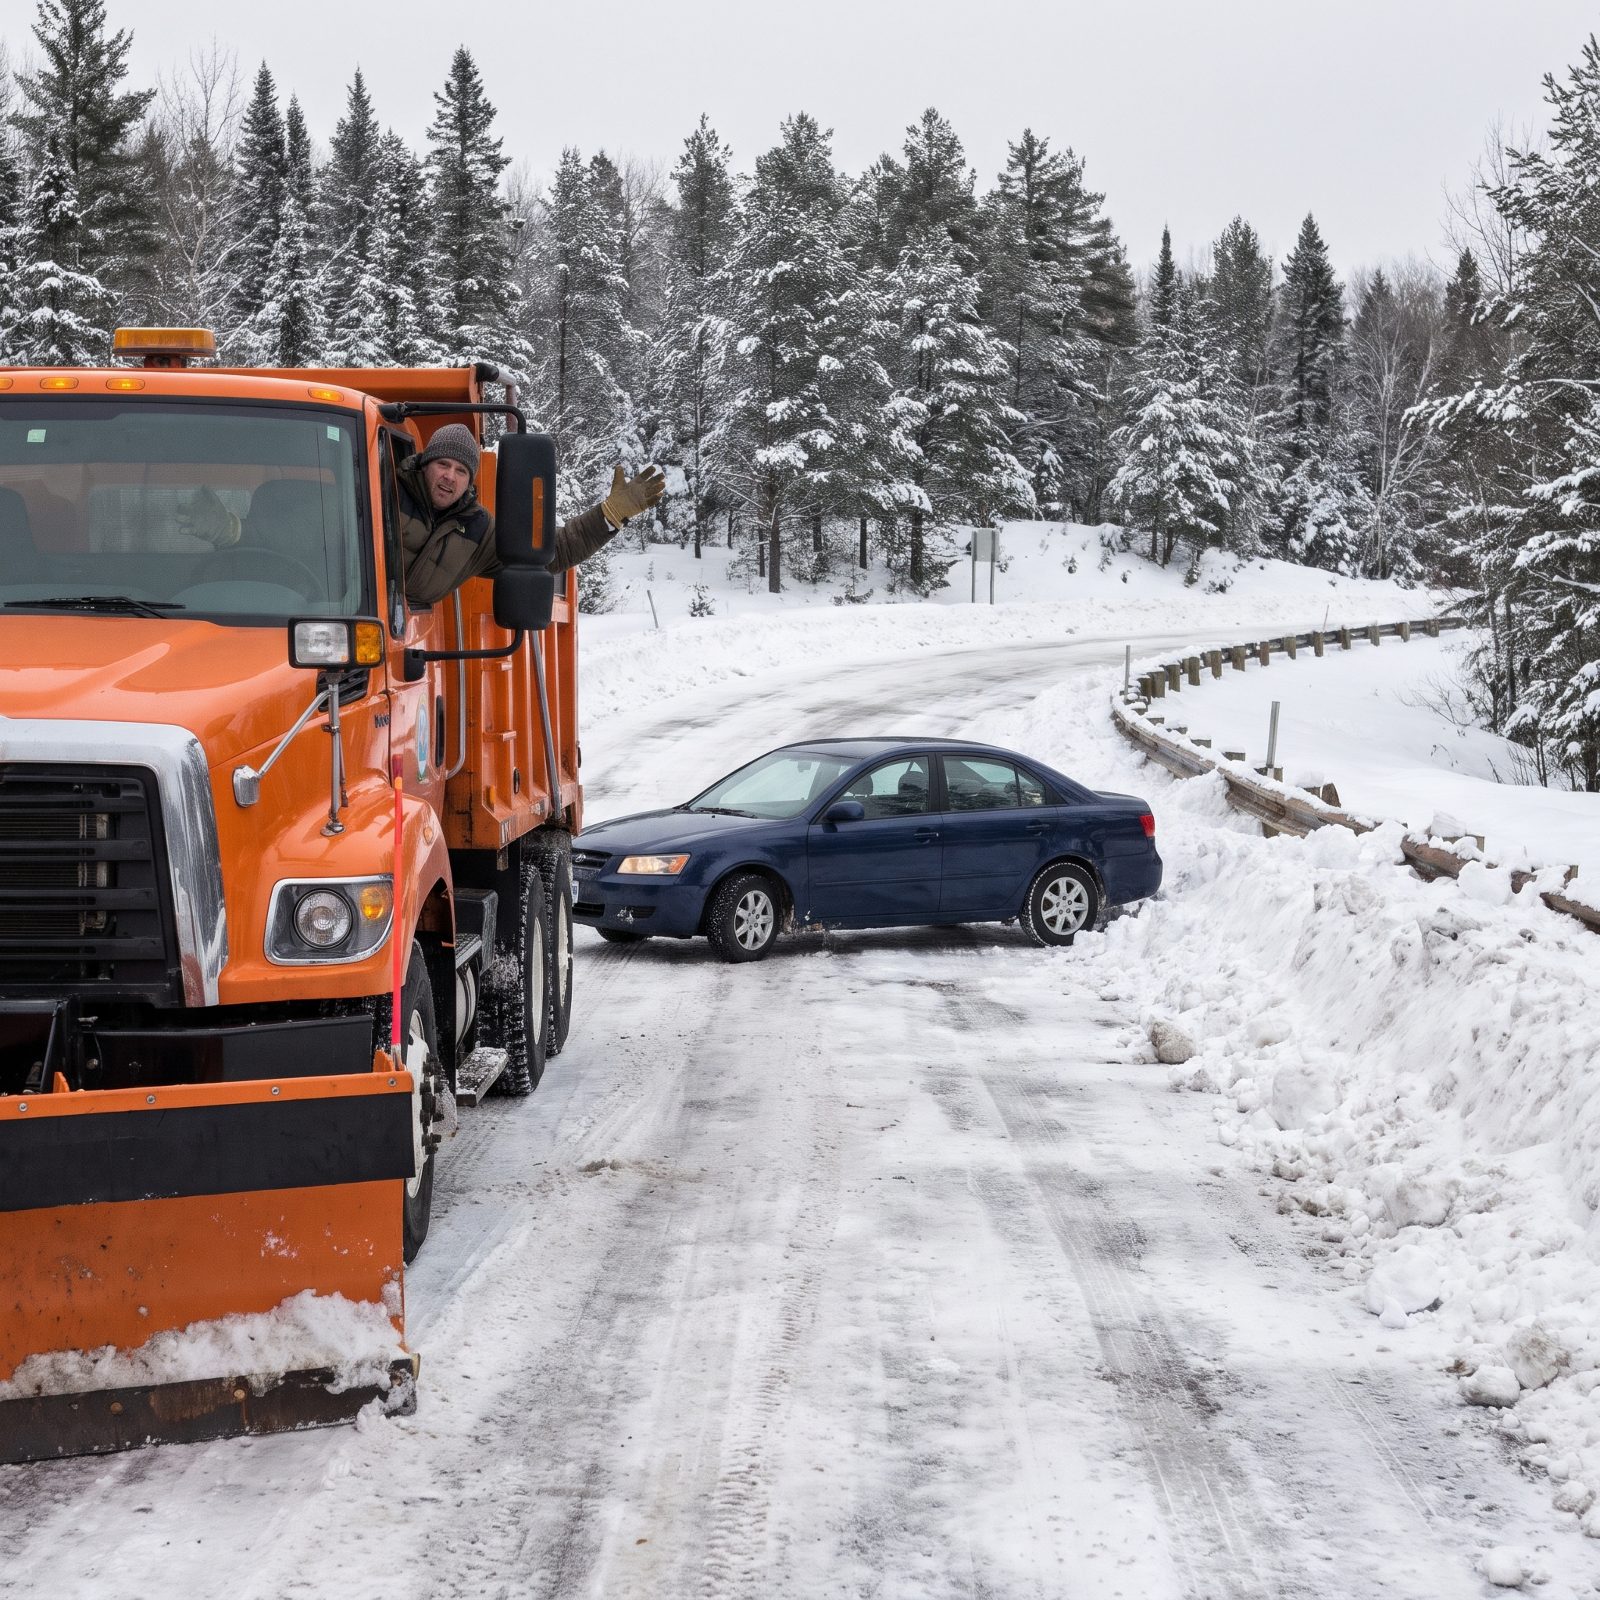
Those wide flat spots at the ends of park roads and the mouths of pullouts aren’t bonus parking. Plows and emergency vehicles swing around in them, and one car parked wrong can shut down snow clearing for a whole section of the park.
Picture the plow operator pulling up to find your sedan stopped in the middle of the street, right in the path he needs to swing the blade around. Now the road behind you doesn’t get cleared until you move — and you’re off hiking for three hours. Everyone’s day gets worse, including the ambulance that might need that road.
17. Choose Trails Within Winter Ability
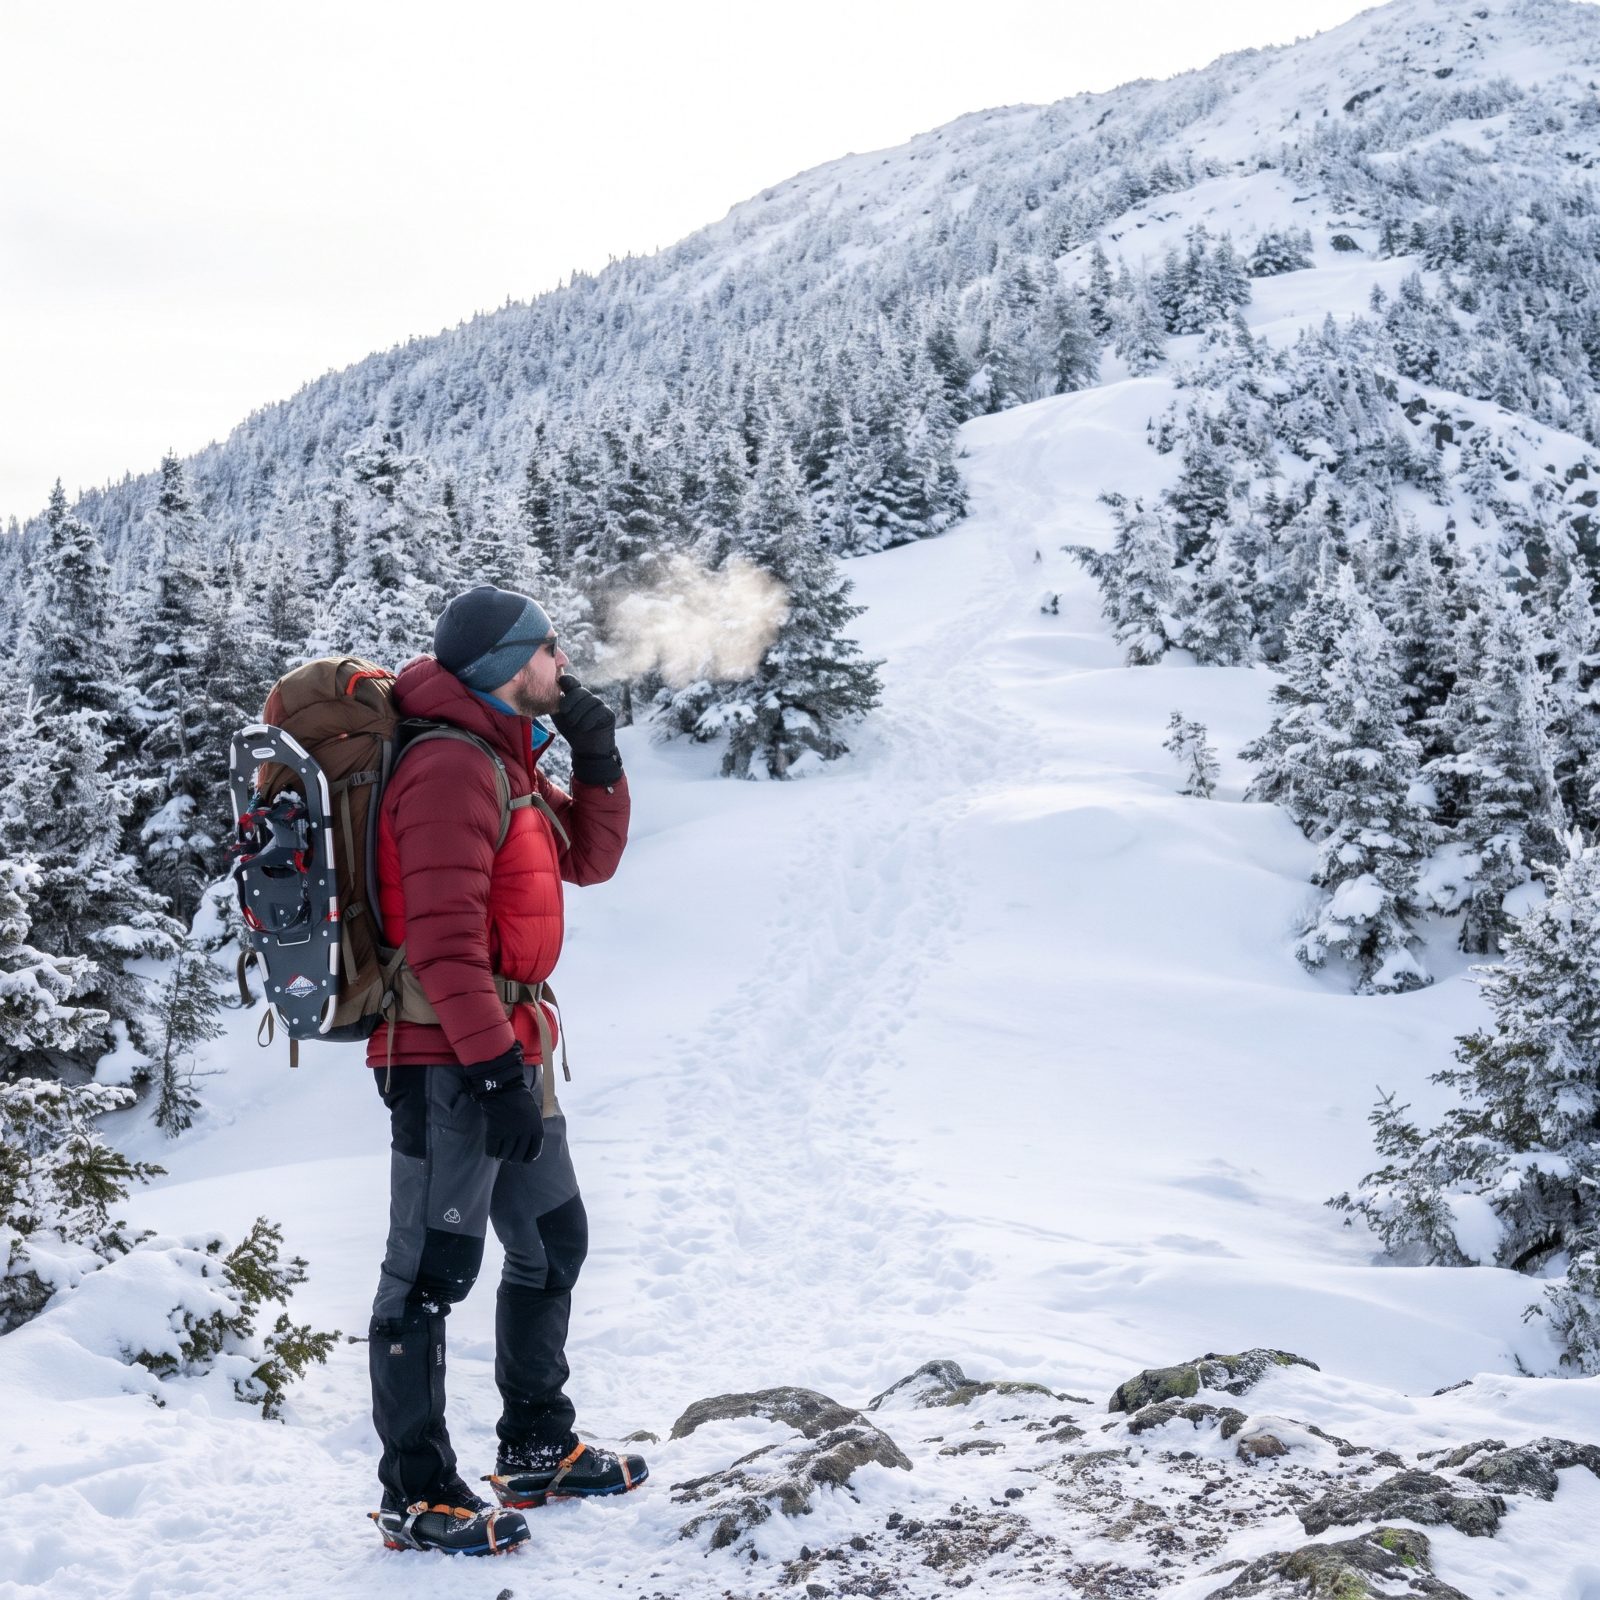
A trail you crushed in July is a different animal under snow and ice. Switchbacks vanish, cairns bury, and a mild grade turns into a luge run the moment it refreezes. The short winter day gives you maybe eight hours of light, and hypothermia doesn’t care how fast you moved in summer.
Pick a route you can finish with daylight to spare, on terrain your gear and your legs can actually handle. Don’t own microspikes or know how to self-arrest on a steep slope? Then stay off anything that needs them. Ask at the ranger station about recent conditions. A trail that was fine yesterday can be a sheet of ice after an overnight thaw and freeze.
The mountain will still be here next summer. Turning around early is a skill, not a failure.
Tell someone your plan and your turnaround time, then honor it even if the summit is right there.
16. Ask About Seasonal Wildlife Hazards
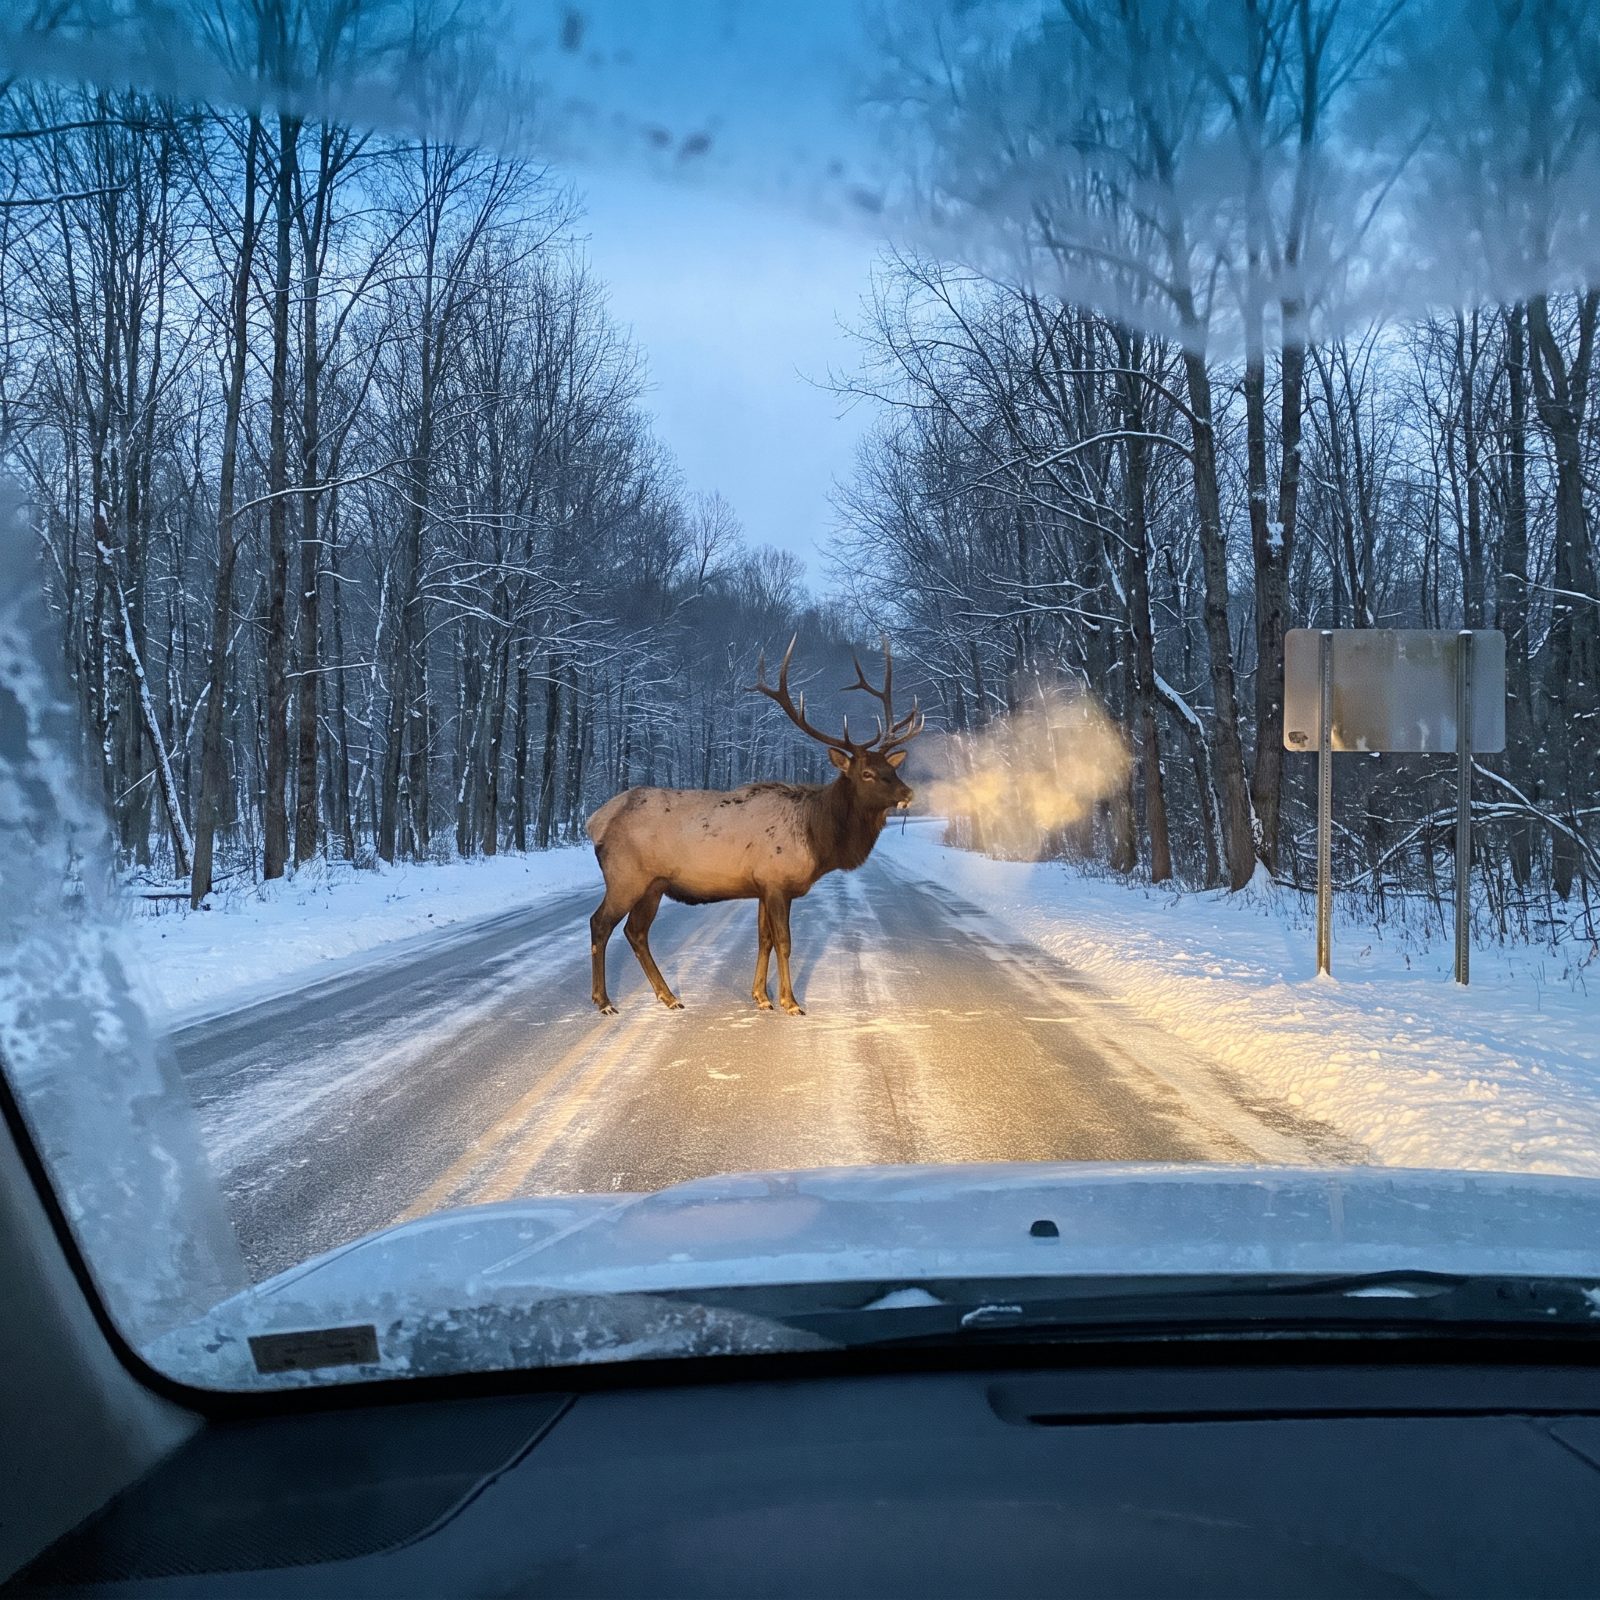
Winter changes how animals move, and the risks shift right along with them. Elk and bison drop into valleys and road corridors to find forage, which puts big animals exactly where you want to walk. Bears aren’t all asleep. Mountain lions follow the deer down to lower elevation. The rules that worked in July don’t all carry over.
Spend five minutes asking a ranger what’s on the move this week. They know which overlook had a bull elk standing in it yesterday and which meadow the bison have taken over. That’s local, current intel, and no sign will give it to you.
Keep the distances they give you. In most parks it’s 25 yards from elk and deer, 100 yards from bears and wolves. People get hurt every winter crowding a calm-looking animal for a photo.
15. Set a Firm Turnaround Time
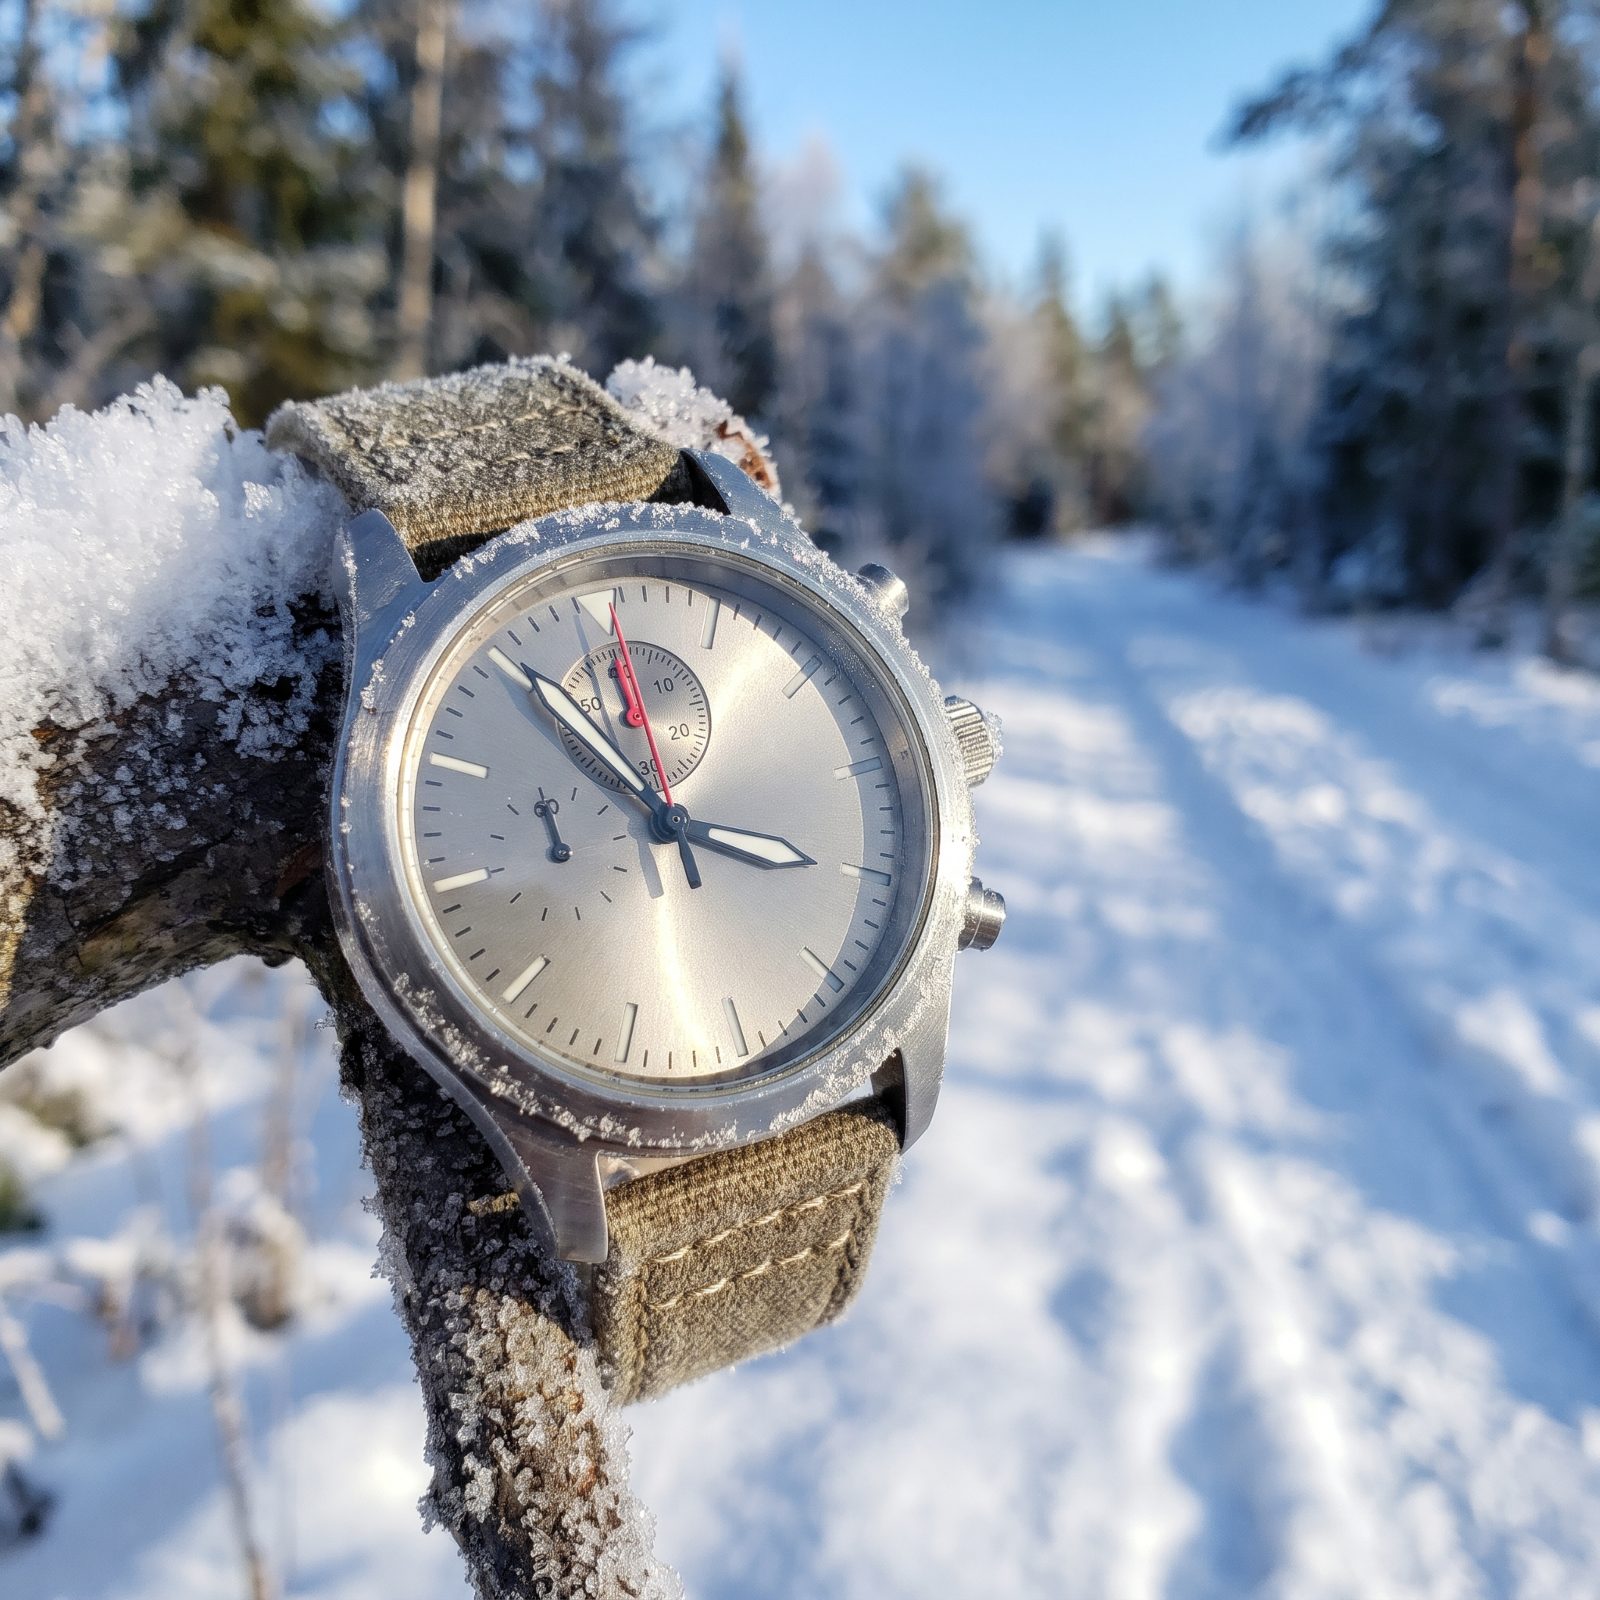
Pick the hour you turn around before you ever start walking. This is the single rule that saves people in December, and it’s the one everyone breaks. The summit is 20 minutes away, the light is going, and you talk yourself into pushing on. That’s how search and rescue earns its overtime over the holidays.
Winter days are short and mountain dark arrives early and fast. Work backward from sunset, add a buffer for the slower pace of walking on snow, and set a hard turnaround. When the clock hits it, you turn, summit or not. No negotiating with yourself.
14. Start Hikes Earlier Than Usual
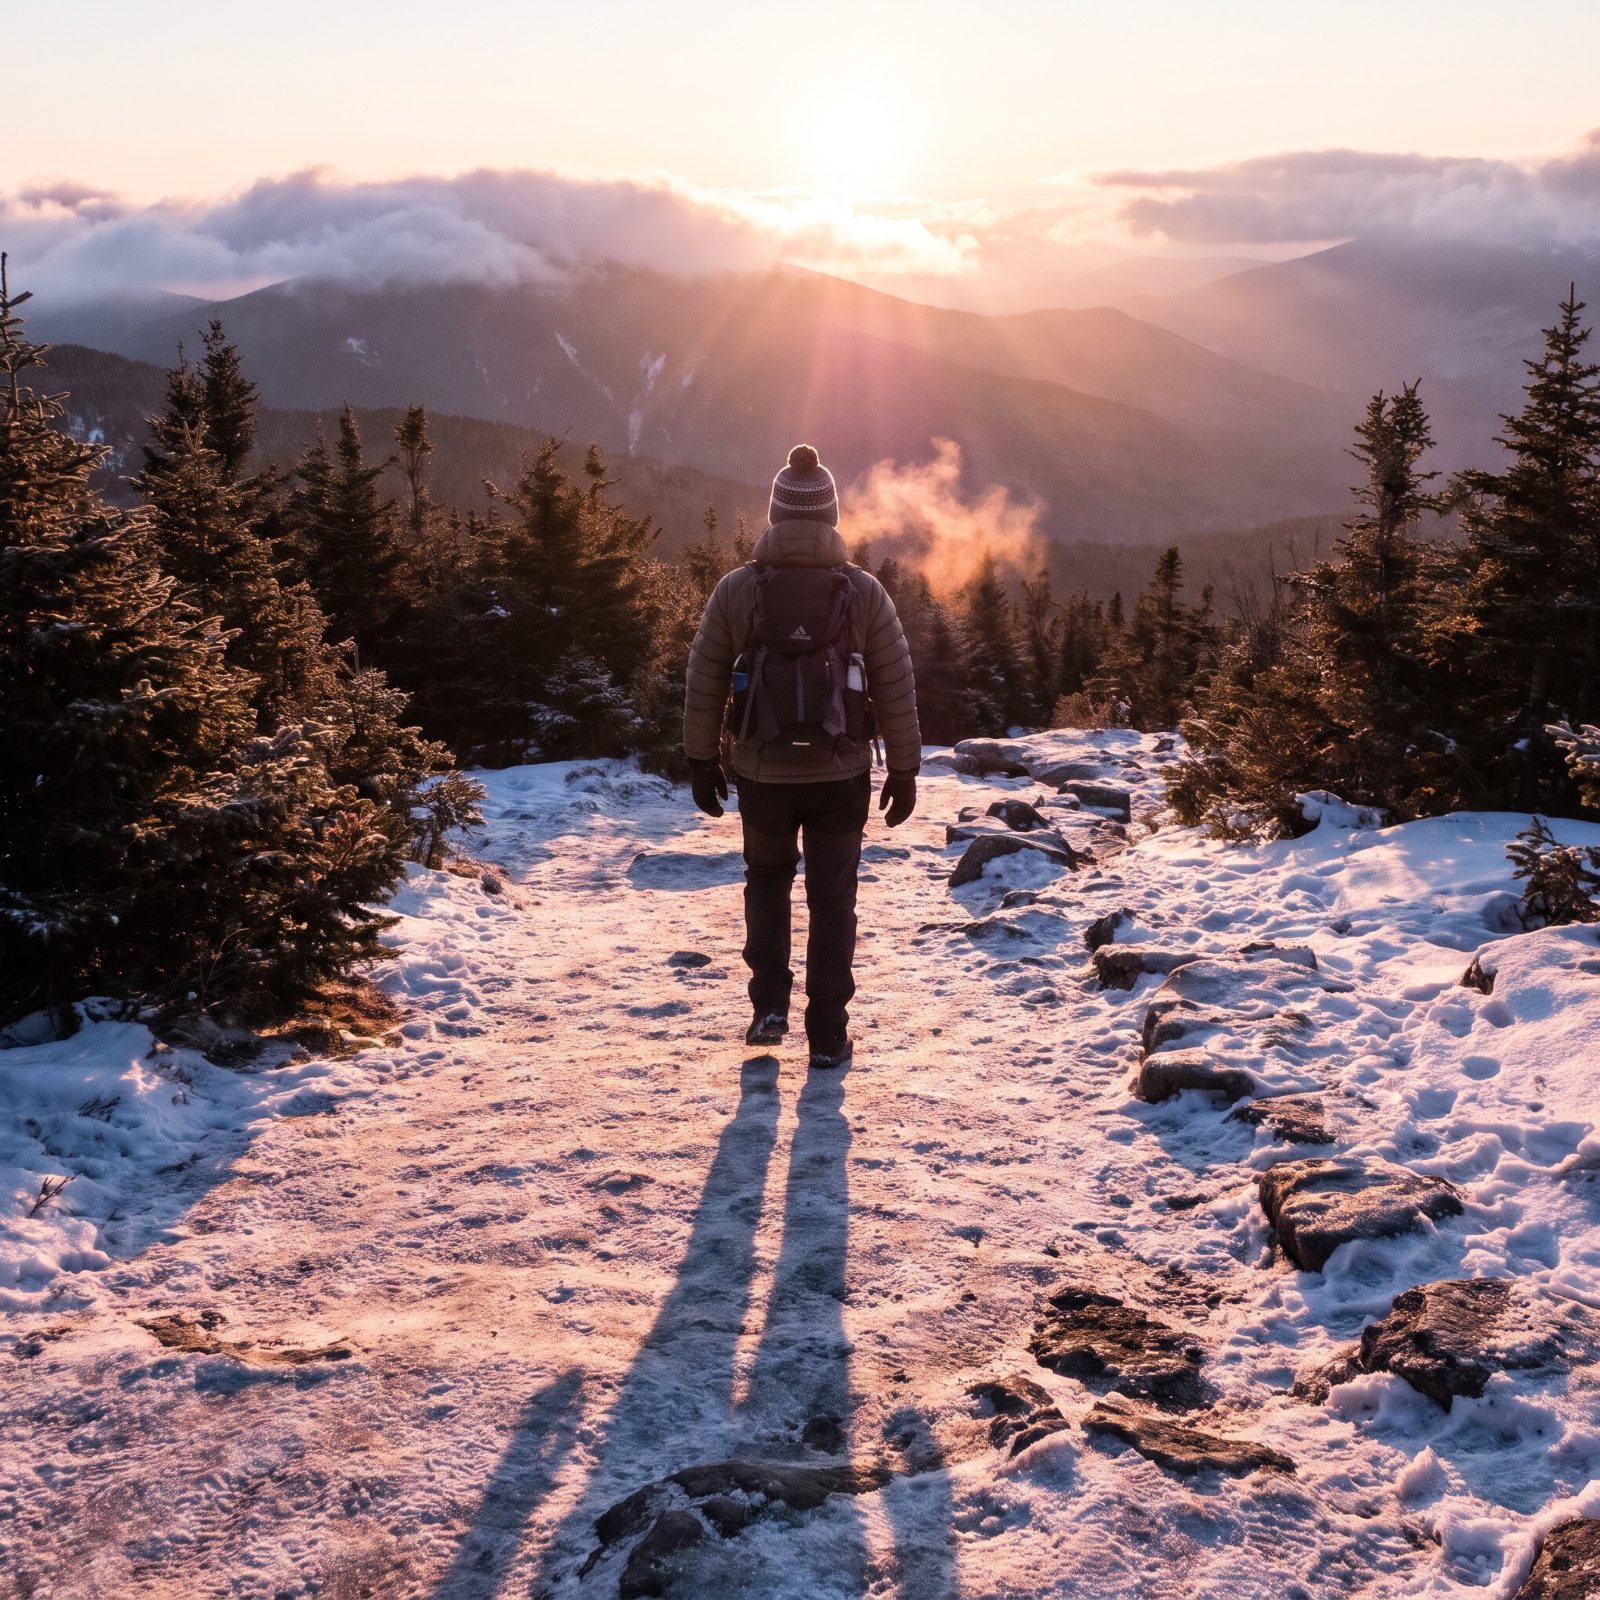
In summer you’ve got daylight to burn. The week around Christmas gives you maybe nine hours of it, and the good hours are the early ones. Get on the trail at first light and you walk on firmer, frozen snow, you beat the crowds to the parking lot, and you leave yourself a margin if anything goes sideways.
Afternoon snow goes soft and slushy, which means postholing to your knees on a miserable slog back. Popular trailheads fill their lots before 8 a.m. during the holiday rush. An alpine start isn’t about being a hero. It’s about getting home while there’s still light to see by.
13. Bring Waterproof Winter Boots
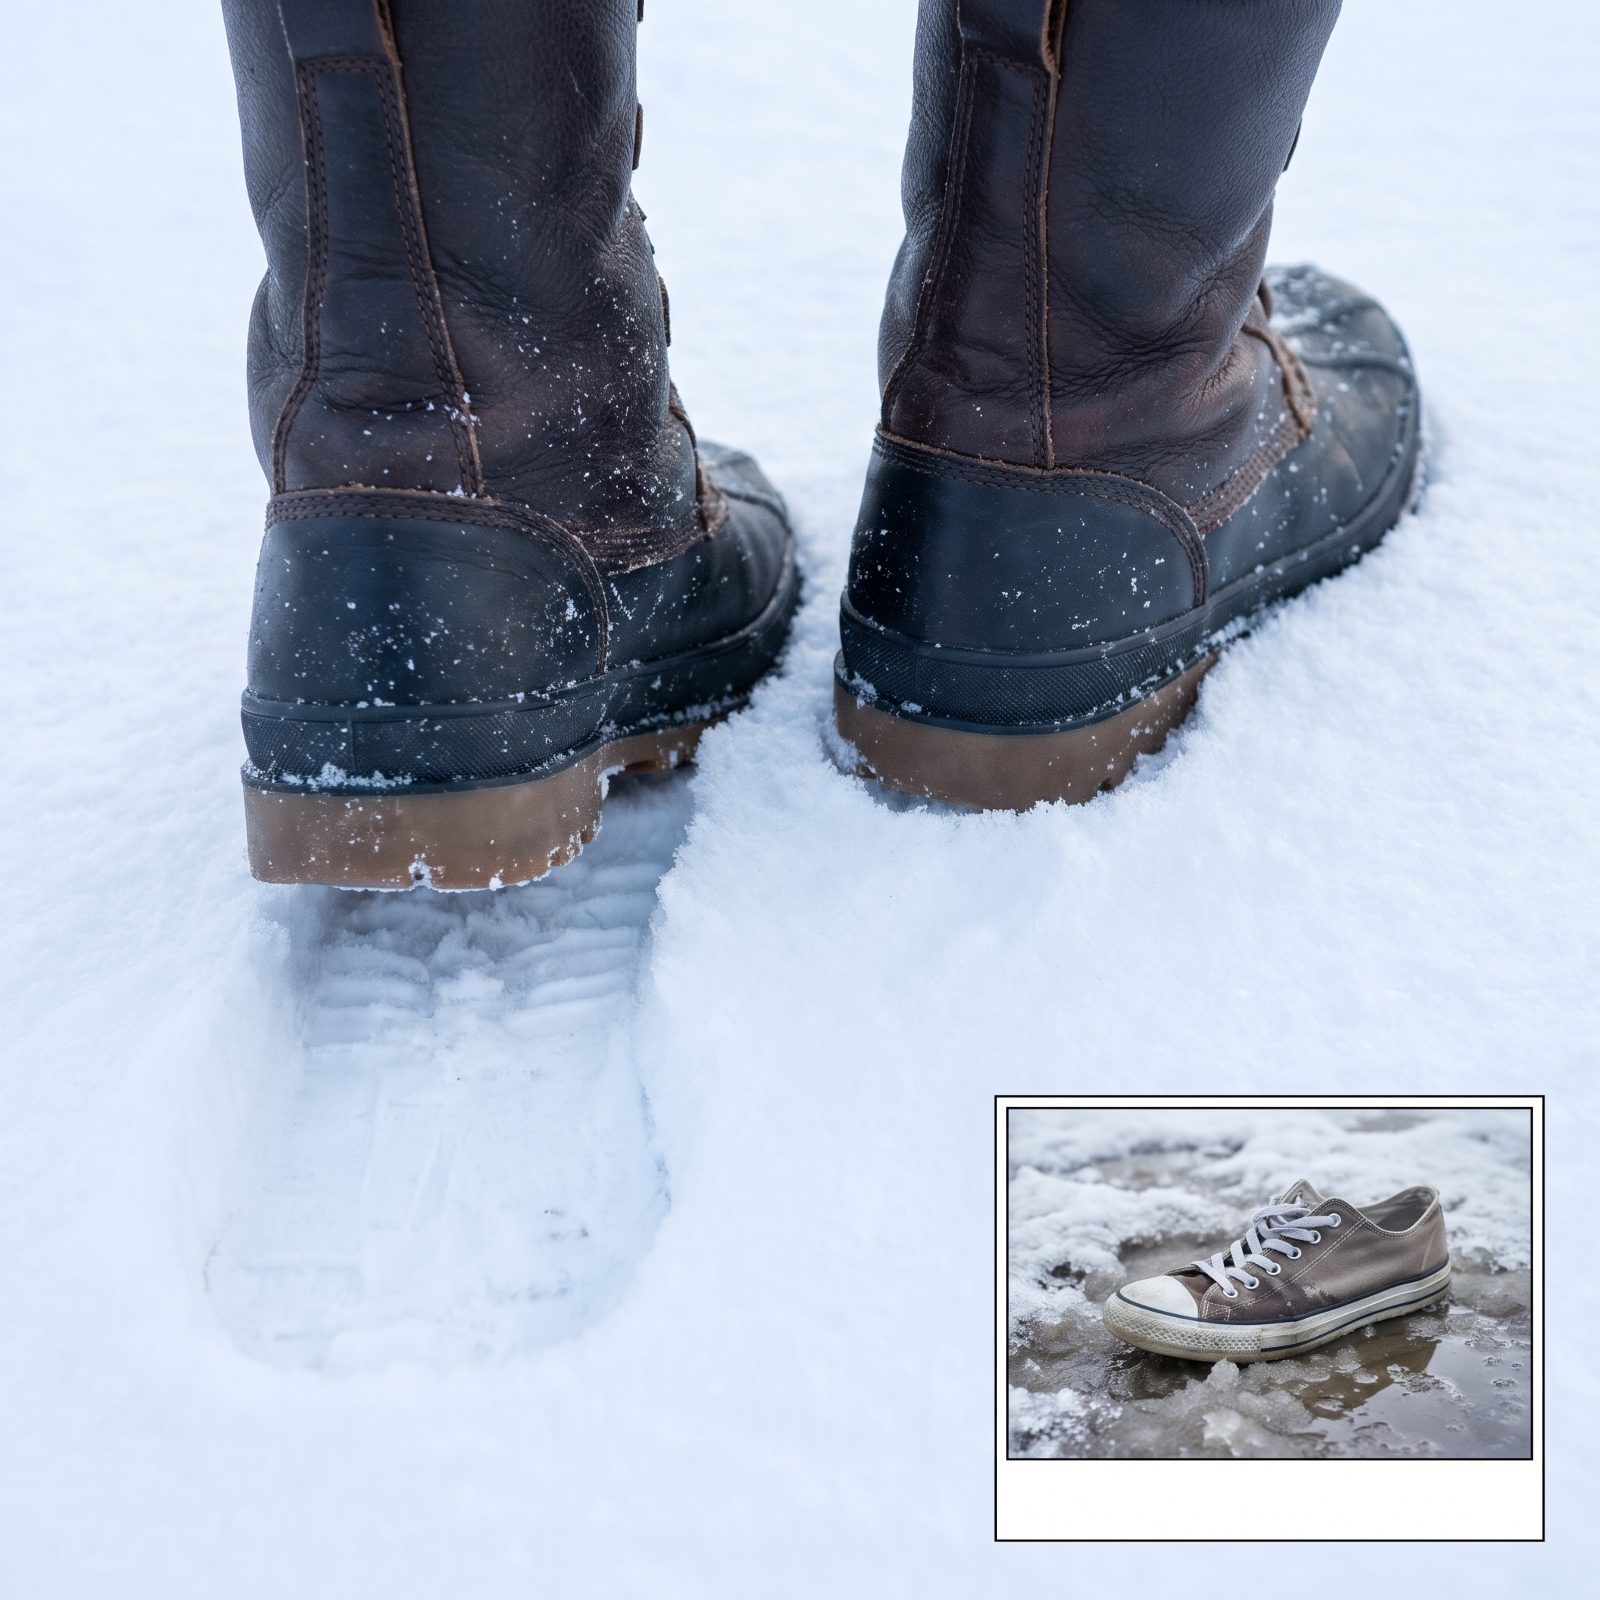
Cold feet end a winter hike faster than anything else out there. Trail runners and summer boots soak through in the first mile, and once your socks are wet in sub-freezing air, you’re on a clock before frostbite becomes a real conversation.
You want a proper waterproof, insulated boot with an aggressive lugged sole and a cuff high enough to pair with gaiters. The waterproofing matters more than you’d expect even on a bluebird day, because sun-softened snow melts into your boot just as cold as rain does.
And break them in before the trip. A new stiff boot plus a long cold descent equals blisters you’ll feel for a week. I learned that one the hard way on a Christmas hike years back, limping the last three miles and lying to everyone about how fine I was.
12. Add Traction Cleats for Icy Trails
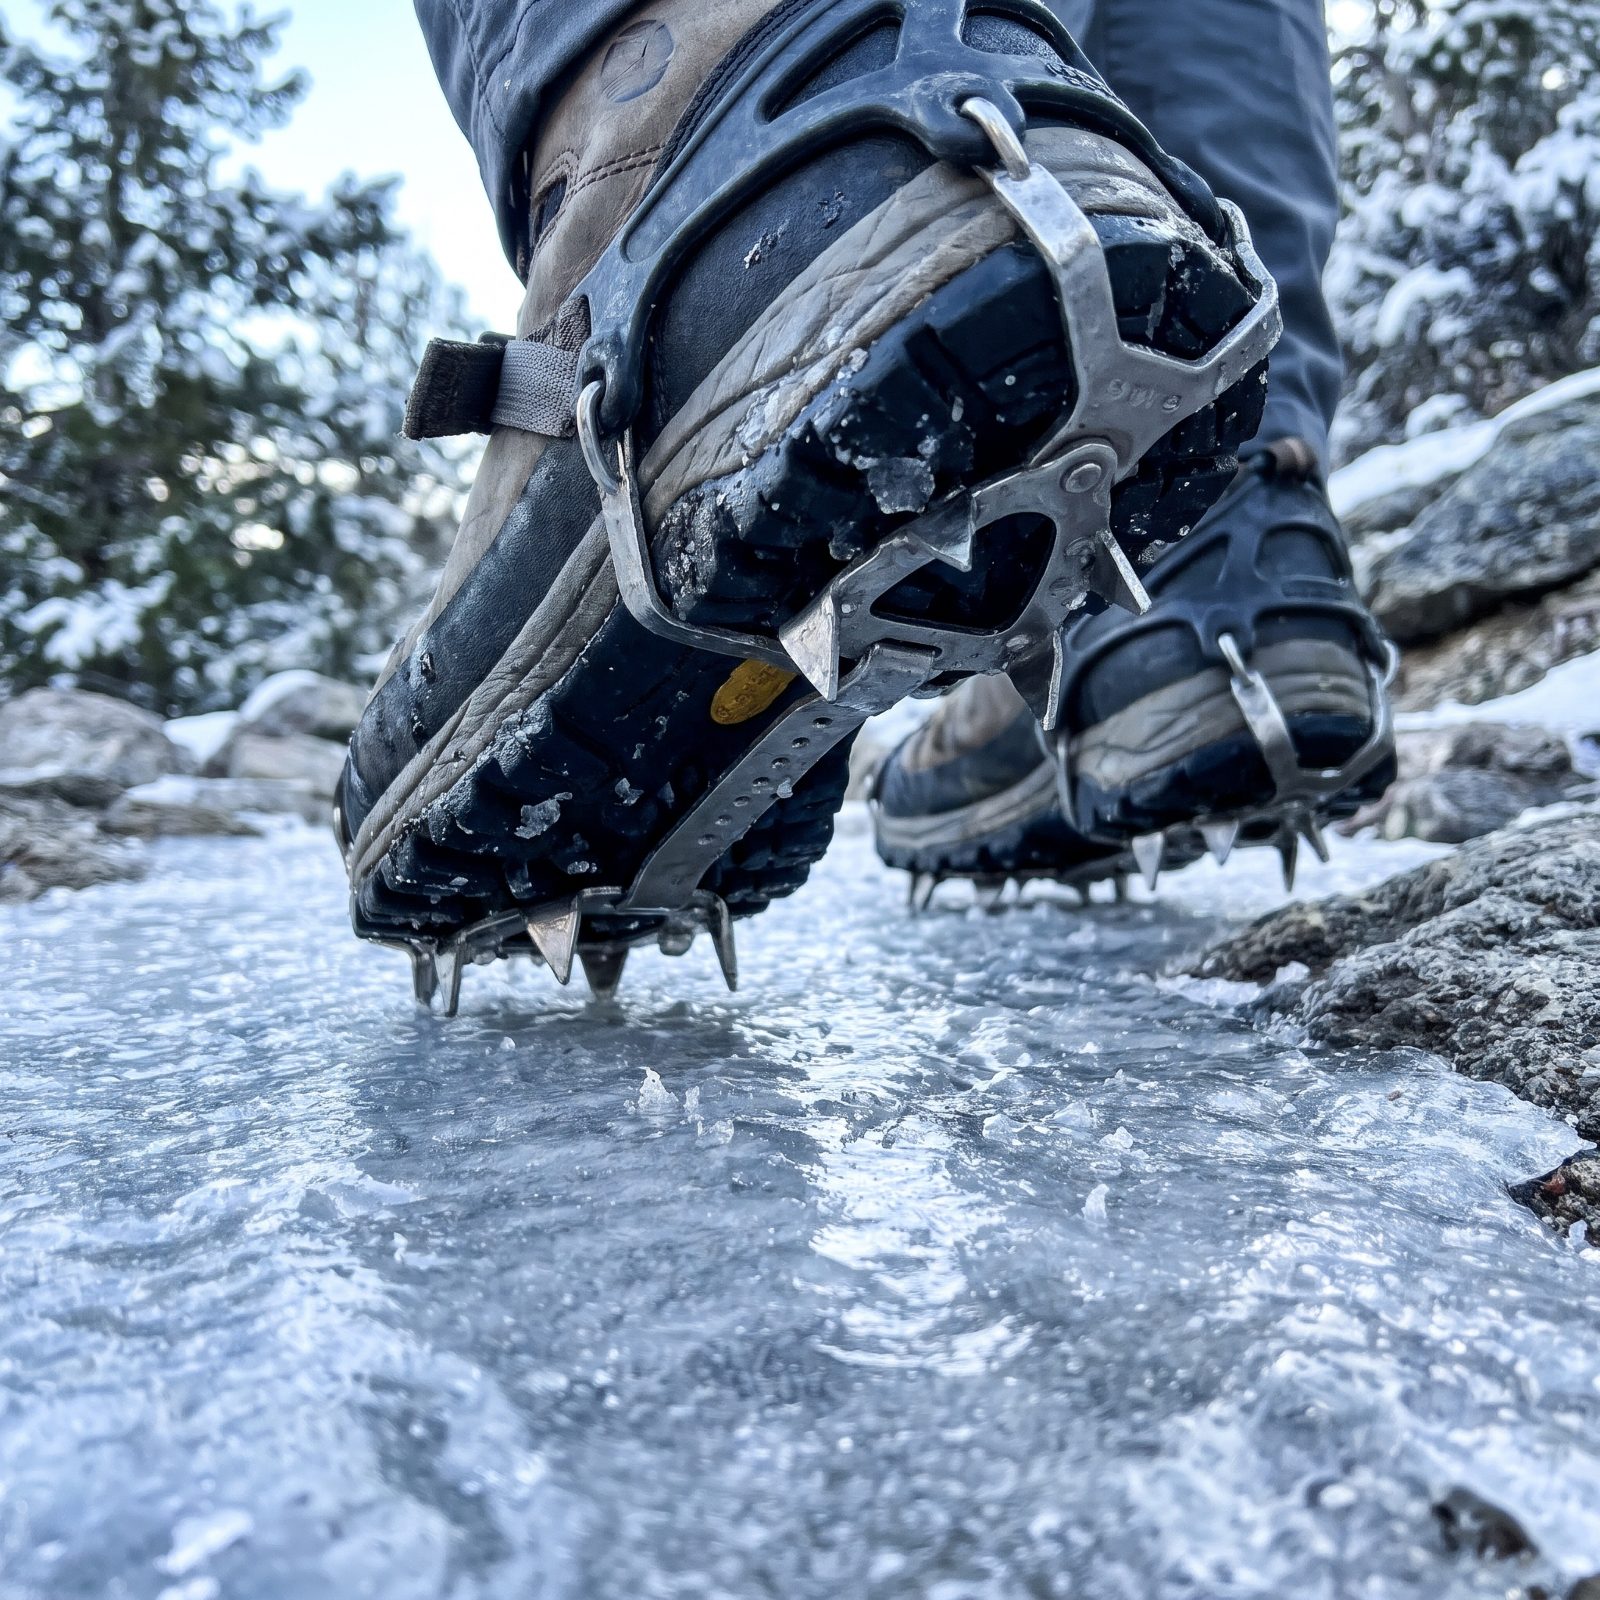
Packed snow turns to polished ice under a week of boot traffic, and the busy holiday trails are exactly where that happens. Boots alone just slide on it. Slip-on traction cleats, the kind with a rubber harness and small steel spikes or chains, are cheap insurance and they tuck into a jacket pocket.
Put them on before you need them, not after you’ve already gone down. The moment you catch yourself shuffling and bracing, you’ve waited too long.
Micro-spikes handle most packed trails. Full crampons are a mountaineering tool for steep ice, and if you need them you probably need a rope and the training to go with it.
11. Carry Spare Socks and Gloves
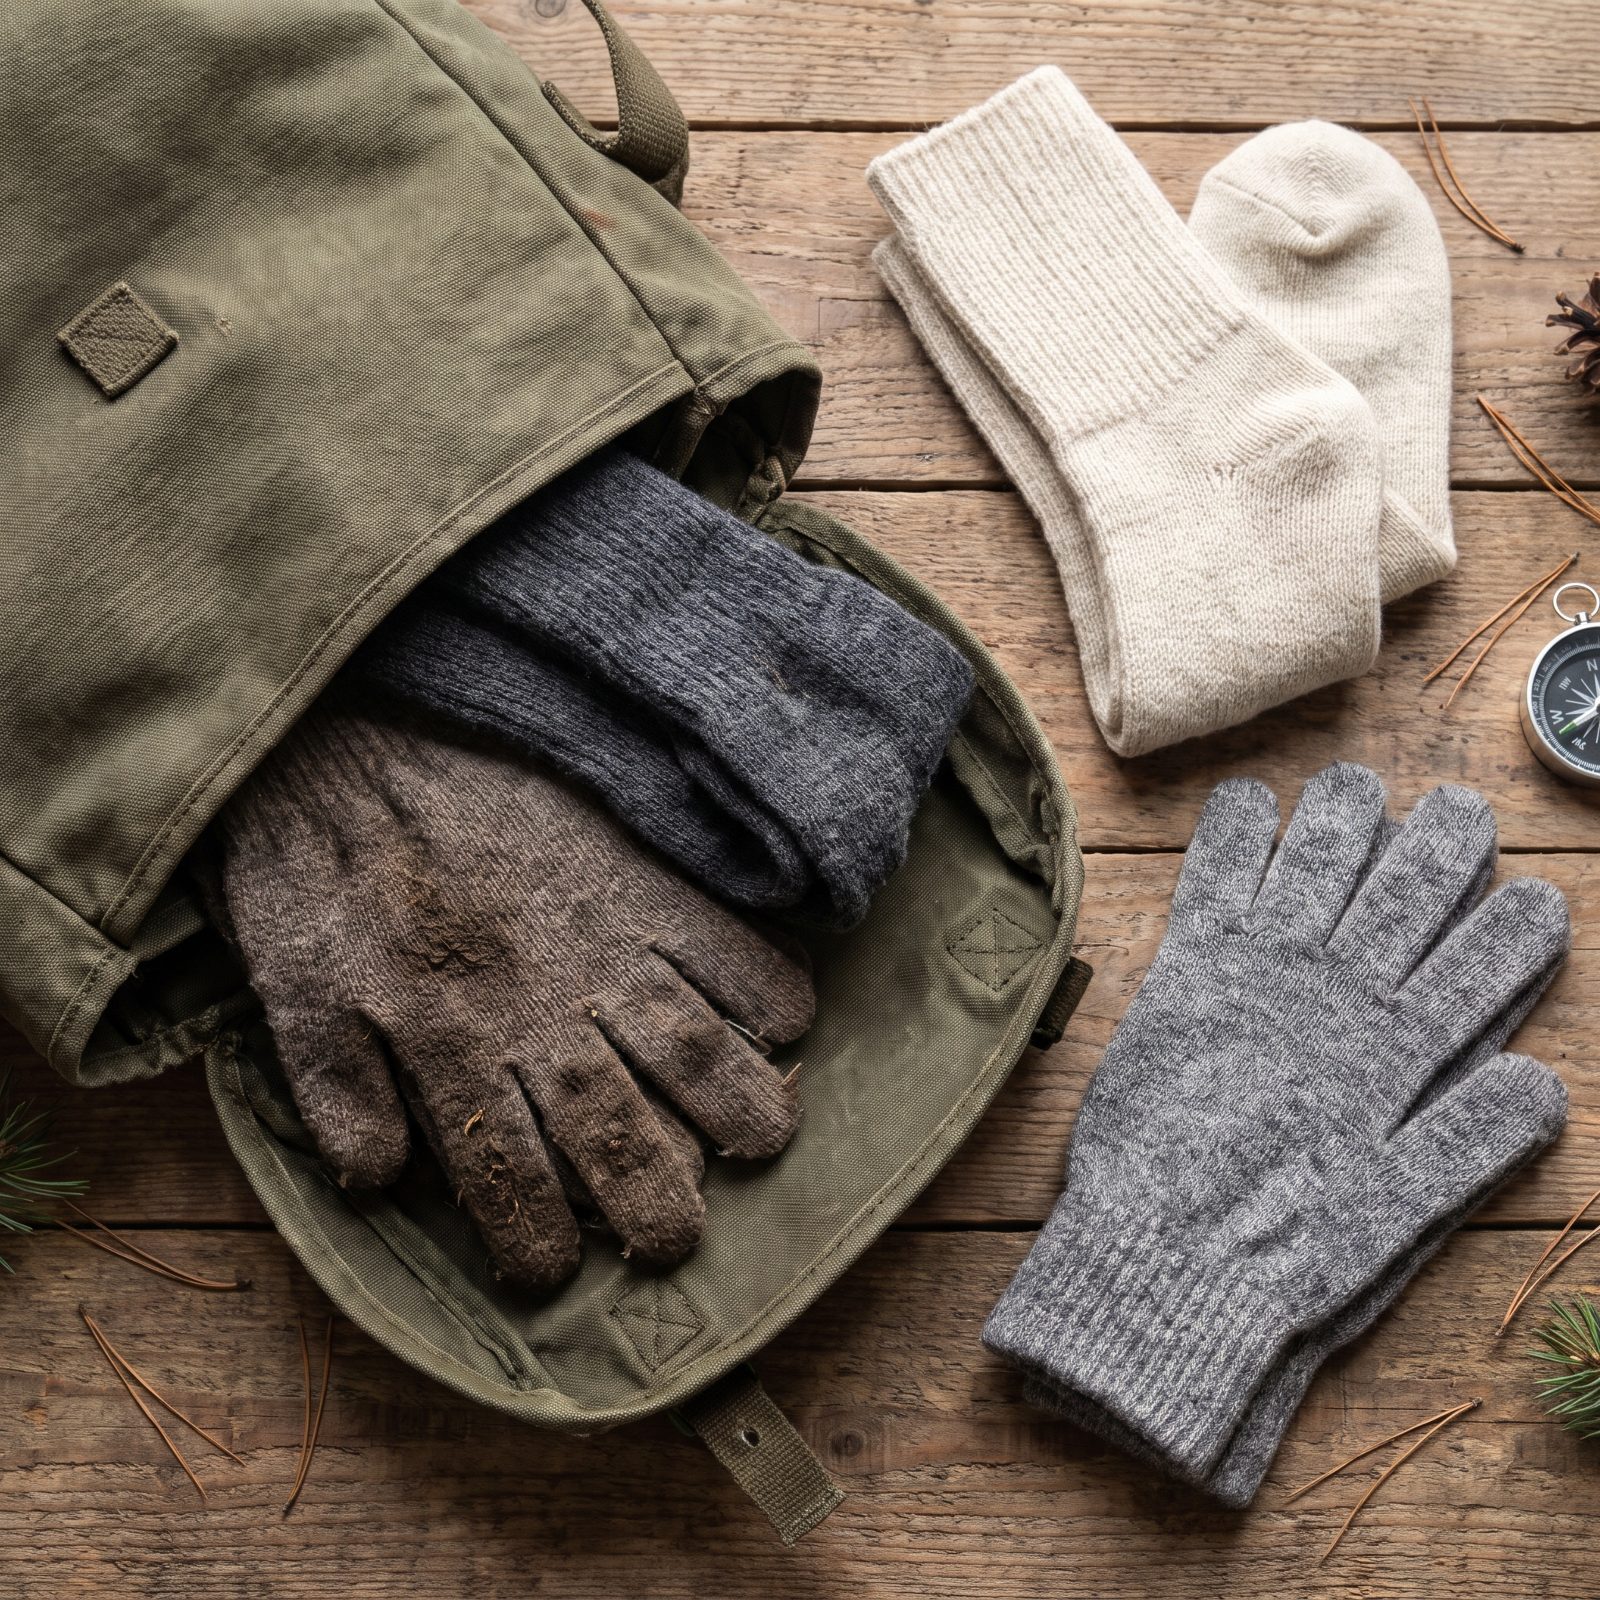
Wet is the enemy, not cold. The moment your gloves soak through from handling snow, or your socks dampen with sweat and melt, your extremities start bleeding heat. A dry spare pair stops a bad day from becoming a dangerous one.
Keep the spares in a zip-lock or a small dry bag so they stay dry deep in your pack. Swap them at the turnaround point, before the long cold walk back. Wool, not cotton, for both, because cotton holds water against your skin and quits the second it gets wet.
10. Pack Sunglasses for Snow Glare
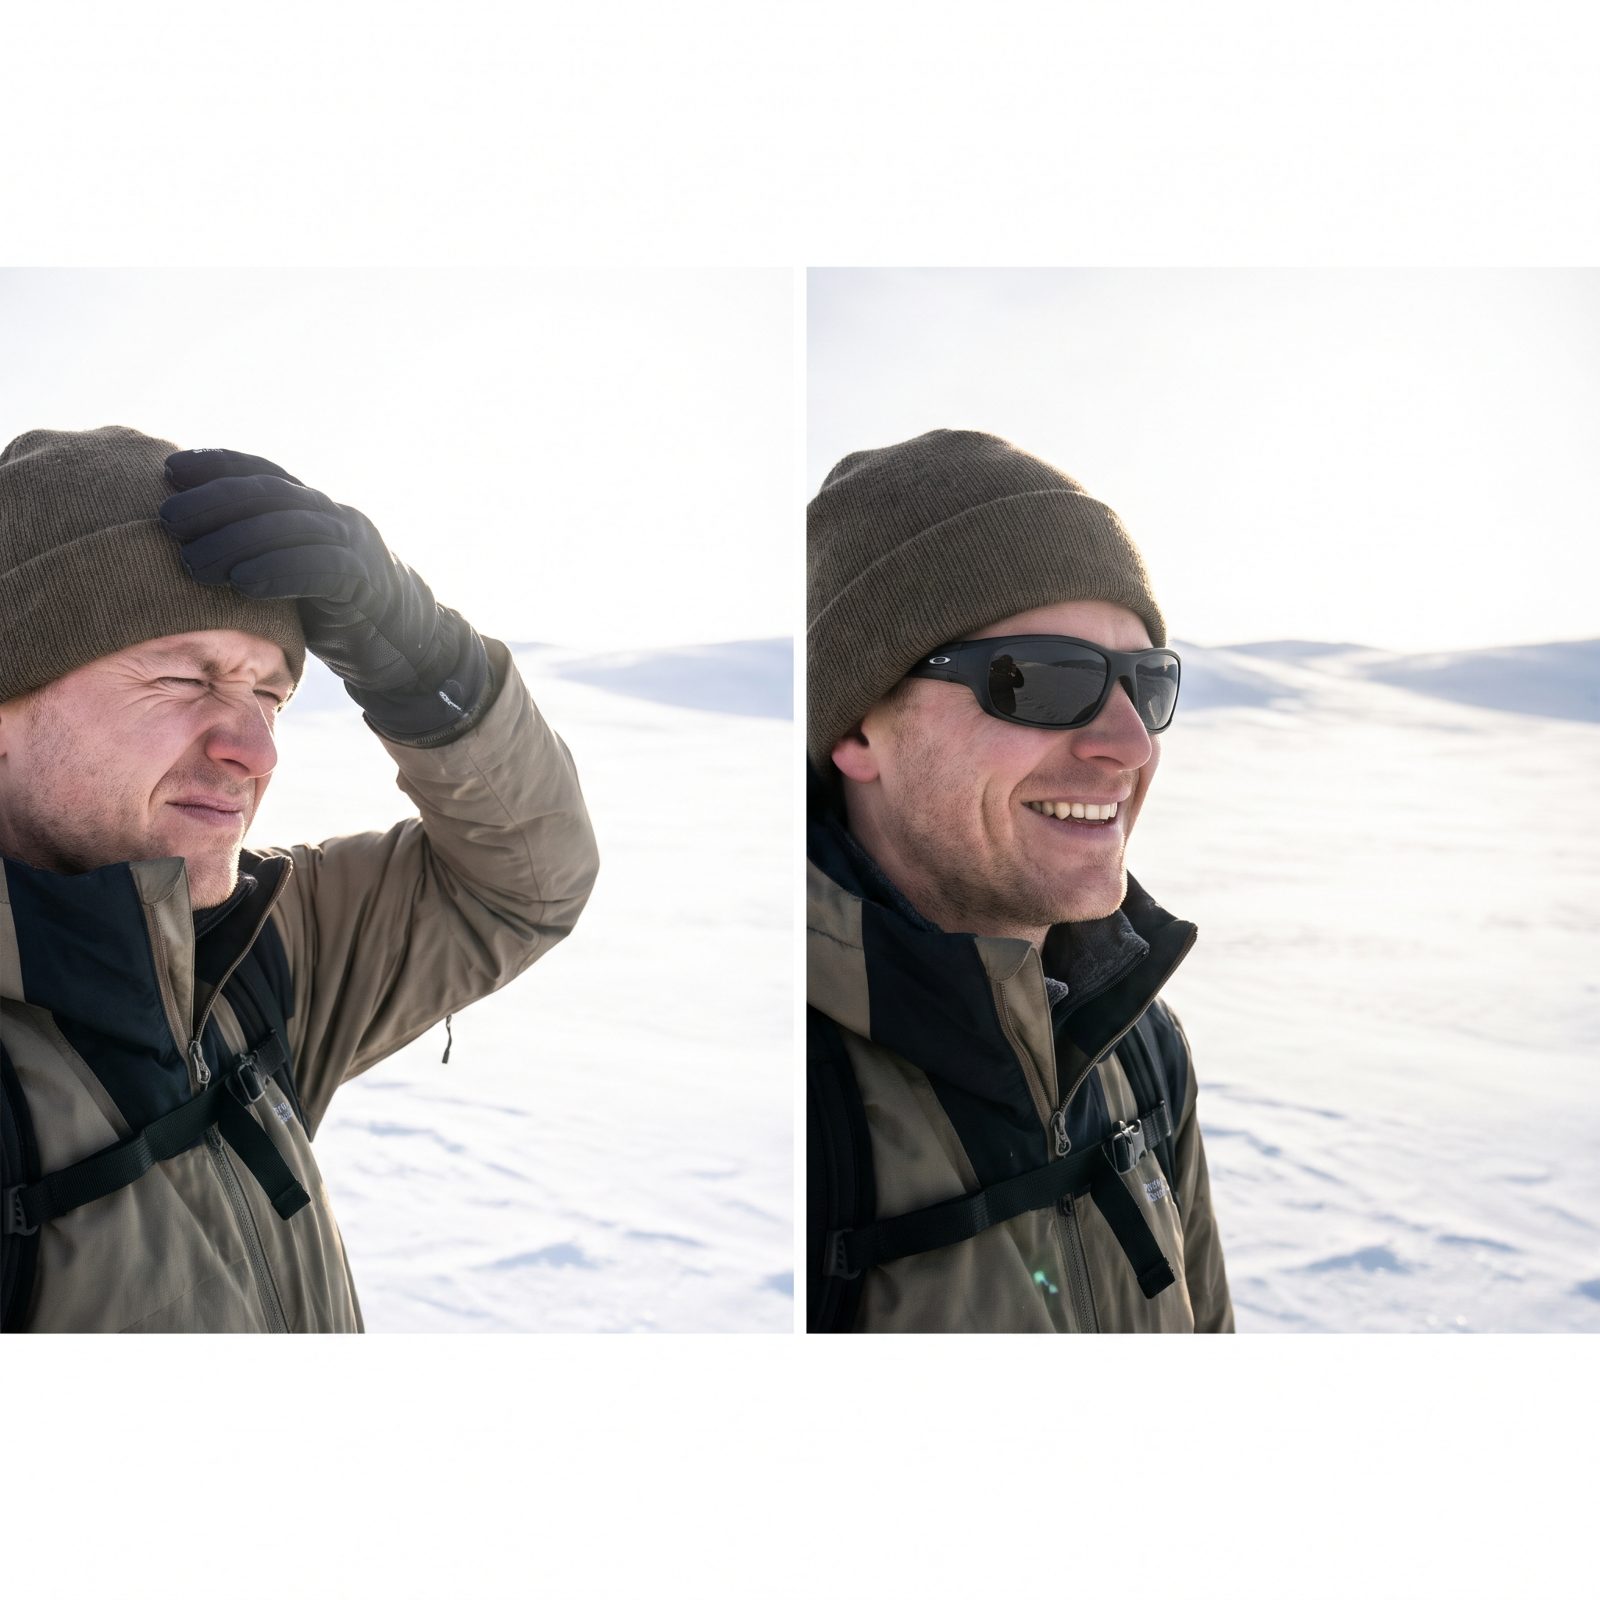
People pack for cold and forget the light. Sun bouncing off fresh snow is brutal, easily brighter than a summer beach, and a few hours of it can give you snow blindness, which is a real sunburn on your corneas. It hurts for a day or two and it’s entirely preventable.
Bring sunglasses with real UV protection and dark lenses, wraparound if you can get them, so the glare can’t sneak in from the sides. Up high the sun hits harder and the snow throws back more of it, so on a clear day this stops being optional.
Toss sunscreen in too. The glare comes at your face from below, so you’ll burn under your chin and nose, in places you’d never think to check.
In a Q&A on winter eye safety, an ophthalmologist specializing in corneas explains: “Snow blindness, or photokeratitis, is essentially sunburn of the cornea. It happens when UV rays damage the surface of the cornea, just like a sunburn on the skin.”
9. Bring a Headlamp With Spare Batteries
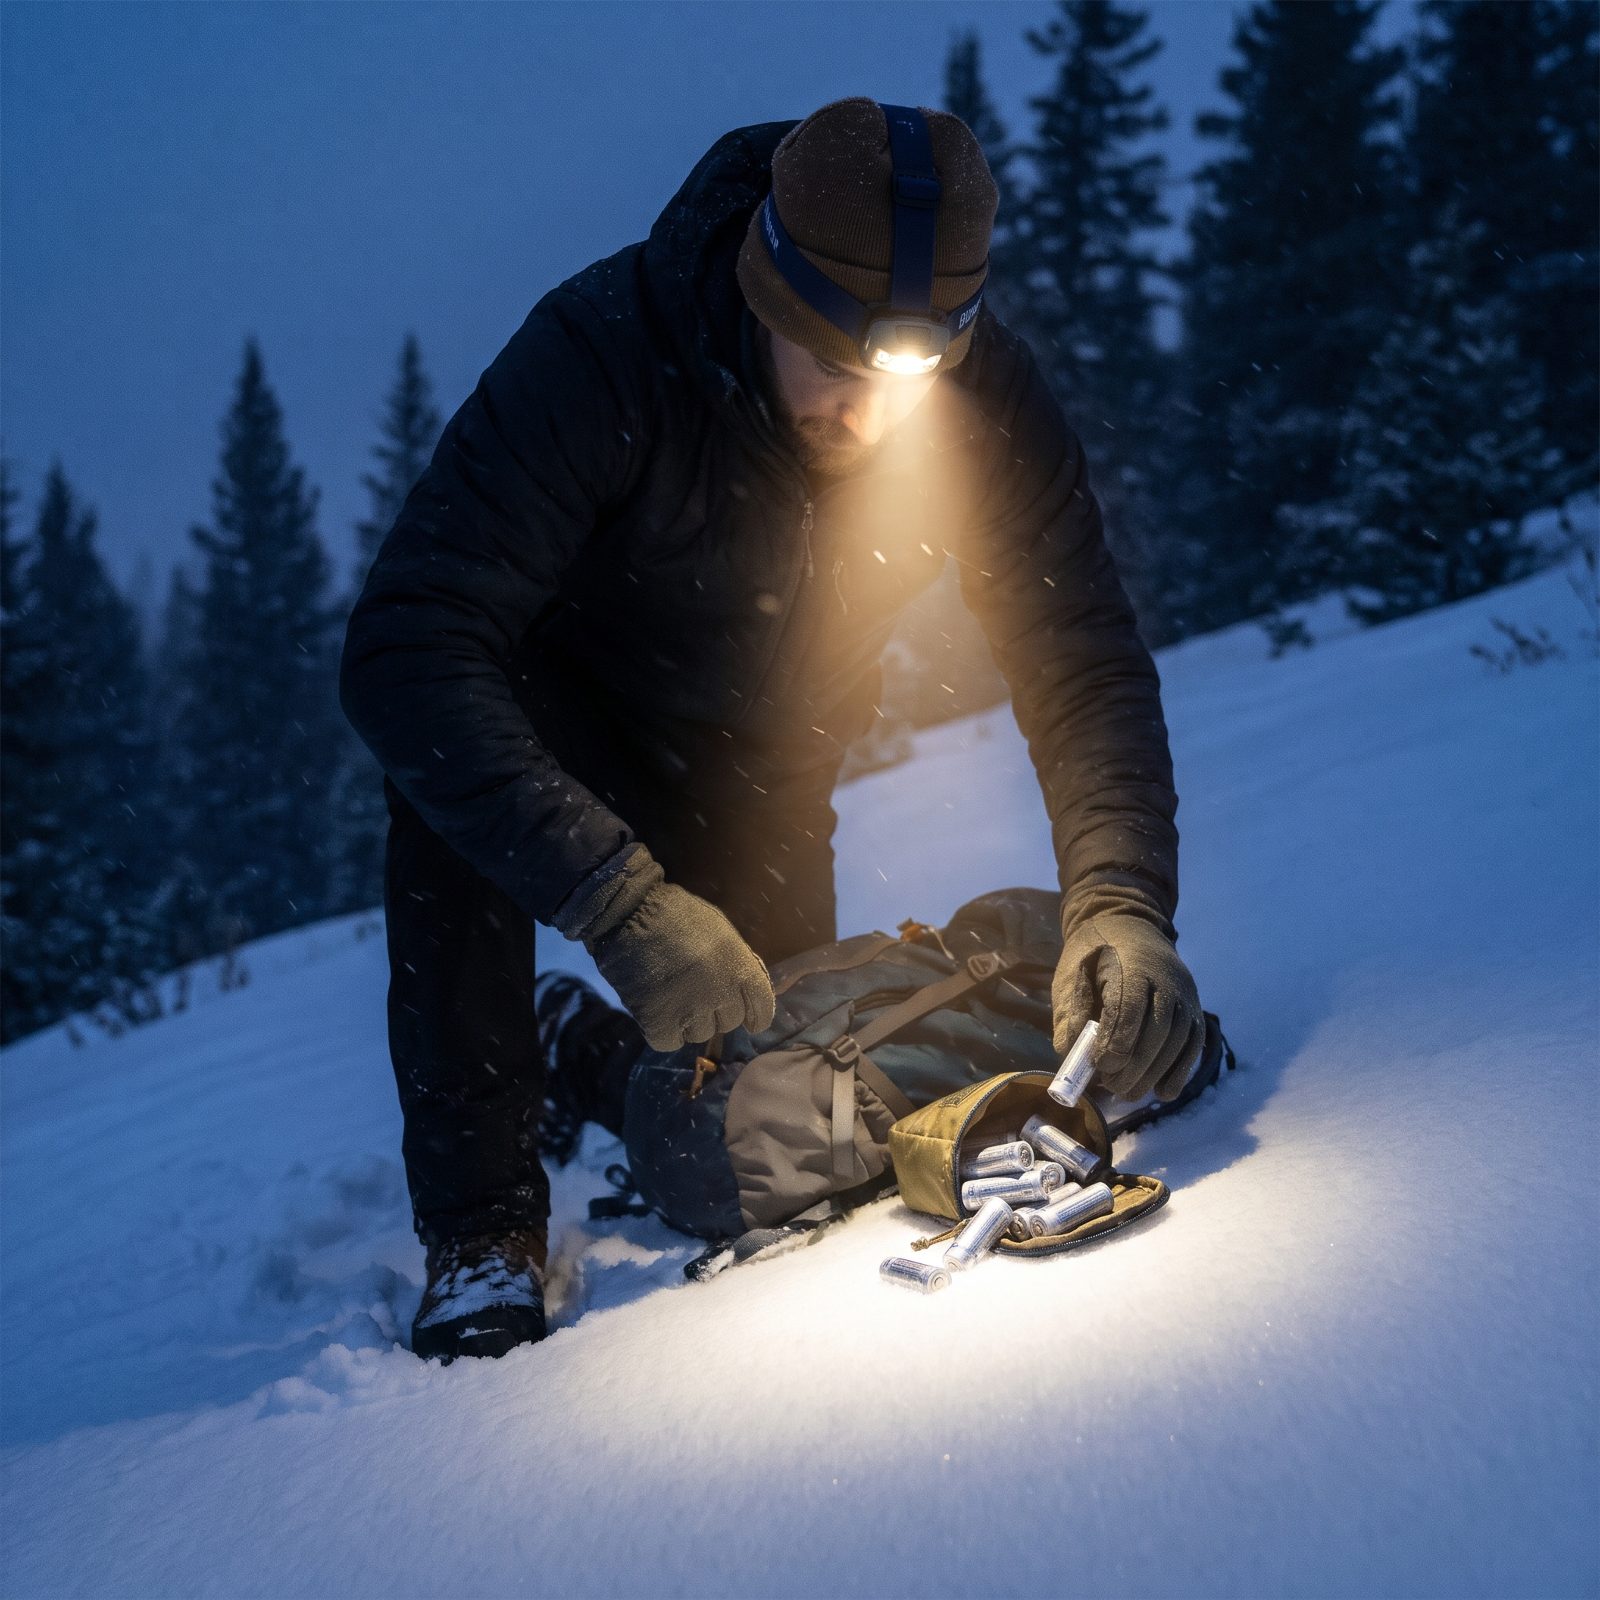
Dark comes early in late December, and it comes fast. Even with a firm turnaround, a wrong turn or a slow member of the group or a tweaked ankle can leave you finishing in the black. A phone flashlight drains your battery and dies in the cold right when you need that phone for the map.
Carry a real headlamp, hands free, and carry spare batteries. Cold murders battery life, so pack the spares, and even a backup lamp, in an easy-to-reach pocket of your pack so you can swap them fast. A lamp you can’t see with because its batteries froze is just dead weight on your forehead.
8. Follow Marked Routes, Not Footprints
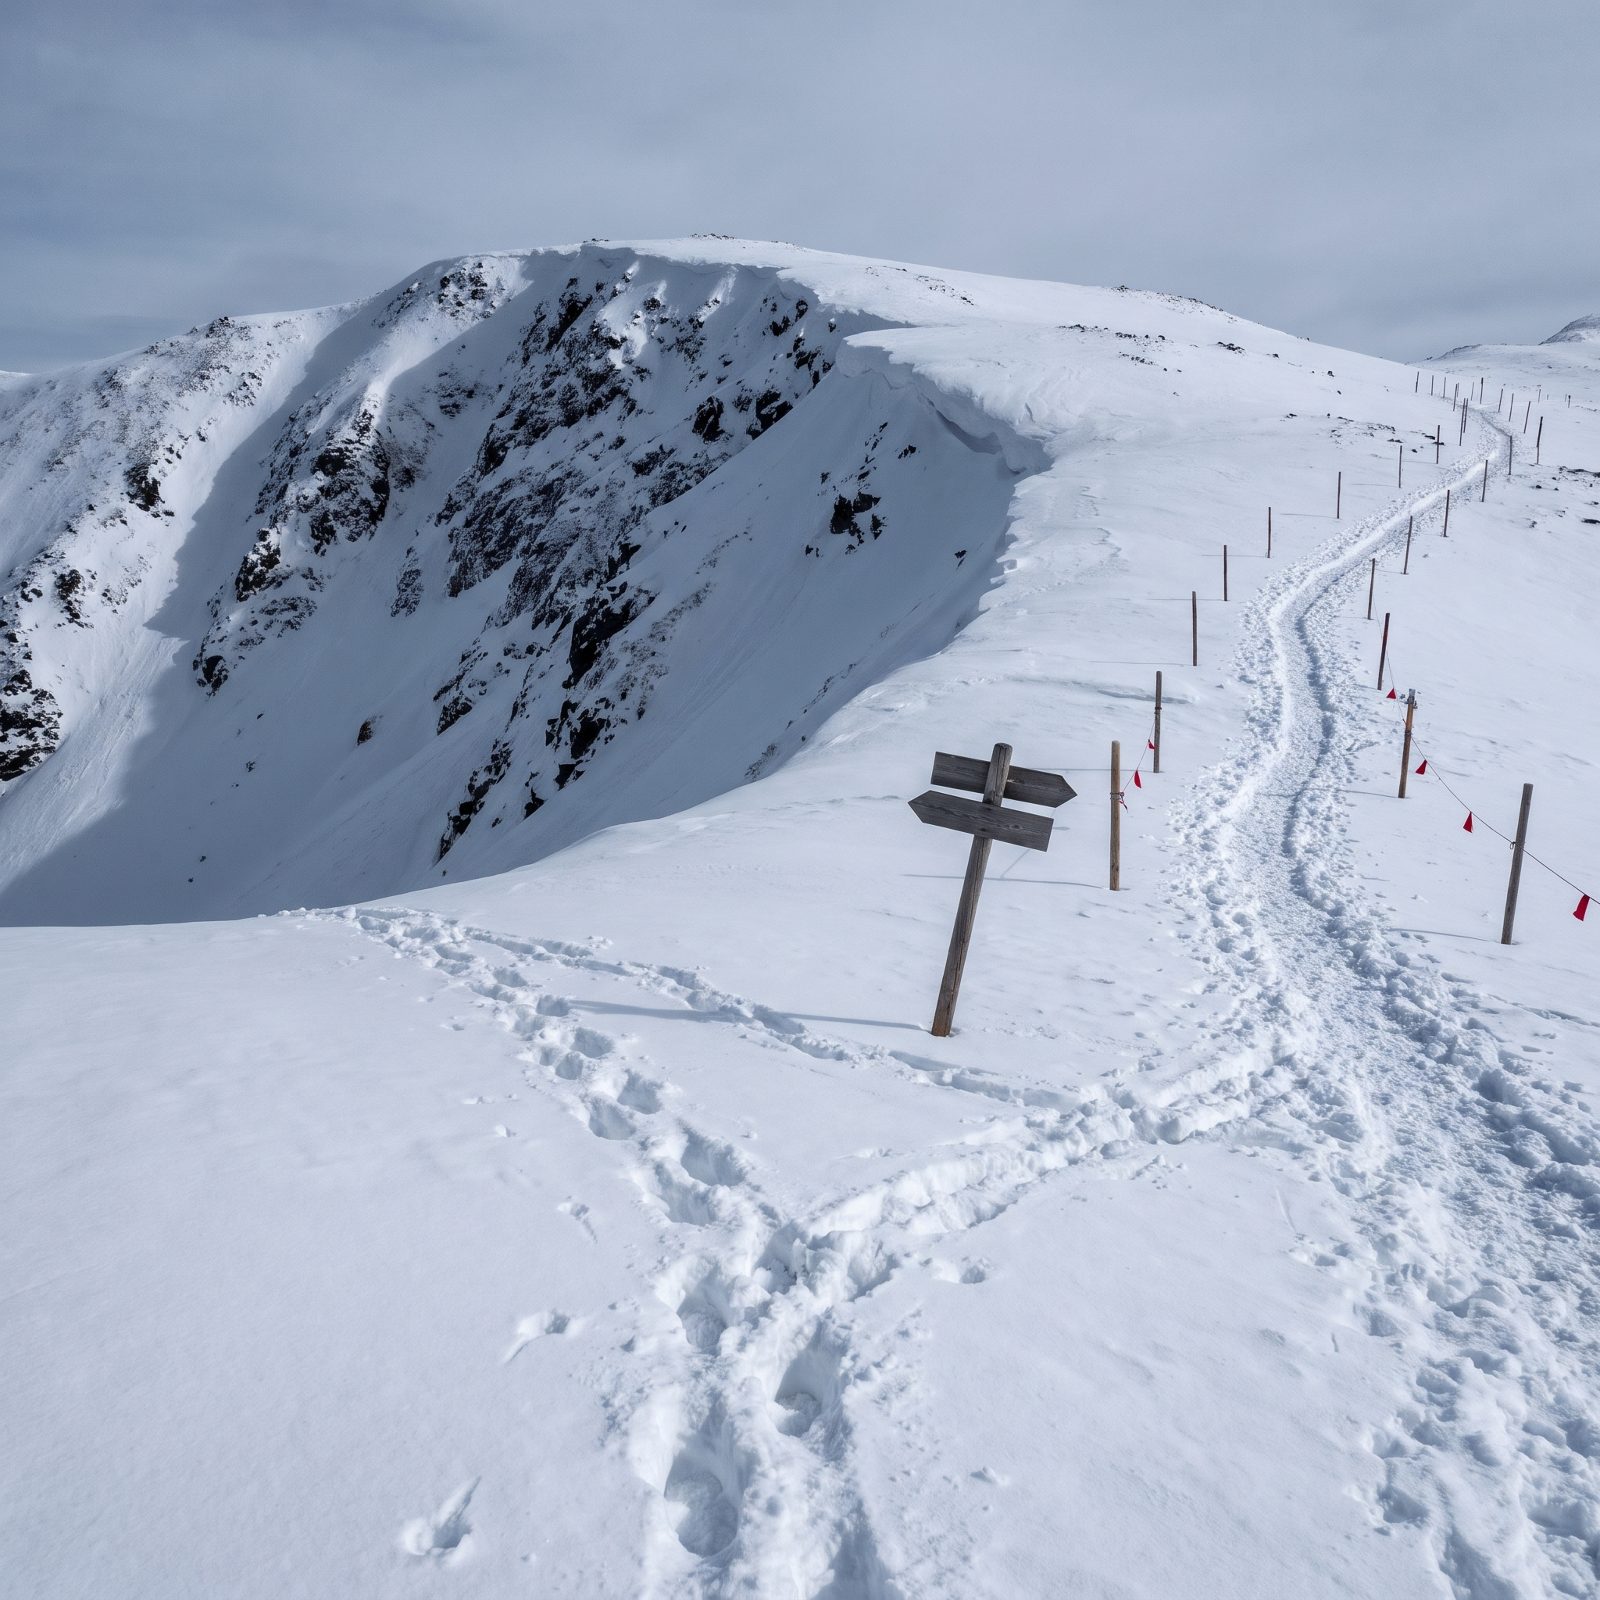
Snow erases the trail, and the tempting fix is to follow the footprints out in front of you. Don’t. Those prints might belong to someone who was lost, or cutting a switchback, or headed somewhere you have no business going. People follow each other off the route and into trouble every single winter.
Navigate by the marked blazes, the posts, and your map or GPS, not by whoever happened to walk through earlier. Download offline maps before you lose signal, which you will. When the tracks and your map disagree, the map wins. Every time.
If you genuinely can’t tell where the trail goes, that’s your cue to turn around. A trail you can’t follow in good light gets far worse as the light fades, and nobody ever found their way back by guessing.
7. Store Food in Wildlife-Proof Containers
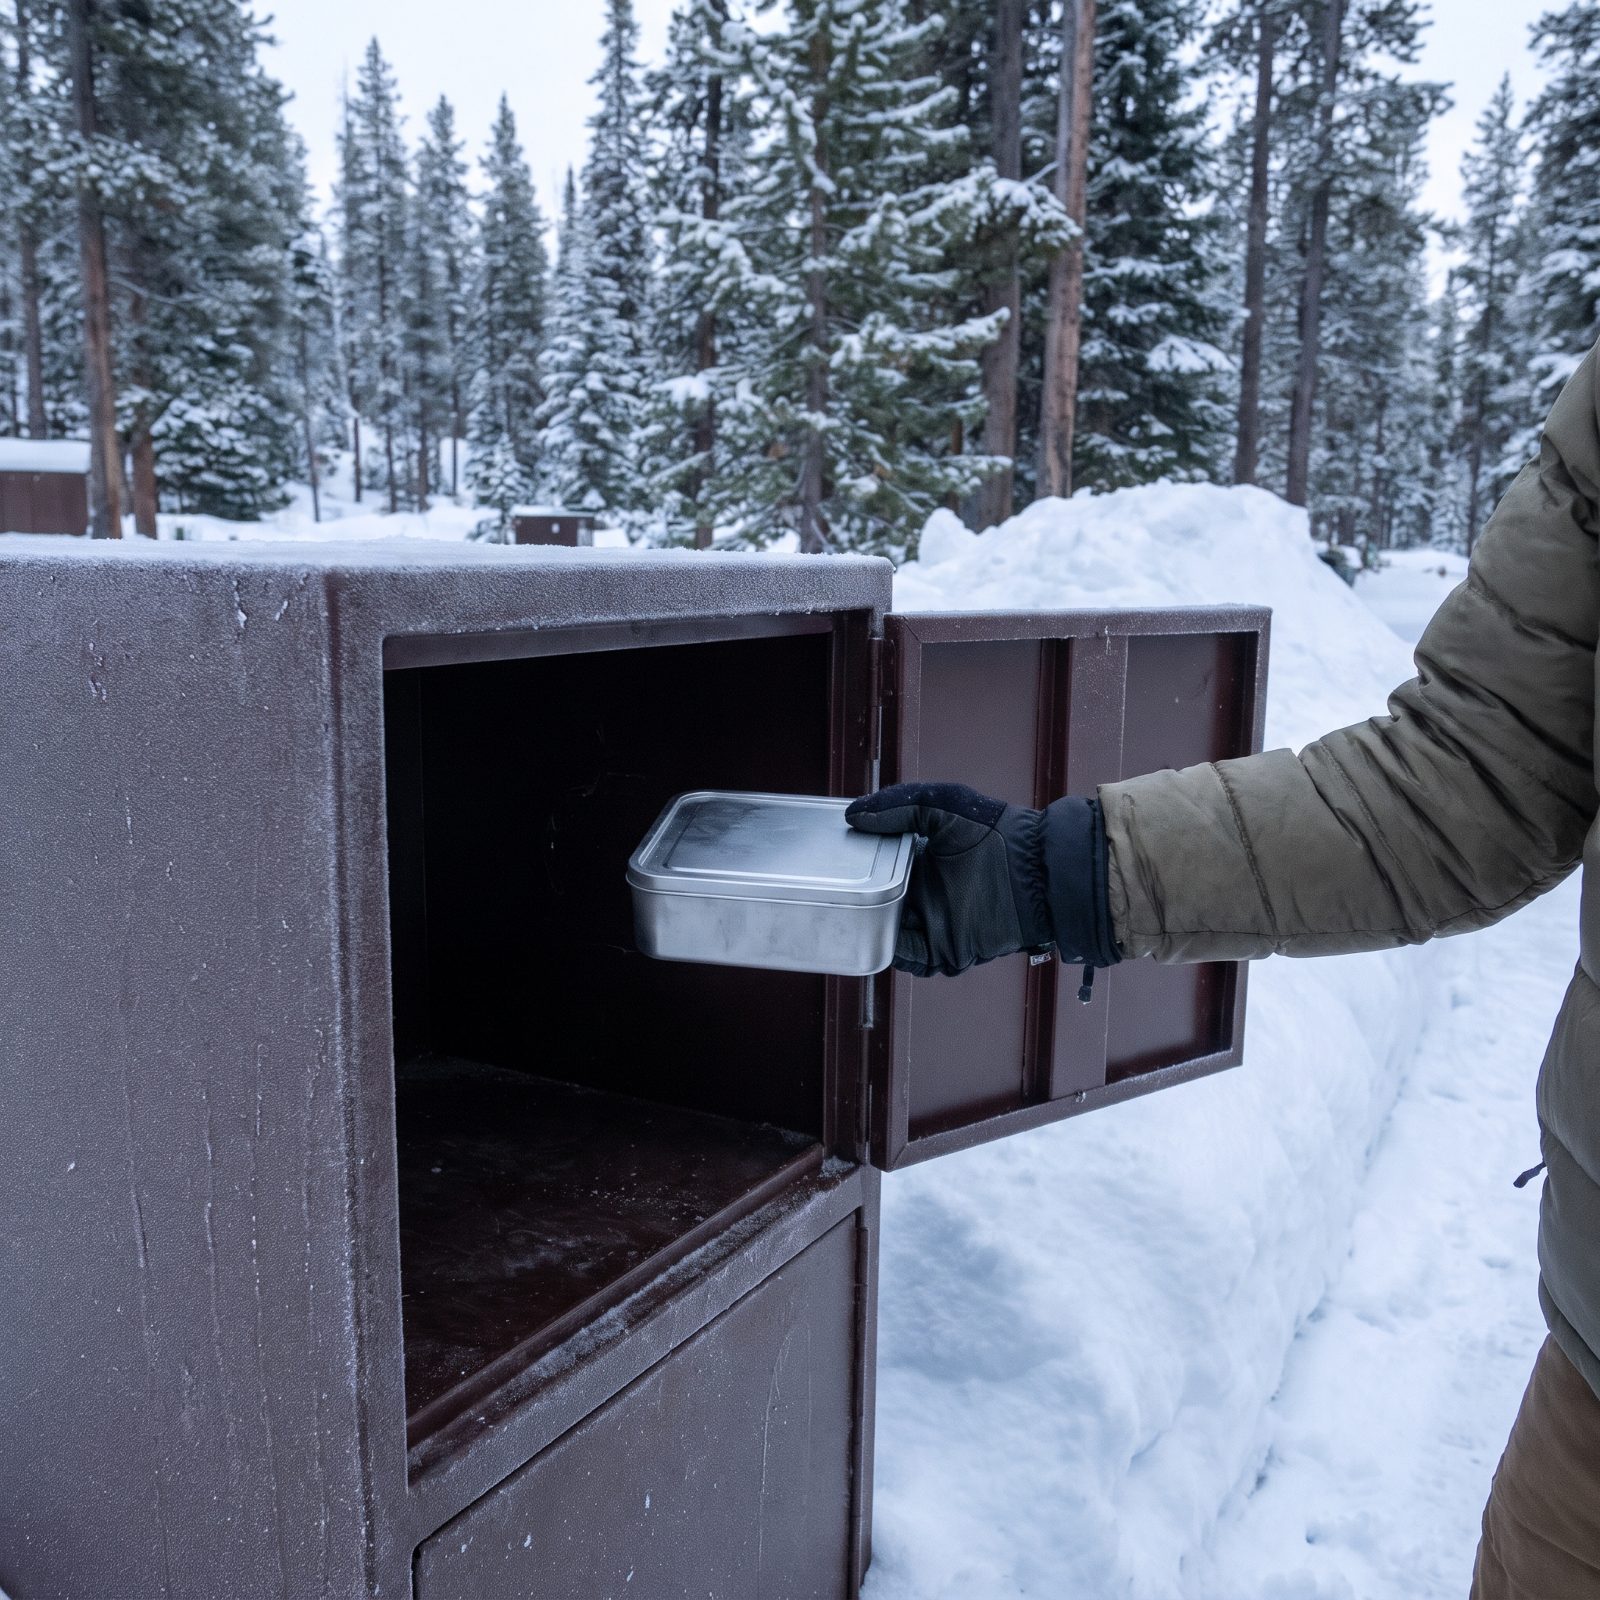
Winter doesn’t switch off the food-storage rules. Plenty of parks require food to go in bear lockers or hard-sided vehicles all year, and in milder stretches some bears wake up and wander. Even where bears are fully asleep, ravens, foxes, coyotes, and squirrels are wide awake, hungry, and bold. Ravens in some parks have learned to unzip packs and pry open coolers left on a picnic table for five minutes.
Keep snacks, trash, and anything scented, including lip balm and sunscreen, sealed in a hard container or locked out of sight in the car. Never leave food sitting at a trailhead or a pullout while you wander off for photos. An animal that scores a free meal from people starts approaching people, and that habit rarely ends well for the animal.
6. Photograph Animals From Safe Distances
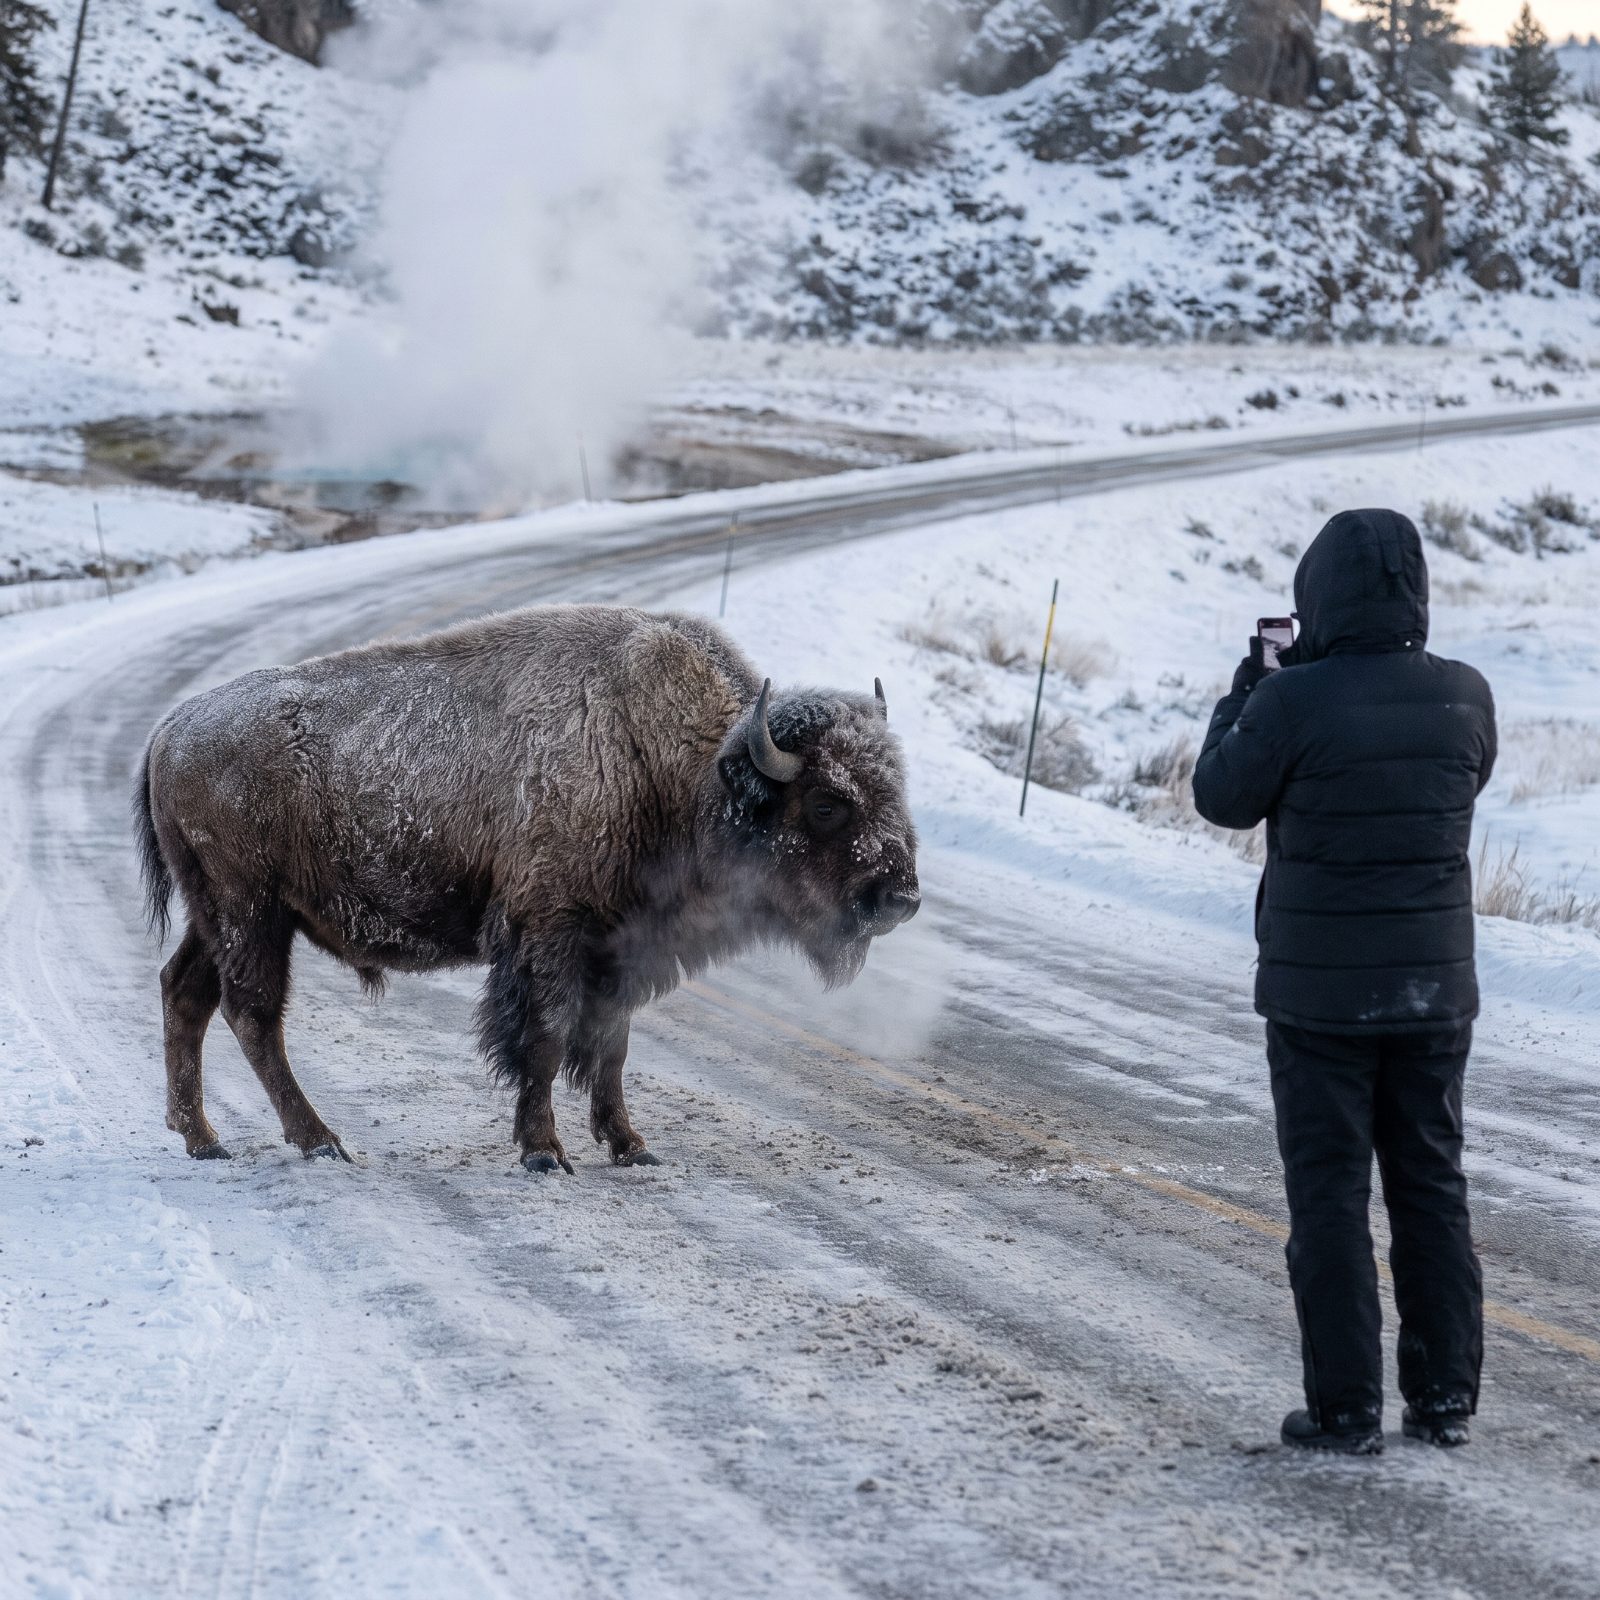
A bison standing in steam on a snowy road is the shot everyone wants, but walking up close with a phone is how people end up in the back of an ambulance. Many parks set minimum distances, with Yellowstone asking for at least 100 yards from bears and wolves and 25 yards from bison, elk, and other large animals. Check the rules for the park you’re visiting and treat them as the floor, not the goal.
Winter raises the stakes for the animals, too. They’re running on stored fat with little to eat, and every time you push one to move, it burns energy it can’t easily replace. If an animal stops feeding, lifts its head, or shifts away because of you, you’re already too close. Bring a telephoto lens or binoculars, stay near your car, and let the zoom do the walking.
5. Stay Off Frozen Lakes and Rivers
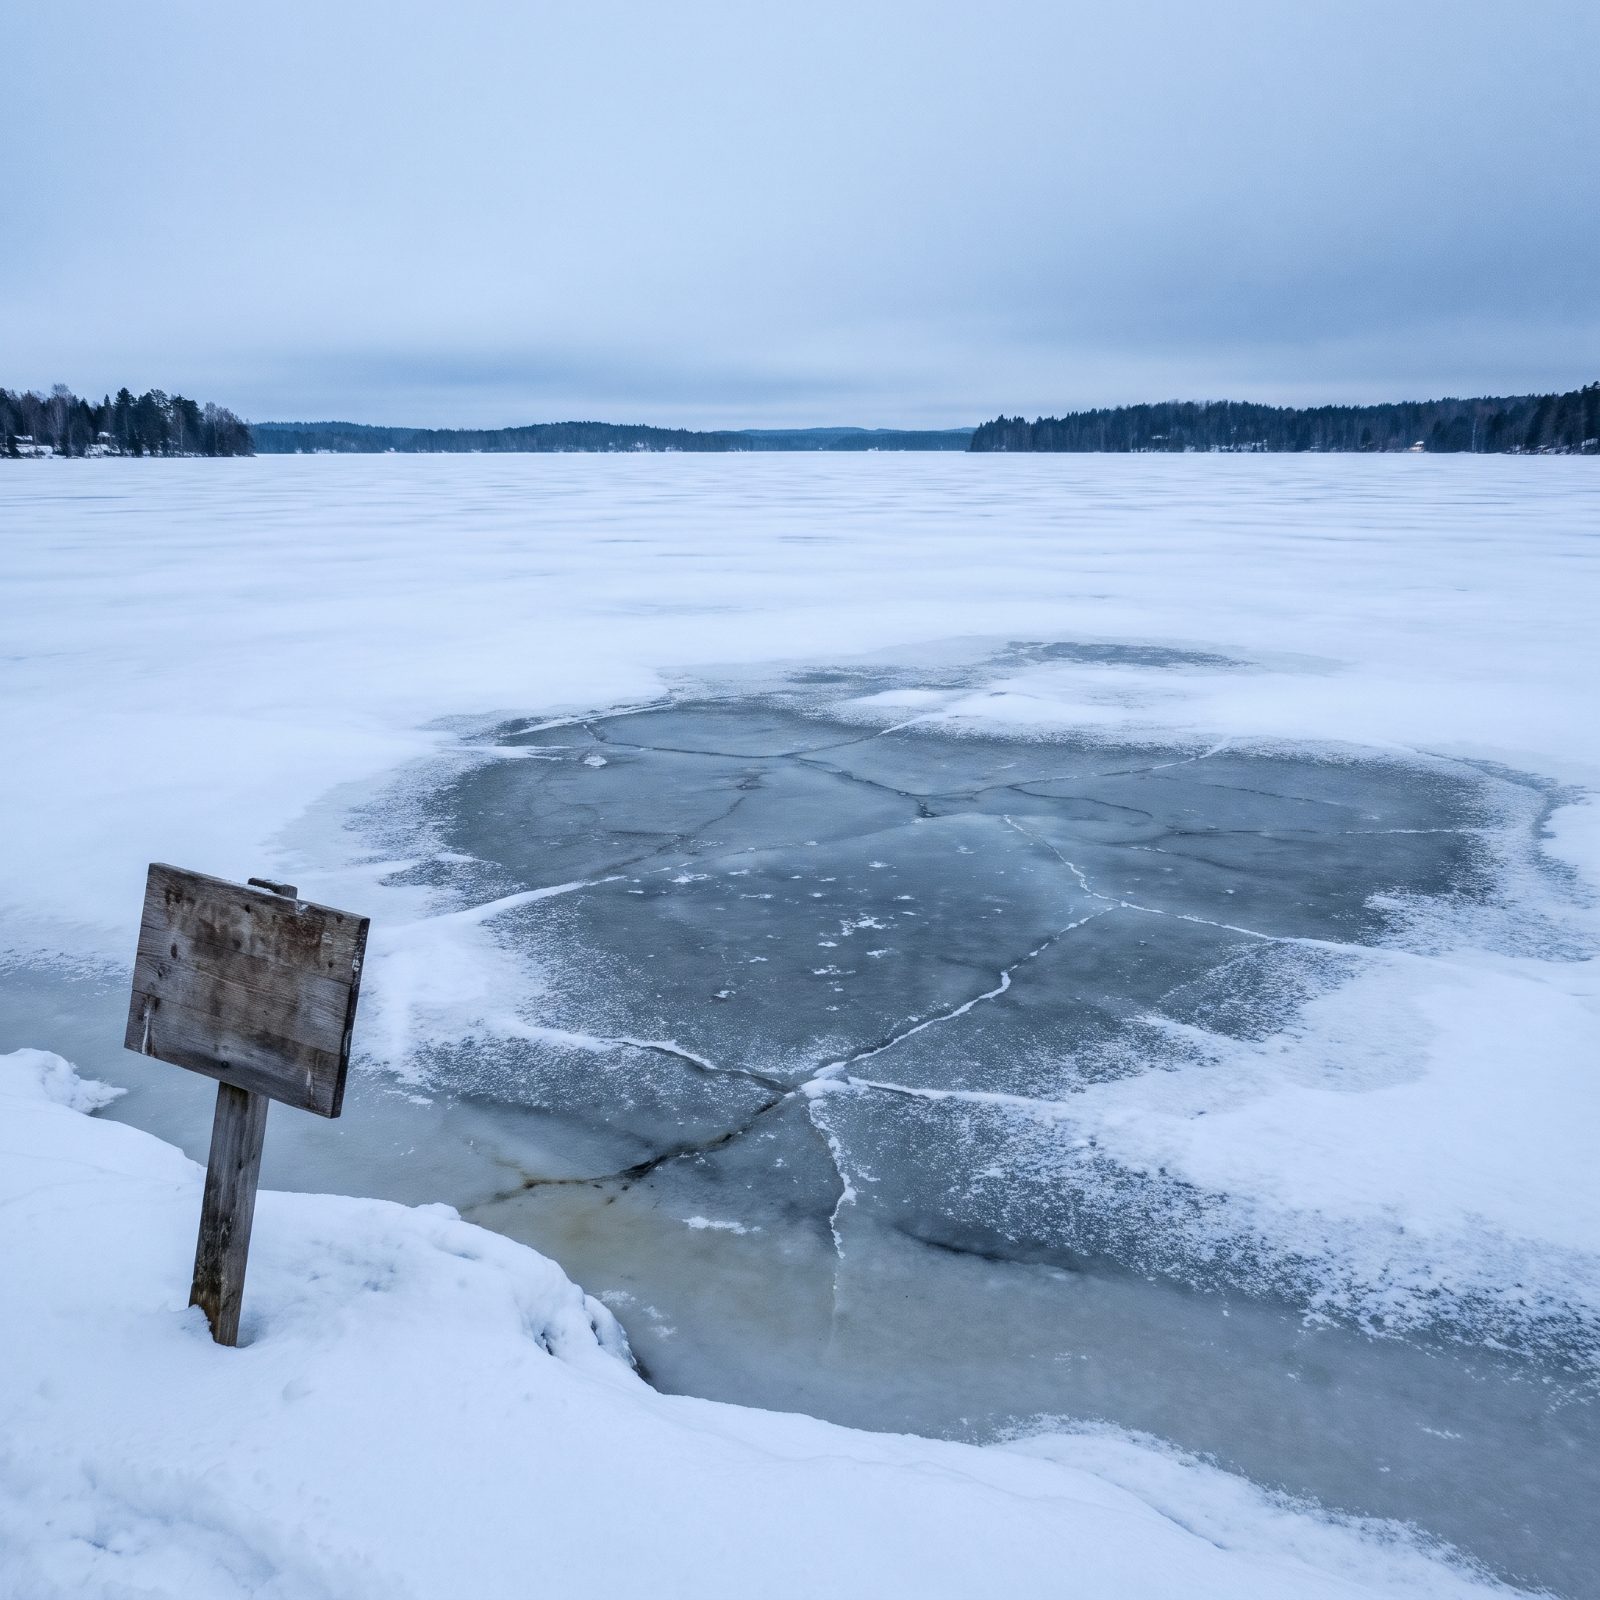
A frozen lake looks like a solid white floor. It often isn’t. Ice thickness changes from one spot to the next, and moving water under rivers, inlets, and outlets keeps the ice thin where you can’t see it. In parks with hot springs or geothermal features, warm water can rot ice from below even in deep cold. A layer of snow on top makes it worse by insulating the surface and hiding every weak patch.
Stay on the shore, keep pets leashed so they don’t sprint out after a duck, and never walk onto ice to chase a dog or a dropped glove. If someone breaks through, call for help and reach with a pole, branch, or rope from solid ground instead of going out after them. Rangers can’t vouch for ice they haven’t tested, so don’t trust it either.
In a local TV news report, state park rangers warned that ice thickness can be different in the middle of a lake, where water may still be moving, and that ice melts as temperatures rise.
4. Watch for Falling Ice Near Cliffs
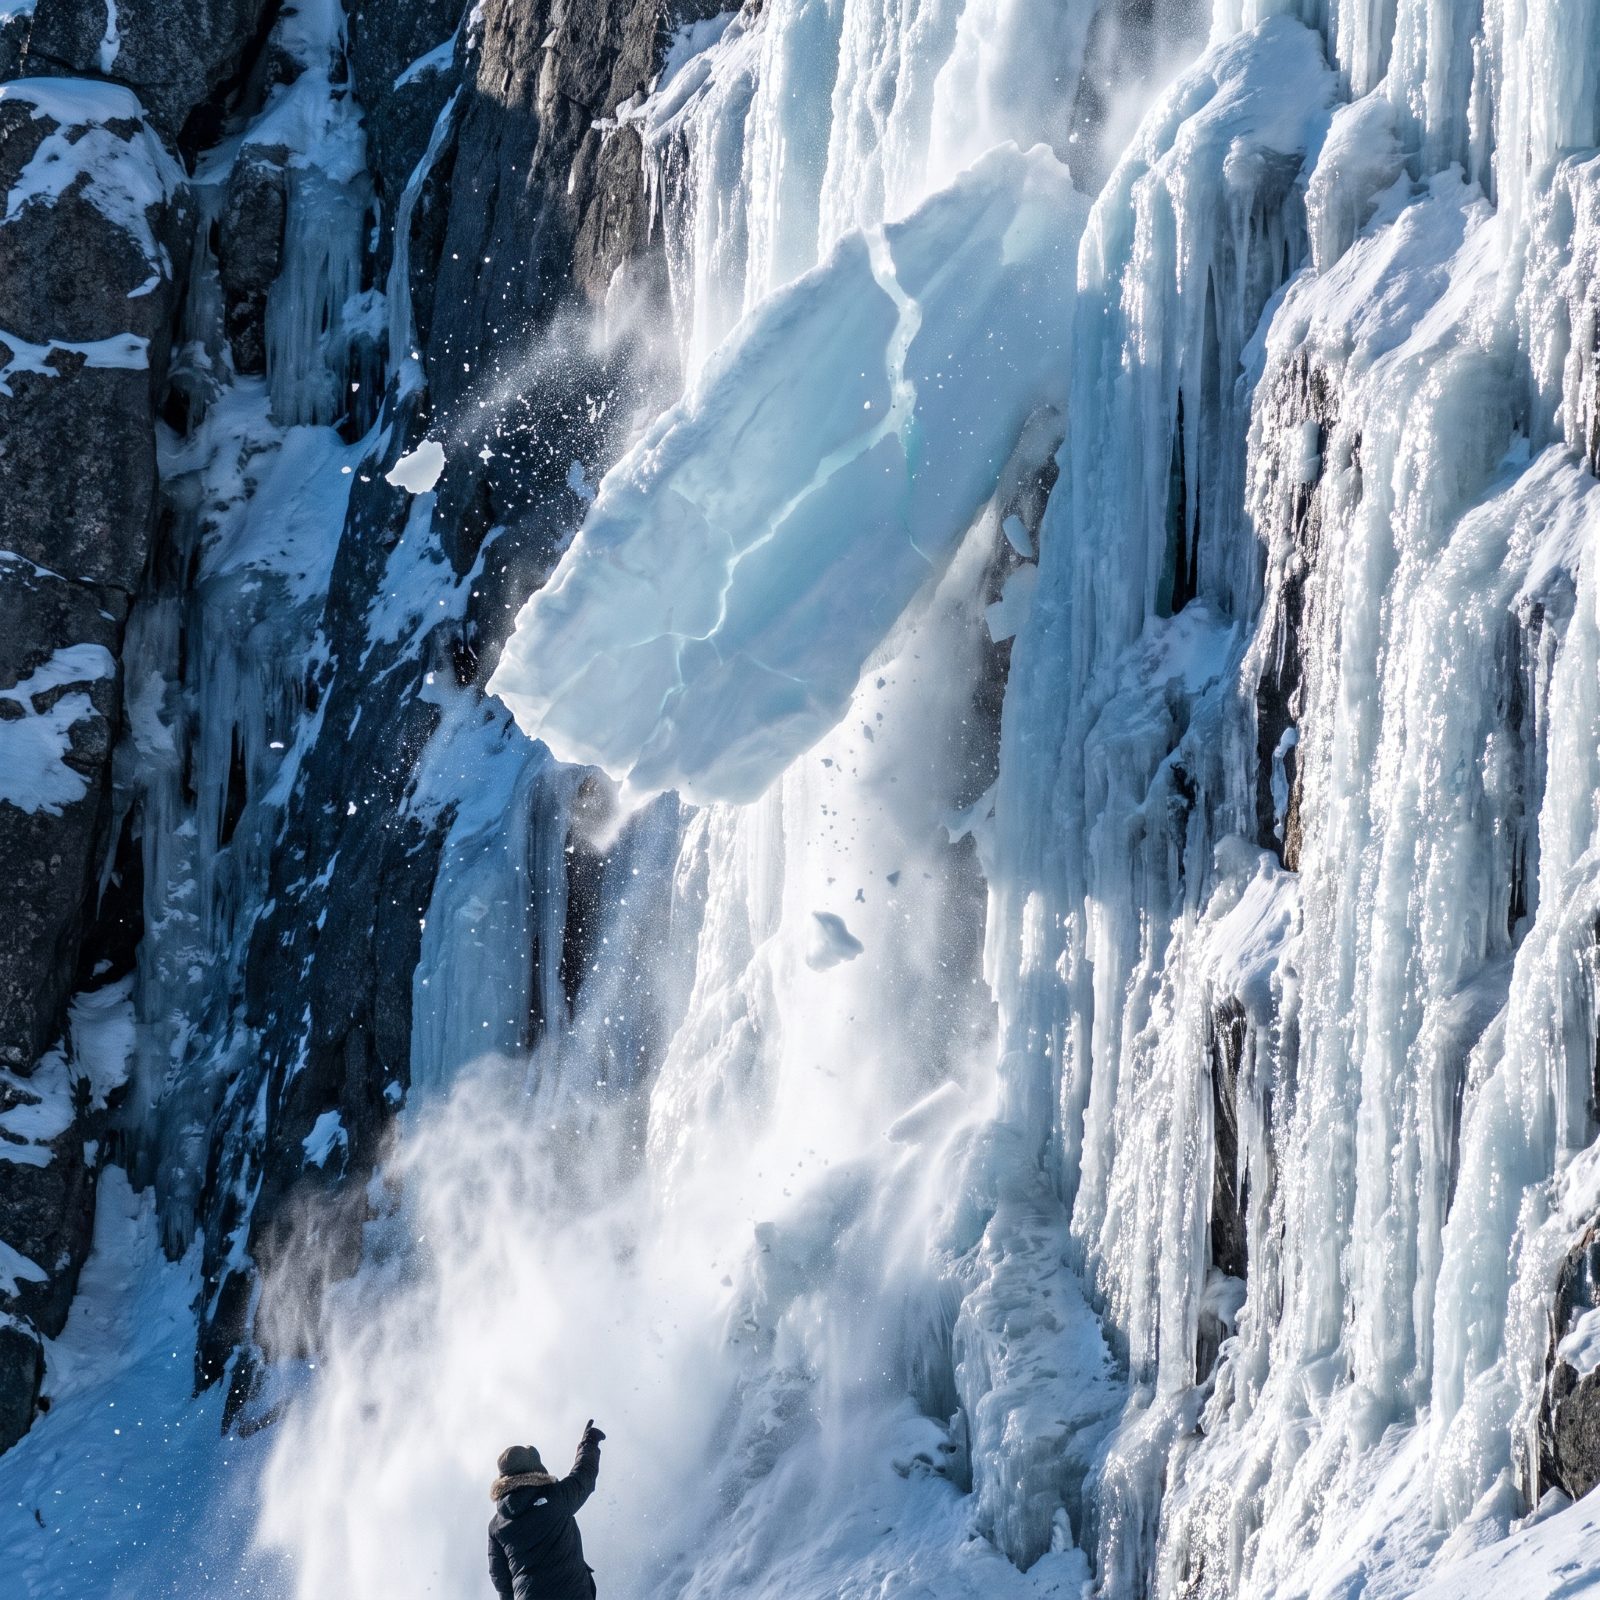
Cliffs, overhangs, and frozen waterfalls shed ice all winter, and the danger peaks when the sun hits them. A slab of ice that bonded to rock overnight can let go in late morning as the face warms, and a falling chunk the size of a dinner plate does real damage from a few hundred feet up. You often hear it crack before it falls, but not always.
Move steadily through trail sections that run beneath cliff faces rather than stopping for lunch there. Don’t stand at the base of a frozen waterfall or duck behind one for a photo. Watch for fresh ice debris scattered on the snow at the foot of a wall; that’s the cliff telling you exactly where it drops things. Heed any signs or closures posted for icefall, because rangers put them where they’ve seen it happen.
3. Recognize Early Hypothermia Symptoms
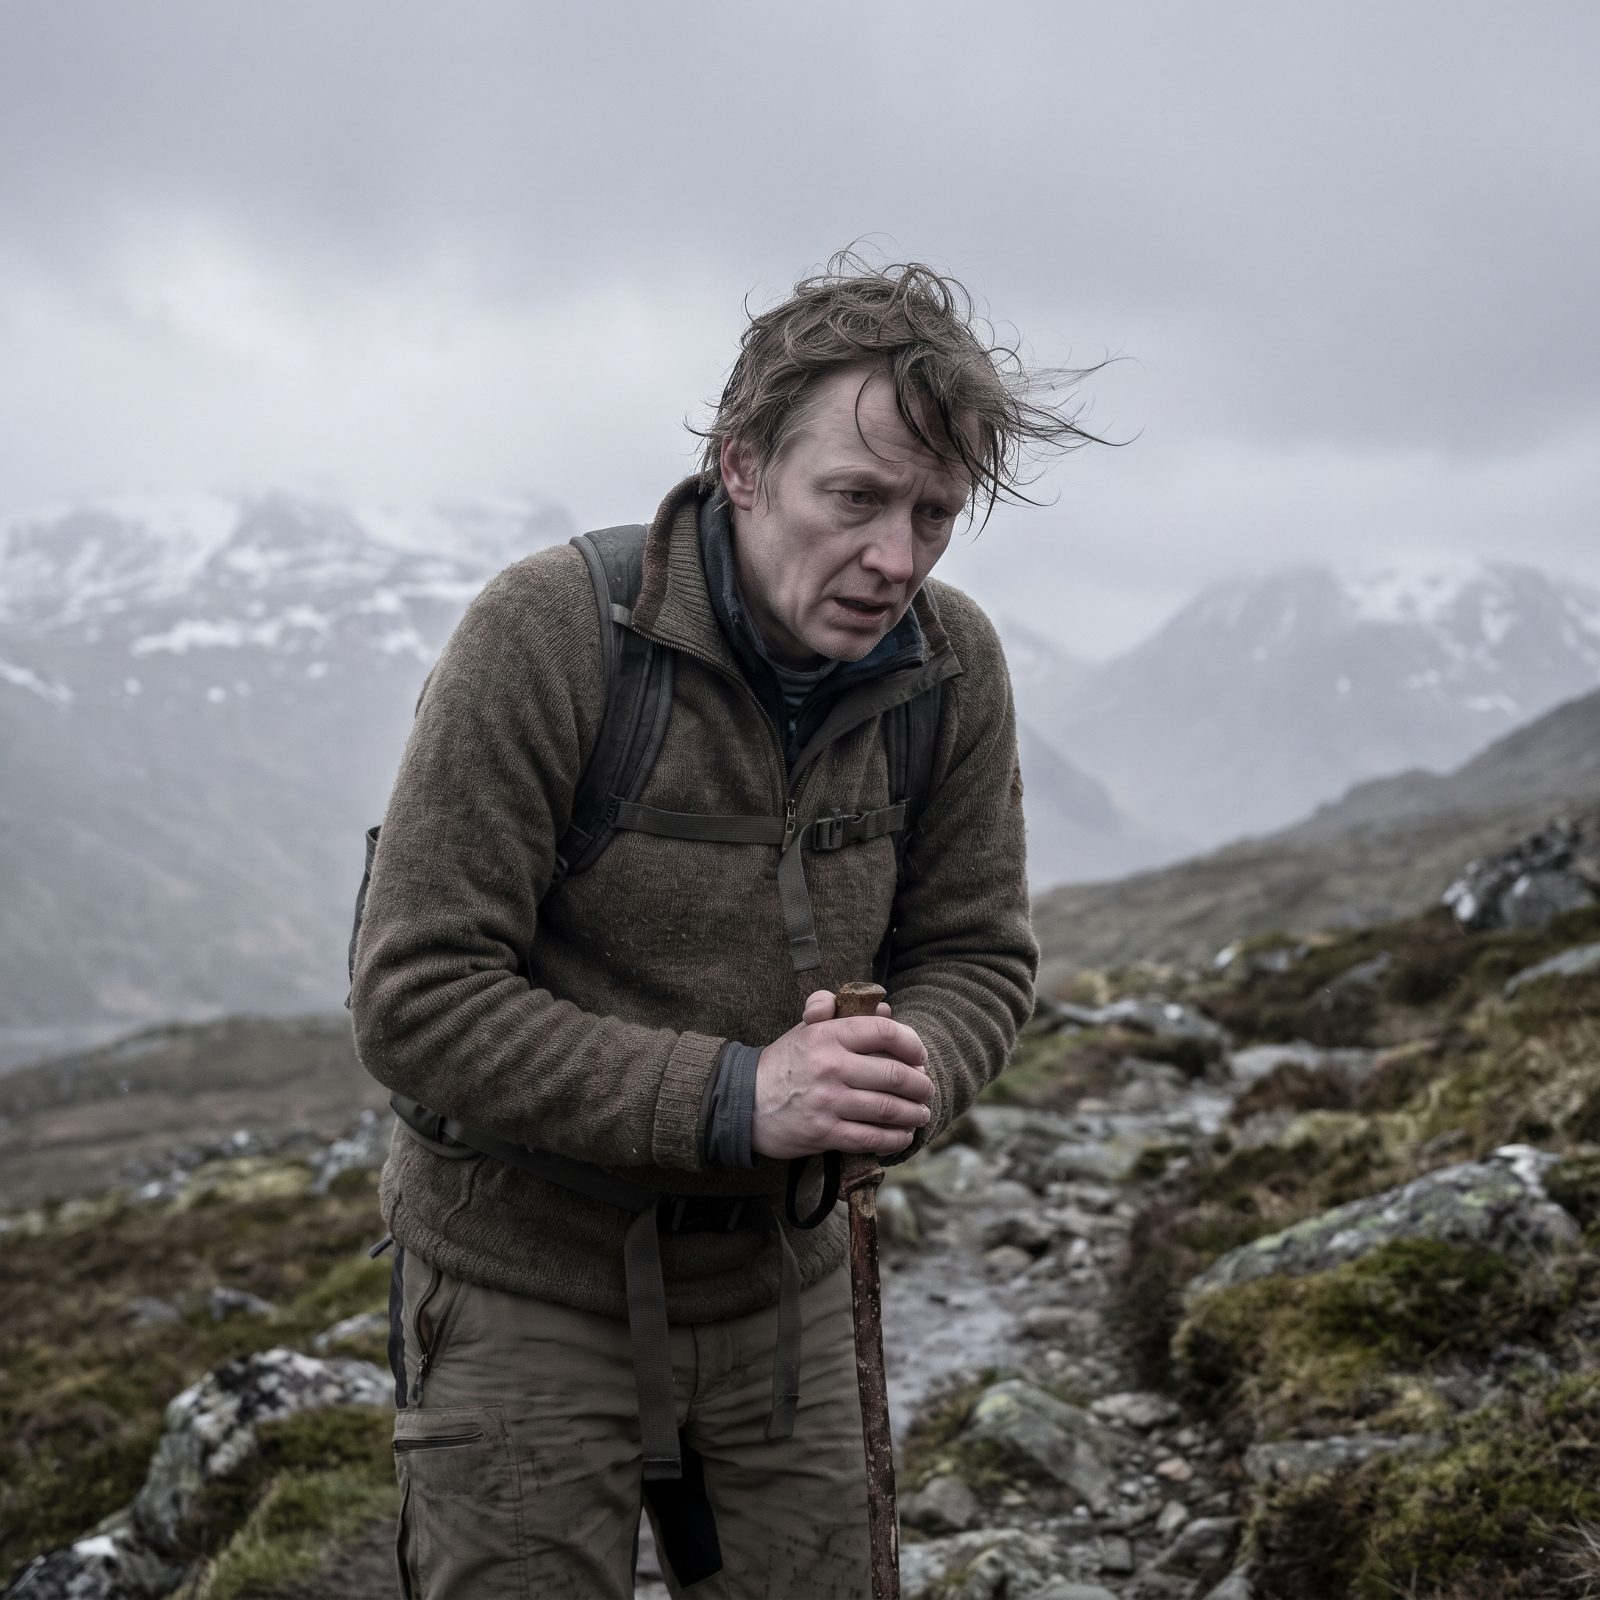
Hypothermia rarely announces itself. It creeps in through sweat-damp layers, a stiff wind, and a long stop on a cold rock, and one of its first effects is dulling the judgment you’d need to notice it. That’s why you watch each other, not just yourself.
Early signs include hard shivering, numb or clumsy hands, and what rescuers call the “umbles”: someone who stumbles, mumbles, fumbles, and grumbles. A normally cheerful hiker who goes irritable and slow, slurs a word, or can’t work a zipper needs attention now. If the shivering stops but the person is still cold and confused, that’s a sign things are getting worse, not better.
2. Turn Around When Conditions Worsen
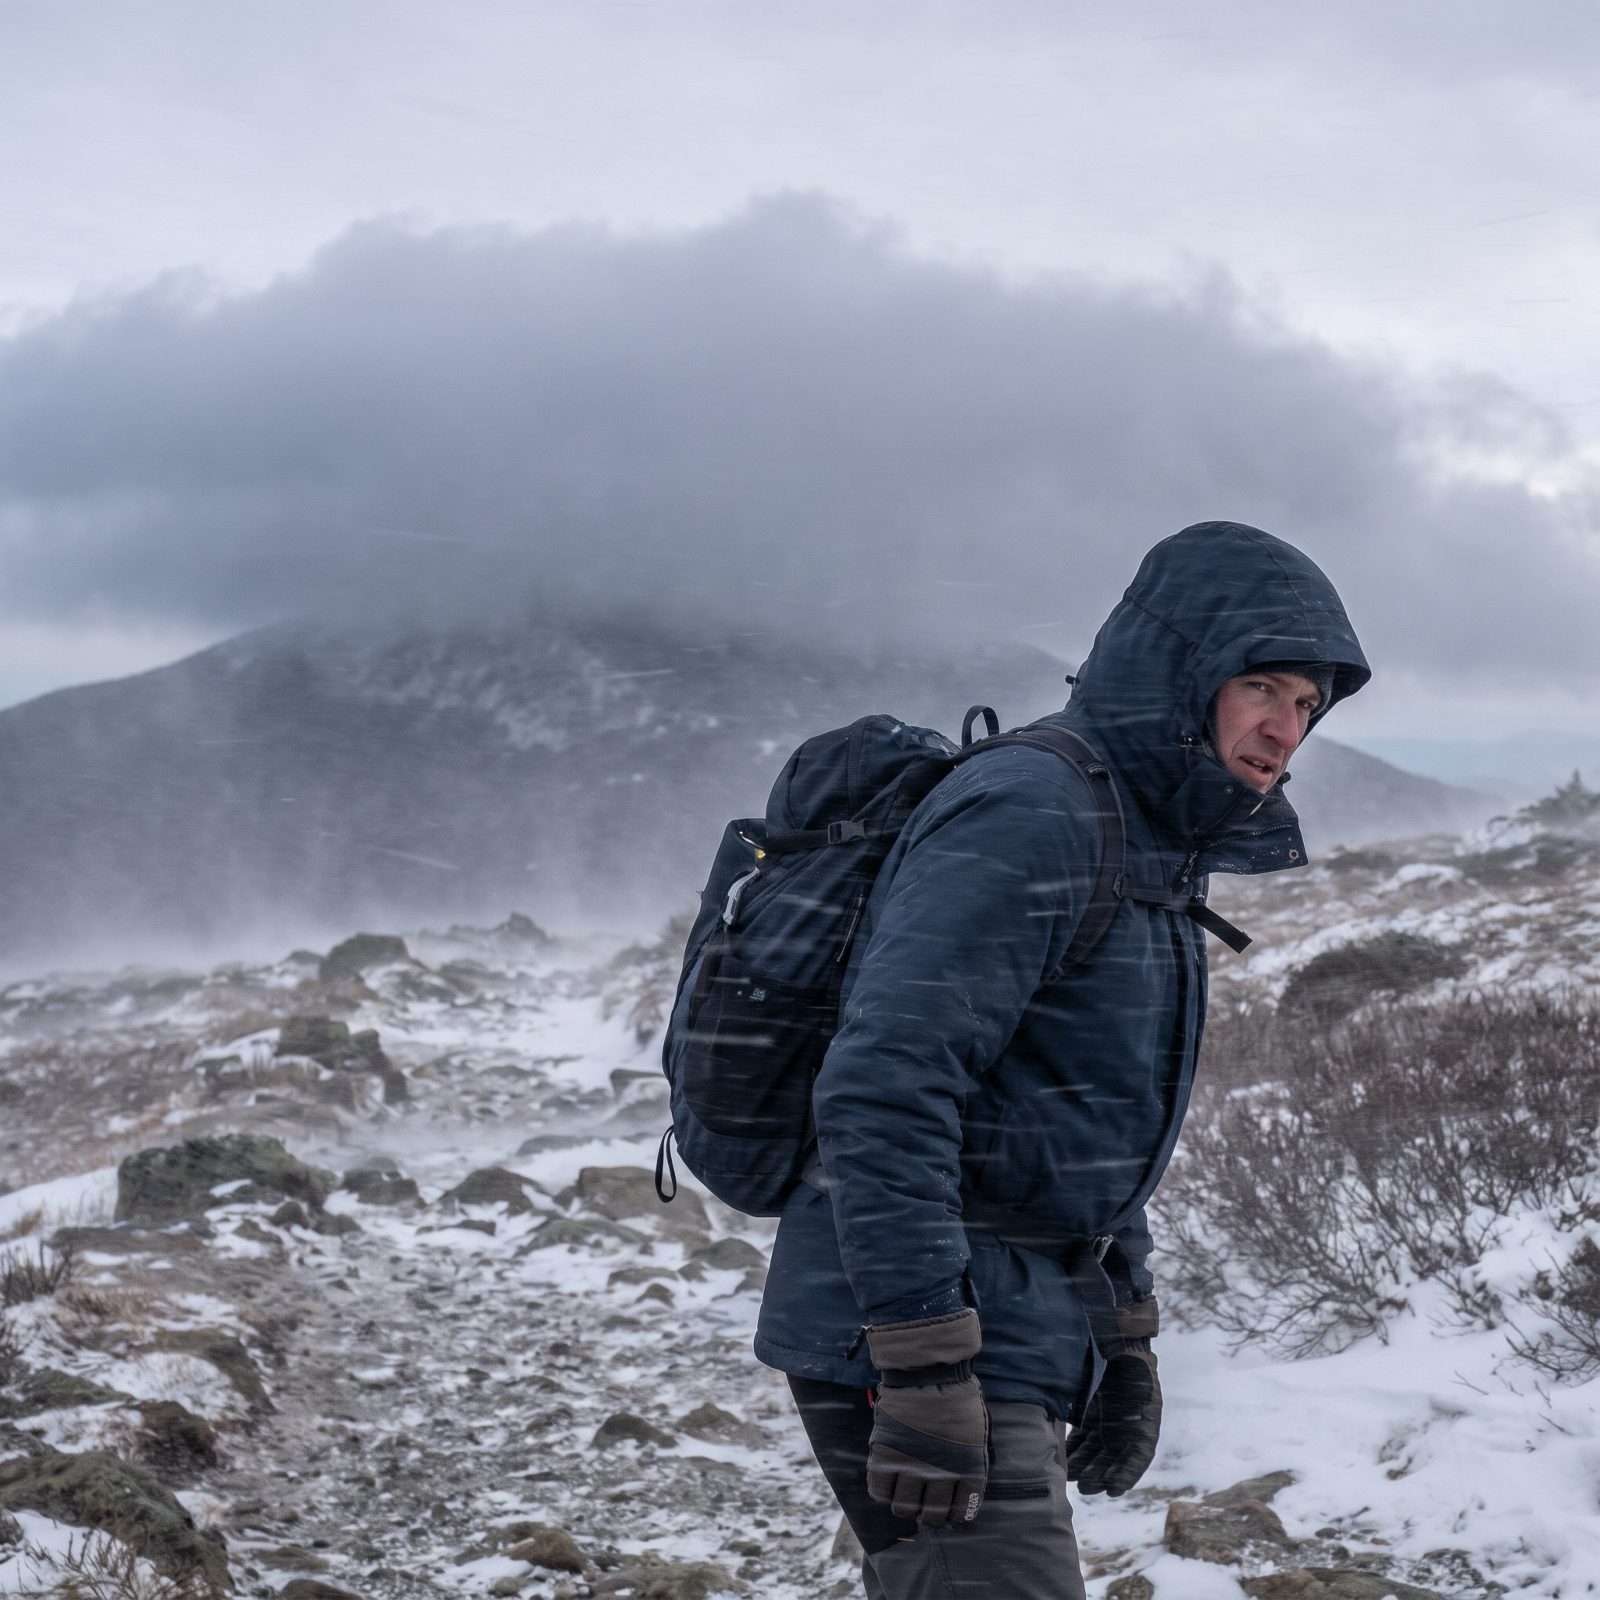
A turnaround time protects you from the clock. This is about the sky and the ground. Wind that picks up sharply, snow that starts falling harder, clouds dropping over the ridge, trail markers vanishing under drifts, a partner who’s lagging or going silent: any one of those is reason enough to head back, even if you’re making good time.
The hardest part is the pull of almost being there. Everyone feels it, and it’s behind a lot of winter rescues. Agree before you start that anyone in the group can call it, no debate. The same rule applies behind the wheel. If the park road is turning to sheet ice and visibility is shrinking, the overlook will still be there in July. Turning around early is never the story anyone regrets telling.
1. Never Idle Inside Snowbanks
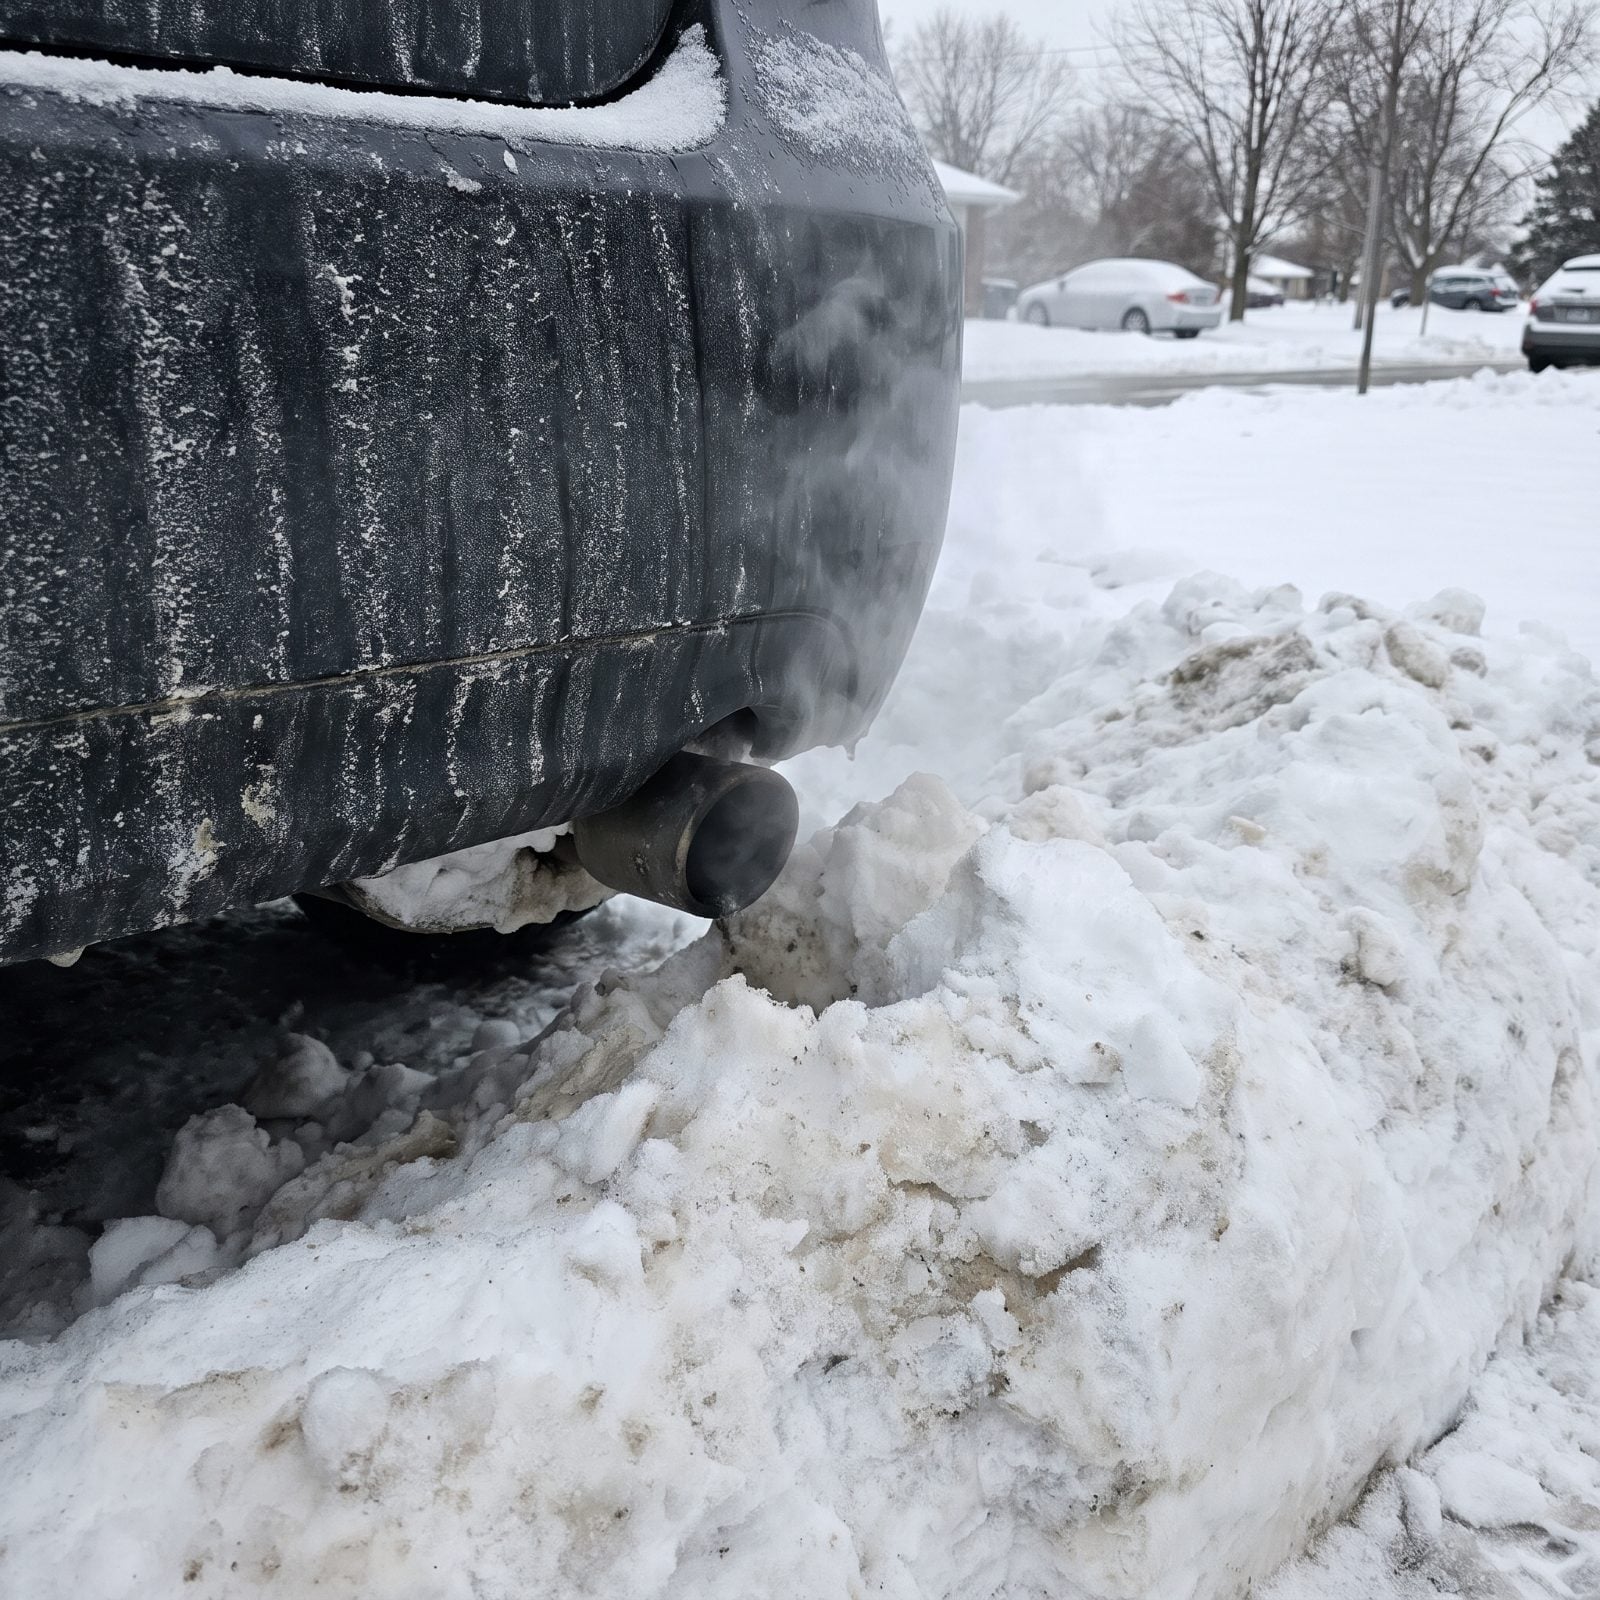
Getting stuck or stranded in the cold tempts you to keep the engine running for heat. That’s reasonable, but only if the tailpipe is clear. When snow packs around the exhaust, whether from a drift, a plow berm, or the car sliding into a bank, carbon monoxide can back up and seep into the cabin. You can’t see it or smell it, and it can knock out everyone inside before anyone realizes something’s wrong.
Before you idle, get out and dig the tailpipe completely clear, and check it again every time more snow falls or blows in. Common winter-survival guidance is to run the engine in short bursts, about ten minutes an hour, with a window cracked slightly on the side away from the wind. Between bursts, pile on the blankets and layers you packed. Headaches, dizziness, or drowsiness in a running car mean shut it off and get fresh air immediately.
After a deadly snowstorm, a state fire marshal warned drivers who think an idling car melts the snow around it: “But if the exhaust pipe is blocked — or even partially surrounded by snow — carbon monoxide can build up and back up.”
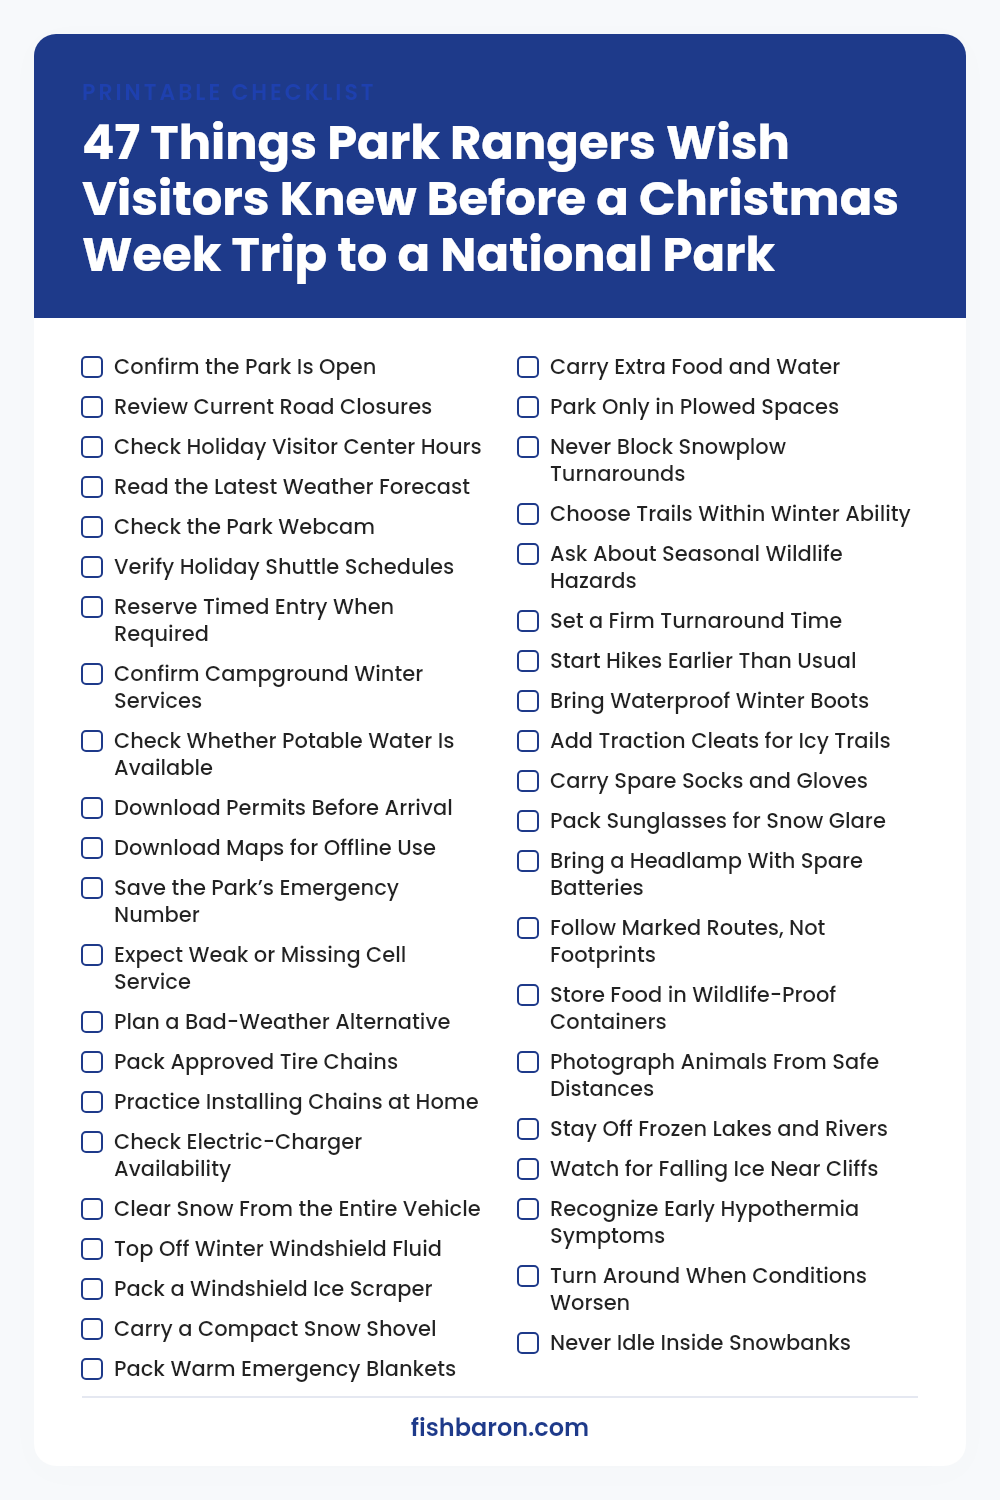
Your Printable Checklist
Save it to Pinterest or print it — every check from the list above on one page.