
The coldest we ever got wasn’t on a mountain. It was fifteen feet from a wood stove, in a borrowed sleeping bag, because we made a dozen small mistakes nobody warns you about. Cold doesn’t announce itself — it creeps in through your socks, condenses on your tent ceiling, and turns your boots into frozen bricks by morning. The good news? Most of what keeps you warm costs almost nothing. Bread bags, newspaper, a square of foam. These are the tricks that separate a miserable December night from one you’d happily repeat. Here are the ones worth stealing.
Please note that some of the images in this article were created with the assistance of AI.
34. Slip Bread Bags Between Your Socks and Boots
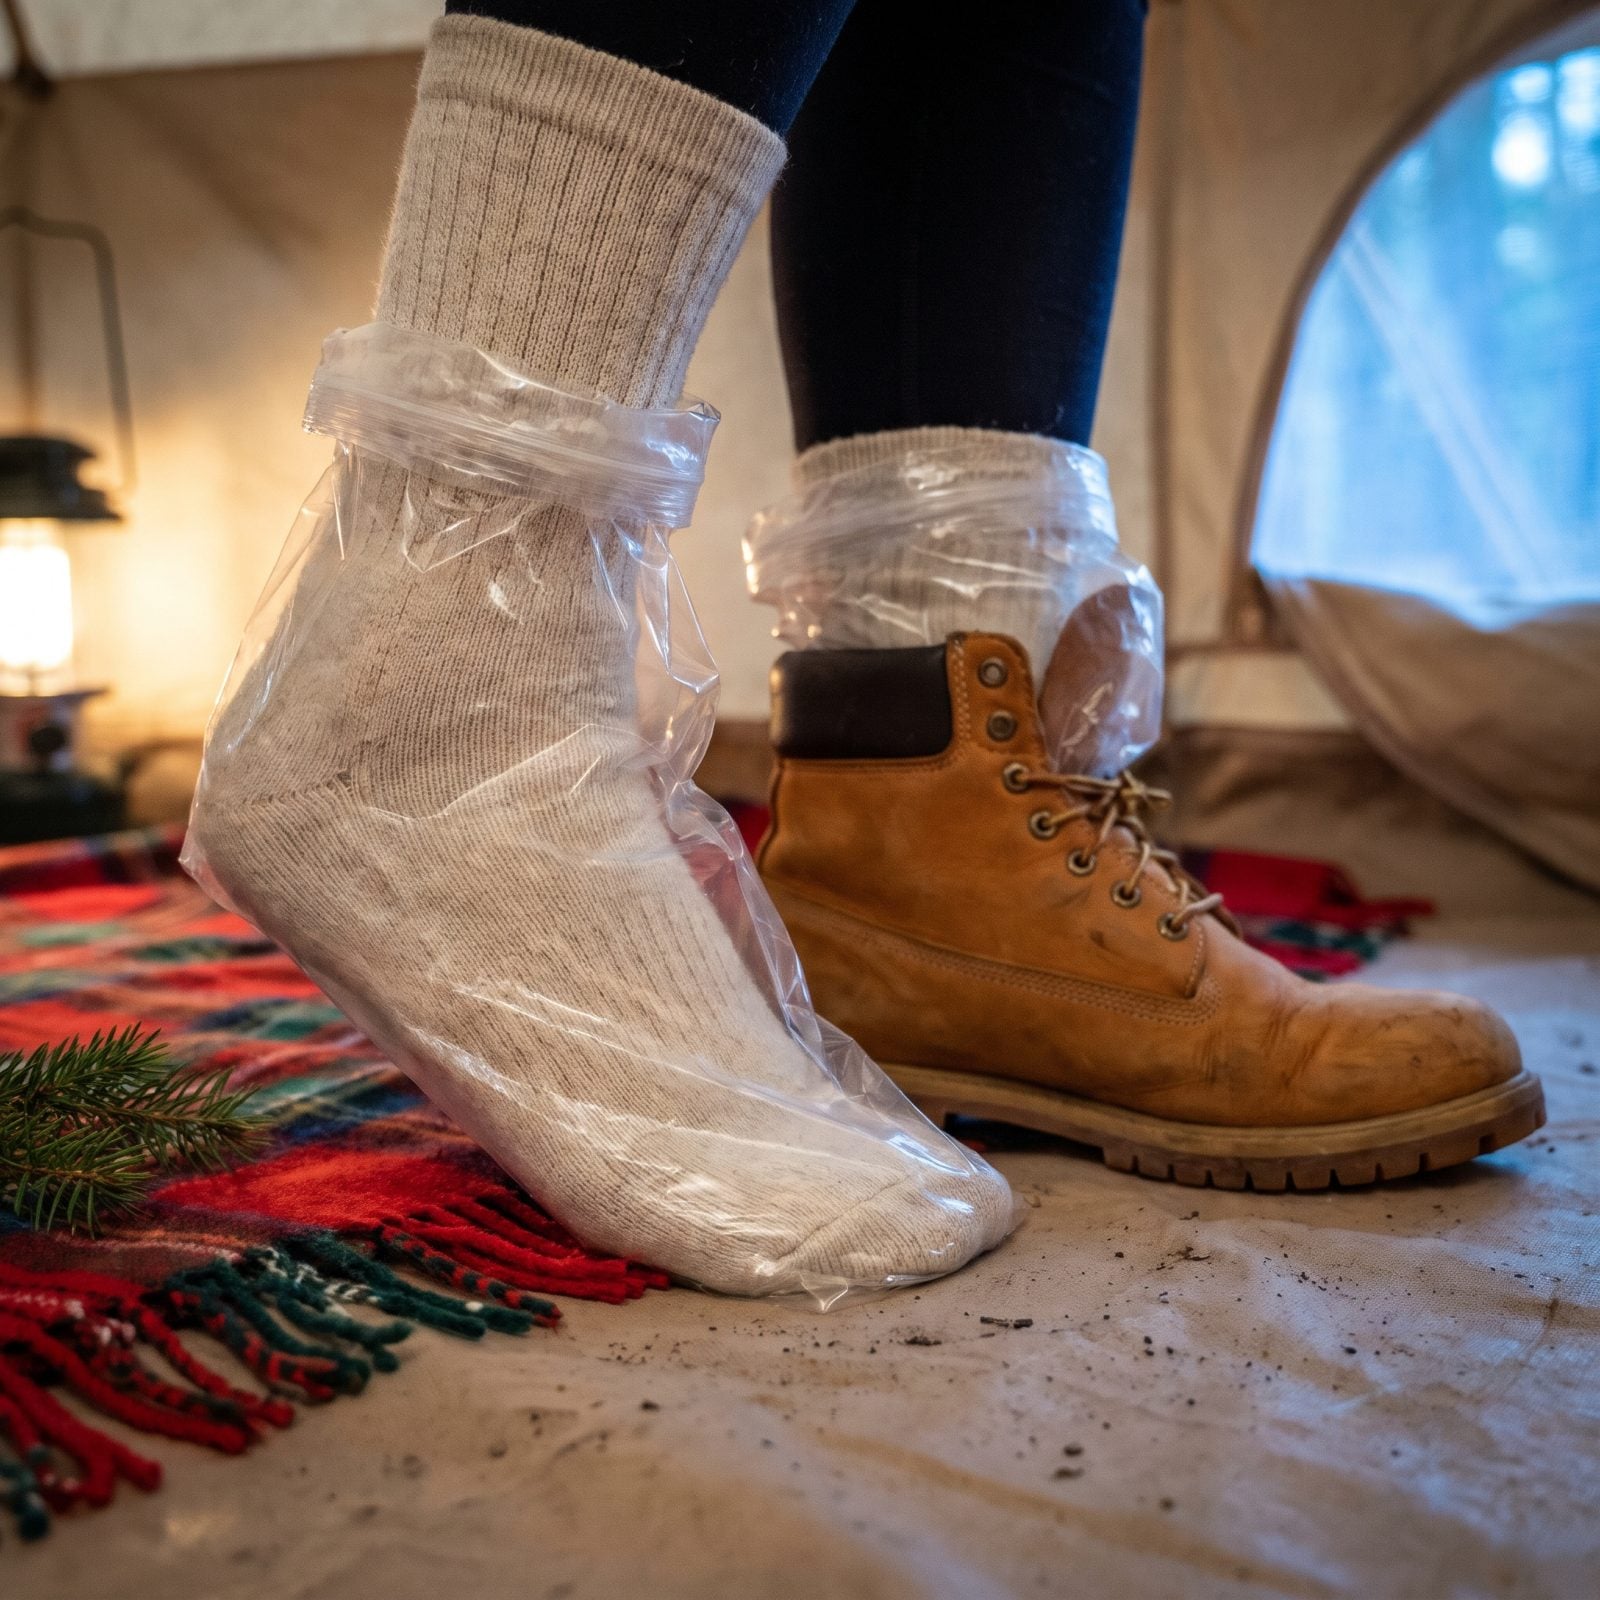
Sailors called these vapor barriers, and the principle is dumb-simple: your foot sweats, the plastic traps that moisture against your skin, and your wool sock stays dry on the outside where it does the insulating. A soaked sock inside a cold boot is how you lose toes to the chill. A dry one keeps working.
Clear zip-top storage bags work great because they’re cheap and already in your kitchen. Bread bags do the job too. Thin liner sock against your skin first, then the bag, then your thick wool sock, then the boot.
In a quick-tip post, a longtime backpacking blogger says you can skip commercial vapor barrier liners for your feet and use the cheap version instead, which is bread bags or something like them.
33. Pack Tomorrow’s Clothes Inside Your Sleeping Bag
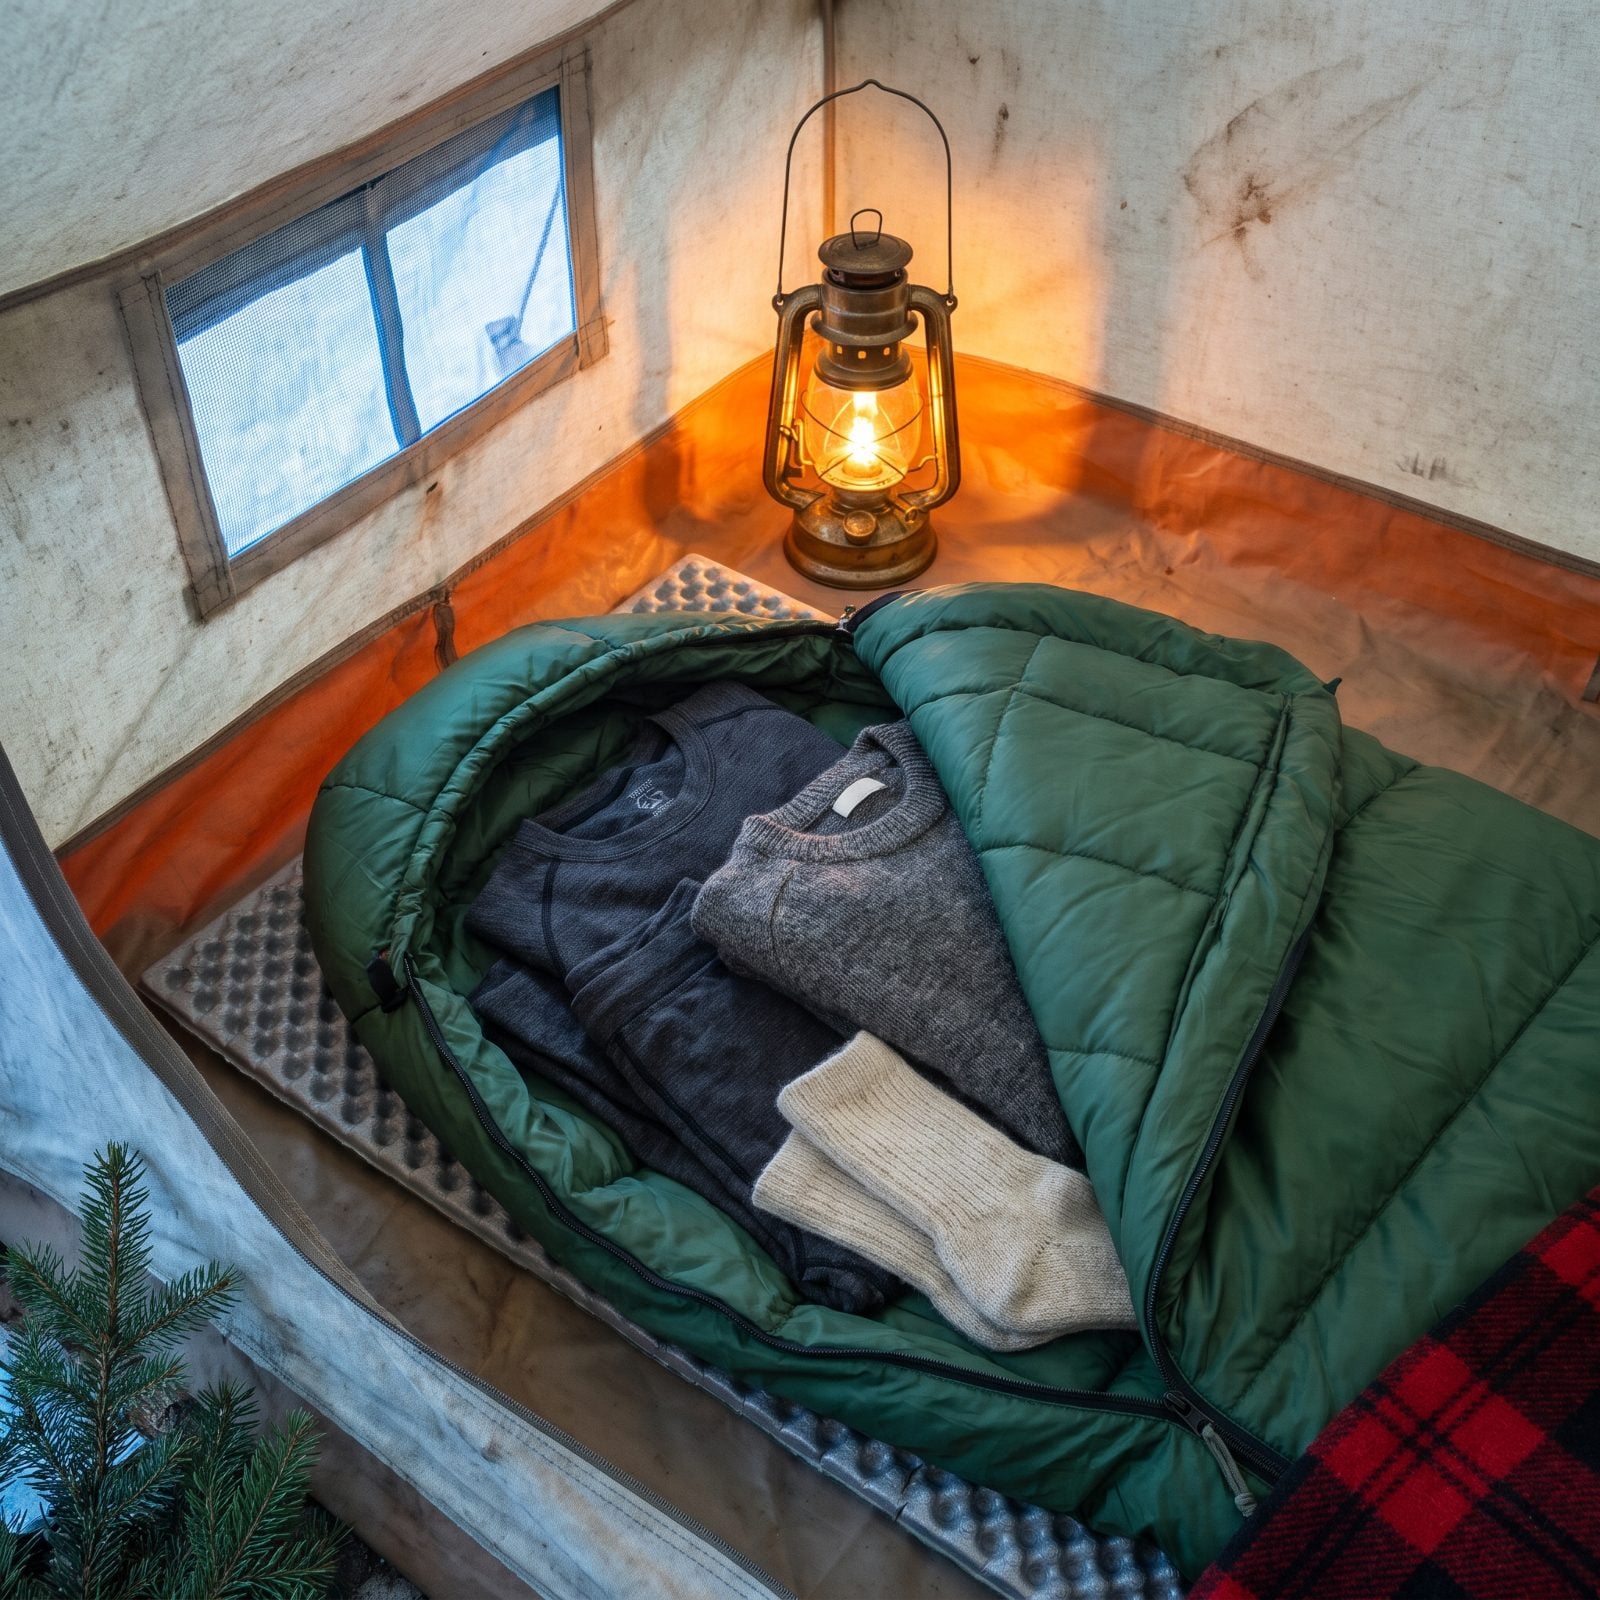
Climbing into cold clothes at dawn is a special kind of suffering. There’s a fix, and it costs you nothing but a little planning.
Tuck tomorrow’s base layers, socks, and hat inside the top of your bag, right by the hood, before you turn in, and your body heat warms them overnight. Pulling on a warm shirt at six in the morning when it’s single digits out feels like a small miracle. It also fills some of the empty room inside the bag, which blocks that cold dead-air space that otherwise saps heat.
Don’t overdo it. Cram too much in and you’ll compress the insulation you’re sleeping on top of, which defeats the whole point.
32. Put Toe Warmers On Top of Your Toes, Not Under Them
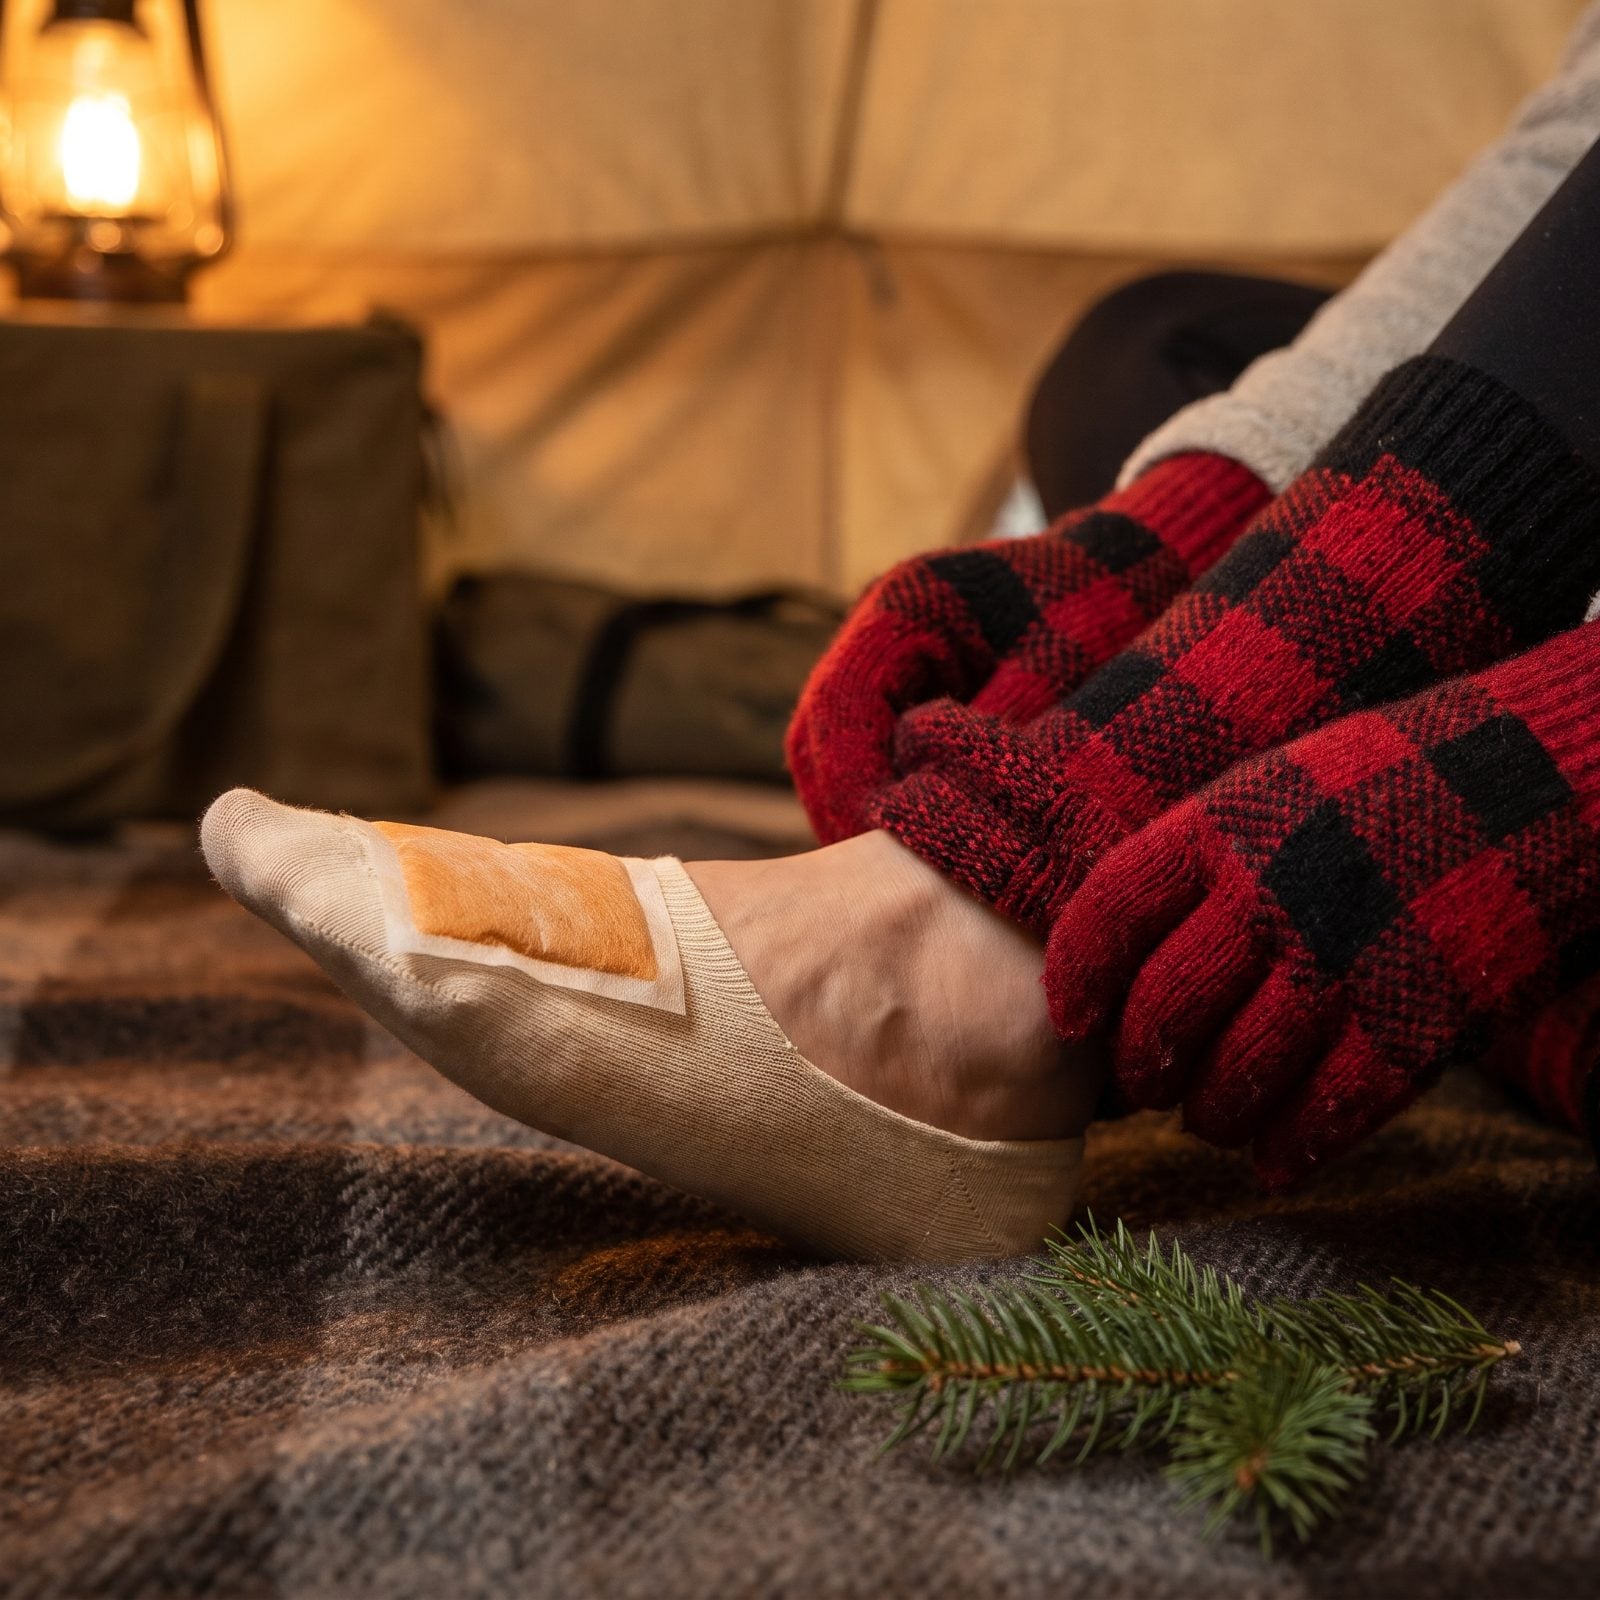
Everyone jams the warmer under their foot and wonders why it quits after an hour. These packets need oxygen to keep the chemical reaction going, and when you crush them flat under your heel inside a tight boot, you choke them out.
Stick the warmer across the top of your toes instead. Blood flows down the top of the foot, so you’re heating the supply line — and up there the warmer can actually breathe. Lasts longer, works better, warms you where it counts.
In a practice blog post on using toe warmers safely, a podiatrist recommends “If you do use toe warmers, place them on top of your foot over your sock rather than under your foot, and remove them if you feel discomfort.”
31. Rub a Tiny Bit of Wax on Frozen Metal Snaps and Zippers
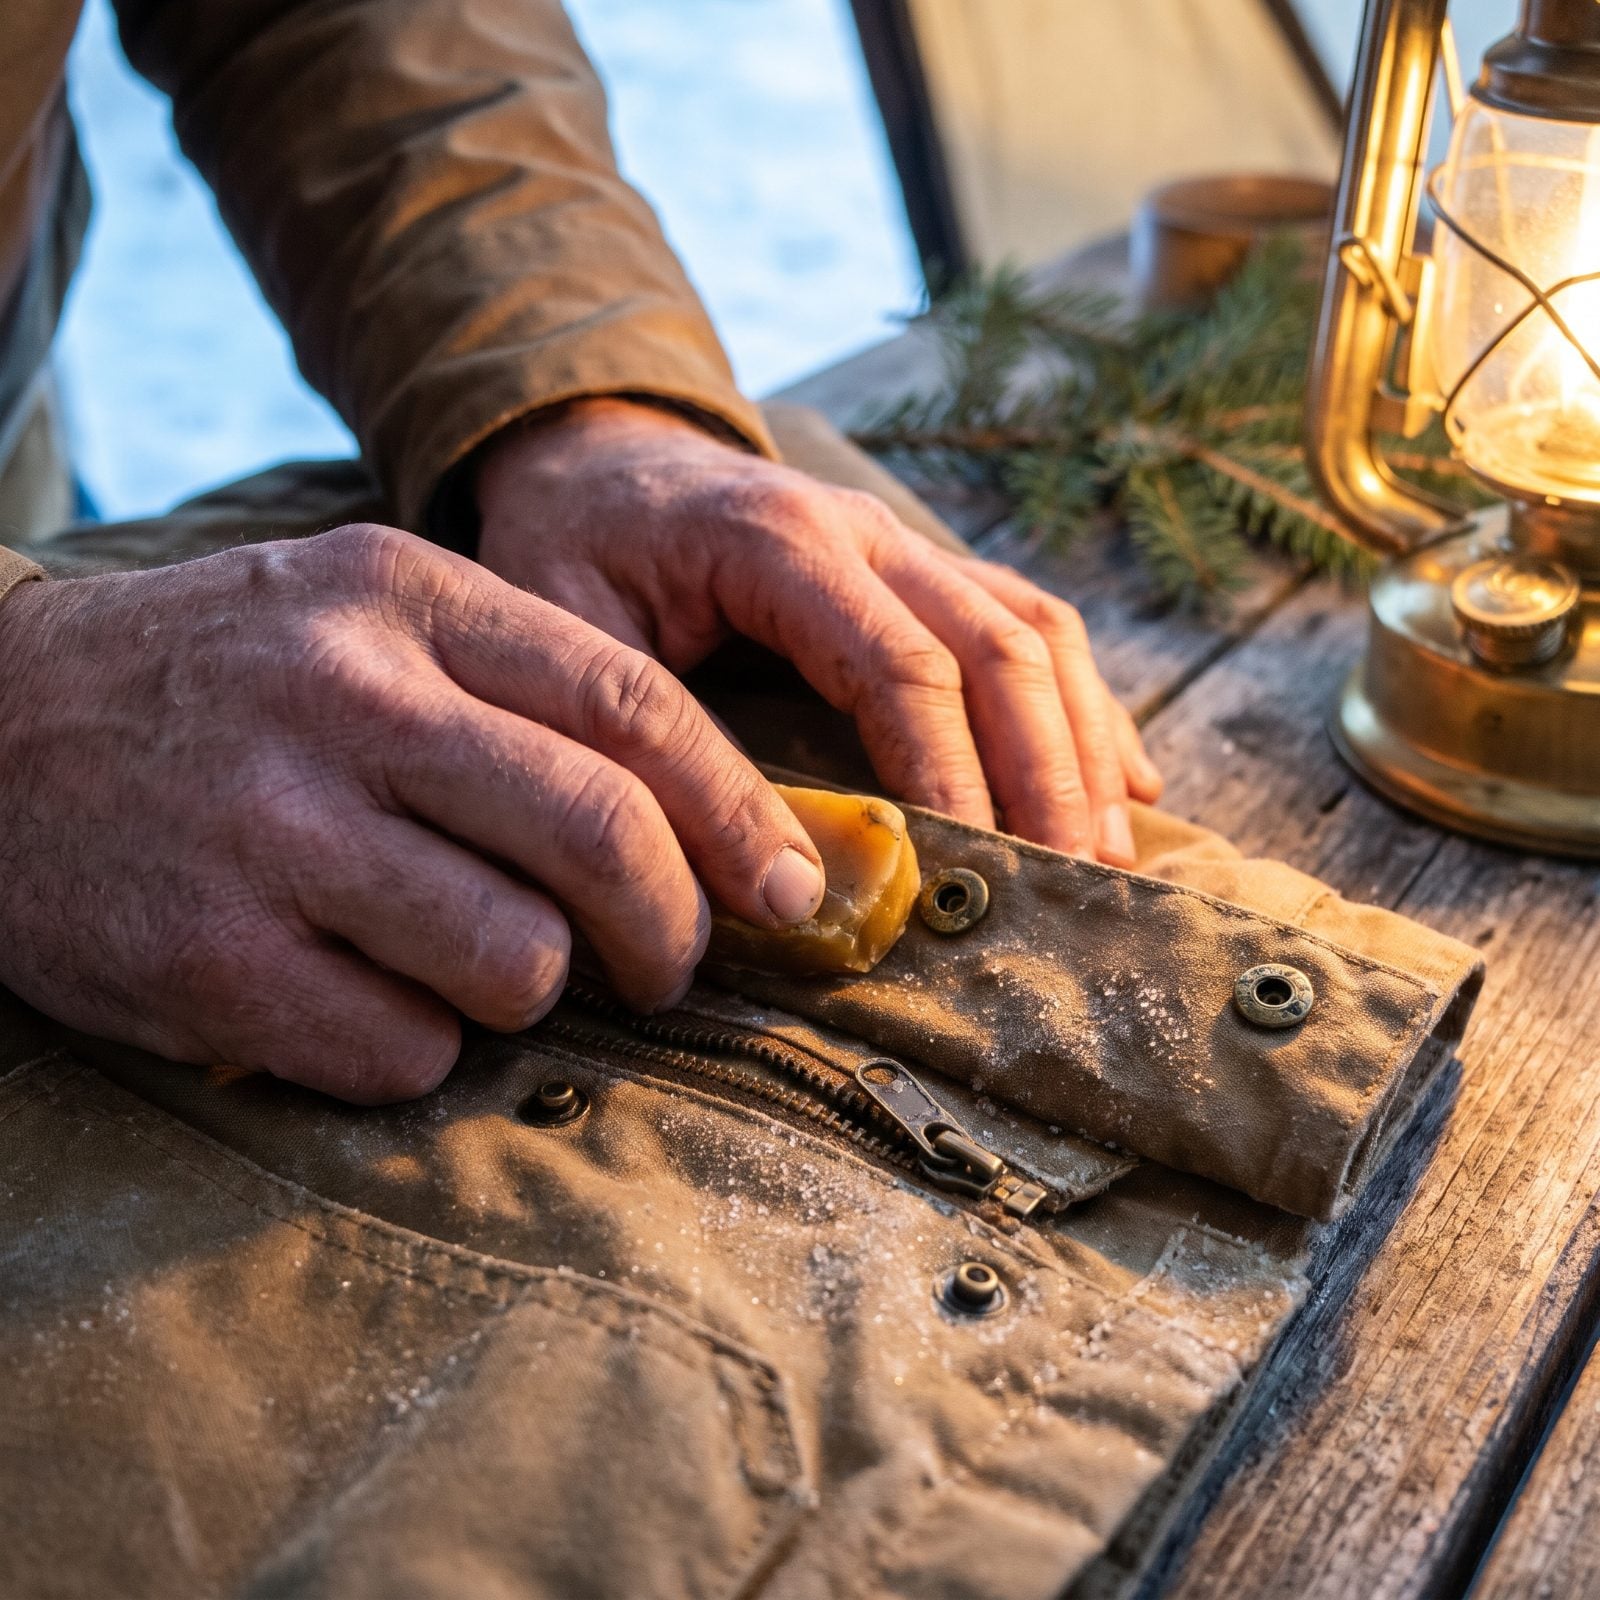
Metal hardware and moisture freeze together overnight. By morning your tent zipper won’t budge and the snaps on your jacket feel welded shut. Force them and that’s how zippers die.
A dab of beeswax, paraffin, or even lip balm rubbed along the teeth and over the snaps keeps the moisture from locking them up. Same reason your grandfather ran a candle stub along a sticky drawer. Works on tent poles that like to seize, too.
30. Stuff Damp Boots With Crumpled Newspaper Overnight
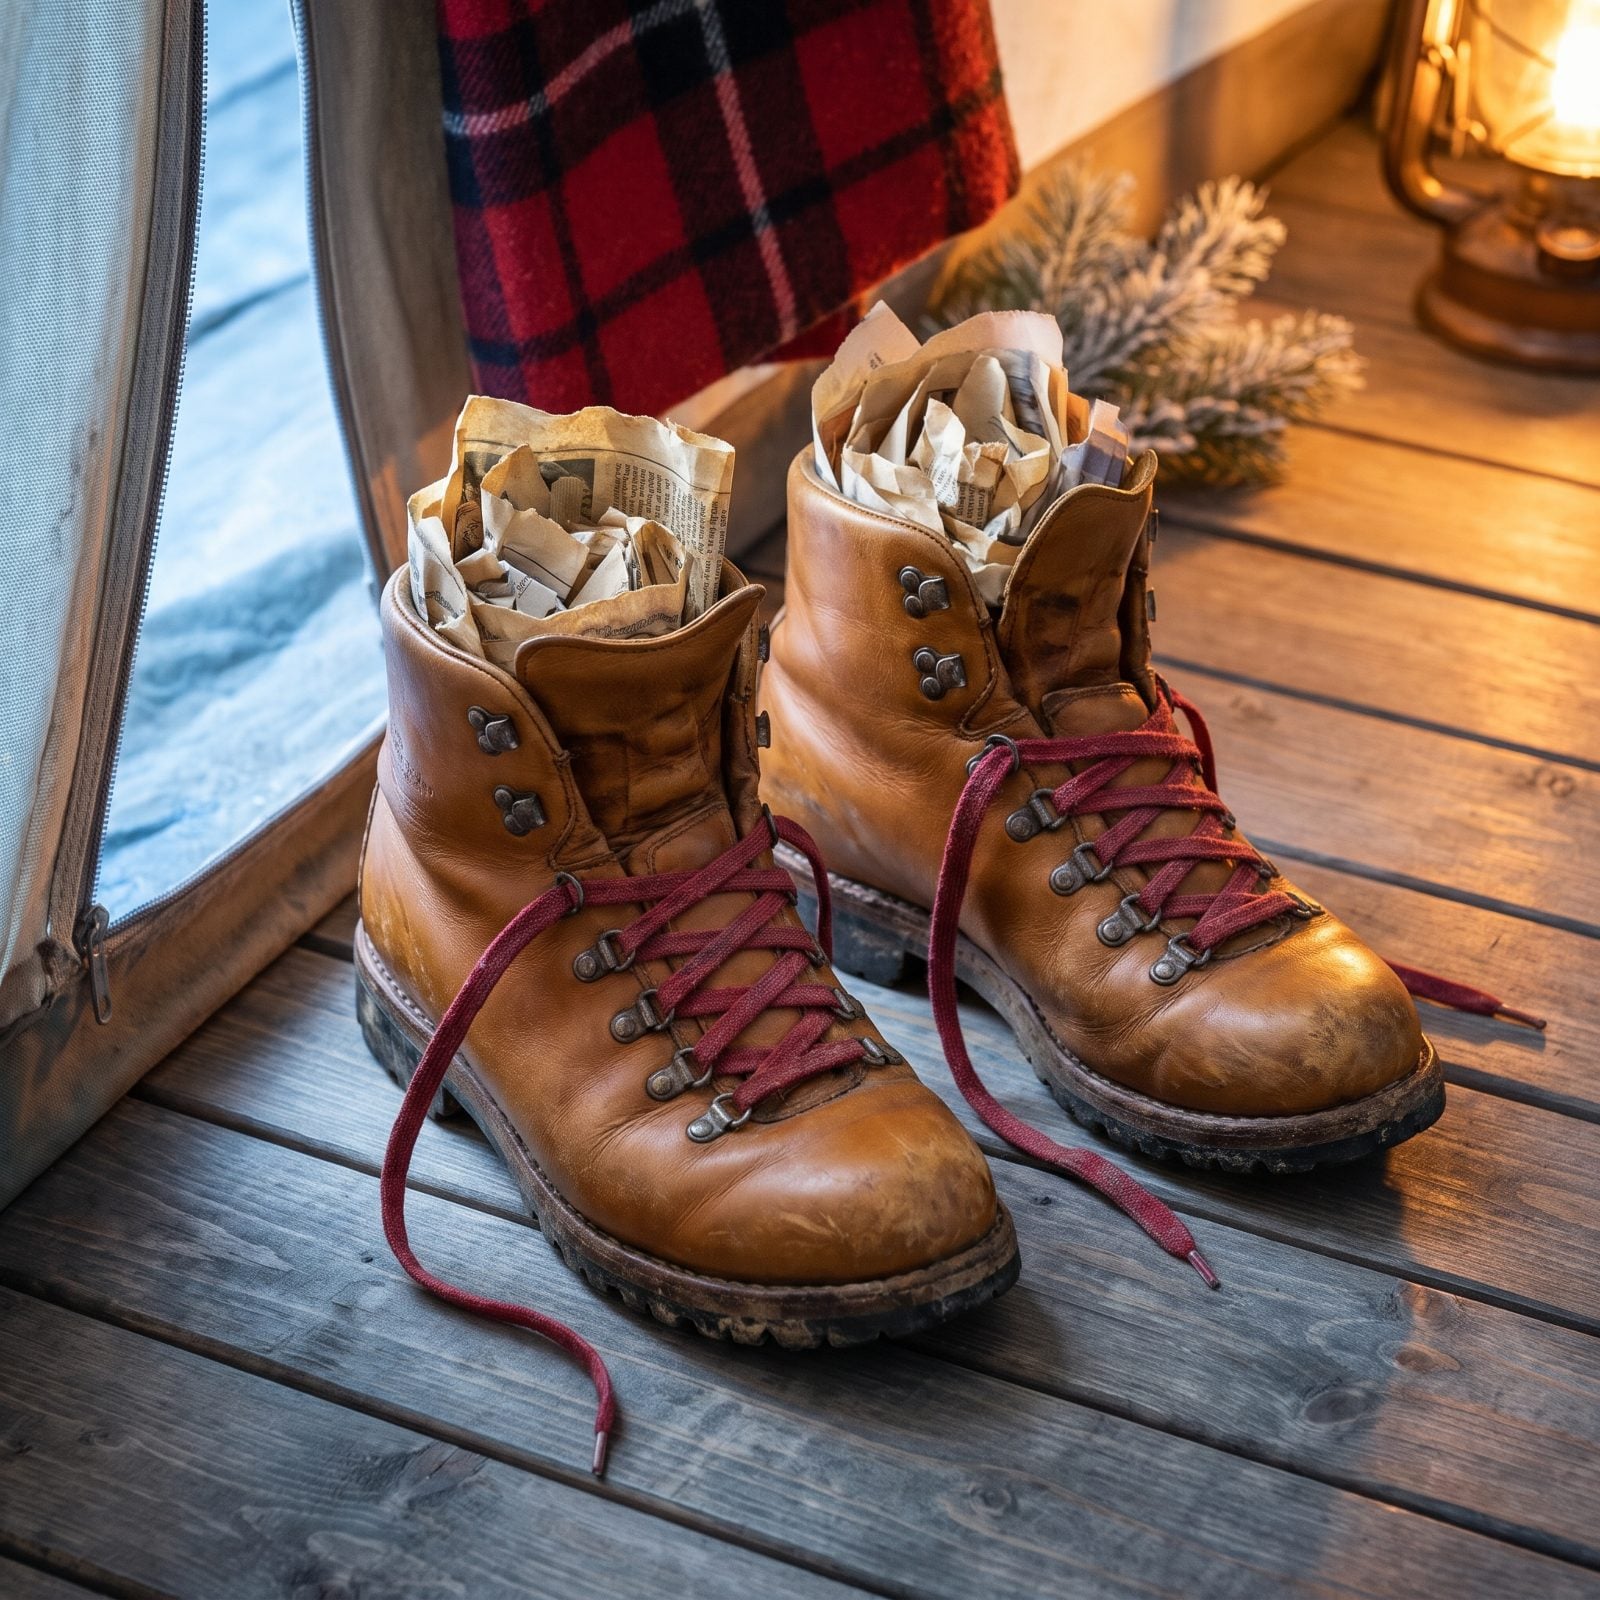
Wet boots in the morning are a sentence, not an inconvenience. Newspaper wicks moisture out of the leather overnight and holds the boot’s shape while it does. Crumple it loose, pack it deep into the toe, and swap it for a fresh batch if the first one soaks through.
It won’t fully dry a drenched pair, but it takes the worst of the damp out and keeps the boot from freezing into a stiff brick. And never dry leather boots against a hot stove — that cracks them.
29. Carry a Foam Square for an Instant Warm Seat
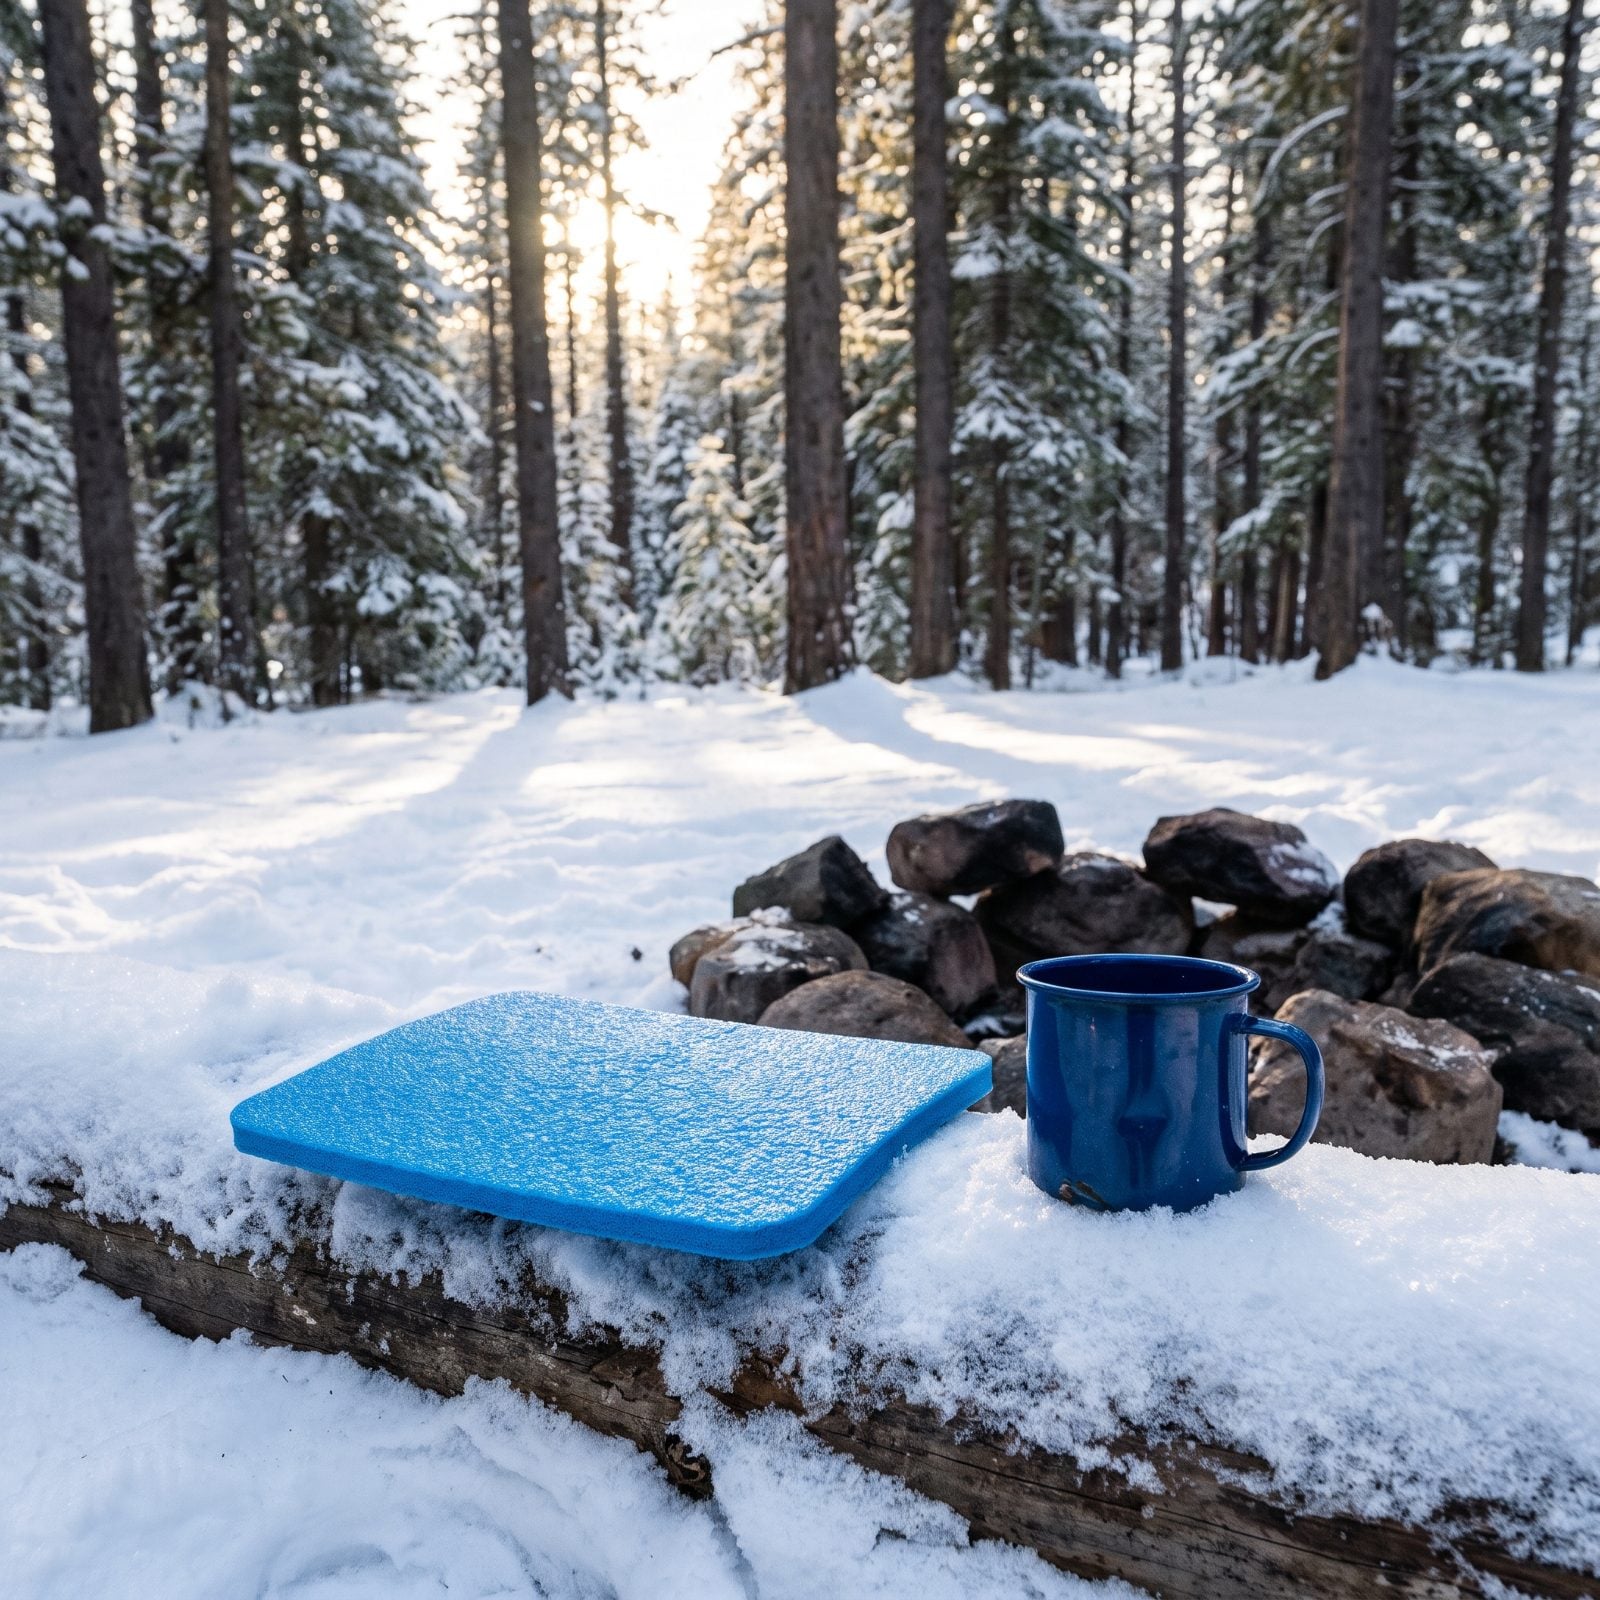
A cold log or rock pulls heat out of your backside faster than cold air ever will — conduction is brutal that way. A cheap square of closed-cell foam, the kind that folds into a sit-pad, breaks that contact and keeps you warm wherever you drop it.
I keep one clipped to my pack year-round. Lunch stops, glassing for elk, sitting by the fire at camp — it earns its keep every time. Cut a chunk off an old sleeping pad if you’d rather not buy one.
28. Layer Closed-Cell Foam Beneath Your Inflatable Pad
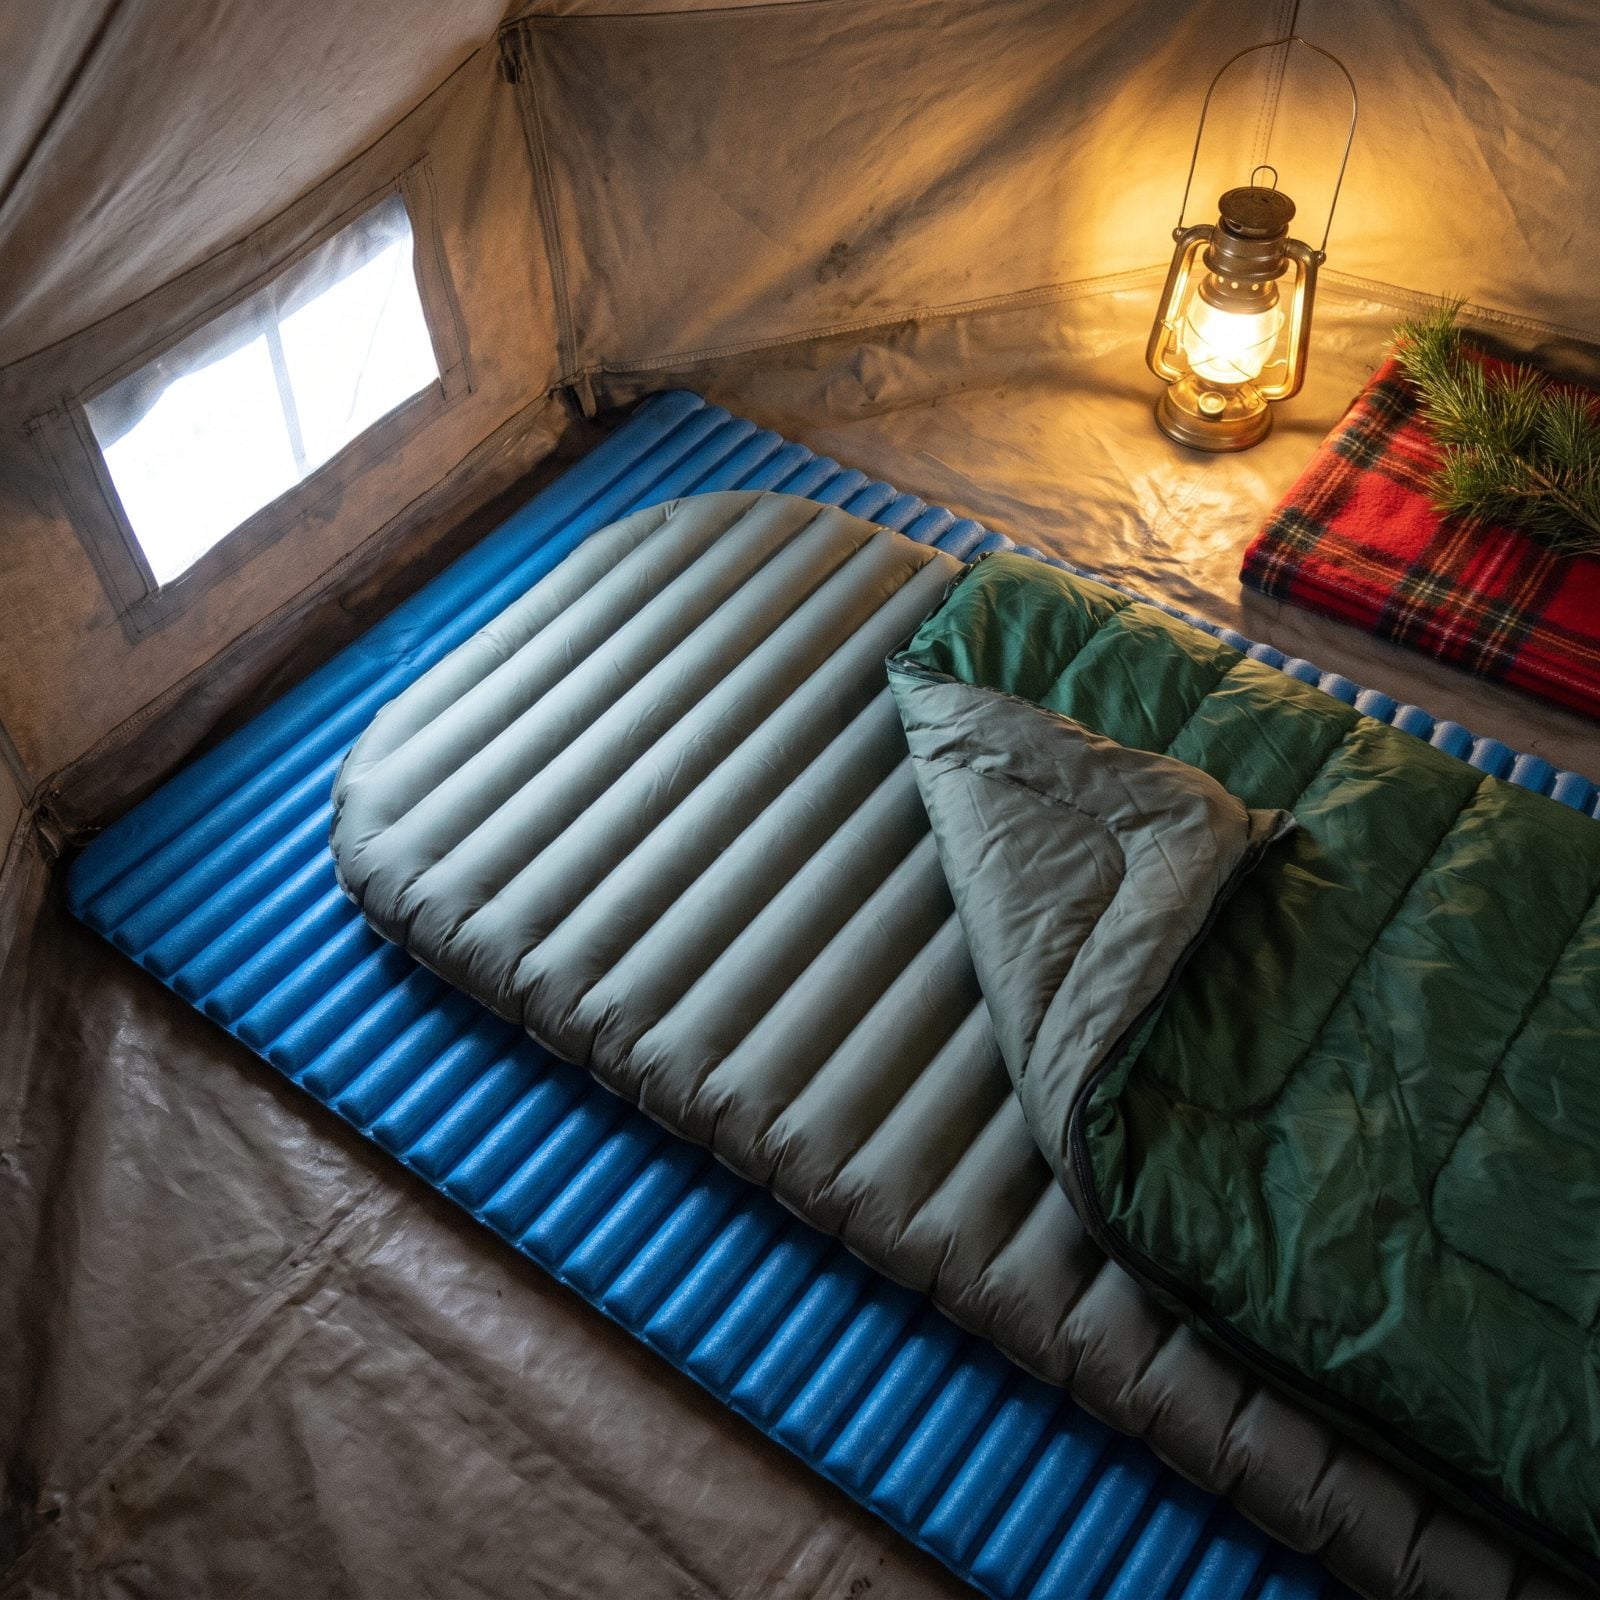
Your inflatable pad is comfortable and a liar about warmth. On frozen ground it loses heat through the air inside it, unless the pad is built for winter. The fix the mountaineers use is stacking: a cheap closed-cell foam pad underneath, the inflatable on top.
That combined R-value is what stops the cold ground from stealing your body heat all night. Watch the R-value numbers when you shop, because a summer pad on snow will leave you shivering no matter how good your bag is. Two pads also means that if the air pad springs a leak, you’re not sleeping directly on ice.
Cold ground, not cold air, is what ends most winter nights early.
For insulation against the snow, a longtime outdoor gear columnist says “In particular, I recommend the combination of one inflatable pad for comfort and one closed-cell foam pad for versatility.”
27. Vent the Tent Before Frost Coats the Ceiling
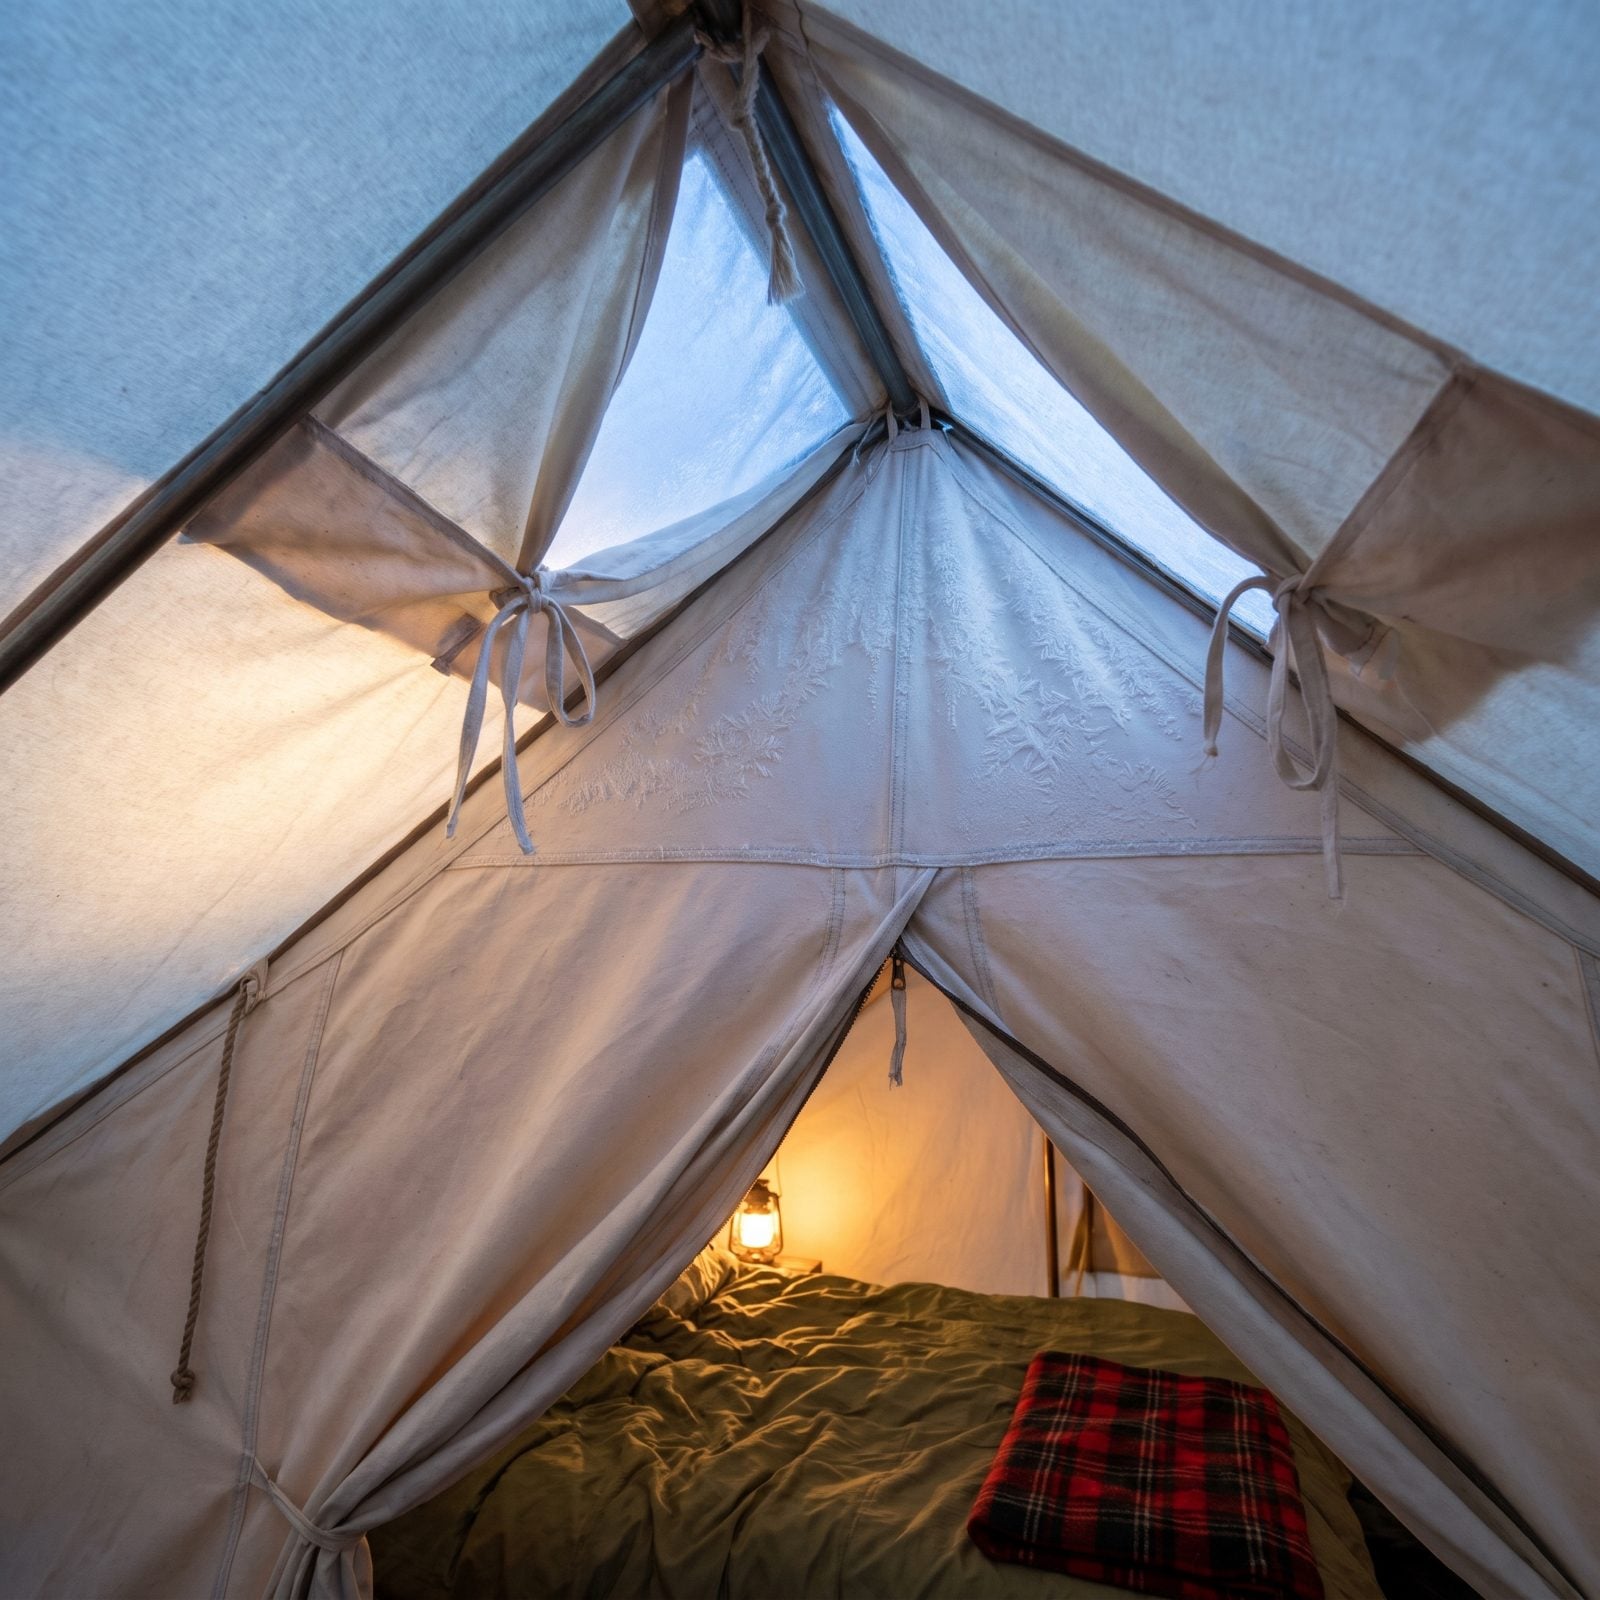
Seal a tent up tight on a cold night and you’ll wake to a ceiling glittering with frost. That frost is your own breath and body moisture, and the second the sun hits the canvas it melts and rains down on everything you own.
So crack a vent, or leave the door zipped down an inch. Yes, it feels colder letting air move. But a slightly cooler, dry tent beats a sealed, humid one where your bag and clothes slowly turn damp. Condensation is the quiet enemy of every winter camp.
26. Stamp Down the Tent Platform and Let It Harden
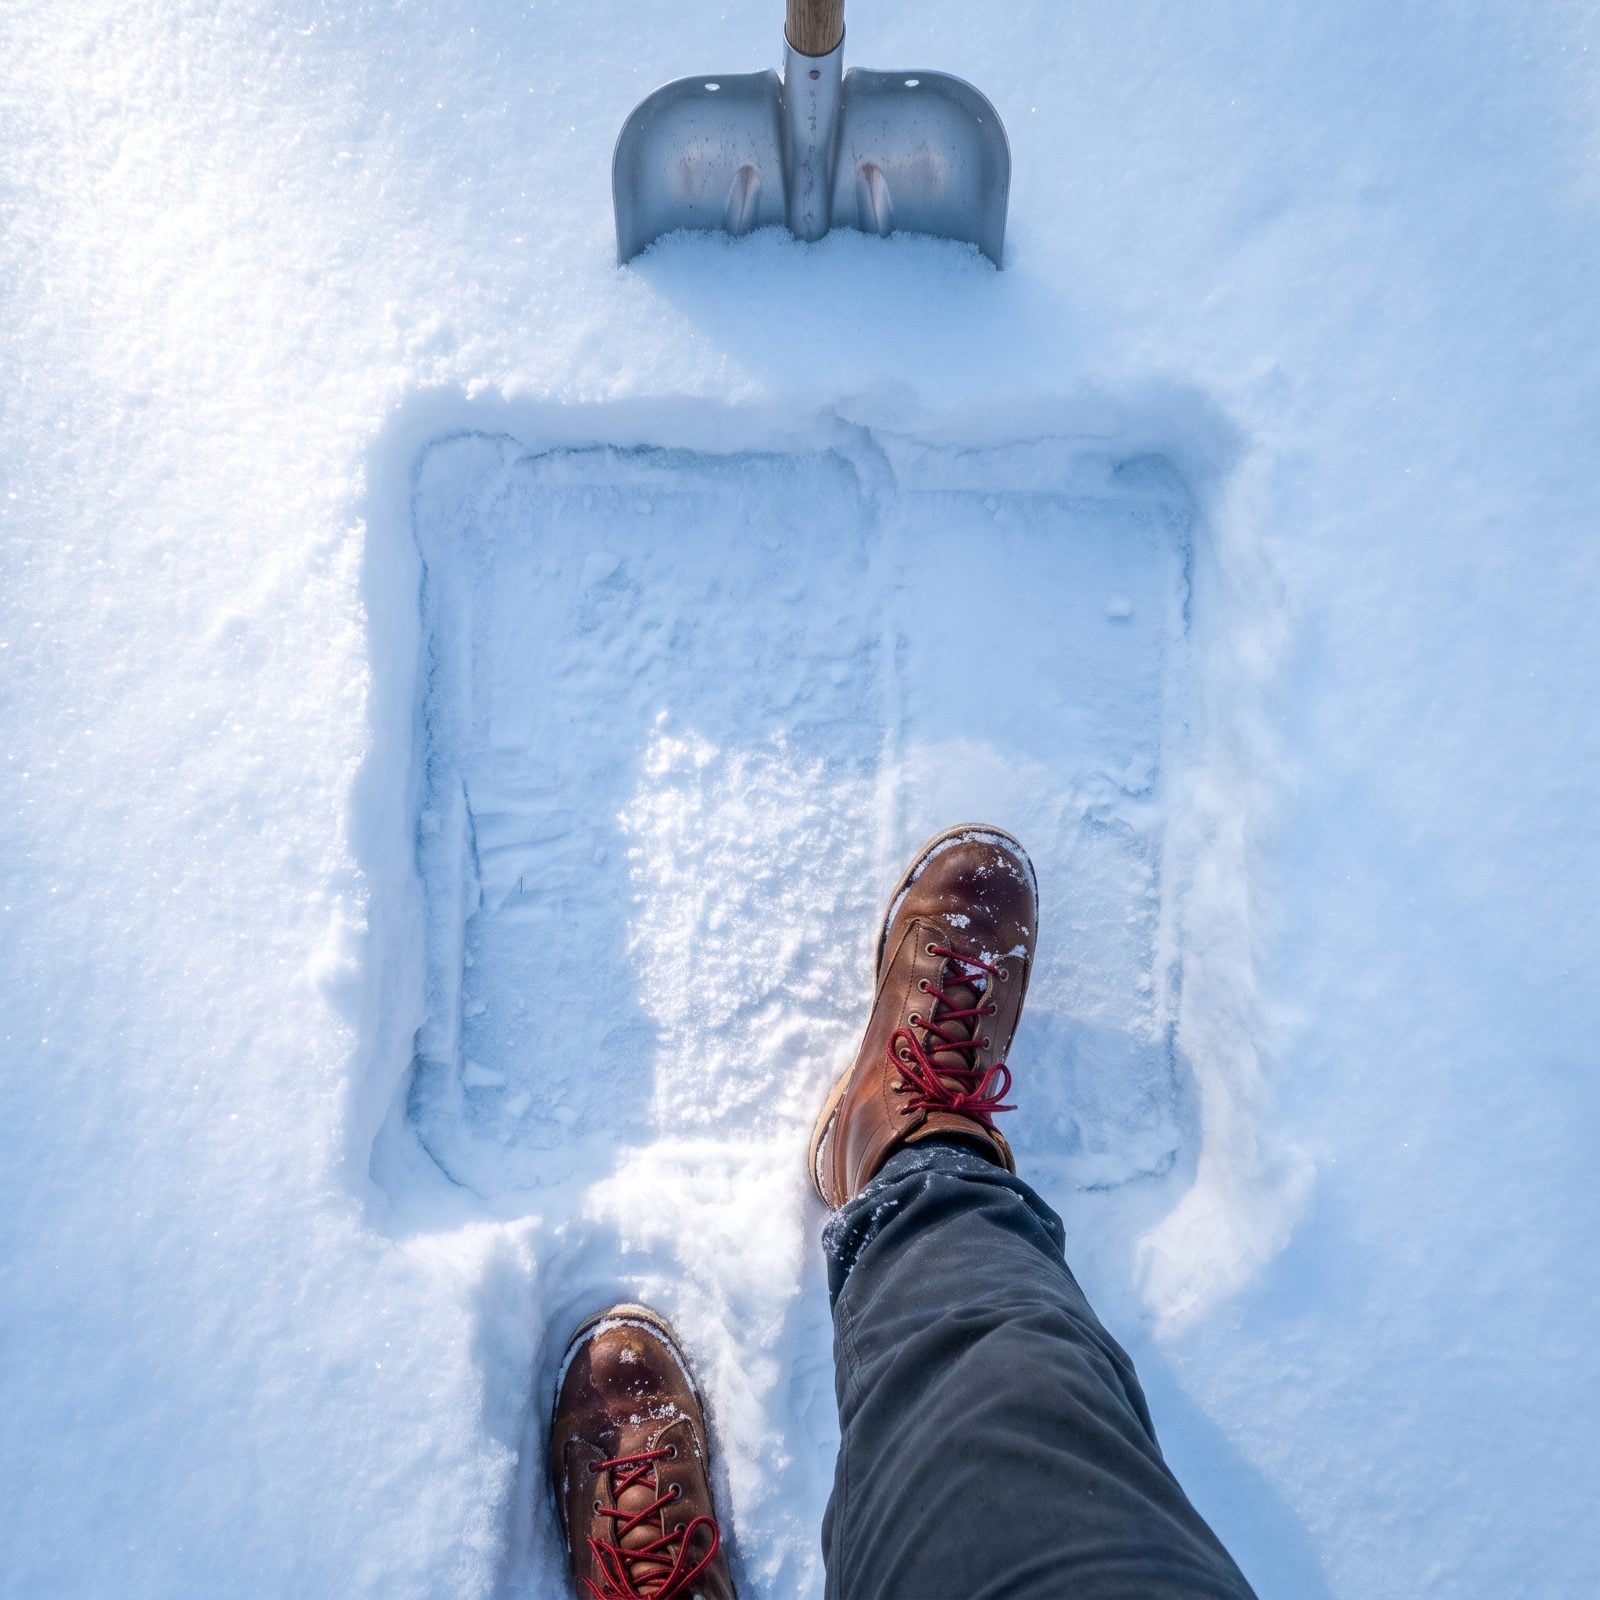
Pitch a tent on loose powder and you’ll spend the night in a lumpy body-shaped crater, because your heat slowly melts the snow under you and it refreezes around every knee and elbow. Stamp it first.
Walk the whole footprint with your boots or snowshoes until it’s firm, then wait — this is the part people skip. Give it twenty or thirty minutes to set up hard before you pitch, longer when the air’s really biting. The stamped snow sinters, the crystals bond, and you get a floor that holds its shape instead of sagging under you in the small hours.
25. Build a Low Snow Wall on the Windward Side
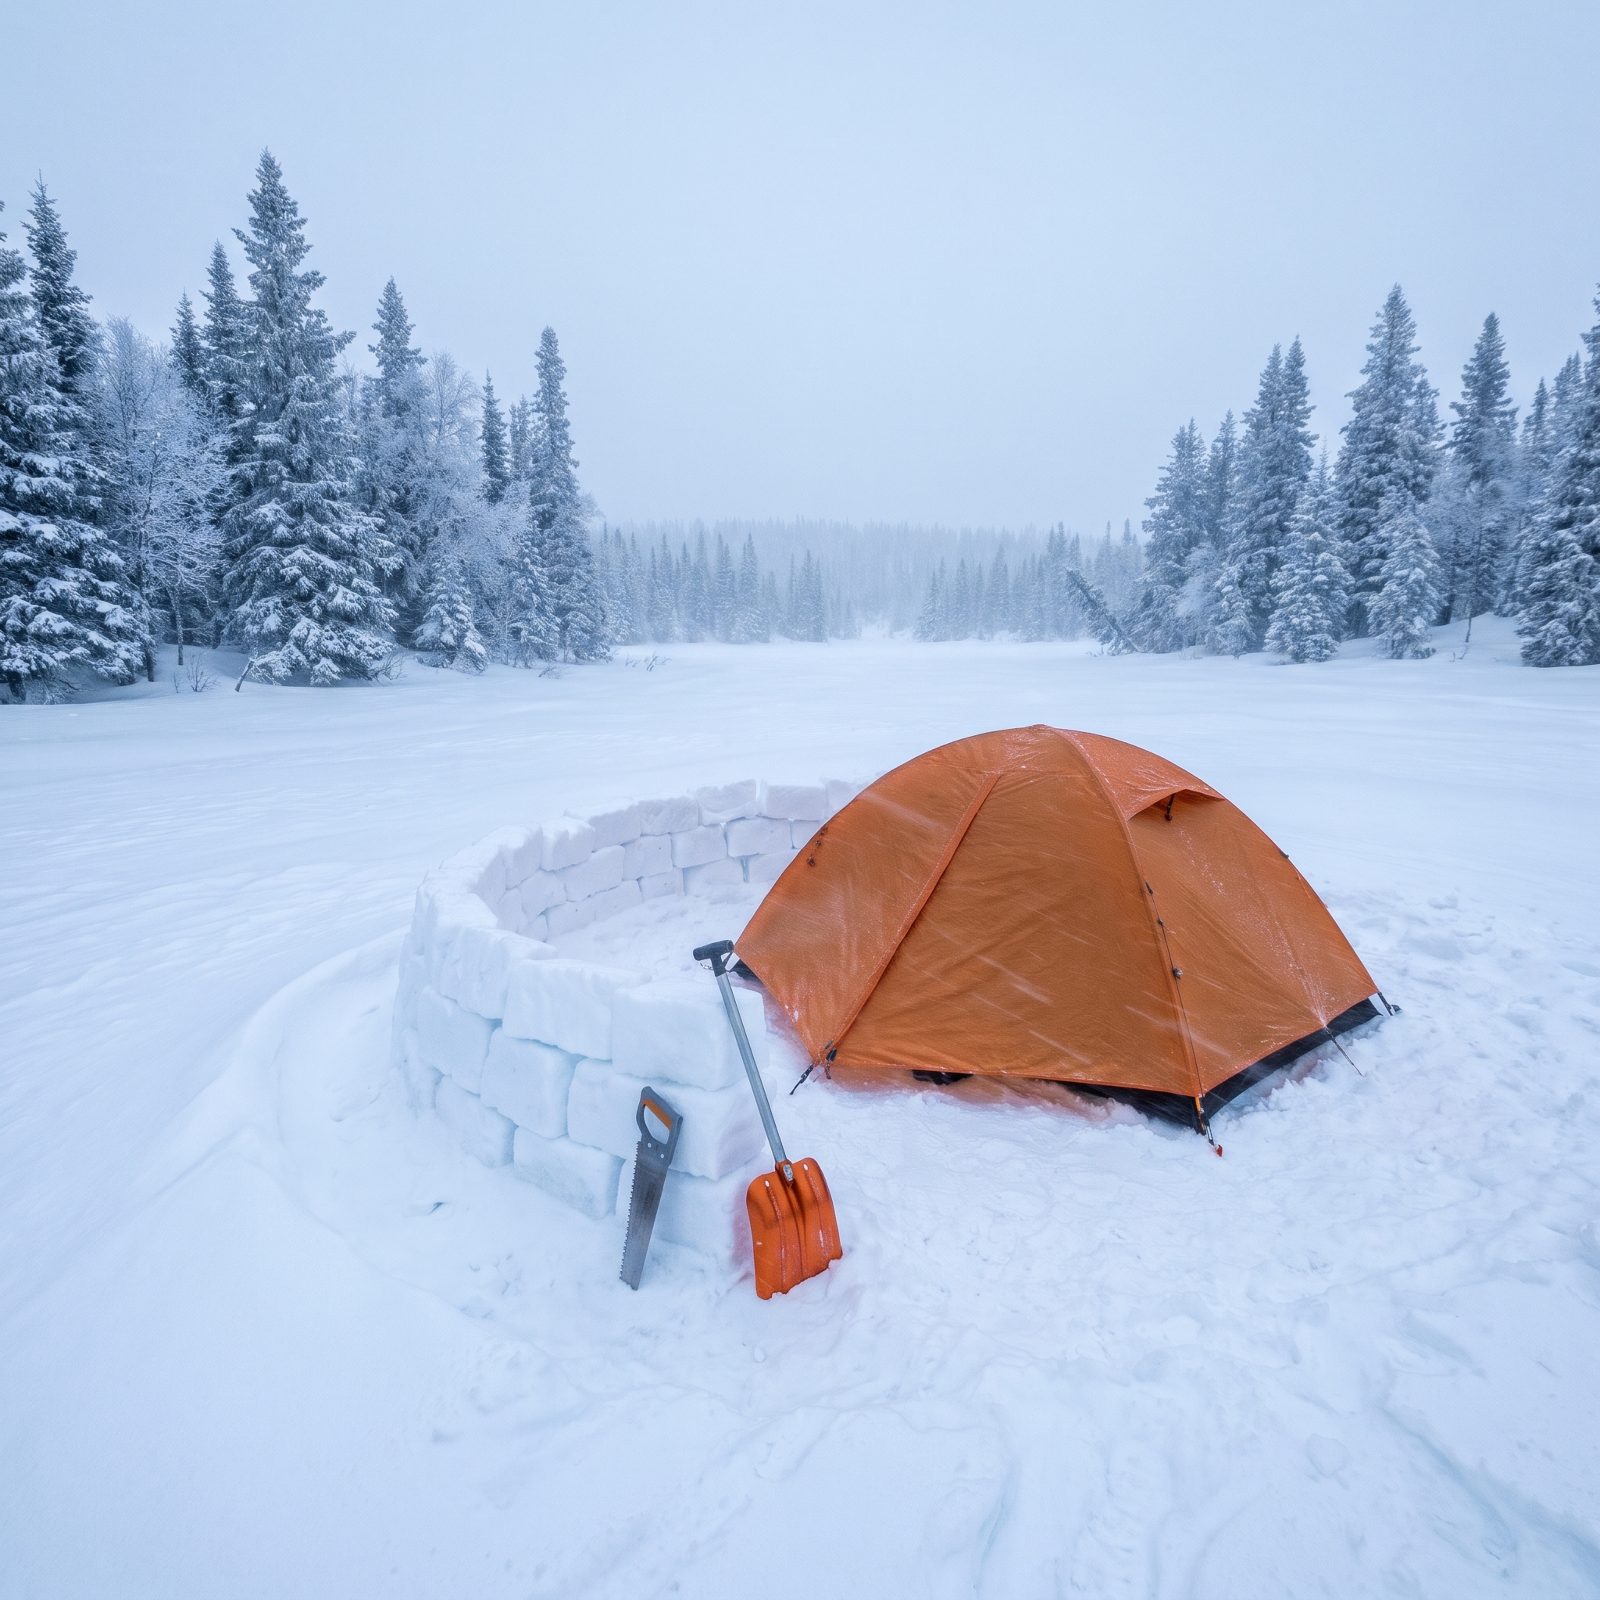
Wind is what actually steals your warmth out here, not the cold number on its own. A breeze across a tent wall pulls heat faster than still air twenty degrees colder.
You don’t need a finished igloo. A wall knee-high to hip-high on the upwind side does most of the work, stacked from shovel-cut blocks or just piled and packed snow. Set it a few feet upwind of the tent rather than right against it, so blowing snow drifts behind the wall instead of burying your fly.
Build it before dark. Nobody stacks snow blocks cheerfully at nine at night with numb fingers, and I speak from experience on that one.
24. Use Buried Stuff Sacks as Deadman Snow Anchors
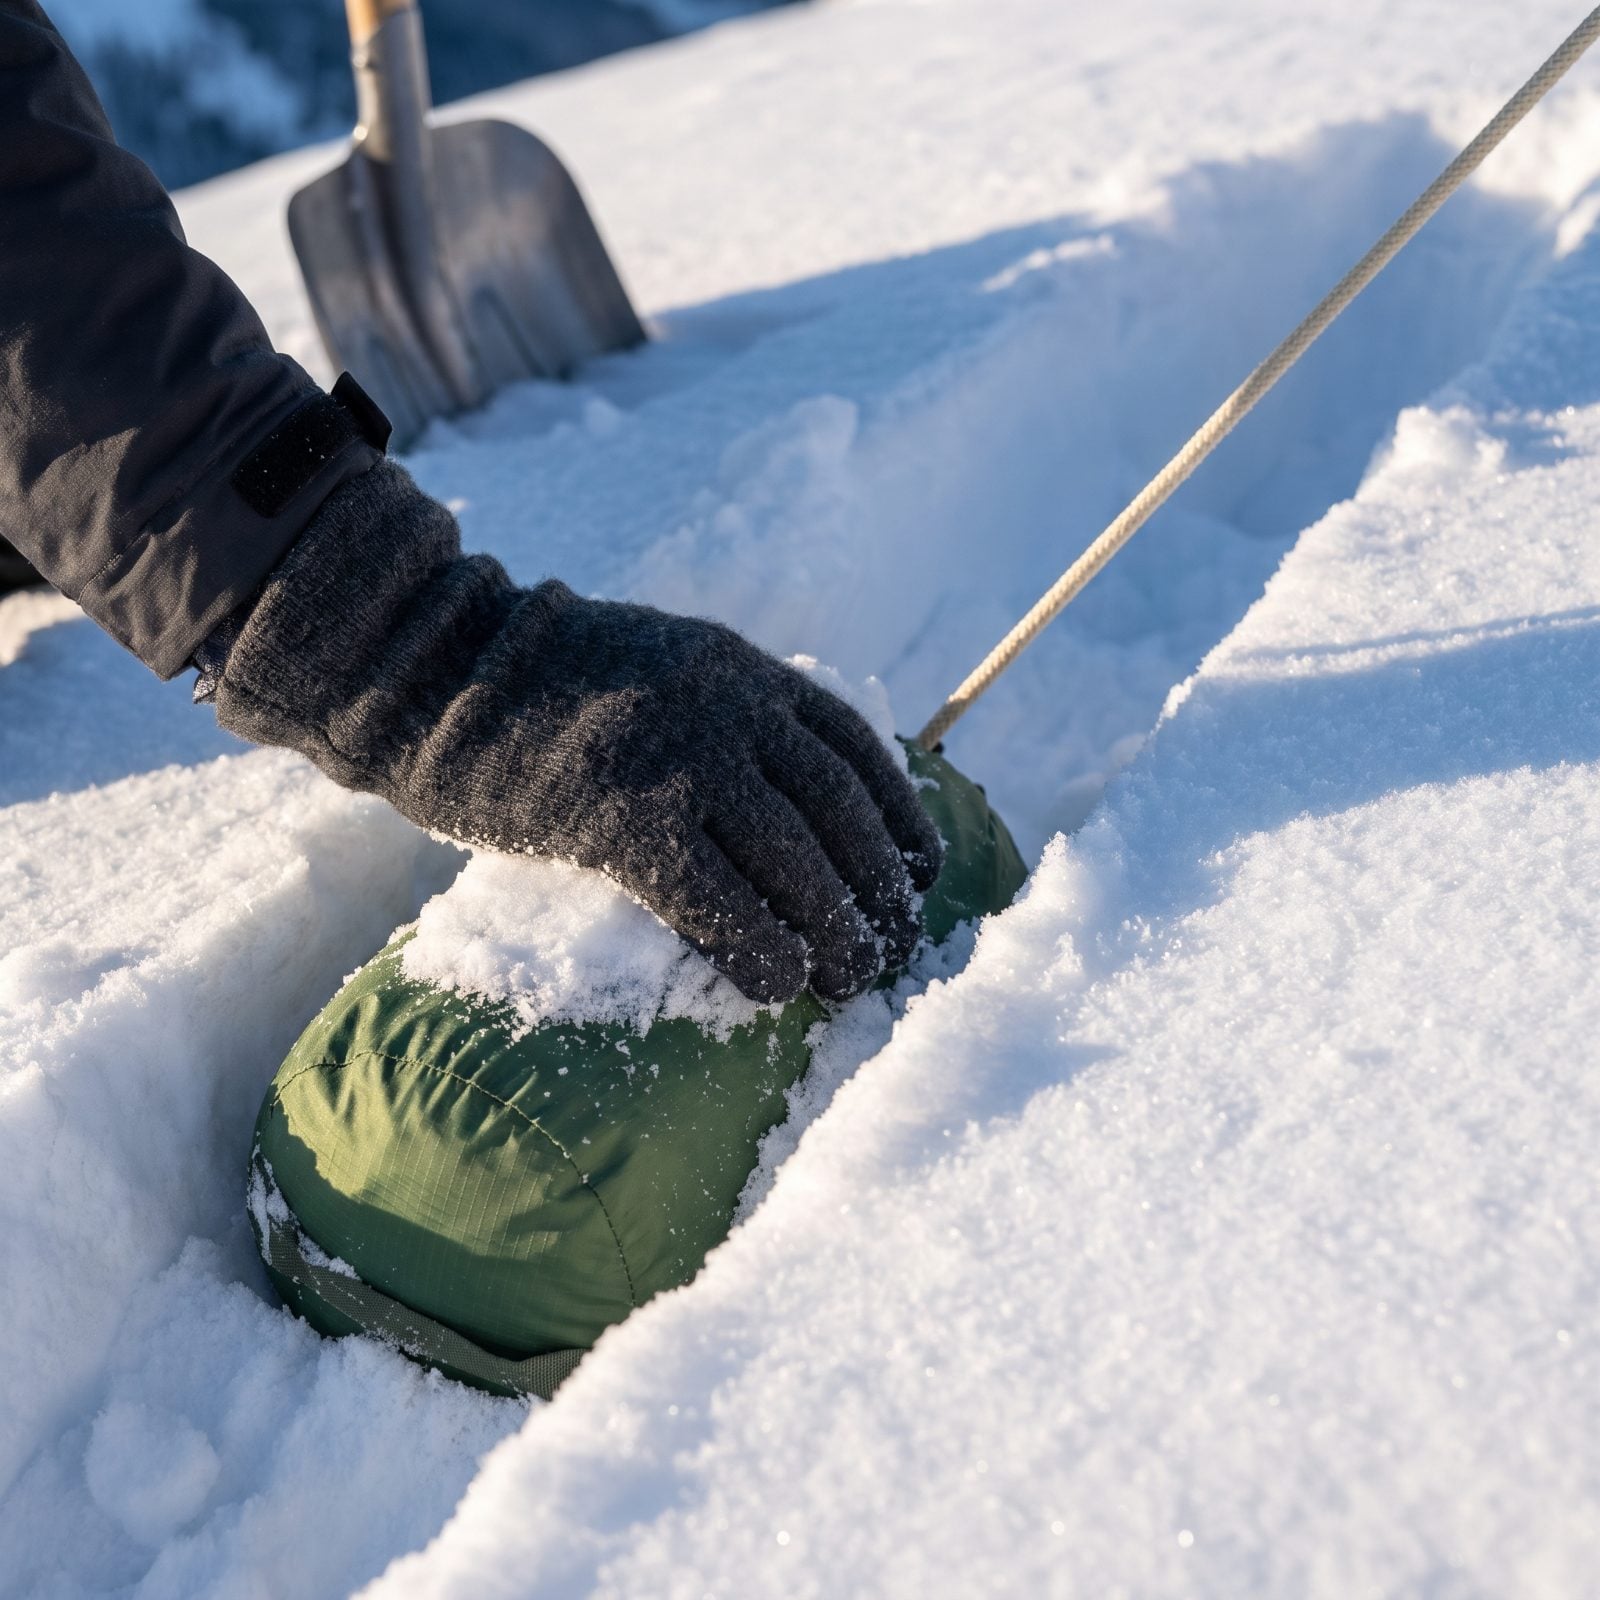
Regular stakes are useless in snow. They pull straight out under any load, which you learn the hard way the first time your tent collapses on your face in a gust.
A deadman anchor fixes it. Fill a stuff sack, a mesh bag, even a spare glove with snow, tie your guyline around its middle, bury it horizontally in a trench about a foot deep, then pack snow hard over the top. As that snow sinters and freezes, it locks the sack in place and holds far more pull than any stake could. Let it set a bit before you tension the lines.
23. Use Fallen Birch Bark as Wet-Weather Tinder
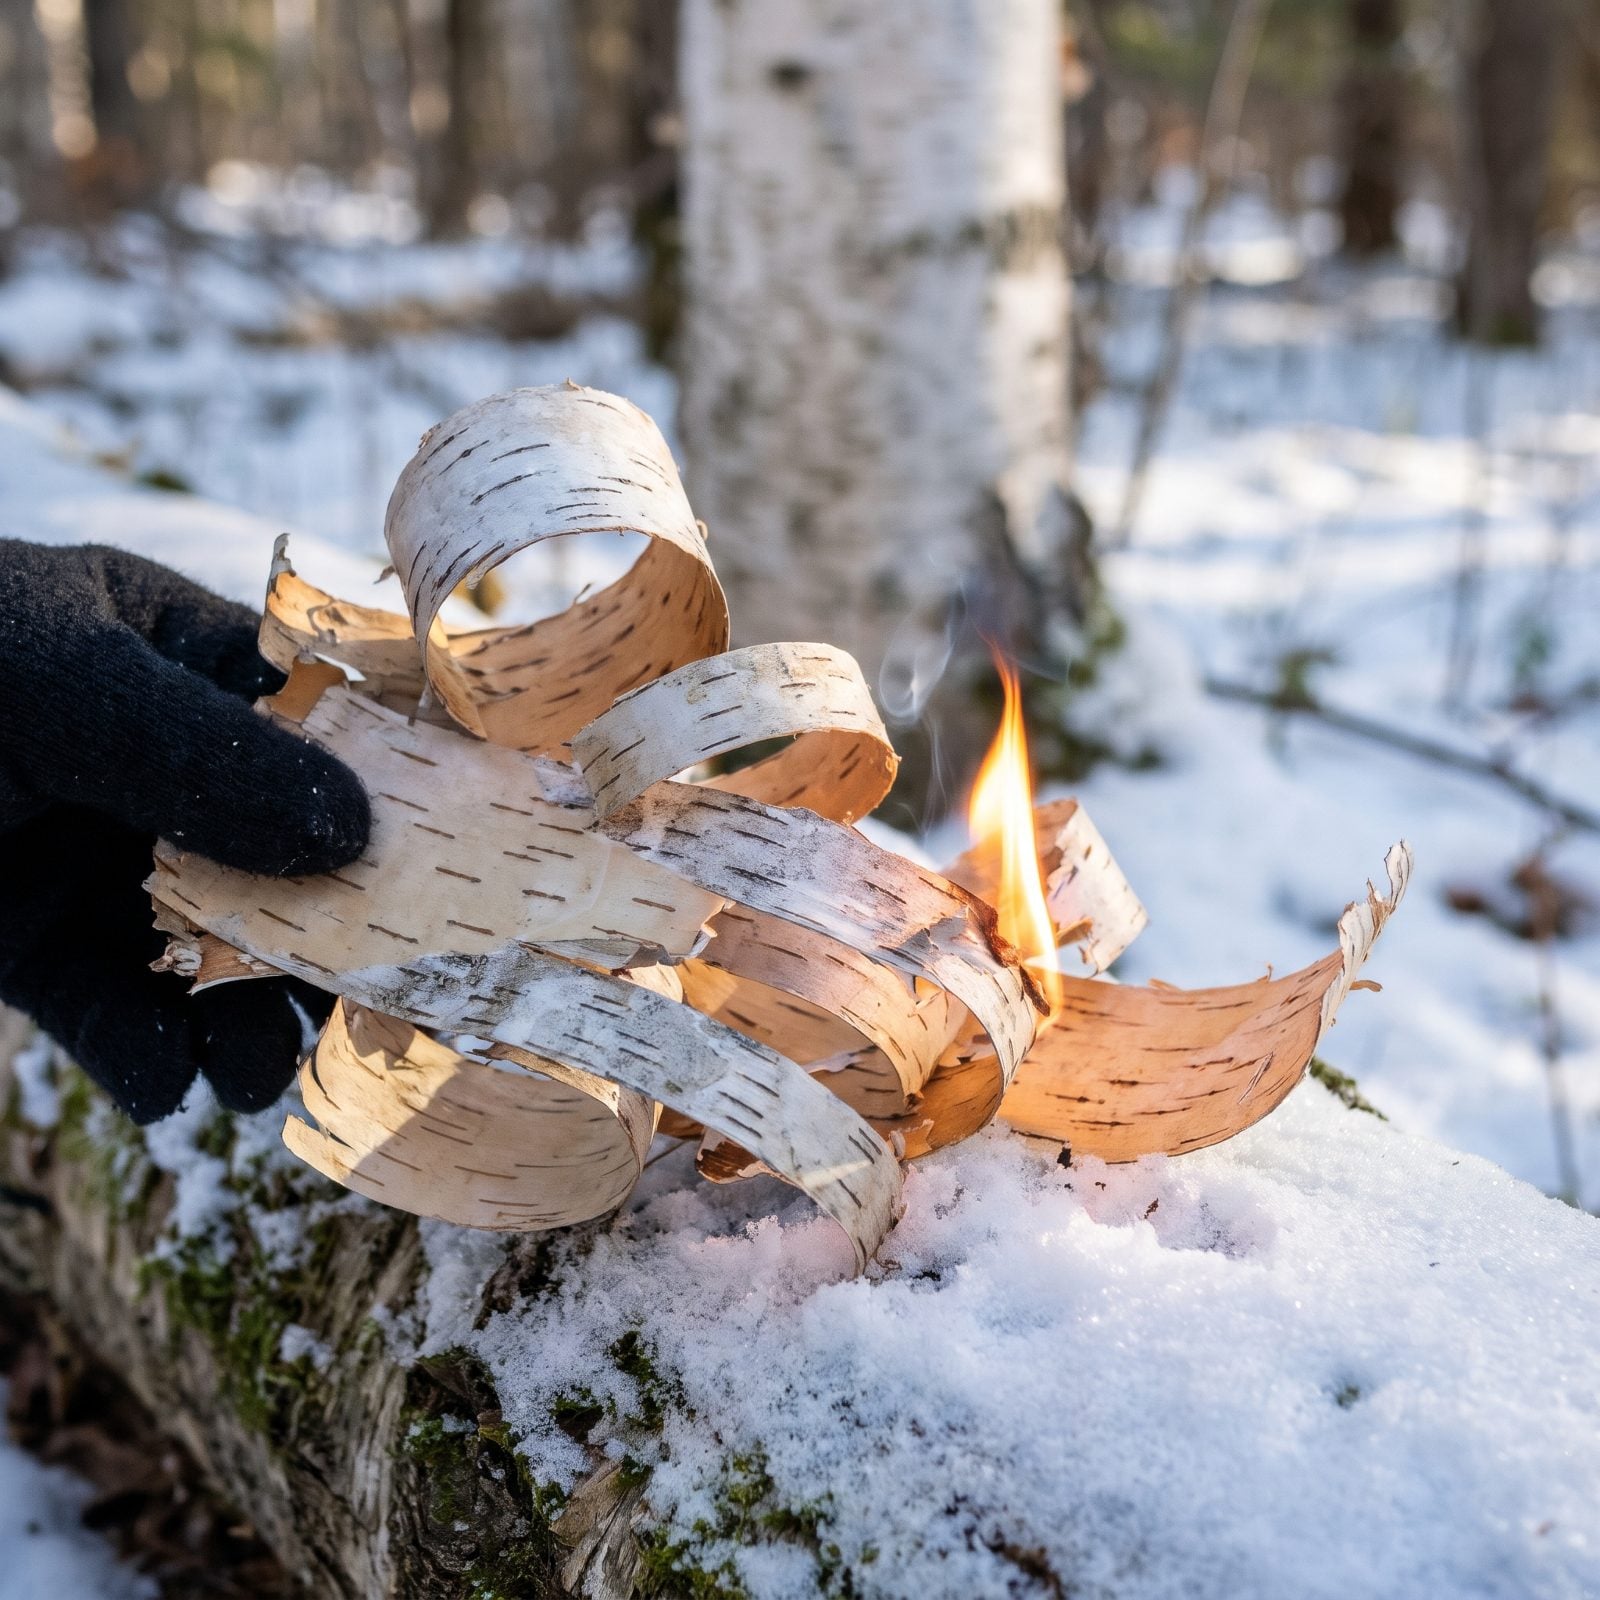
Birch bark is the one tinder that laughs at wet. The papery outer layers are full of oils that catch even damp, which is exactly what you want when everything else in the woods is soaked.
Take only the loose, peeling bark that’s already lifted, or bark from fallen trees. Stripping bark off a living birch scars it badly and the tree doesn’t grow it back. Fluff the thin curls into a loose nest, give it a spark or a match, and it’ll flame up long and hot enough to dry and light the kindling sitting on top. Stash a few sheets in a jacket pocket for next time.
22. Wax the Shovel Blade to Shed Sticky Snow
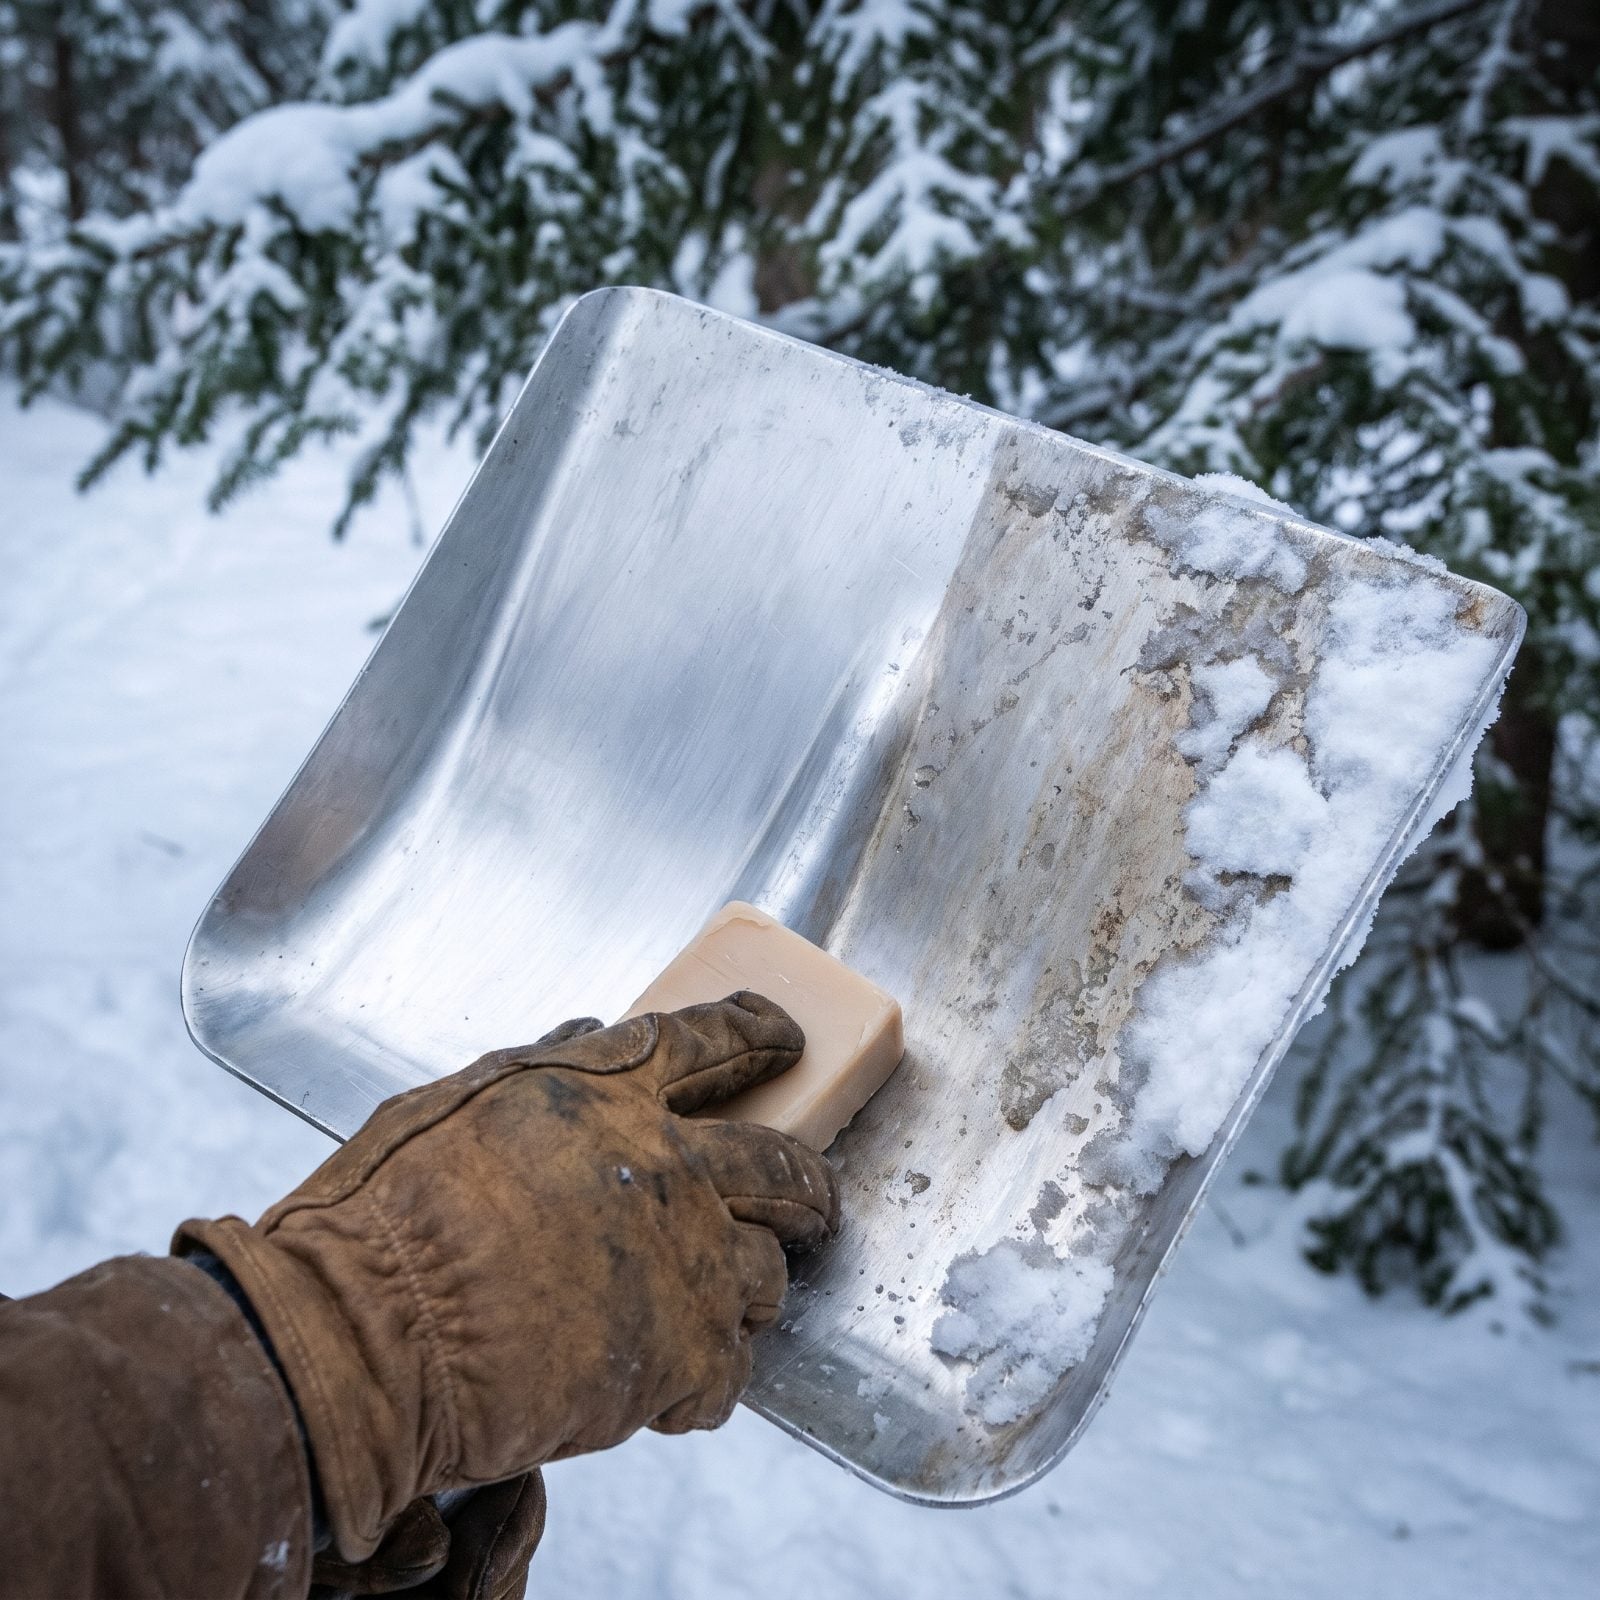
Wet spring-style snow welds itself to a cold metal shovel blade, and suddenly you’re lifting five pounds of stuck slush with every scoop. Maddening.
Rub the blade down with paste wax, candle wax, or even ski wax before you start digging, and the snow slides off clean instead of packing on. Same trick works on the bottom of a plastic sled you’re hauling gear in. Reapply when it stops shedding. It’s a thirty-second job that makes an hour of digging a lot less like a punishment.
21. Dig a Boot-Sized Step Below the Tent Entrance
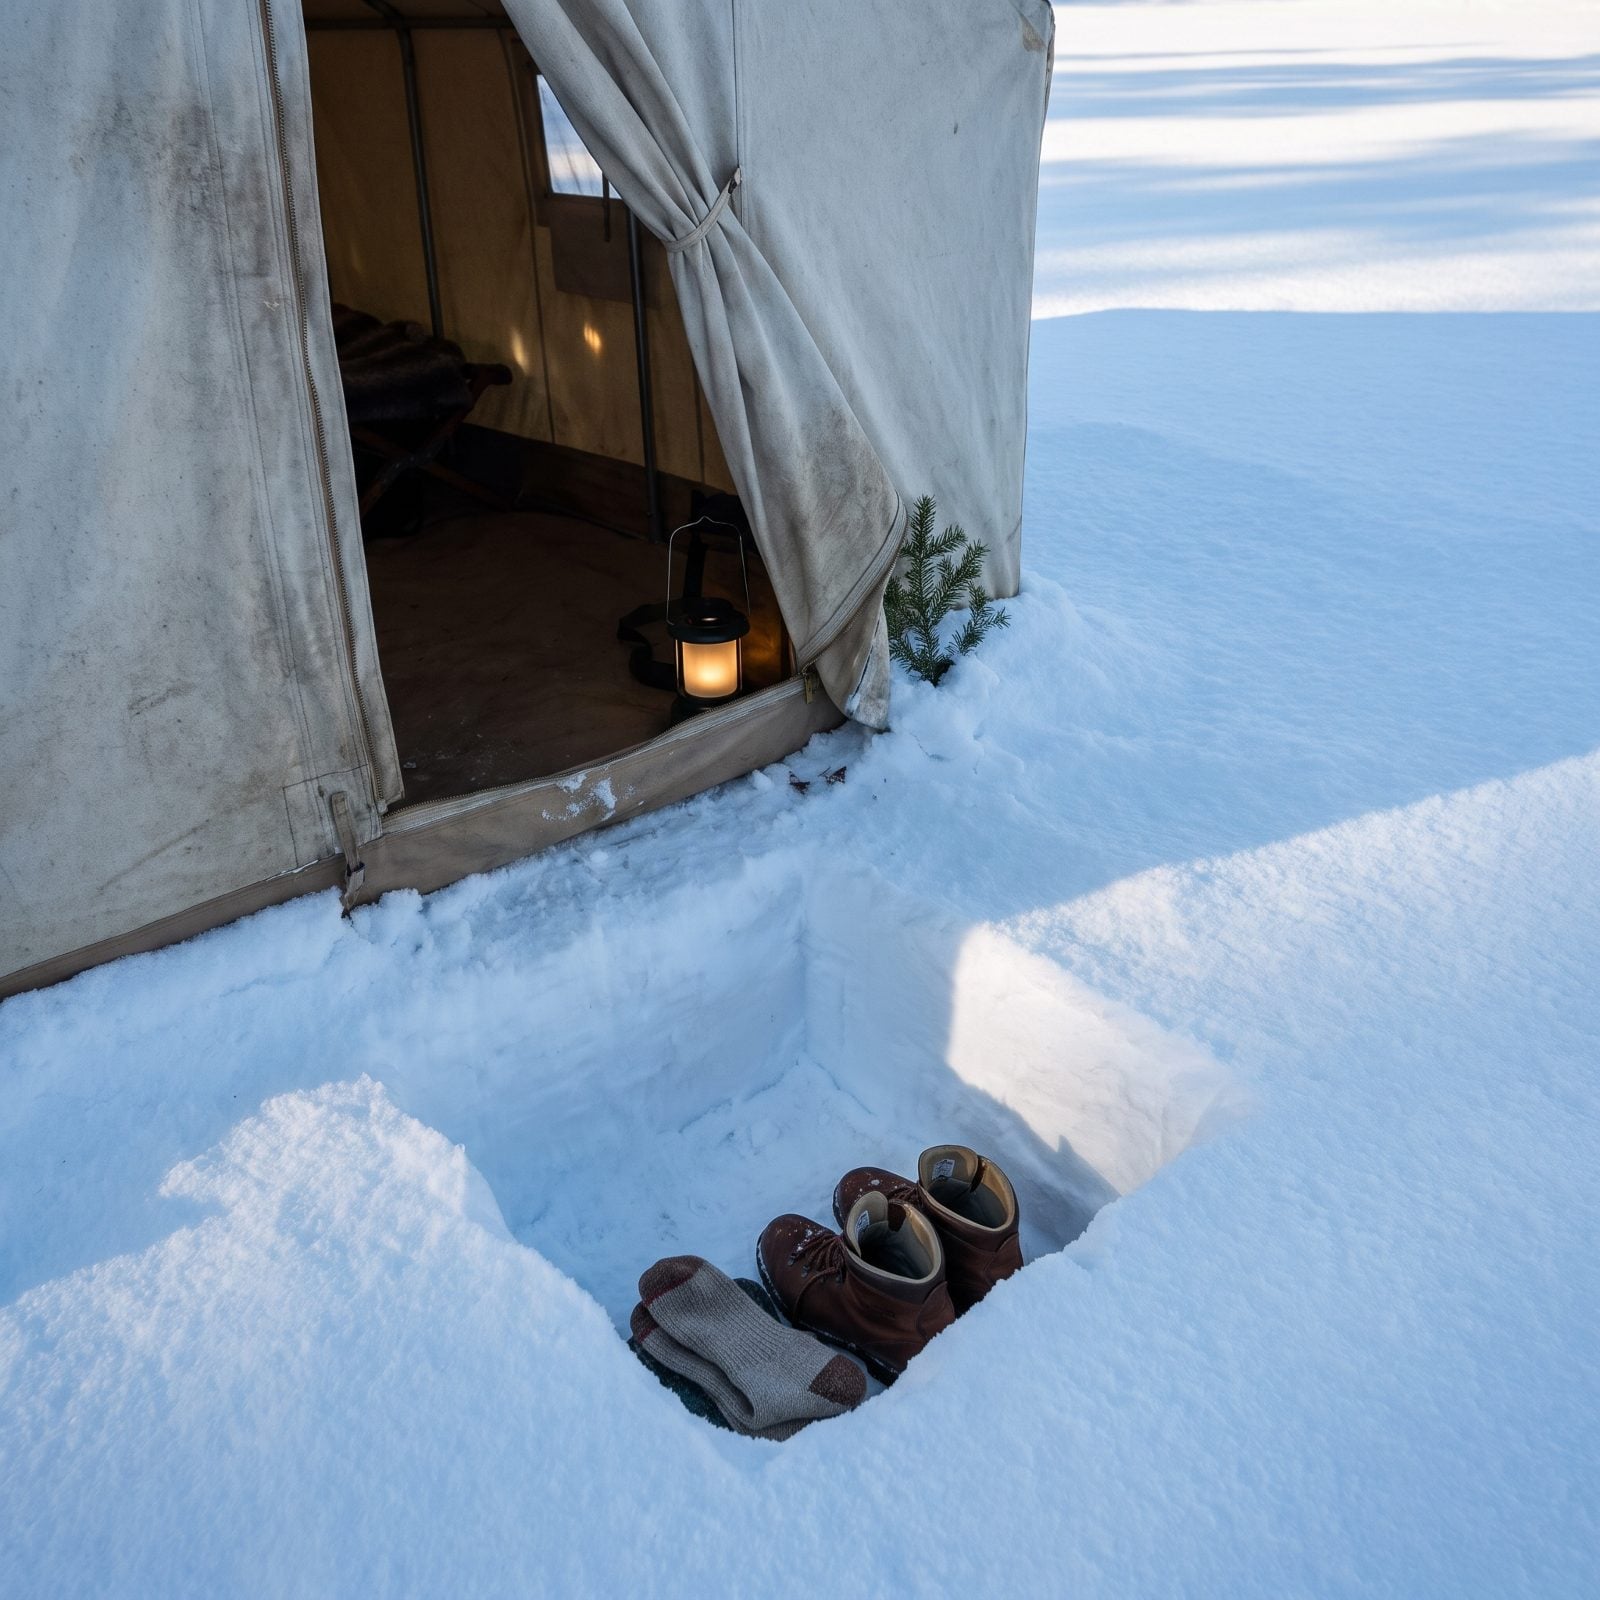
Trying to put your boots on while balanced on your backside inside a tent is a special kind of comedy, usually ending with snow down your collar.
Dig a step down into the snow right in front of the door, deep enough to drop your feet into while you sit on the packed snow rim like a bench. Now you lace up sitting upright, boots in the pit, instead of wrestling them on in the cramped doorway. It doubles as a cold sink too — chilly air drains down into the pit and away from your sleeping space, so the tent floor stays a touch warmer.
20. Pitch Tarps Steeply So Snow Slides Off
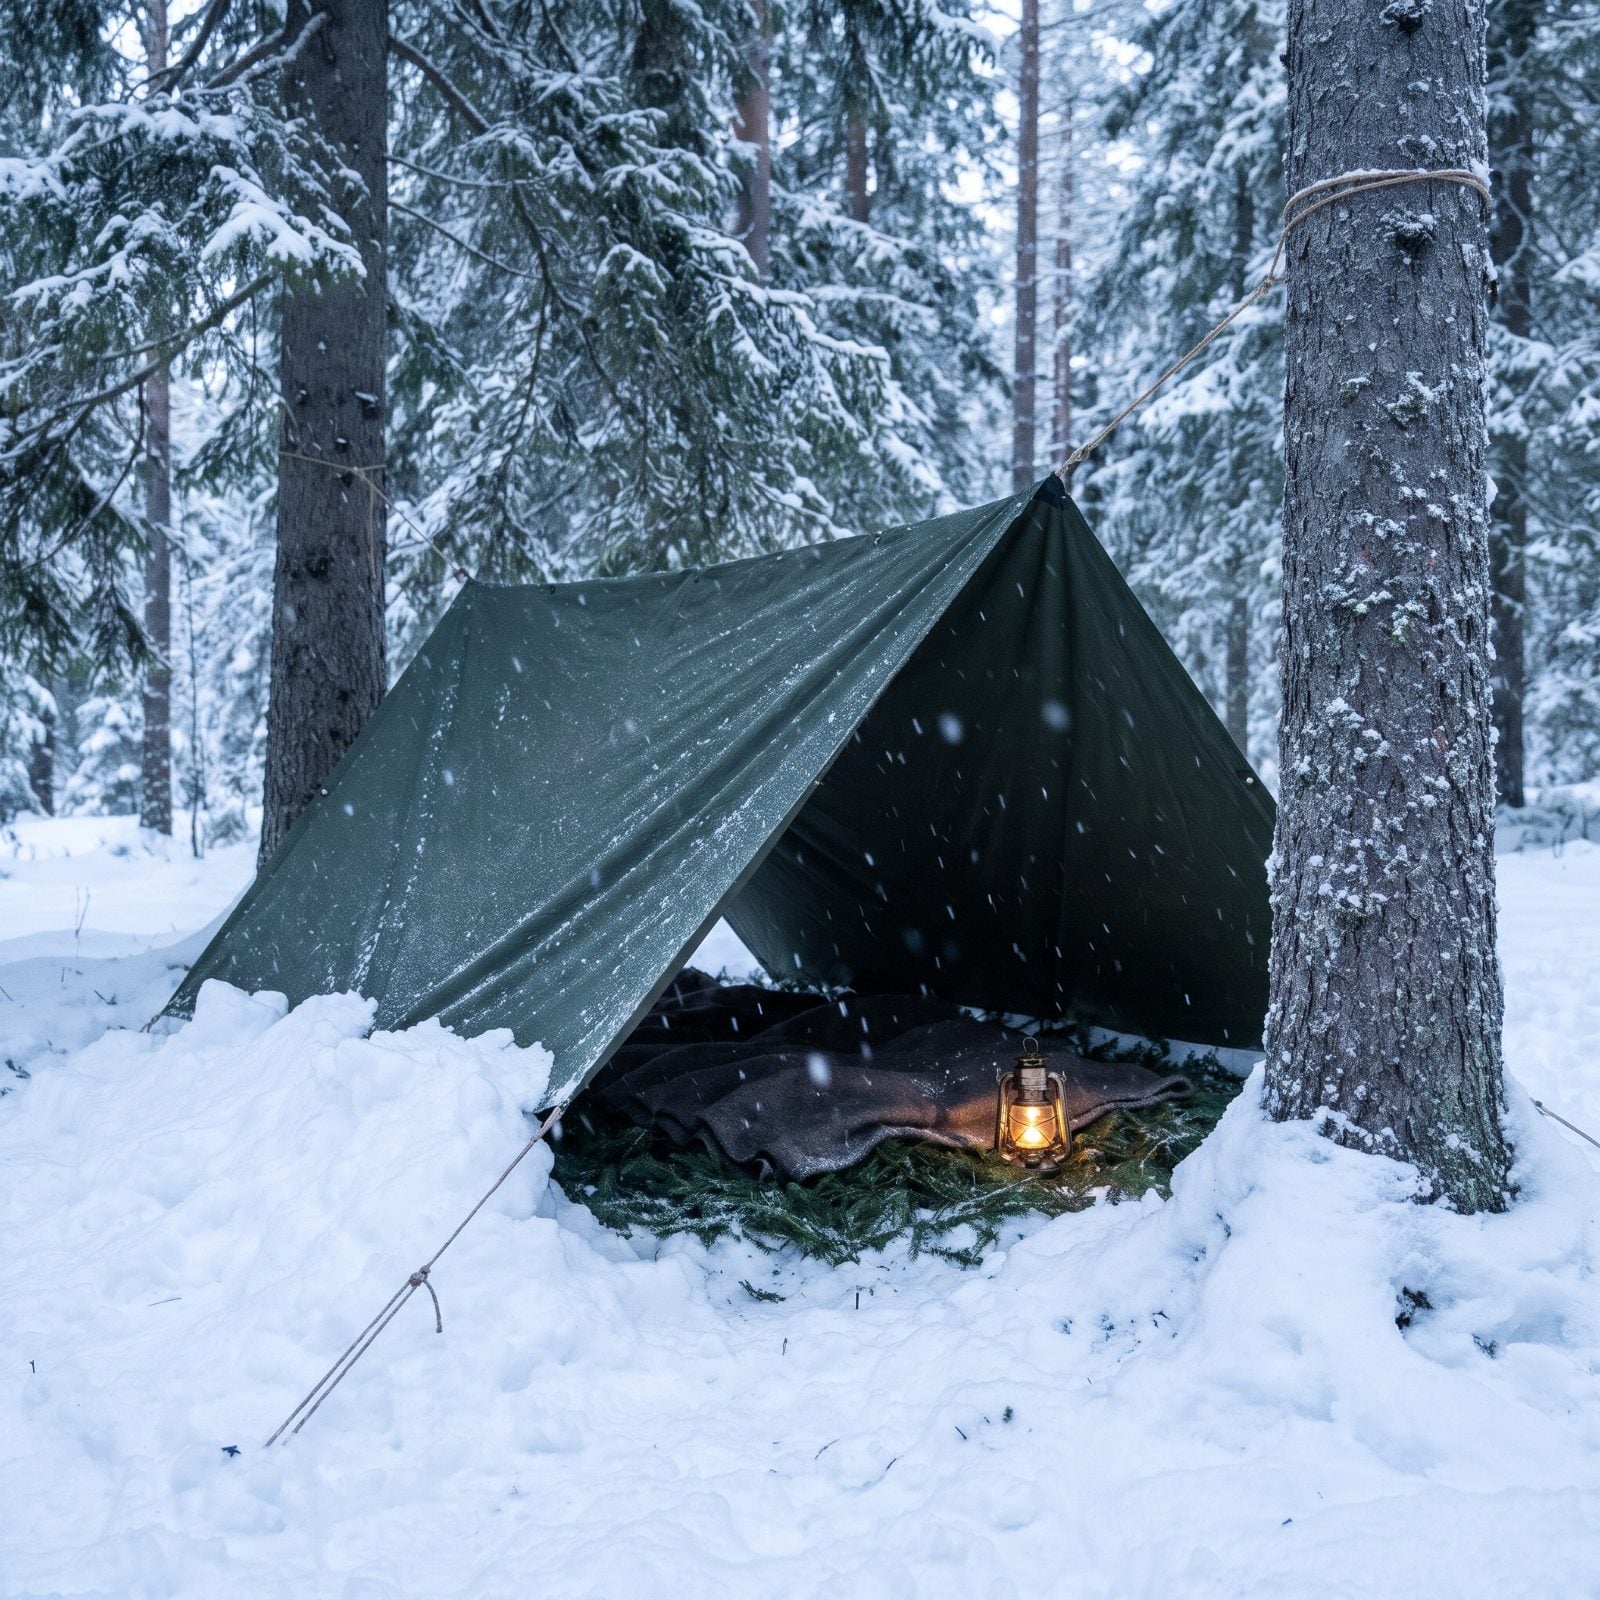
A flat or lazy tarp pitch is a trap in snow country. Snow piles on top, the weight builds through the night, and by morning the whole thing is sagging into your face or on the ground.
Pitch it steep. A sharp A-frame or a hard lean-to angle lets snow slide off before it can collect. Pull the ridgeline bar-tight and anchor it hard so the pitch doesn’t soften as the fabric ices up. Steeper also means snow sheds away from your sleeping edge instead of damming up against it. A little less headroom, a lot less shoveling the roof at 3 a.m.
19. Pack Waxed Egg-Carton Fire Starters
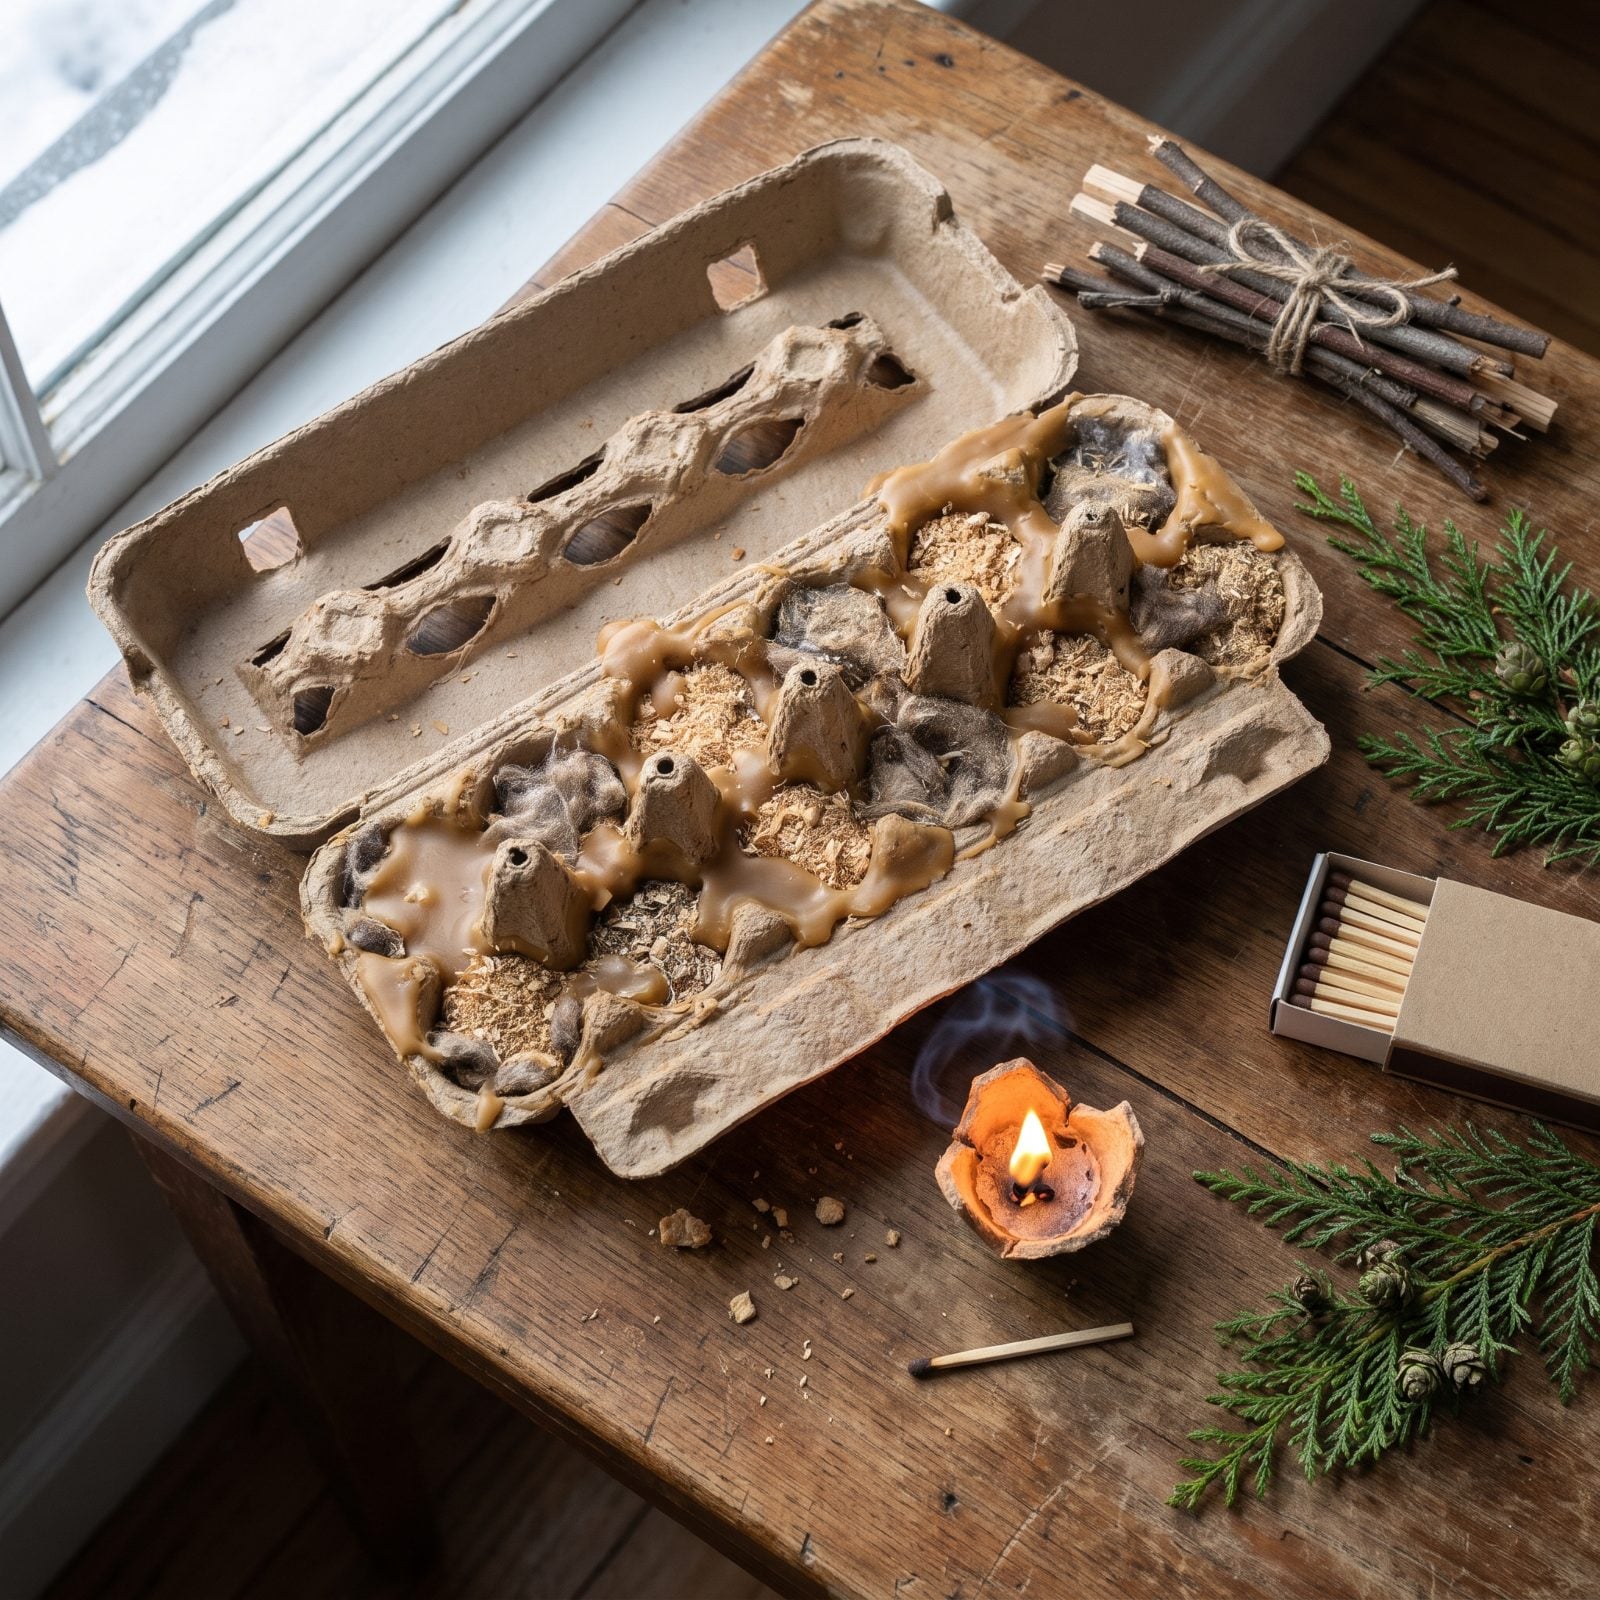
Make these at the kitchen table before the trip, when your hands work and the wax stays liquid. Fill the cups of a cardboard egg carton with dryer lint, sawdust, or wood shavings, pour melted candle wax over the top (a short wick pressed in helps them light like a tea light), let it set, then tear off one cup per fire. For a bigger, longer-burning starter, pour the same mix into a larger paper pot. Never light one while it’s still sitting in the carton next to loose lint and sawdust.
Each one burns steady for several minutes with a real flame, long enough to dry out and catch stubborn damp kindling. They cost basically nothing and don’t care if they get wet. A dozen fits in a sandwich bag.
The best fire starter is the one you made warm and dry at home, not the one you’re trying to improvise with frozen fingers at dusk.
18. Split Damp Wood to Reach Its Dry Center
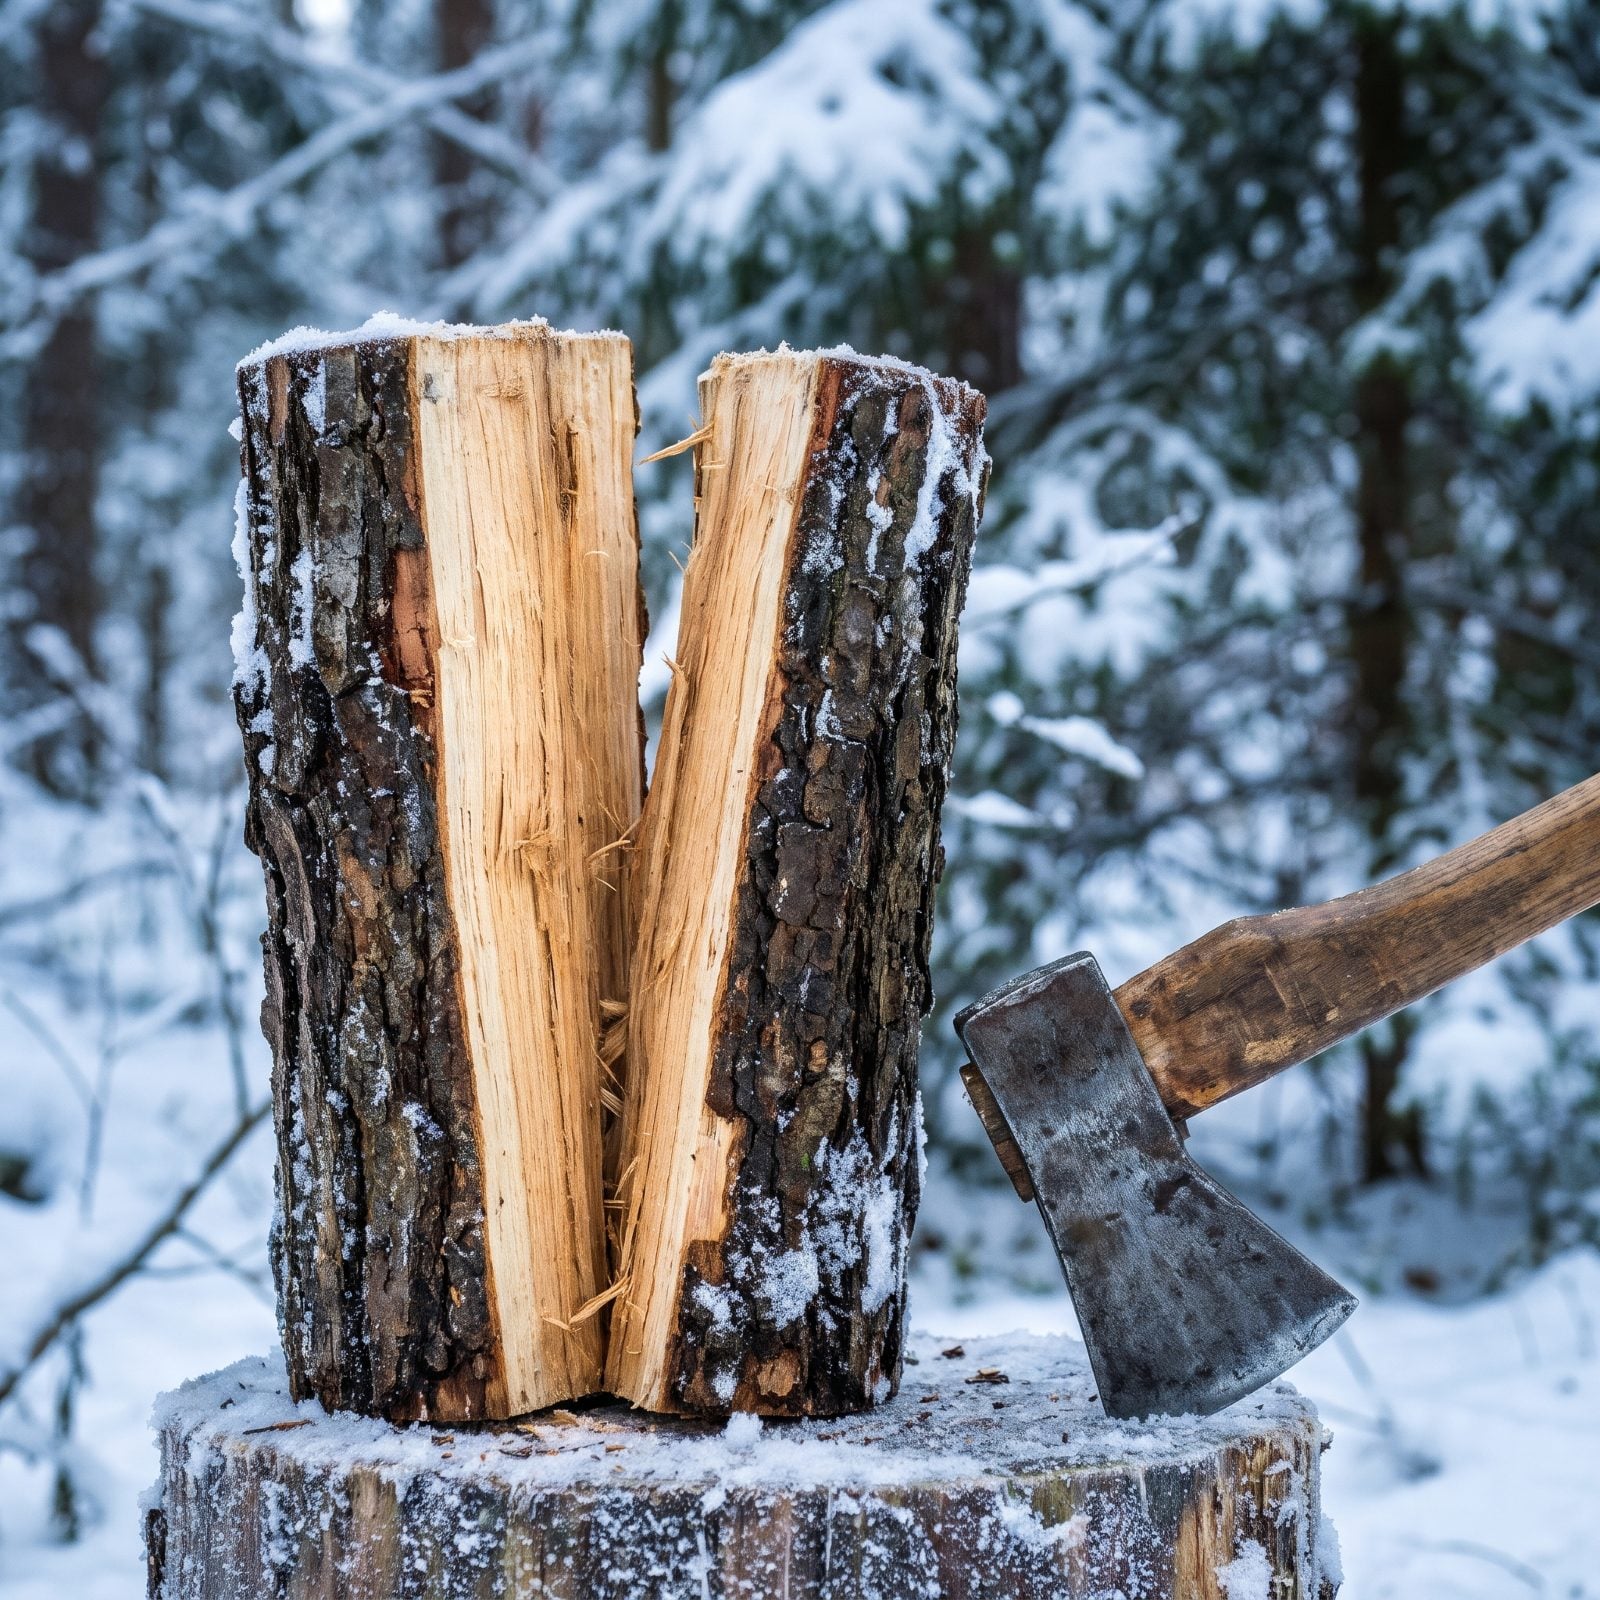
That log soaked by three days of snow isn’t ruined. The wet only goes so deep. Crack it open and the heartwood inside is usually bone dry.
Split damp or frozen rounds down into smaller pieces and you expose that dry inner wood, which lights far easier than the sodden outer face ever will. Batoning a hatchet through with a sturdy stick works when you don’t want to swing in tight quarters near the tent. Start with standing dead wood that never touched the ground — it’s your best bet. Even so, splitting it is what gets you from smoldering frustration to an actual fire.
17. Build a Reflector Wall Behind the Campfire
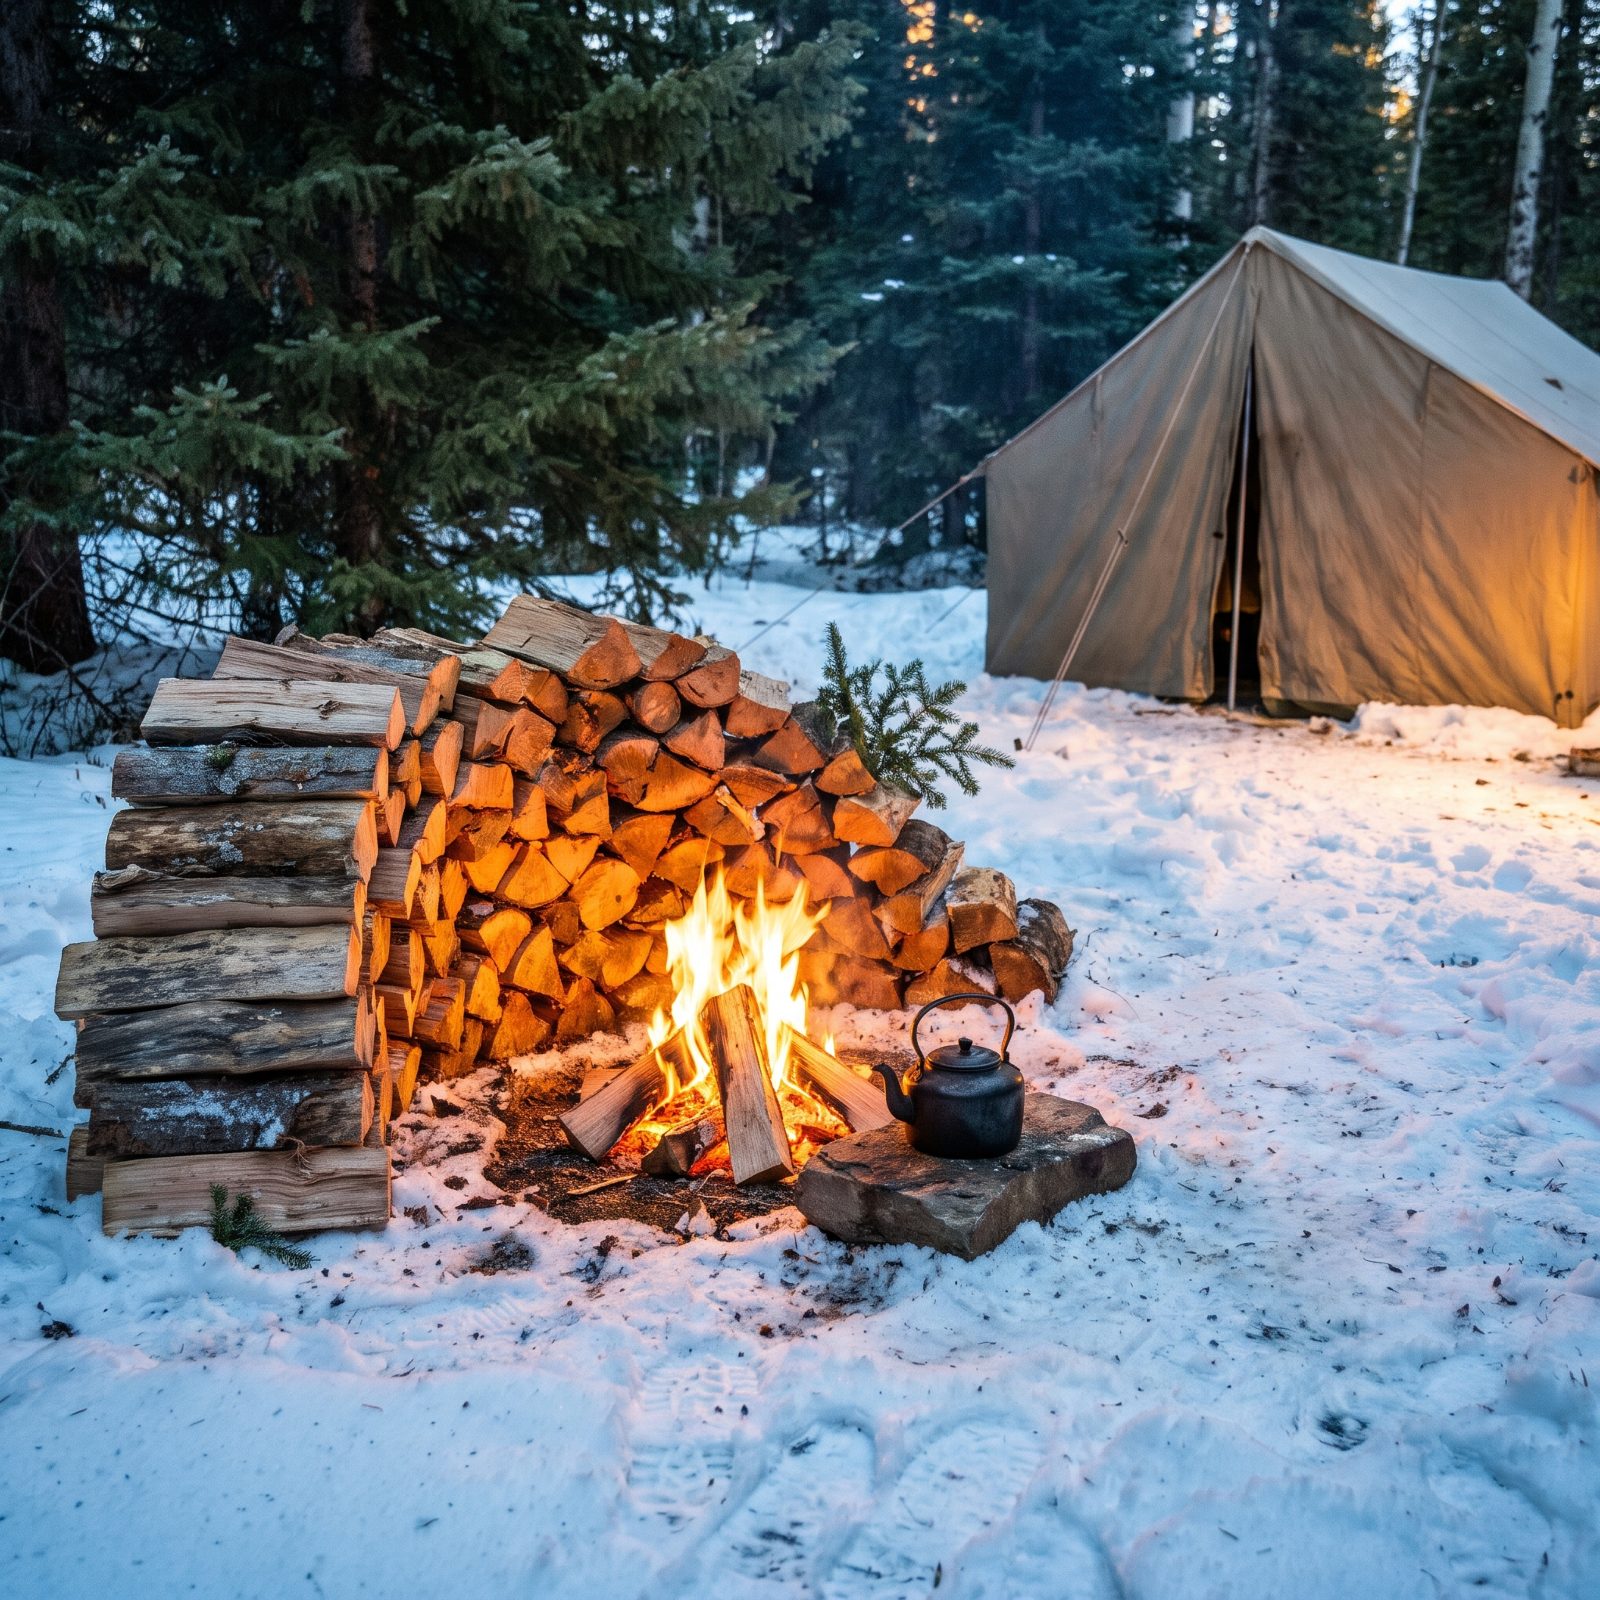
Half the heat from your fire goes straight up and off into the dark. A reflector wall catches a good chunk of what would otherwise warm the sky and throws it back at your shins.
Stack green logs or rocks into a chest-high wall a foot or two back from the far side of the fire from where you’re sitting, so the flames sit between you and the wall. Heat that would’ve escaped bounces back toward you and whatever’s behind you — a tent flap, a tarp lean-to, a shivering buddy. On a still night you’ll feel the difference the second the wall goes up.
16. Set Firewood on Runners Instead of Bare Snow
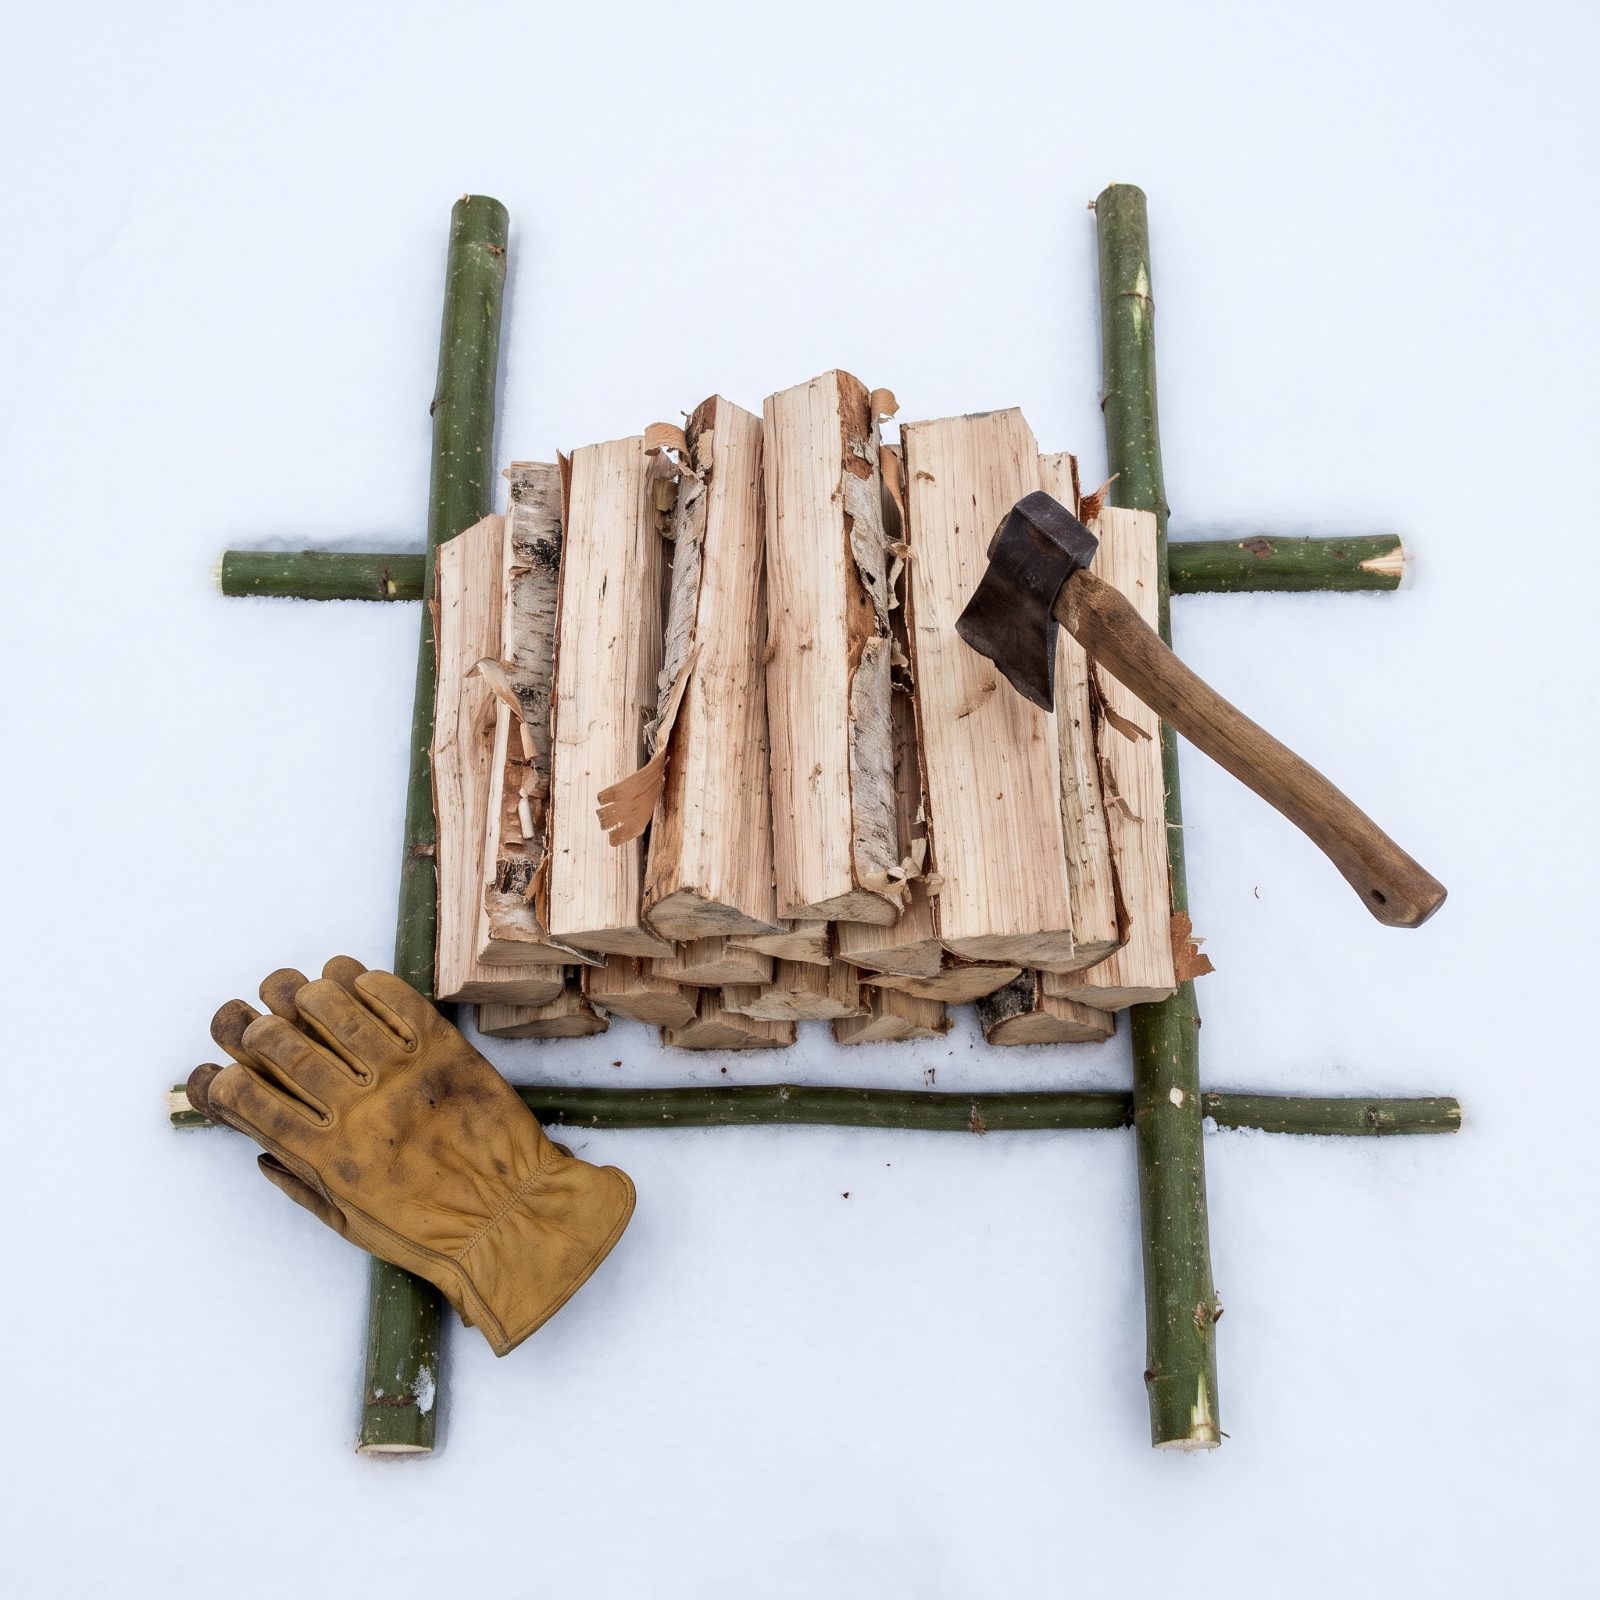
Lay your wood straight on the snow and the bottom logs start wicking up meltwater within the hour. By the time you want them, they’re damp and sulky and stubborn to light.
Poles fix it. Lay two green saplings on the snow and stack your wood across them, so the logs run perpendicular to the poles. A spare oar, even your trekking poles will do. Then the wood sits up in the air, snow stays snow, and your bottom layer lights as easily as the top. Takes thirty seconds and saves you a frustrating evening coaxing steam out of a log that should’ve caught on the first match.
15. Keep Matches in Two Separate Waterproof Containers
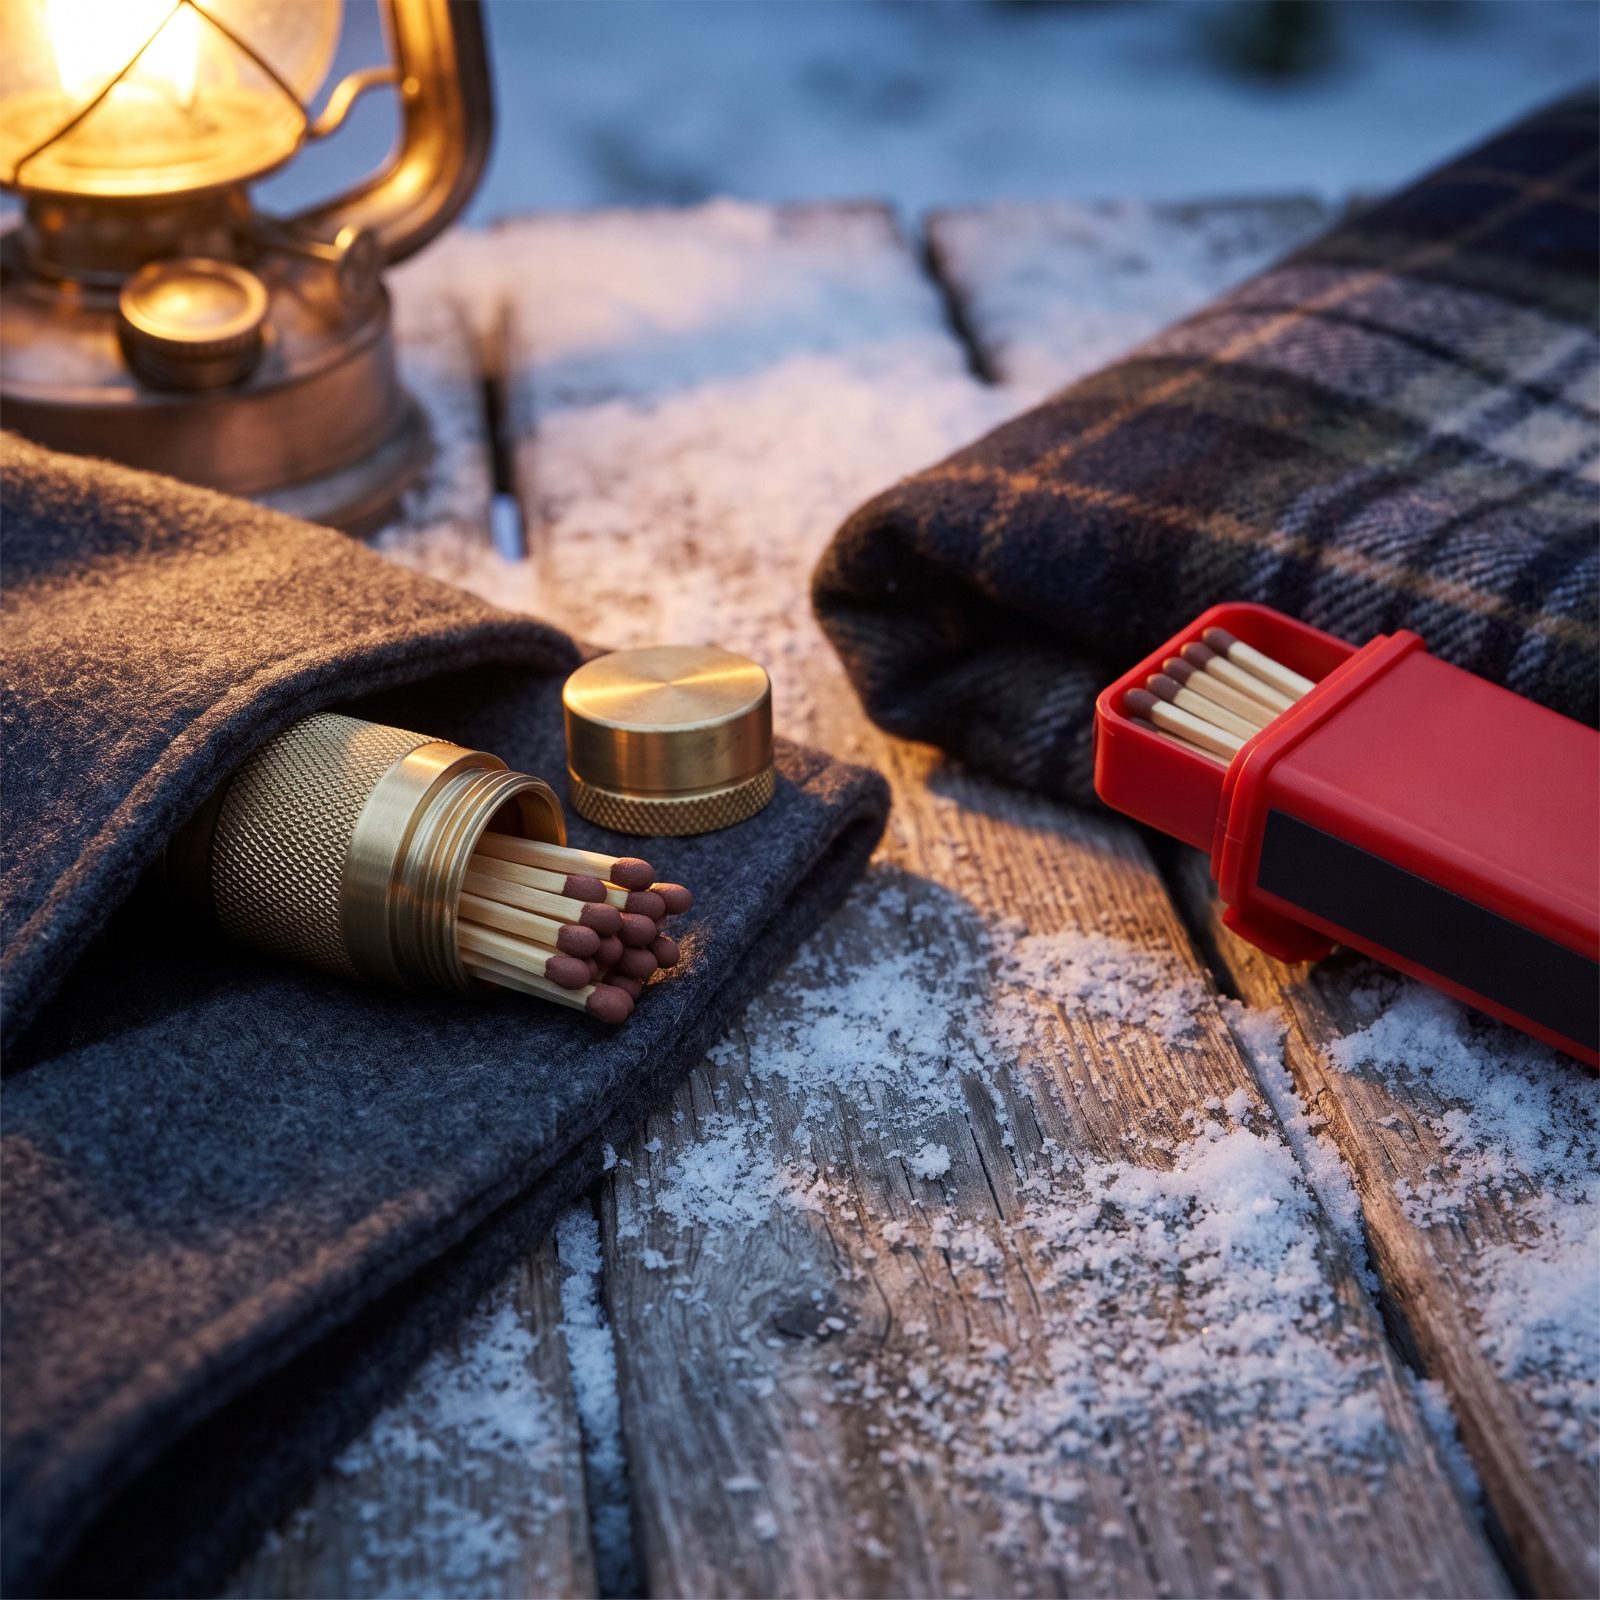
One container of matches is one failure point. Drop it in a creek, leave it in a jacket that goes through the wash, blank on which pocket it’s in — and suddenly you’re down to a flint and a prayer.
So split them. Half your matches in one waterproof container, half in another, carried in different places: one riding in your pack, one on your body. One stays bone dry no matter what happens to the other. I learned this the hard way after a single tin took a swim and left me rubbing cold sticks together for far longer than any grown adult should.
14. Stand a Canister Stove in a Shallow Lukewarm-Water Bath
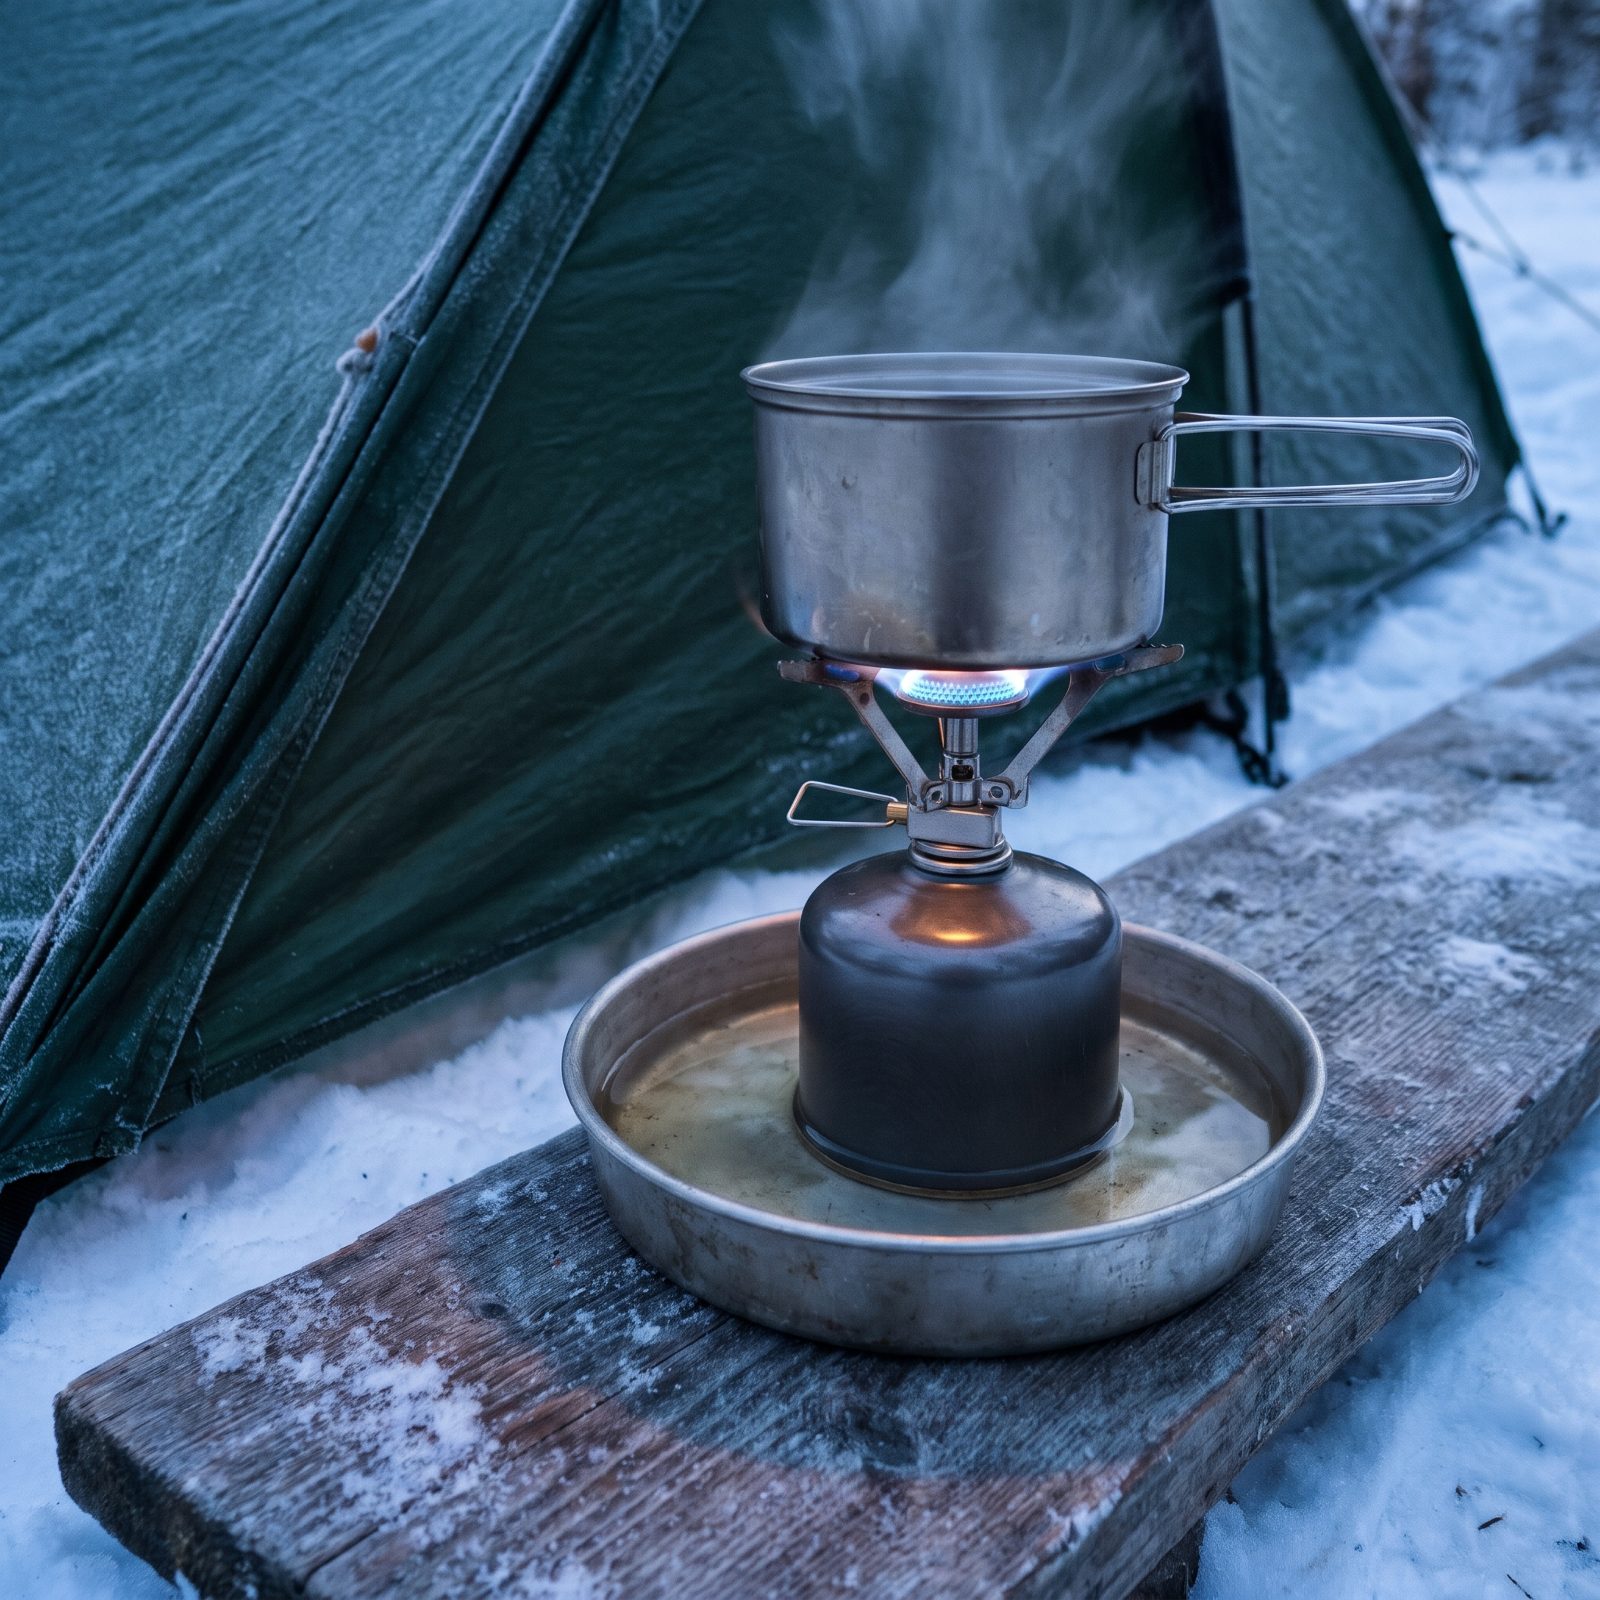
Cold kills canister pressure. The colder your fuel gets, the weaker the flame, until the thing barely simmers when you need a rolling boil.
An inch of lukewarm water in a shallow pan, canister standing in it, keeps the fuel warm enough to keep working. The water transfers just enough heat to hold the pressure up. Lukewarm, not hot — you’re warming the fuel, not cooking it. This one trick is the difference between coffee in four minutes and coffee in fifteen while you watch a sad blue flame wrestle the morning.
13. Put a Board Beneath the Stove to Stop It Sinking
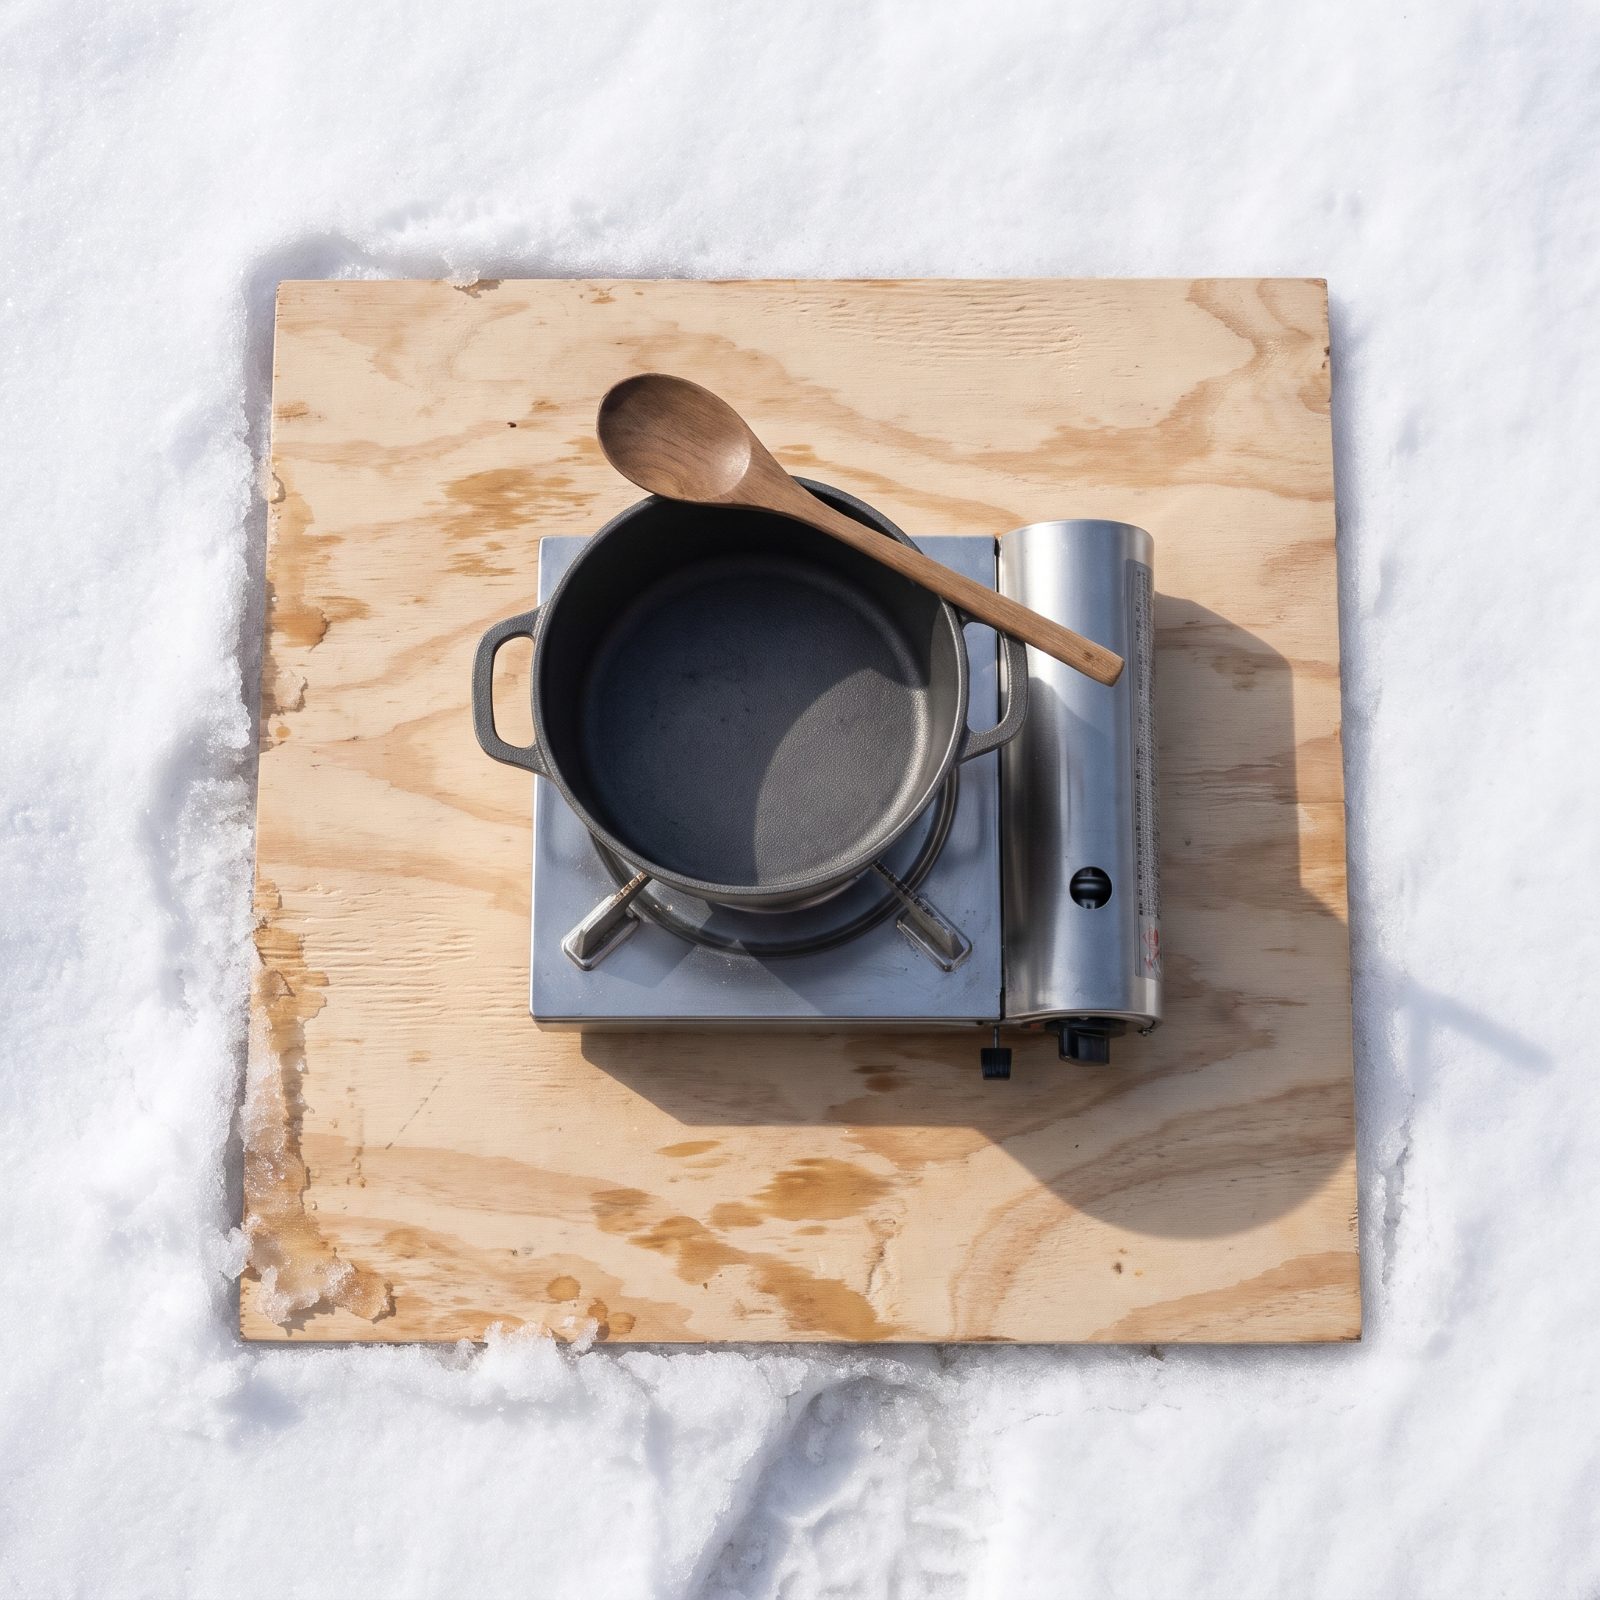
Fire a stove on bare snow and watch what happens. The heat melts the snow beneath it, the stove tilts, and your pot of near-boiling water starts leaning toward your boots.
A flat board under the stove ends all of that. A scrap of plywood, a cutting board, even a flat chunk of bark spreads the weight and insulates the base from the snow. The stove stays level, the snow stays put, and your dinner stays in the pot where it belongs instead of hissing into a slush pit of your own making.
12. Prime a Thermos With Boiling Water Before Filling It
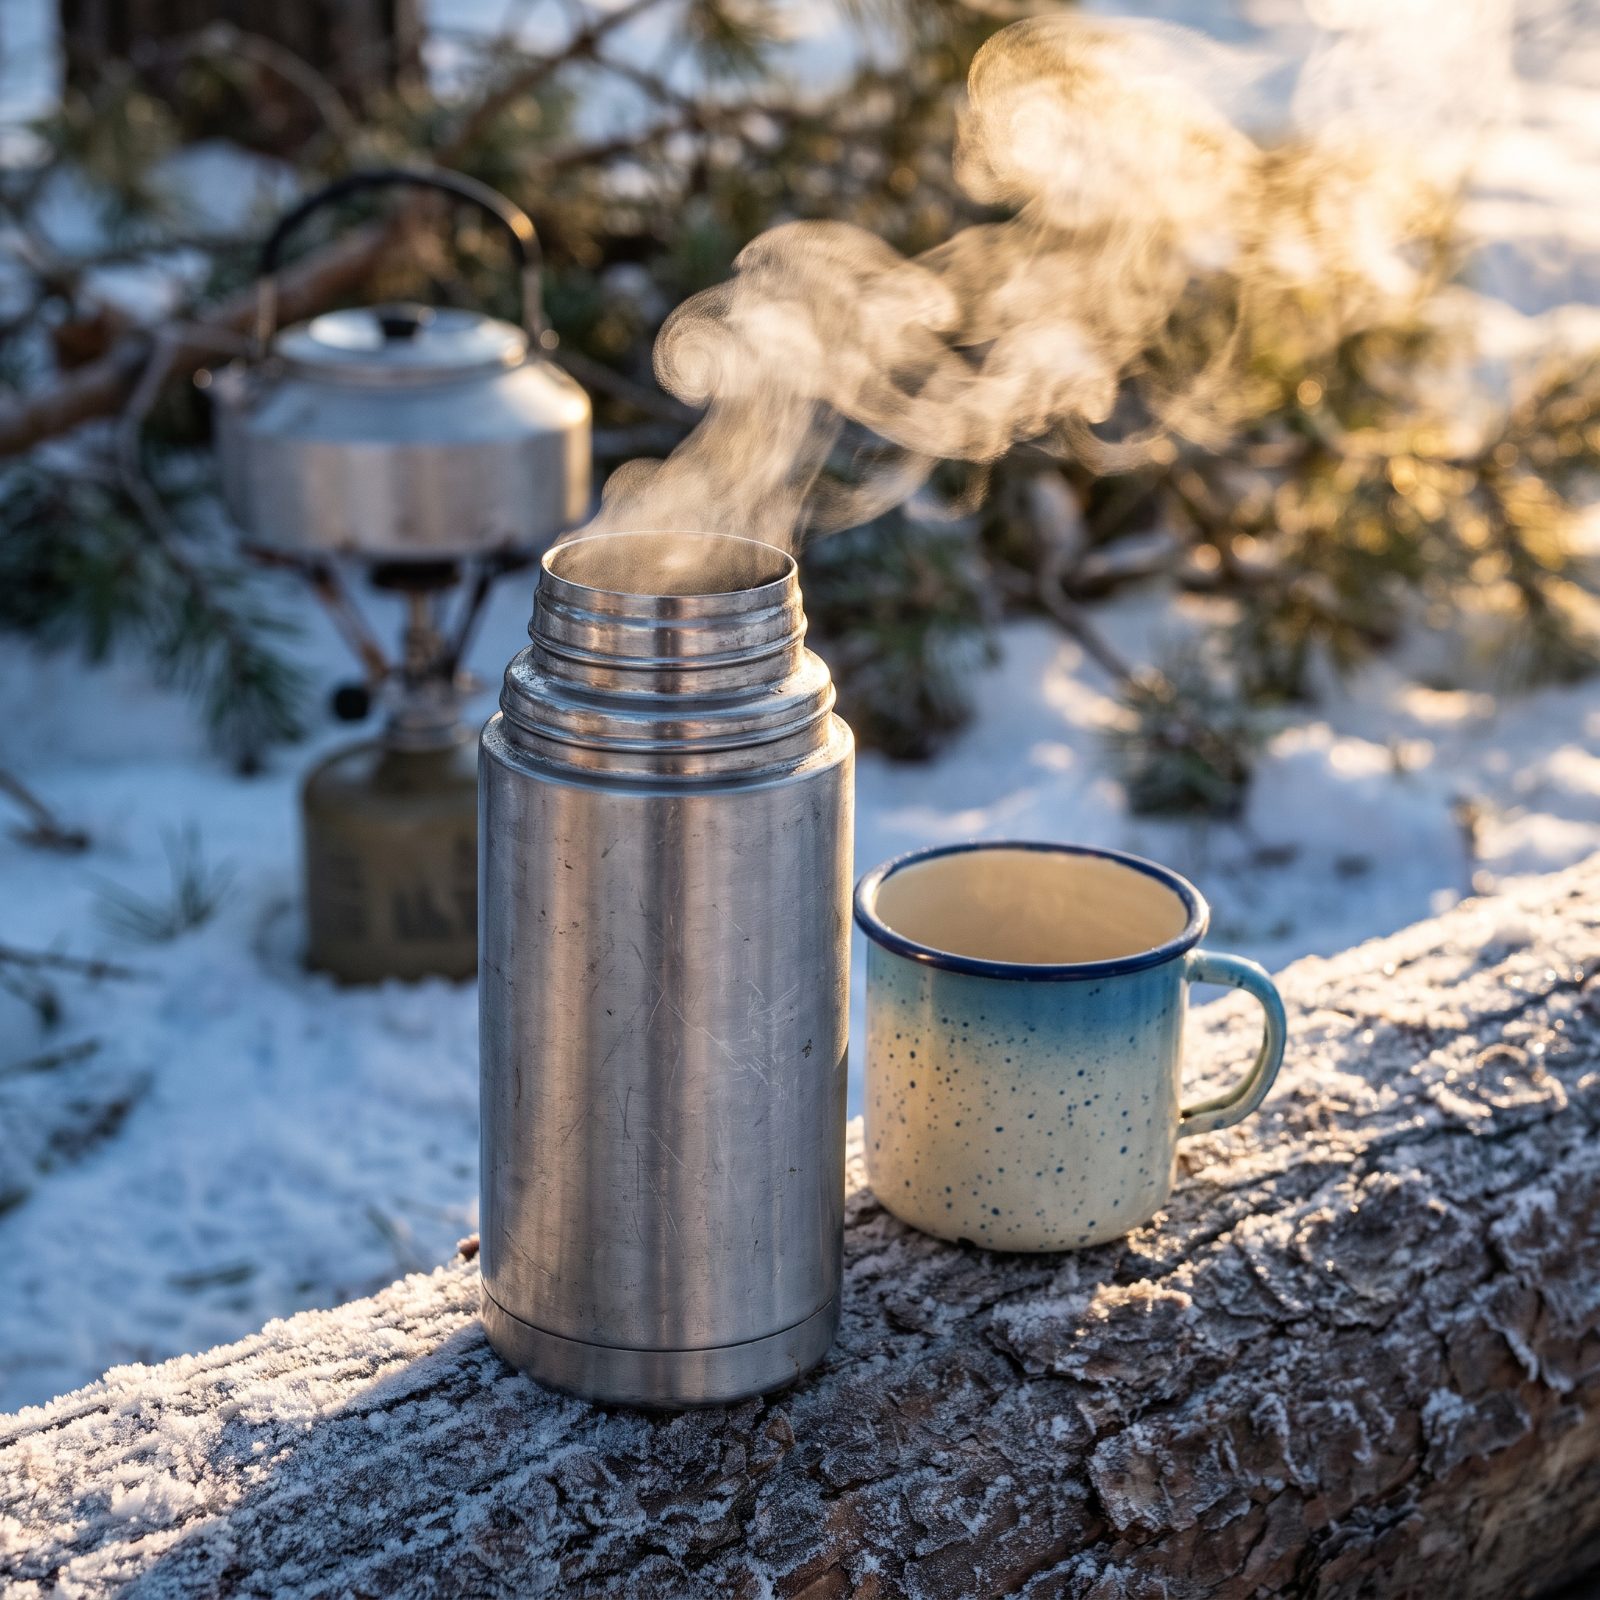
Pour hot coffee into a cold steel thermos and the metal steals the first wave of heat before the lid even goes on. By midday your drink’s lukewarm and you’re wondering why you bothered.
Fill the empty thermos with boiling water, cap it, and let it sit a minute or two while you brew. Dump that water, then pour in your actual drink. The walls are already warm, so they aren’t drinking your heat. A primed thermos holds a drink hot for hours longer than a cold one, and on a frozen ridge that extra warmth feels like a small act of mercy.
11. Cook Stew at Home and Freeze It Flat
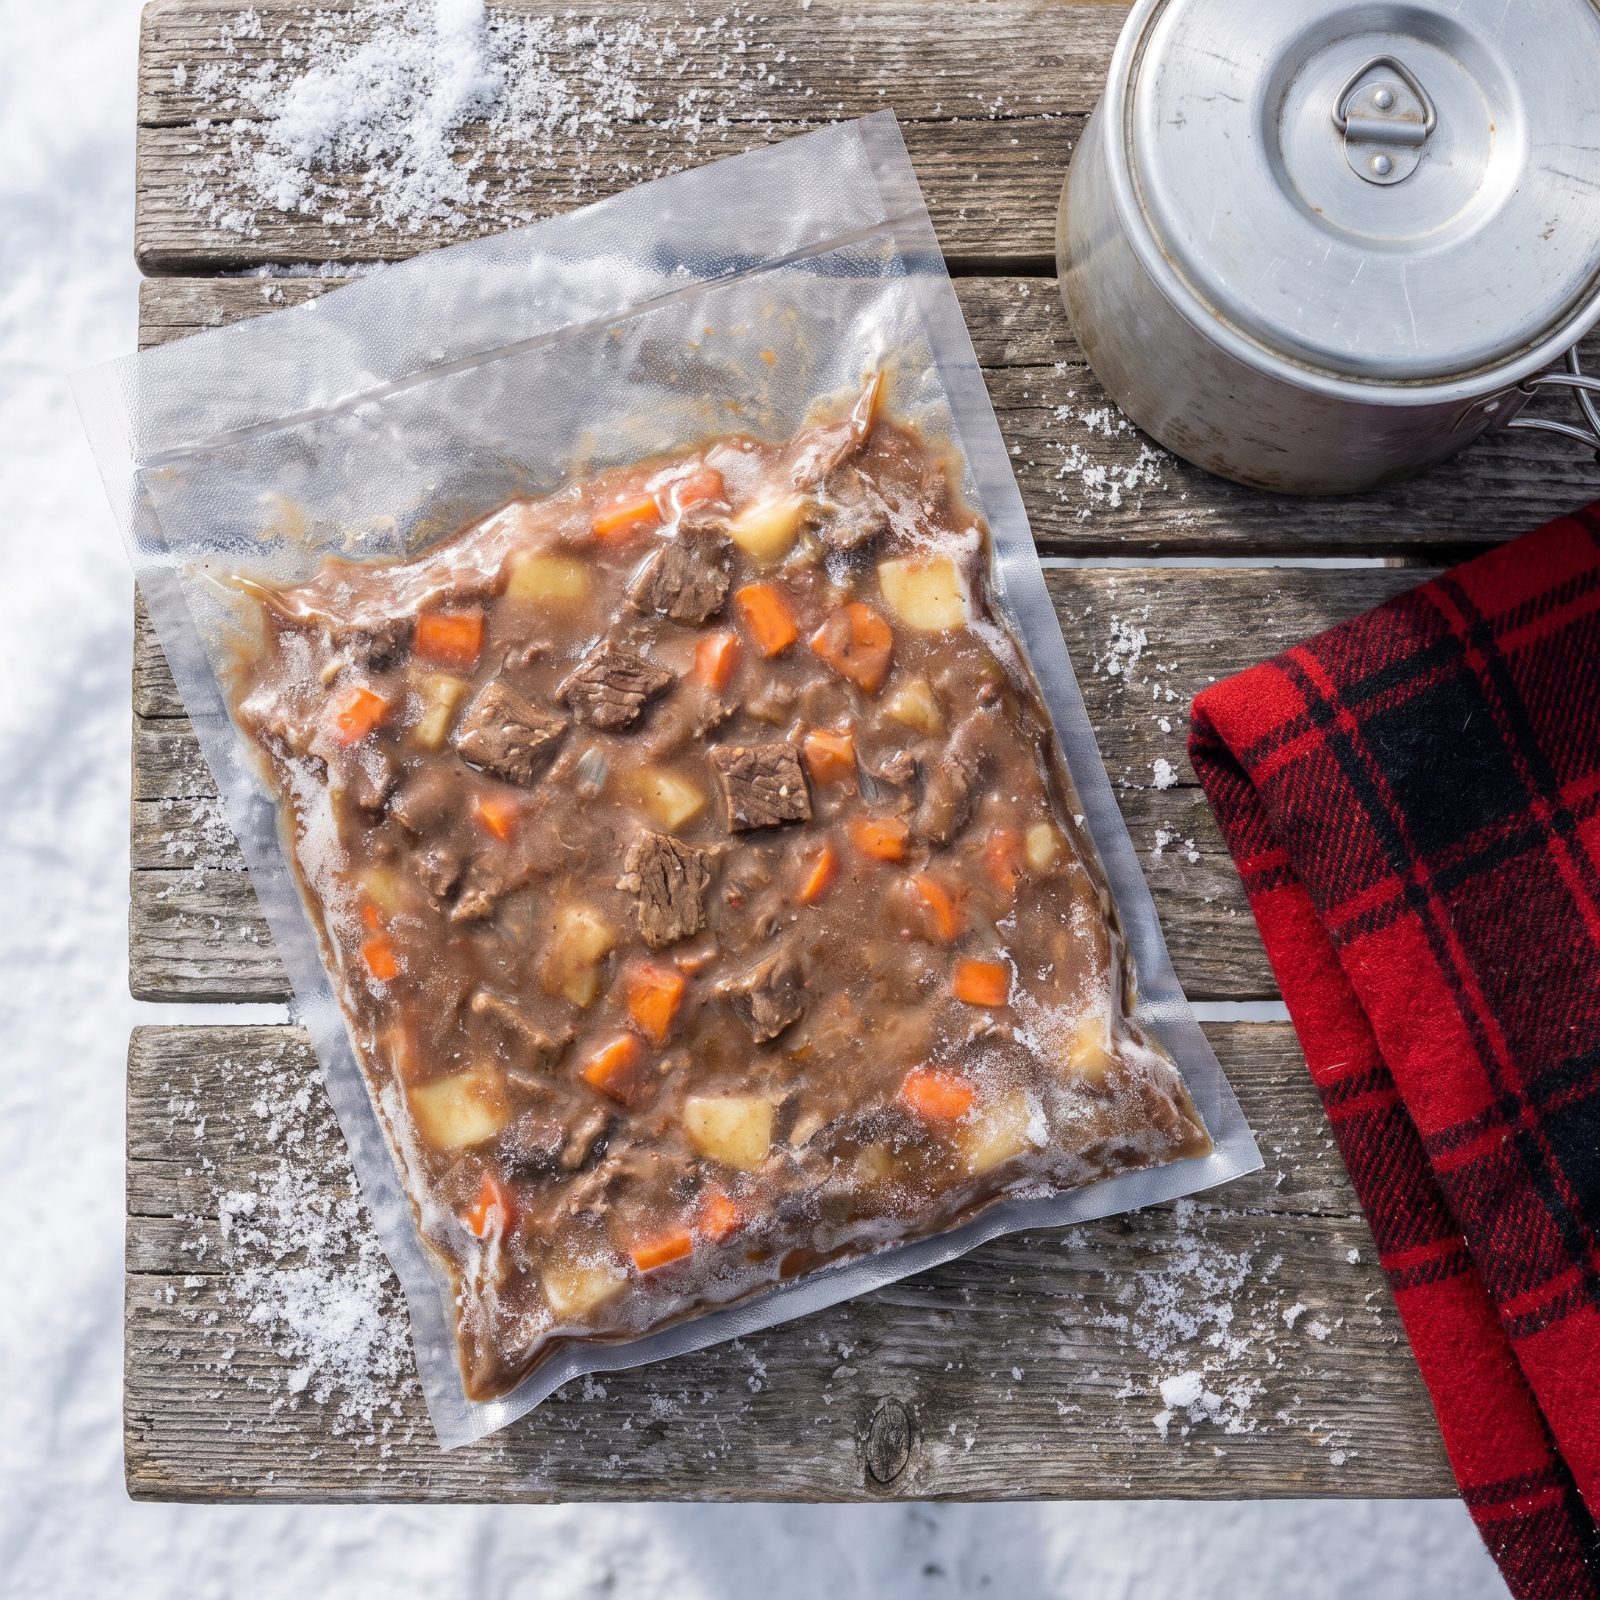
The best winter camp dinner is one you cooked in your own kitchen a week ago. Make a pot of stew at home, let it cool, and freeze it flat in a sealed bag.
Frozen flat, it packs like a book. Slides down the side of a pack, doubles as a cold block keeping the rest of your food safe on the way in, then thaws and reheats in one pot at camp with almost no fuss. You get a real meal — hot, filling, honest — after a day hauling gear through snow, and you didn’t have to chop a single onion with numb fingers.
10. Carry Tortillas Instead of Freeze-Prone Bread
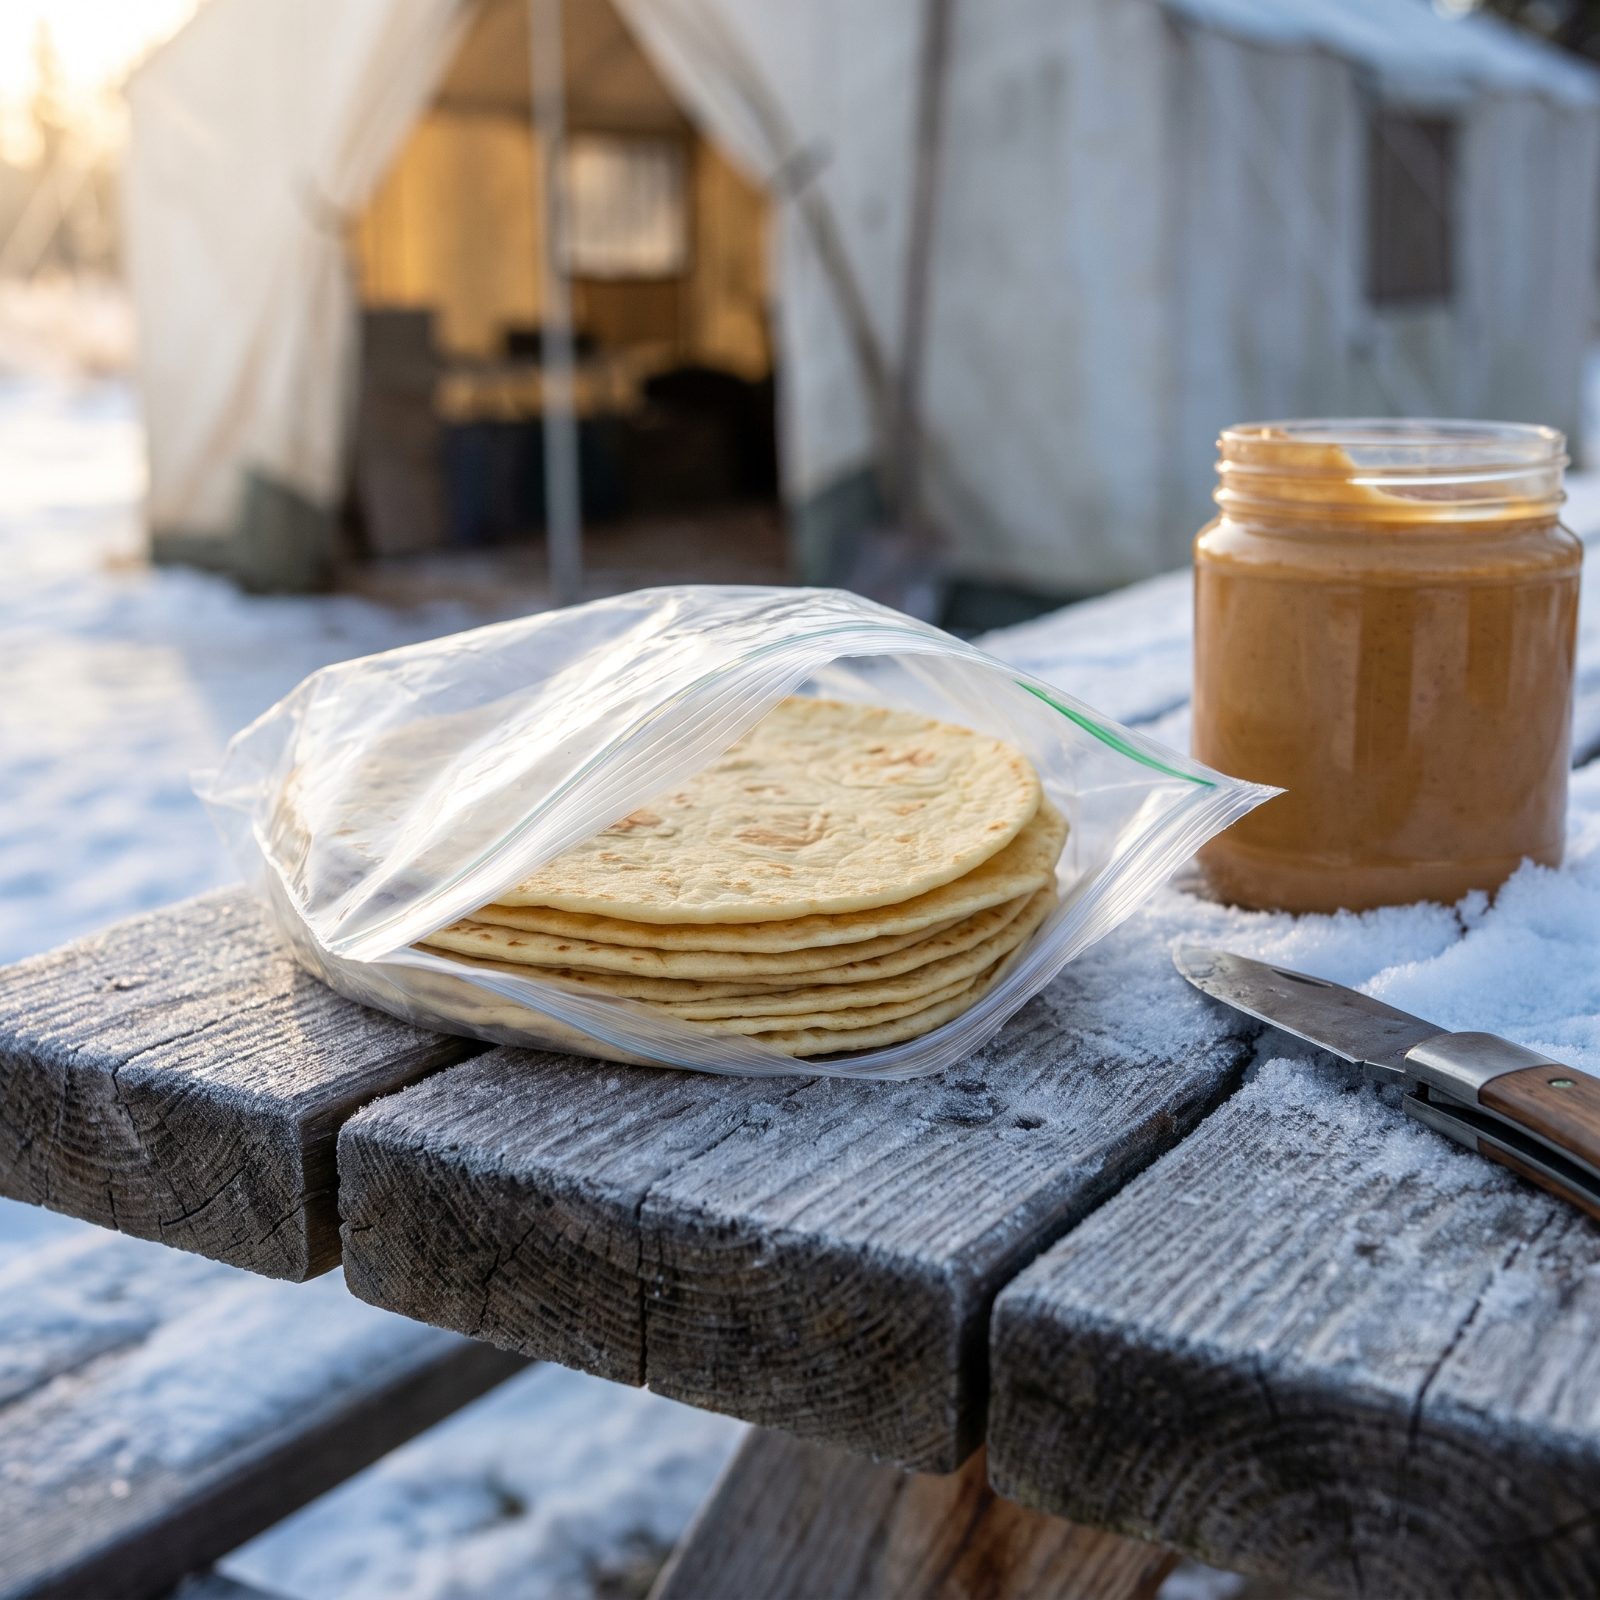
Bread in a winter pack ends up a crushed, half-frozen brick of crumbs. Sandwiches turn to rubble by lunchtime.
Tortillas don’t care. They freeze and thaw without falling apart, lie flat against your back instead of getting mashed into dough, and wrap anything from peanut butter to leftover stew. One pack covers breakfast, lunch and dinner without a single sad flattened slice. For the weight and the sheer resilience, nothing else in the bread family comes close.
9. Use Wooden Utensils That Do Not Steal Heat
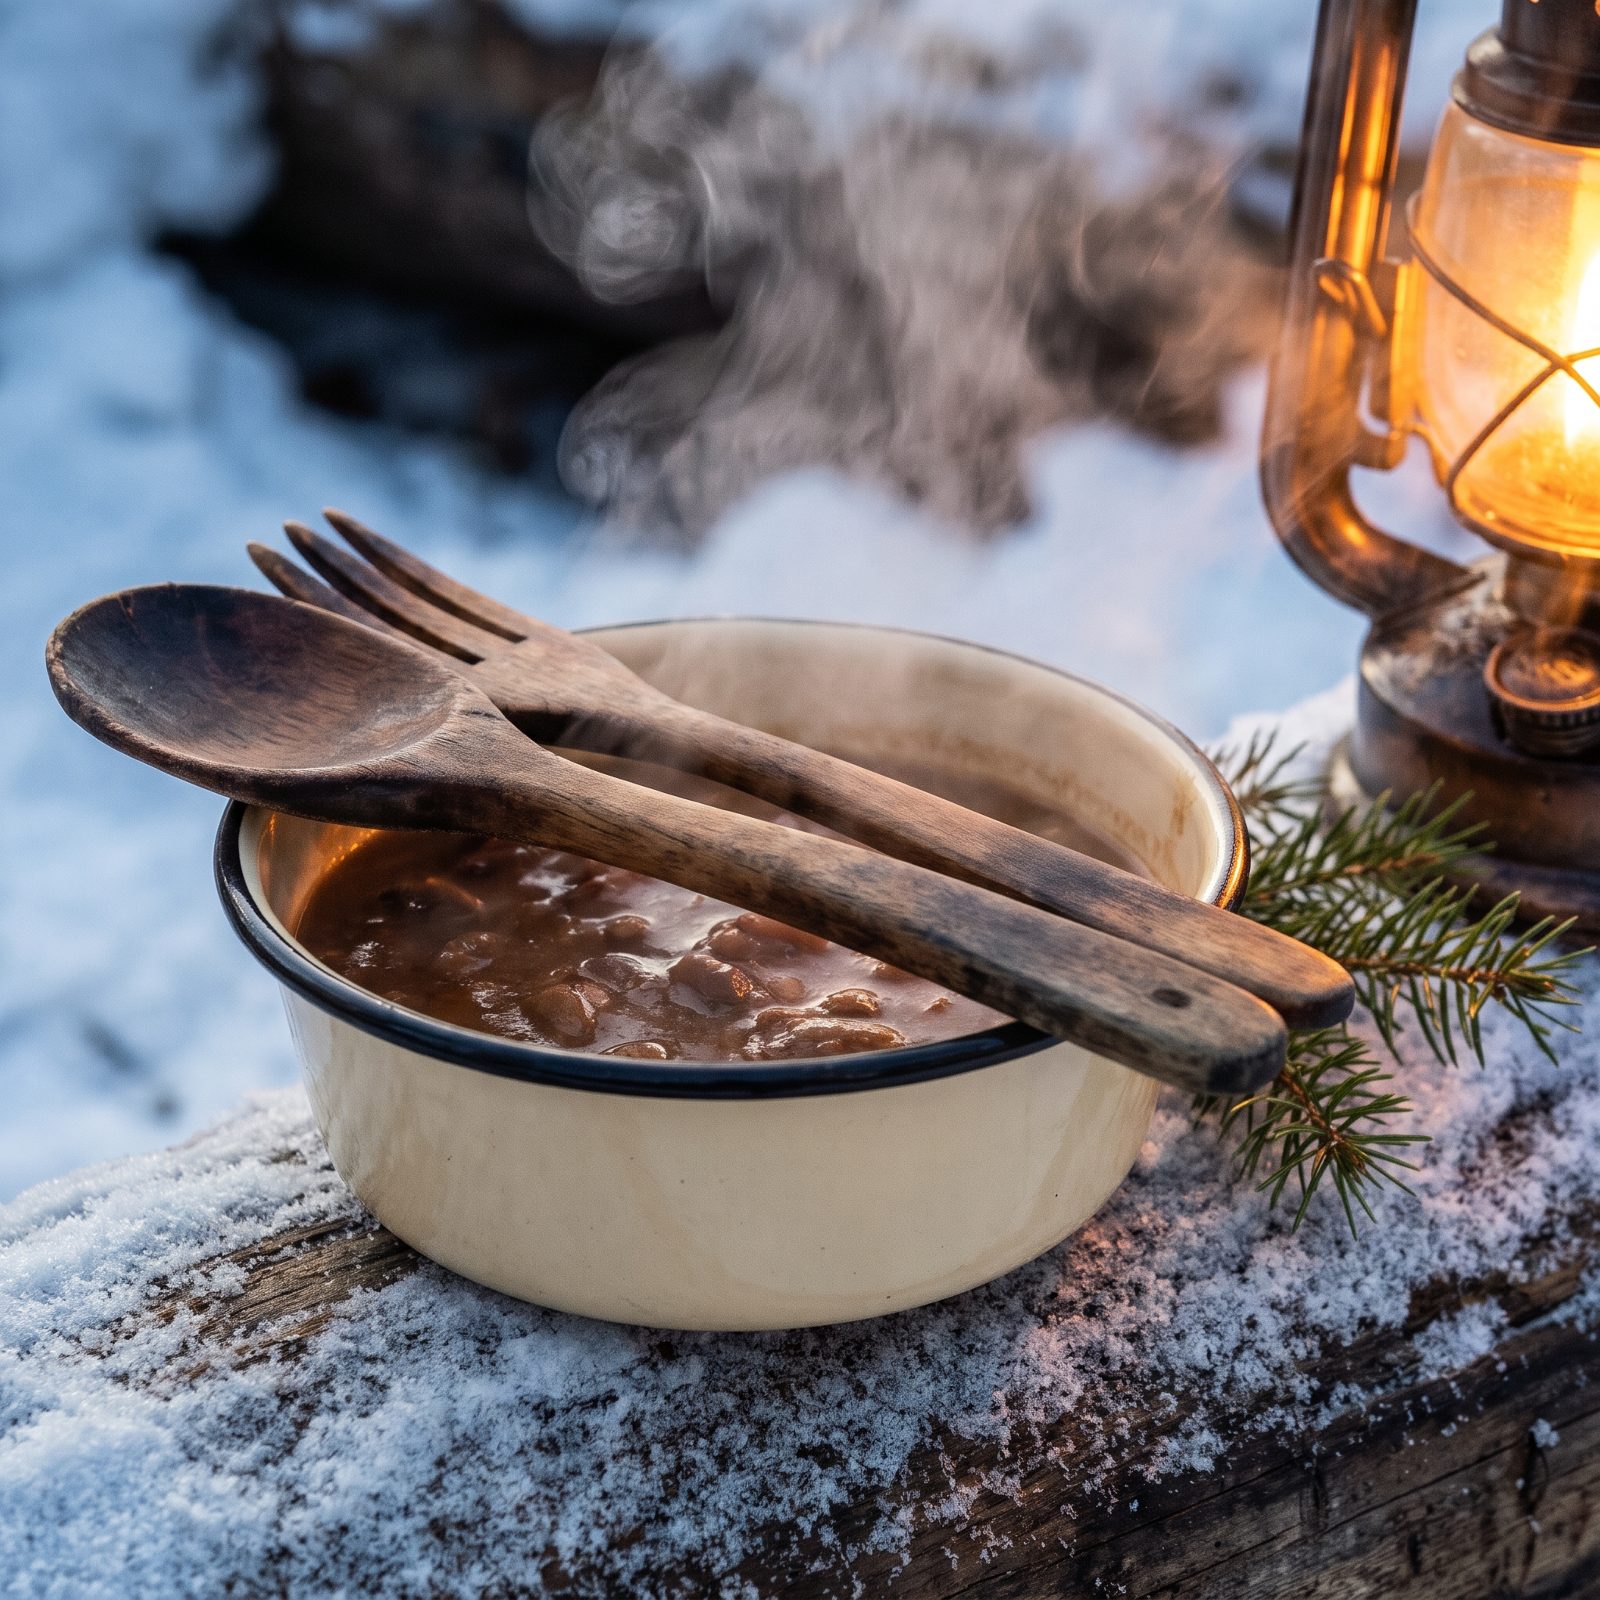
Pick up a metal spoon at twenty degrees and it bites your fingers, then dumps that cold straight into your mouth off the first bite. Metal pulls heat out of everything it touches, you and your dinner included.
Wood doesn’t. A wooden spoon stays close to air temperature, so it never shocks your hand or chills a mouthful of hot stew. It won’t clang against a metal pot and wake the whole camp, either. Cheap, light, quiet, and it doesn’t rob your dinner of the warmth you worked to put in it. A small thing your cold hands will thank you for.
8. Start Snow-Melting With Water Already in the Pot
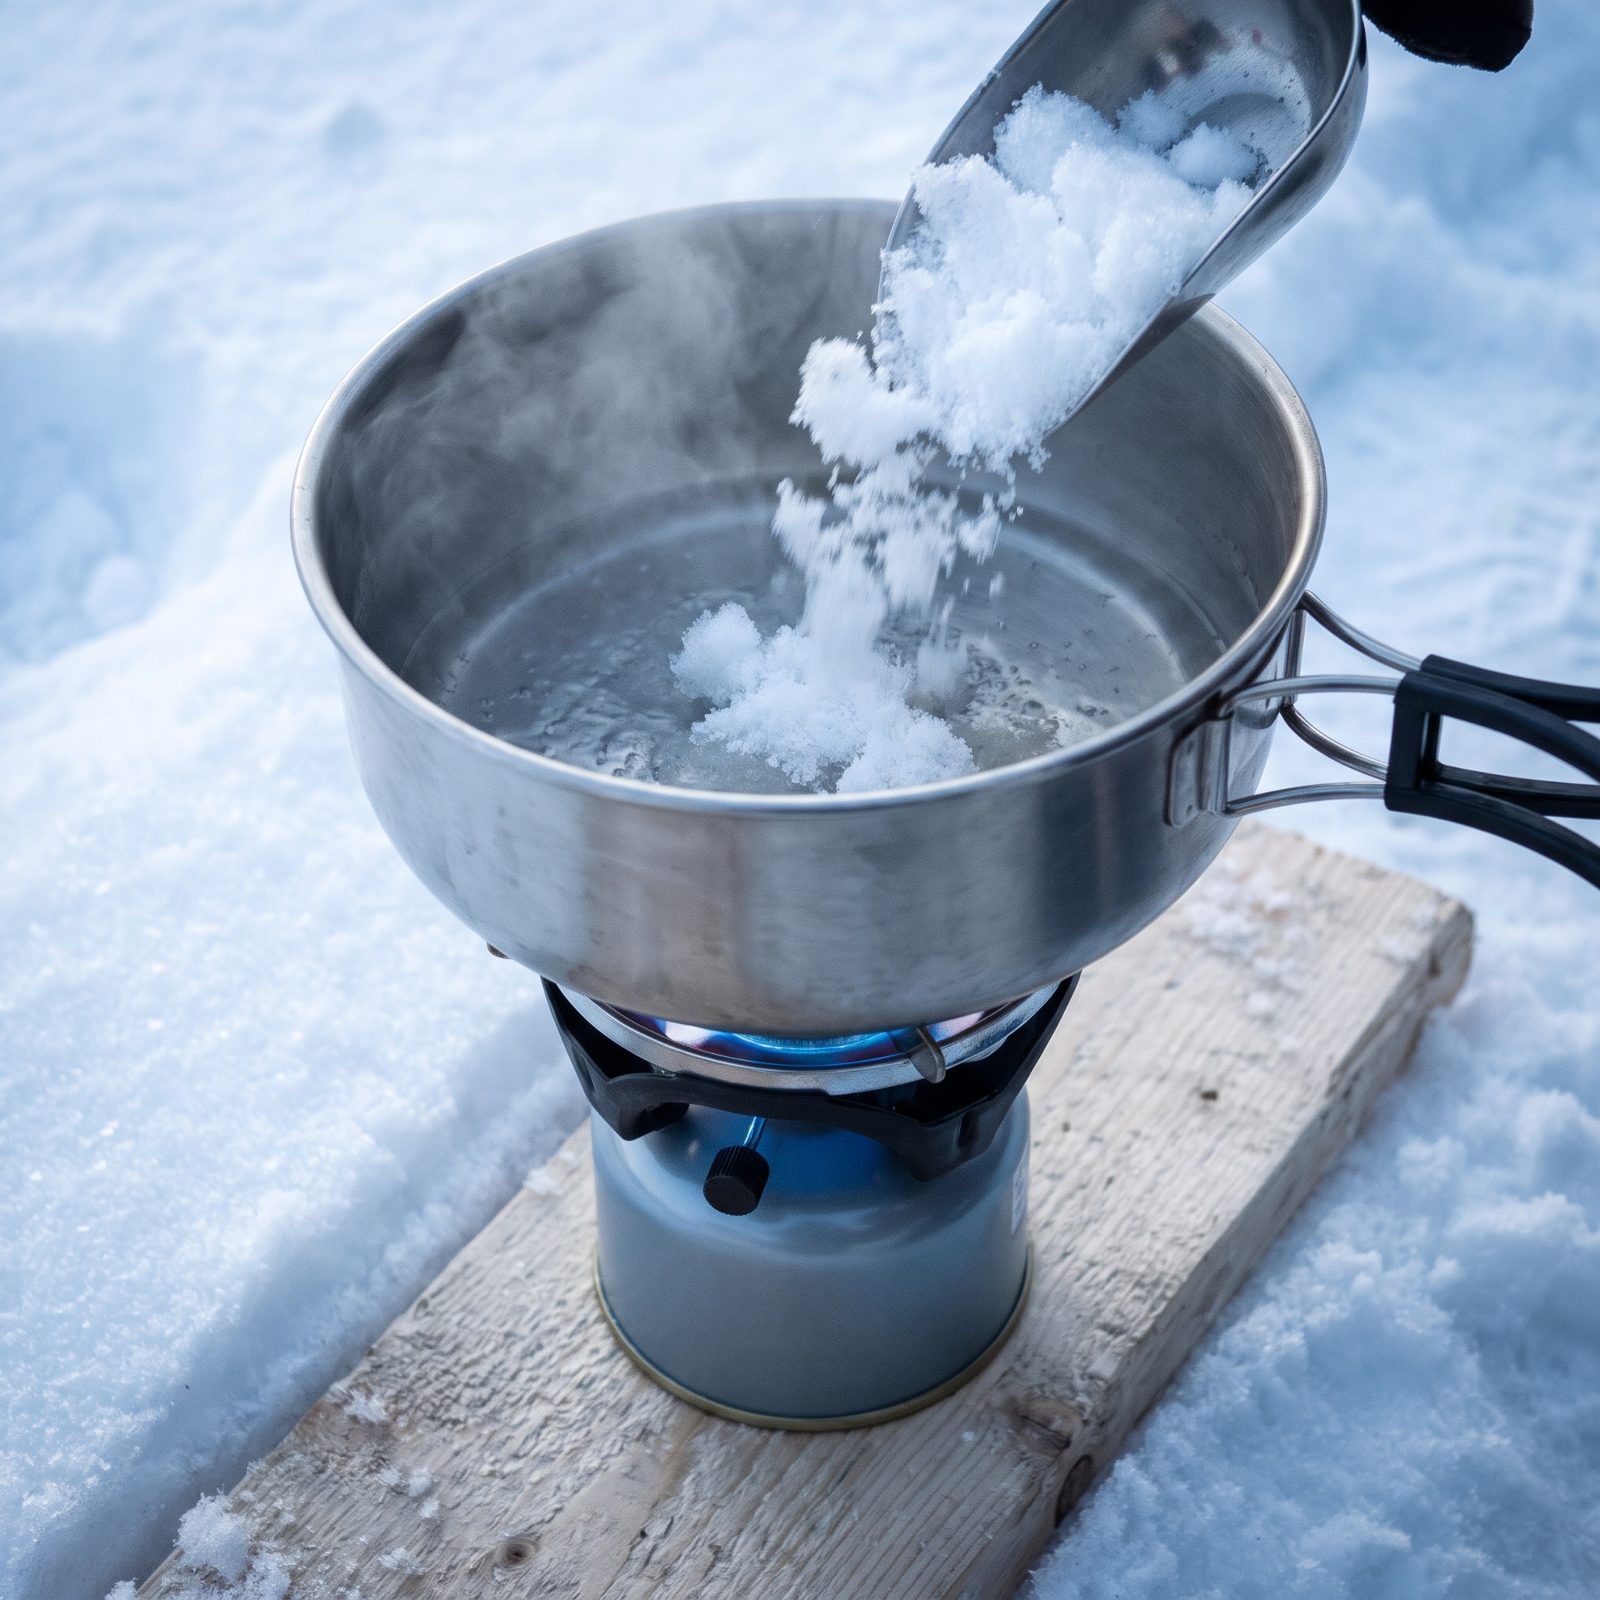
Dump a pot full of dry snow onto a hot stove and you can scorch the bottom before the snow even melts. The snow insulates against the metal, the base overheats, and you’re left with a burnt taste and sometimes a ruined pot.
Start with a little liquid water in the bottom first — even a few splashes. That water carries heat up into the snow and melts it from below instead of letting dry flakes bake the pot. Add snow in small handfuls as the level rises, and keep a cup of liquid back from every melt so you’ve always got a starter for the next pot.
7. Sleep With the Water-Filter Element
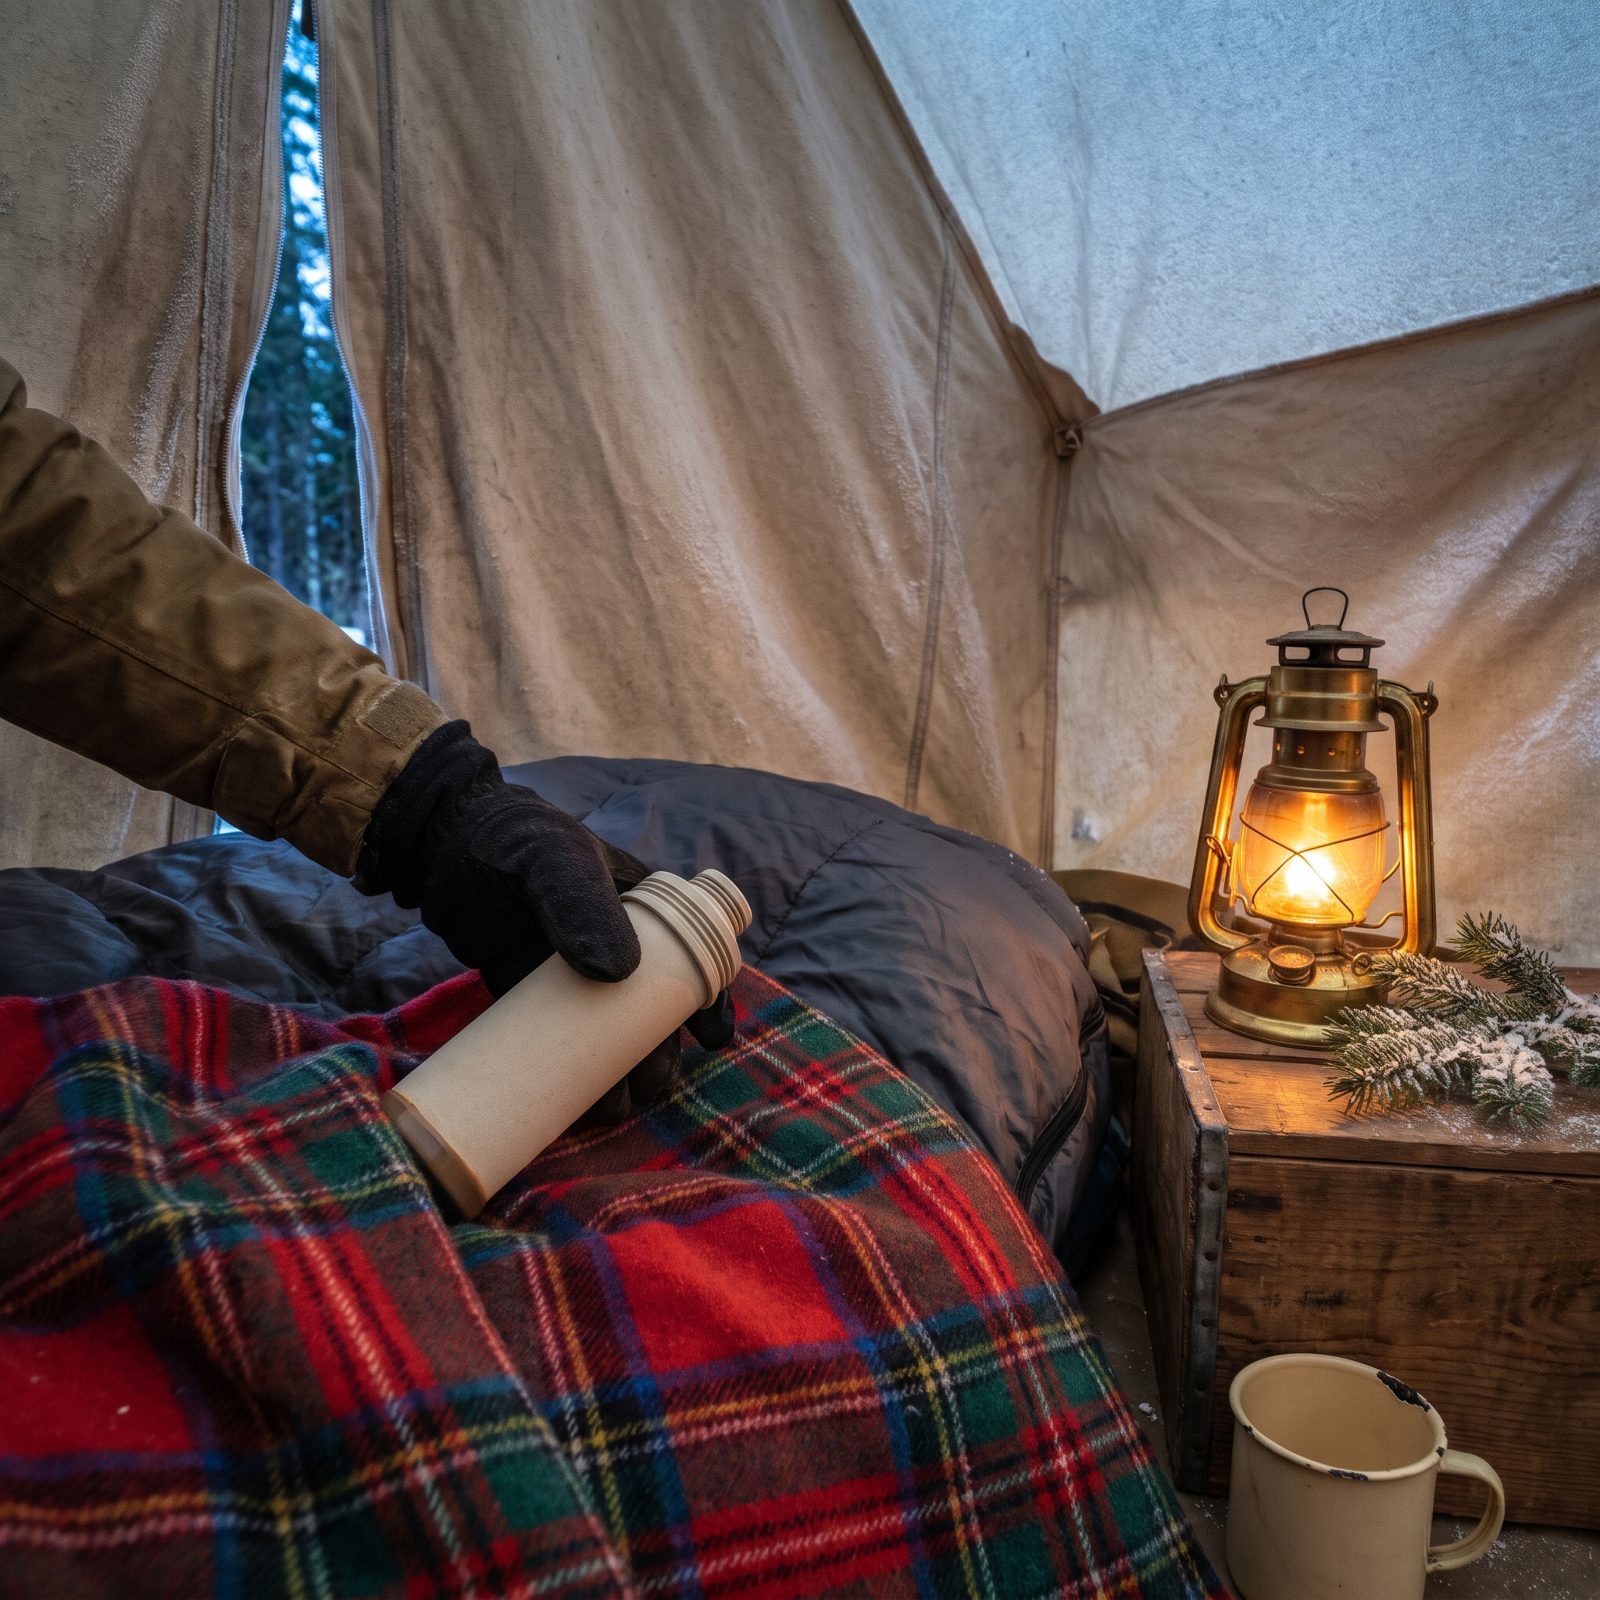
A frozen filter is a dead filter. Those hollow fibers hold water, and when it freezes it expands and splits the membrane from the inside. You won’t see the crack — you’ll drink unfiltered water and find out the hard way two days later, hunched over somewhere unpleasant.
So pull the element into your sleeping bag once the sun drops. Your body heat keeps it above freezing all night and you don’t have to think about it. I lost a pump filter this way before I learned the trick, and replacing one in the backcountry means boiling every single drop instead. Not fun.
When there’s any chance of a freeze, a backpacking magazine editor explains his routine: “I filter all the water I’ll need for the night, then disconnect the filter (if applicable to the system) and put the filter element in the foot of my sleeping bag at night in a Ziploc bag.”
6. Carry a Wide-Mouth Bottle for Midnight Relief
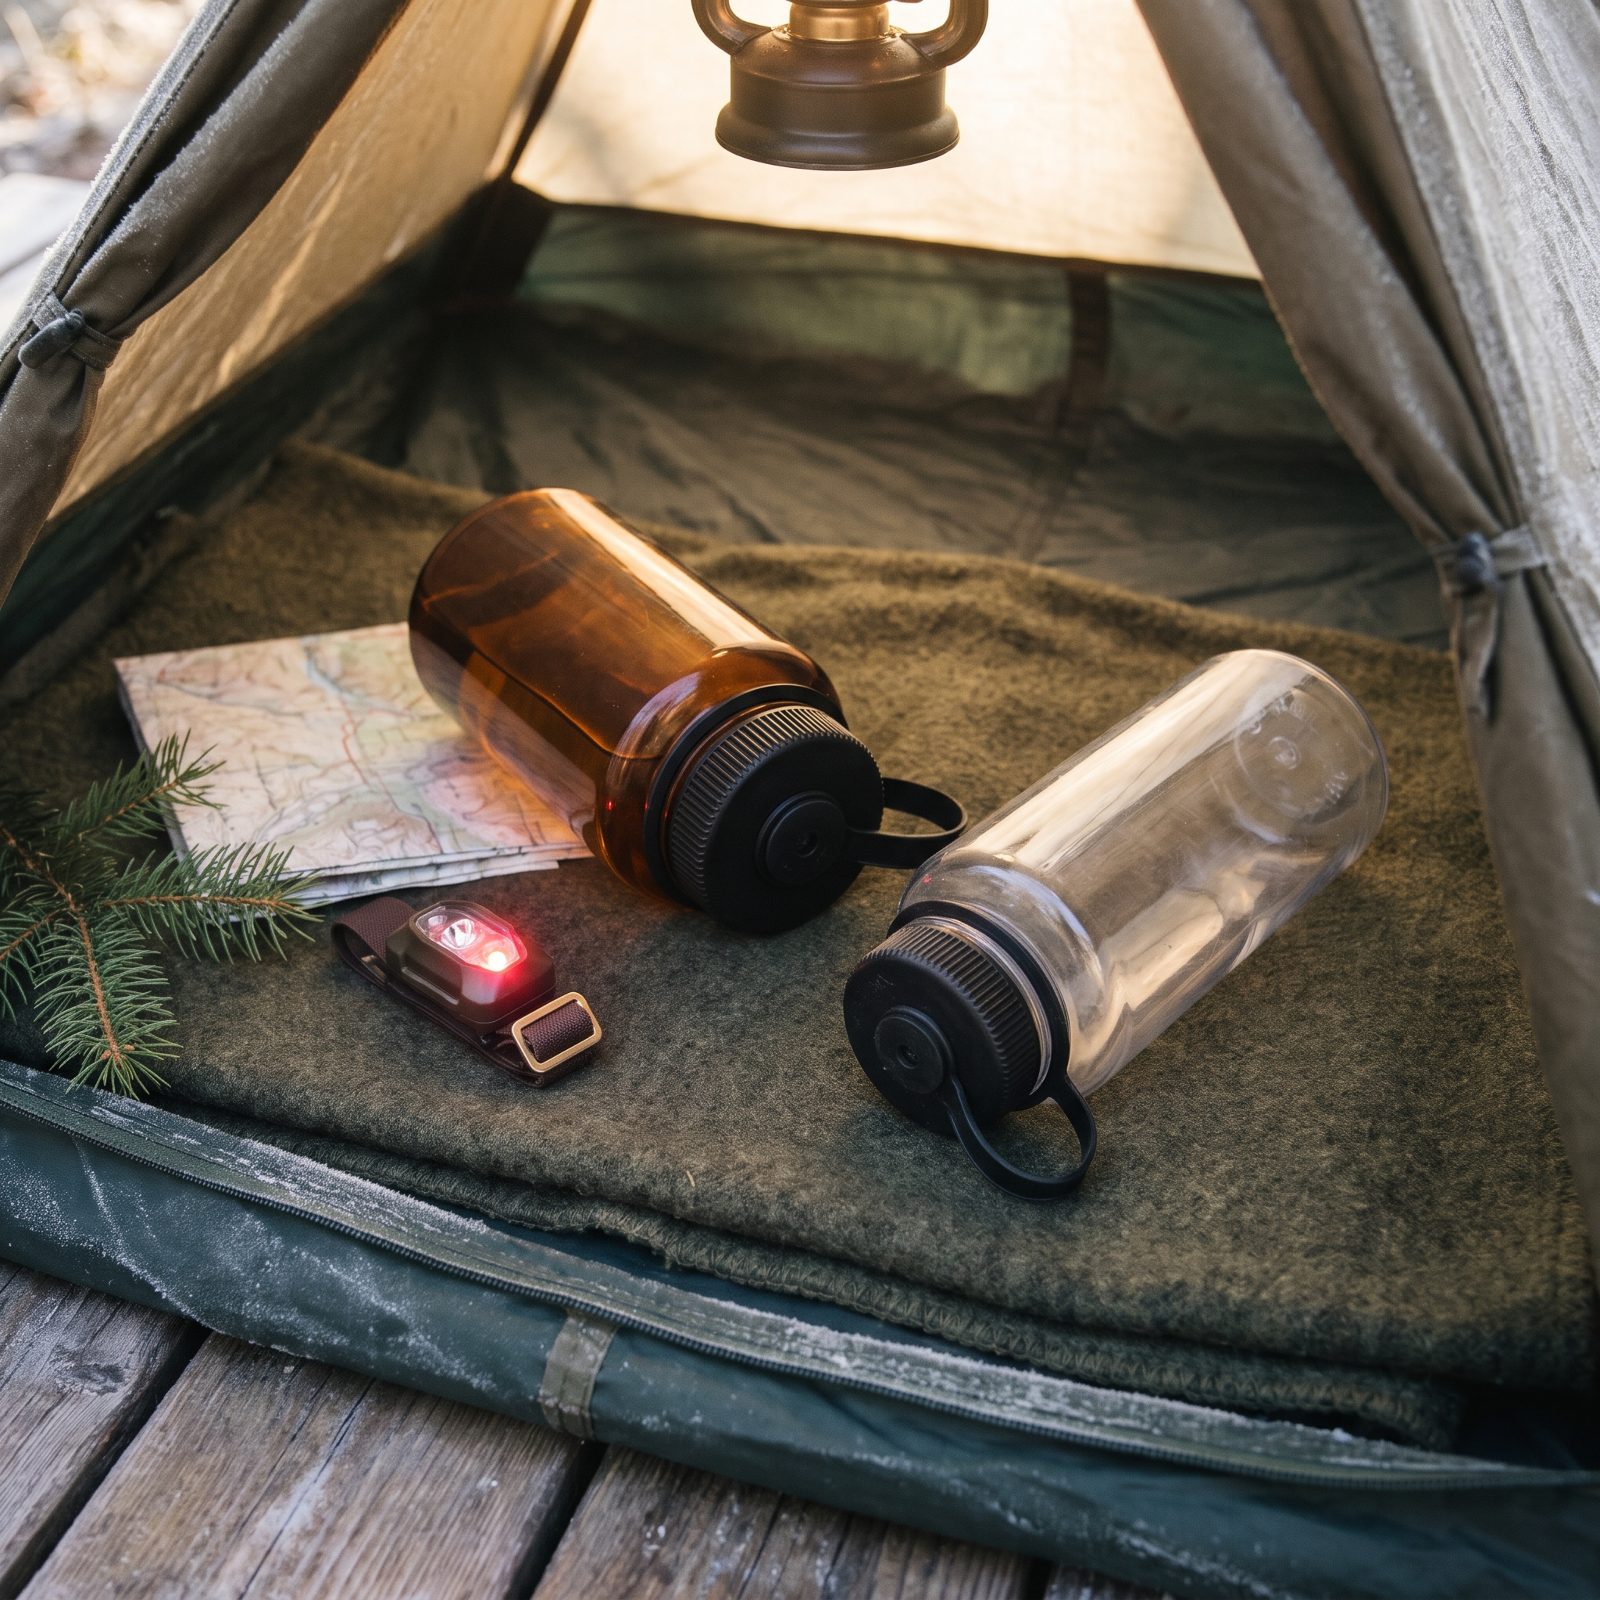
Nobody wants to unzip two bags and crawl into negative-ten air at three in the morning. So they don’t. They lie there cold and awake, losing an hour of sleep and a good chunk of core heat just holding it.
A dedicated wide-mouth bottle fixes that. Mark it clearly, keep it on your side, and never confuse it with the one you drink from — this is the whole game. Men have the easy end of the deal here, though wide-mouth designs work for women with a little practice and a stable kneel. Cap it tight and for a while it even throws off a little warmth down near your feet.
5. Add Oversized Cord Loops to Frozen Zippers
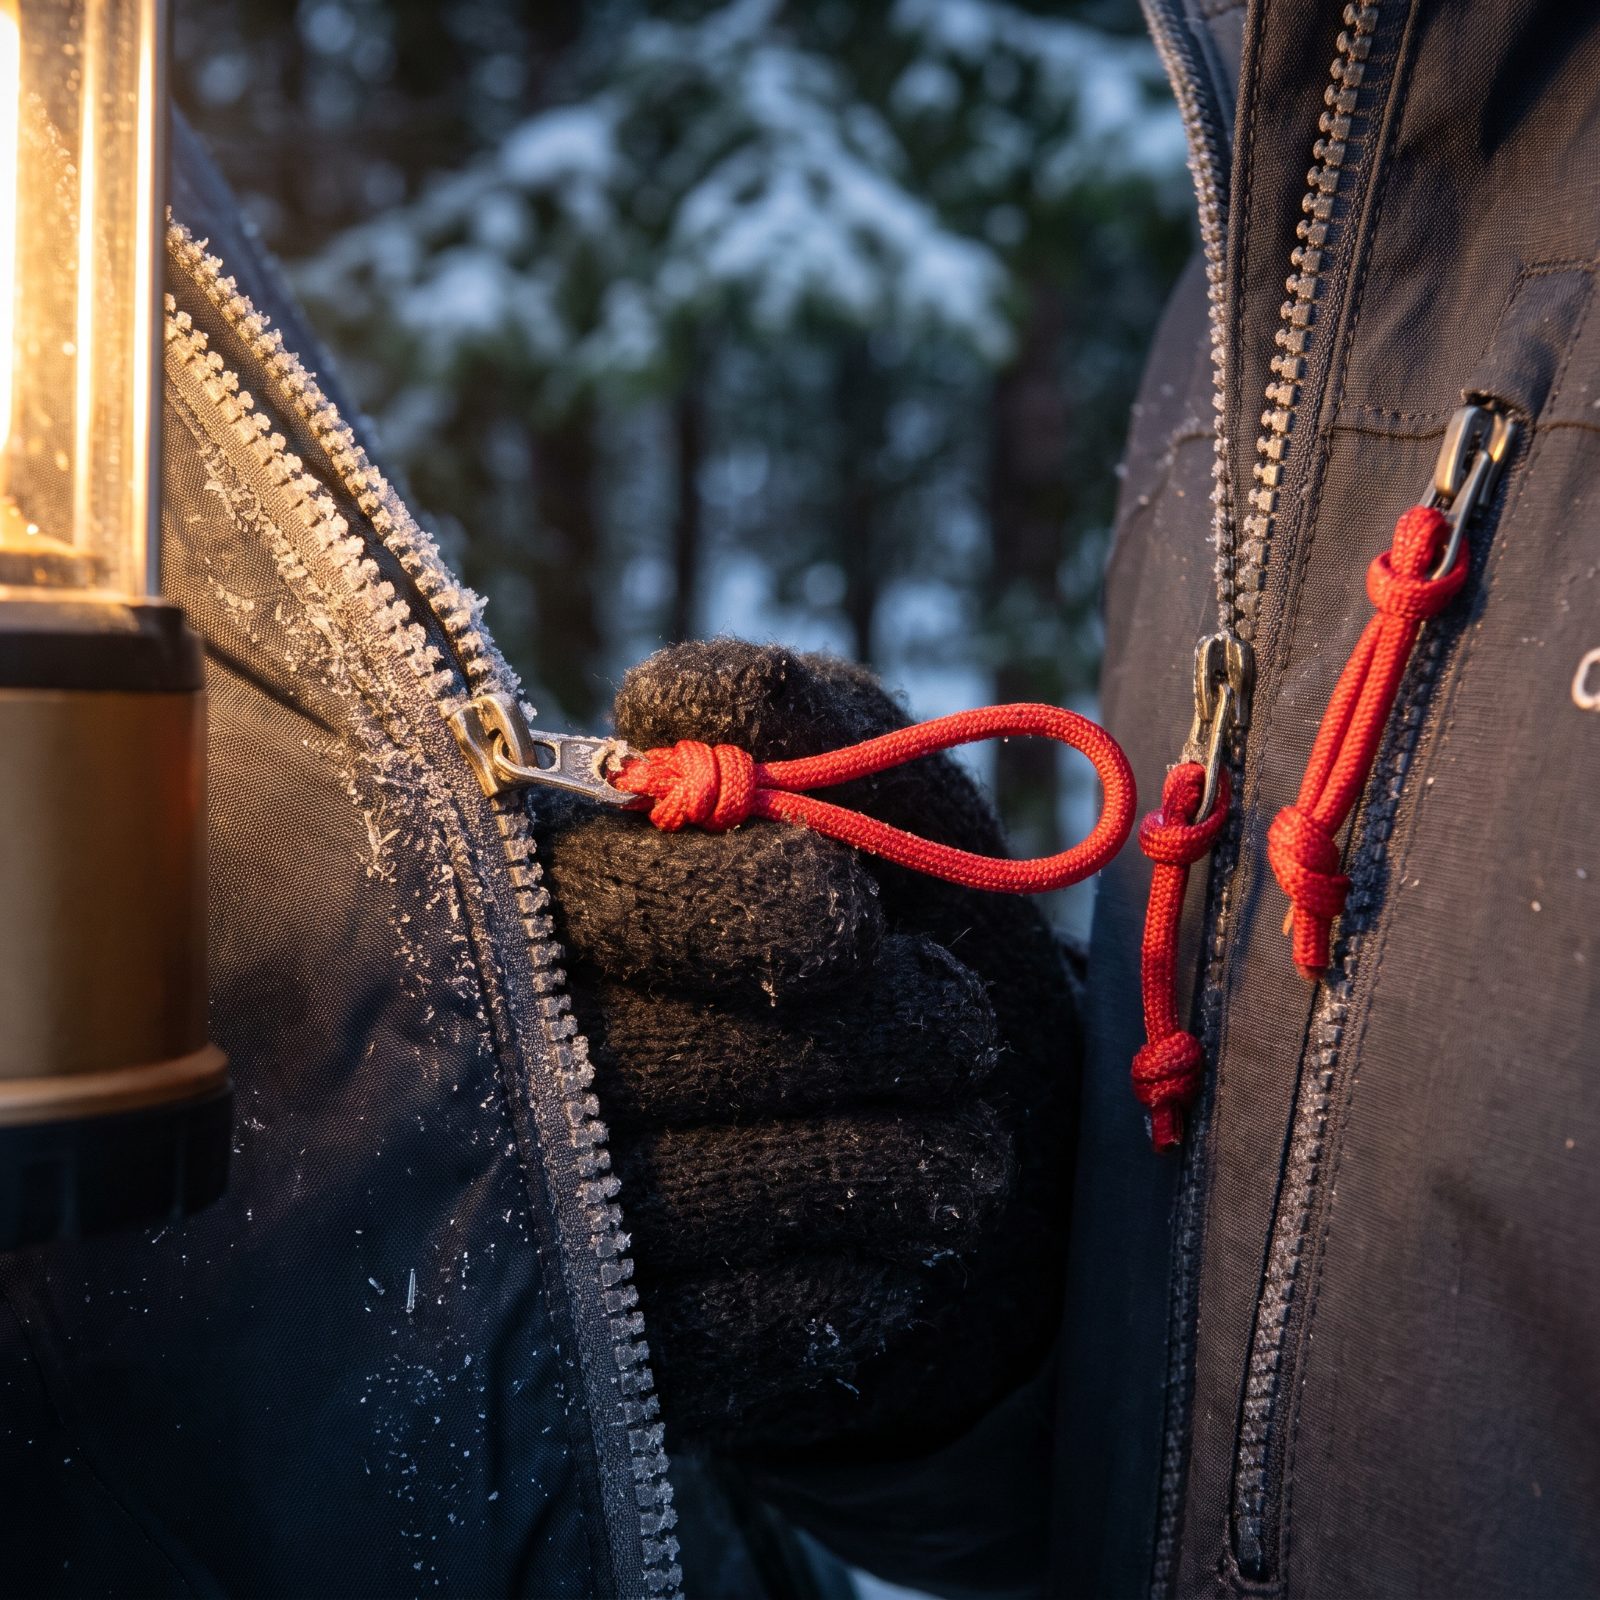
Zipper pulls shrink to nothing when your fingers are thick with cold and stuffed into mitts. A frozen slider you can’t grip is a door you can’t open fast — and fast matters when the wind finds a gap.
Loop a few inches of bright paracord through every pull that counts: tent door, sleeping bag, jacket, pack lid. Now a whole mittened hand hooks right through, or at least a finger, and you never break stride fumbling. Go bright orange or red and you’ll spot them by headlamp too, instead of patting around the fabric like you lost your keys in the dark.
4. Wrap a Power Bank in a Wool Sock
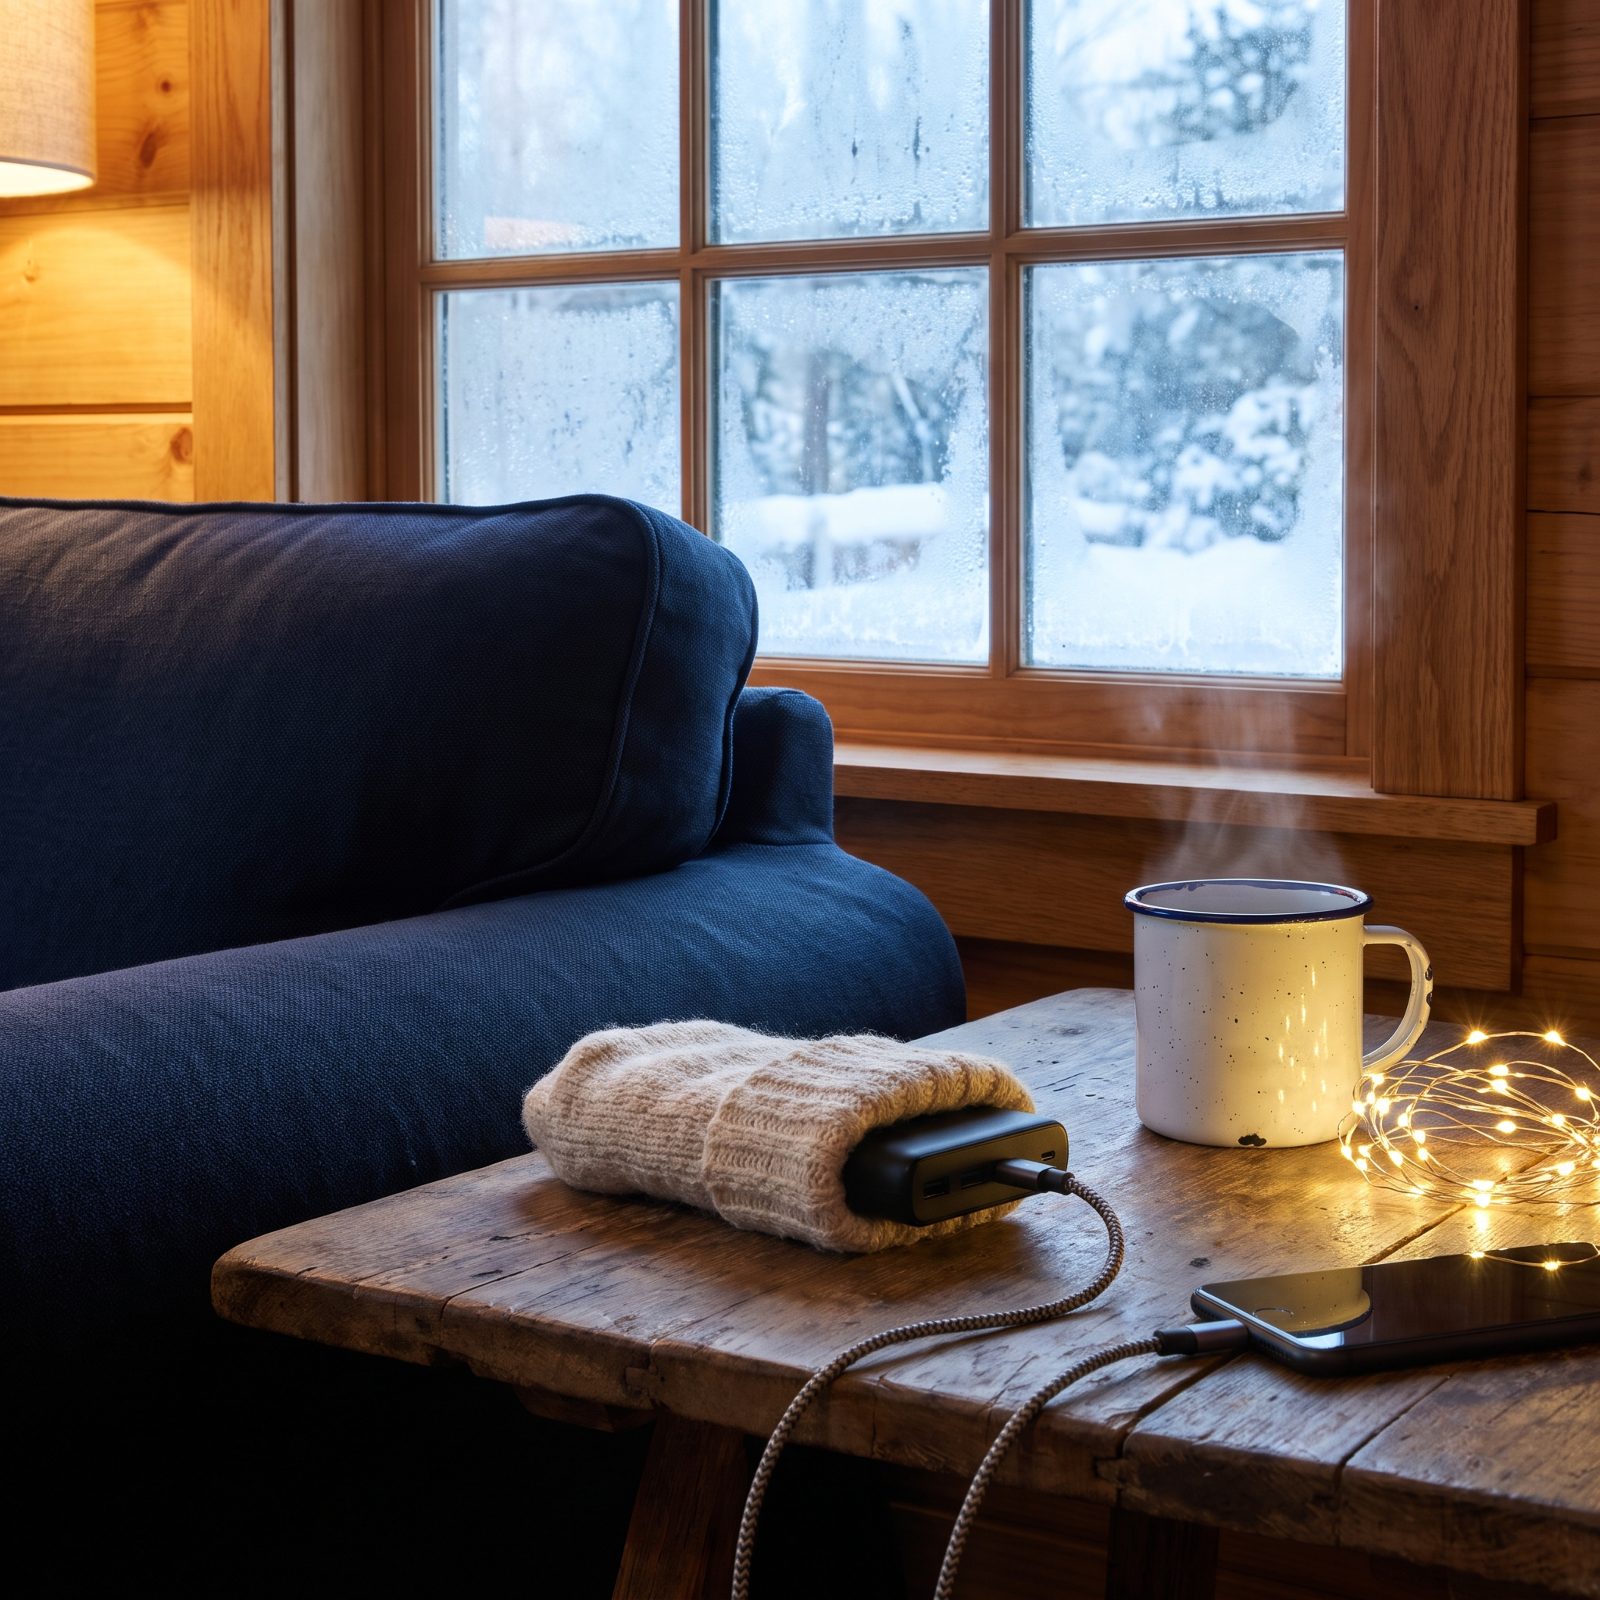
Lithium cells hate the cold. A battery that reads full at home will show half and die on you at twenty degrees, because the chemistry inside slows to a crawl when it’s frozen.
Tuck the power bank into a dry wool sock and keep it in your bag or an inner jacket pocket overnight. The wool holds whatever warmth it has and keeps the worst of the chill off. Warm it against your body for ten minutes before you expect it to charge anything.
3. Check Cheeks and Noses With a Pocket Mirror
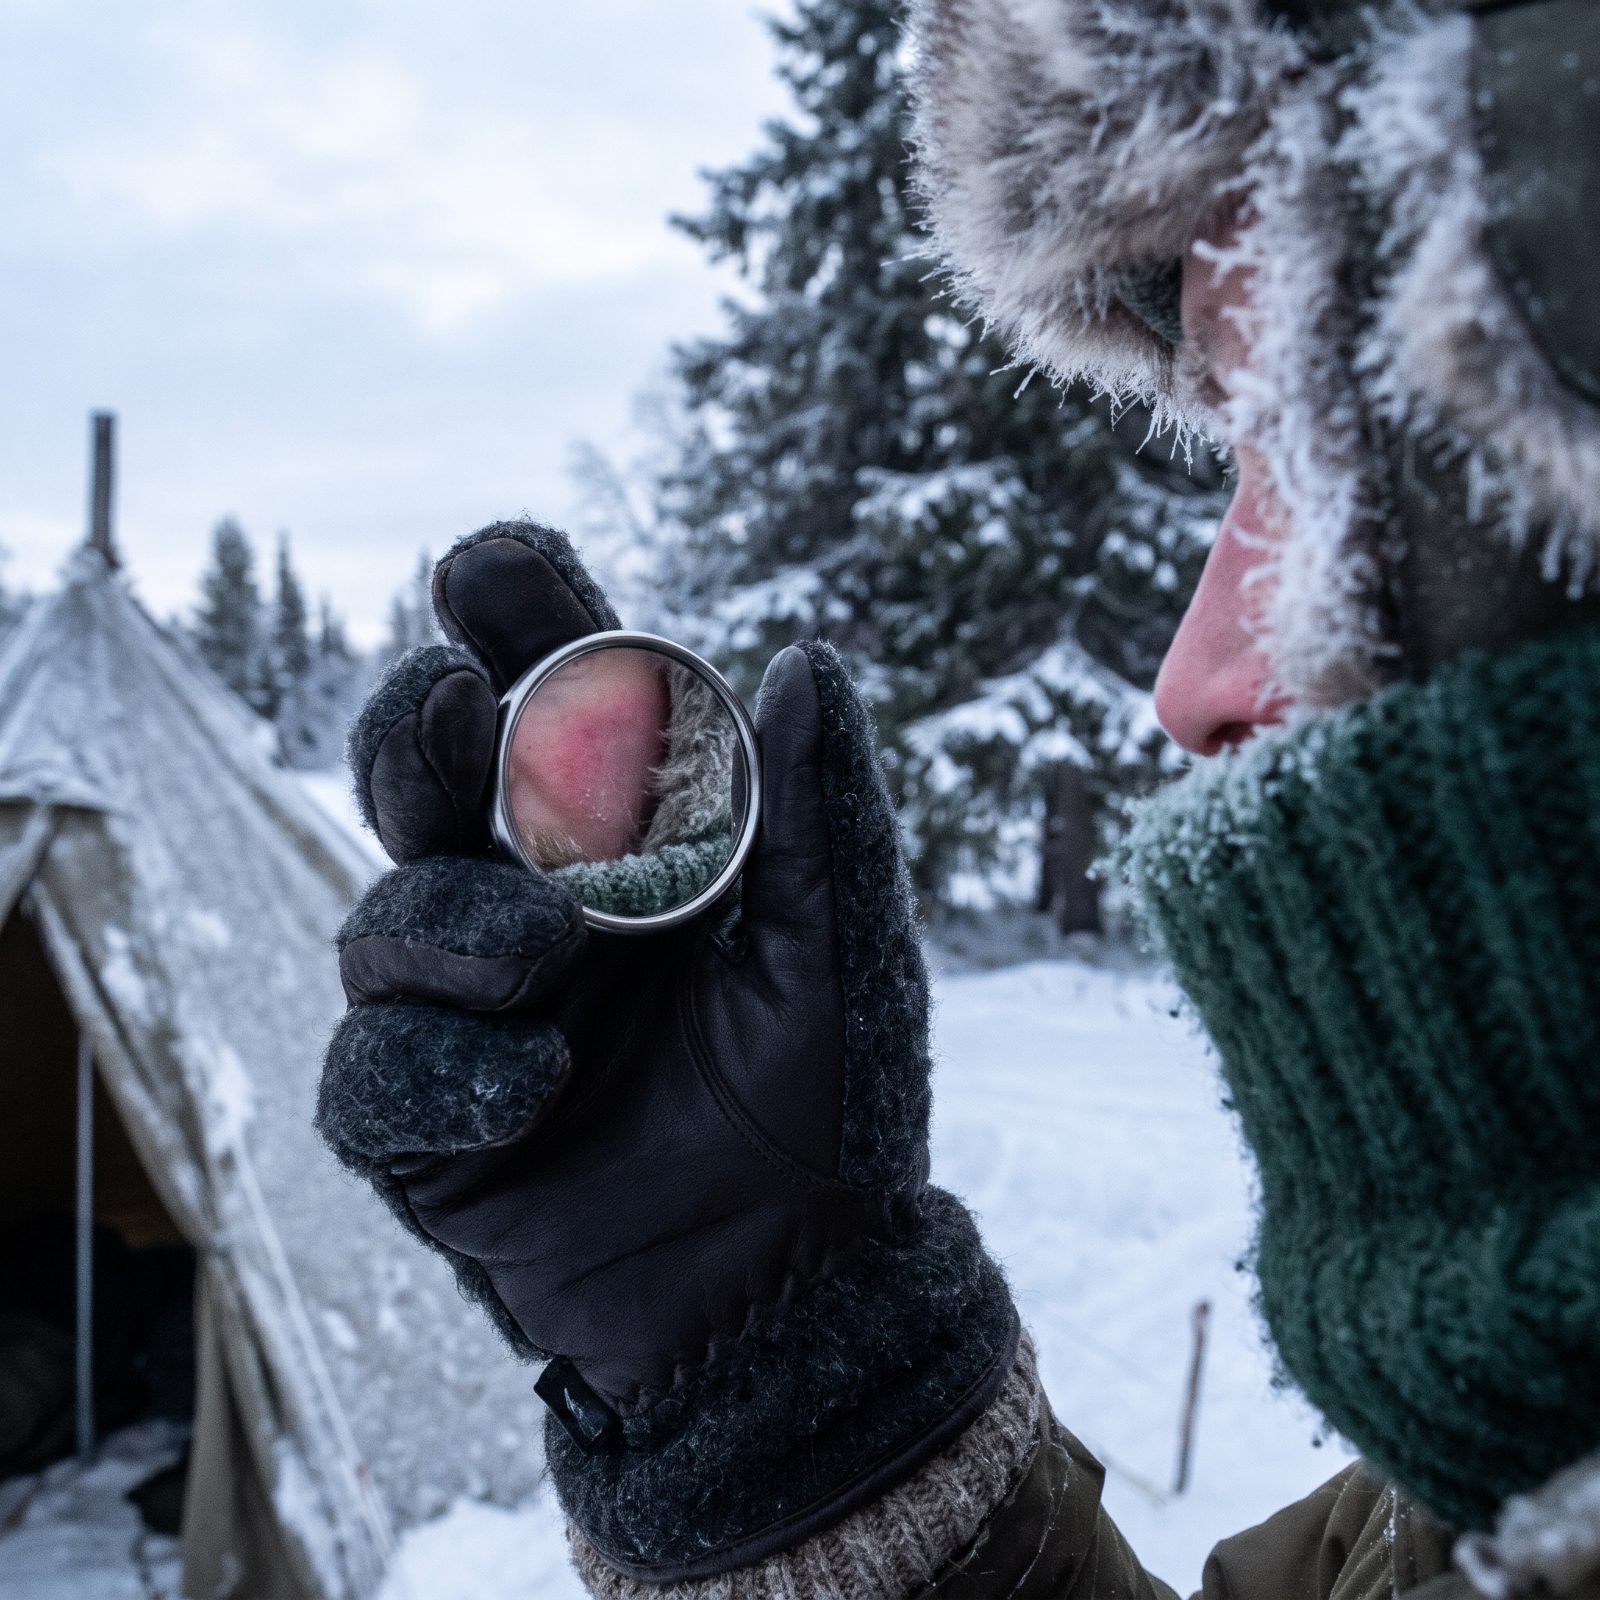
Frostnip starts on the parts of your face you can’t see and can’t feel. Cheeks, nose tip, earlobes go waxy and pale before any warning reaches your brain, because the cold numbs the nerves first. Sneaky stuff.
That tiny signal mirror you already carry for emergencies? Pull it out and actually look. White or gray patches mean warm that skin now with a bare palm. Have your tent partners check each other too — a second set of eyes catches what a mirror in shaky hands will miss.
2. Lay Traction Boards Beneath Tires Before the Storm
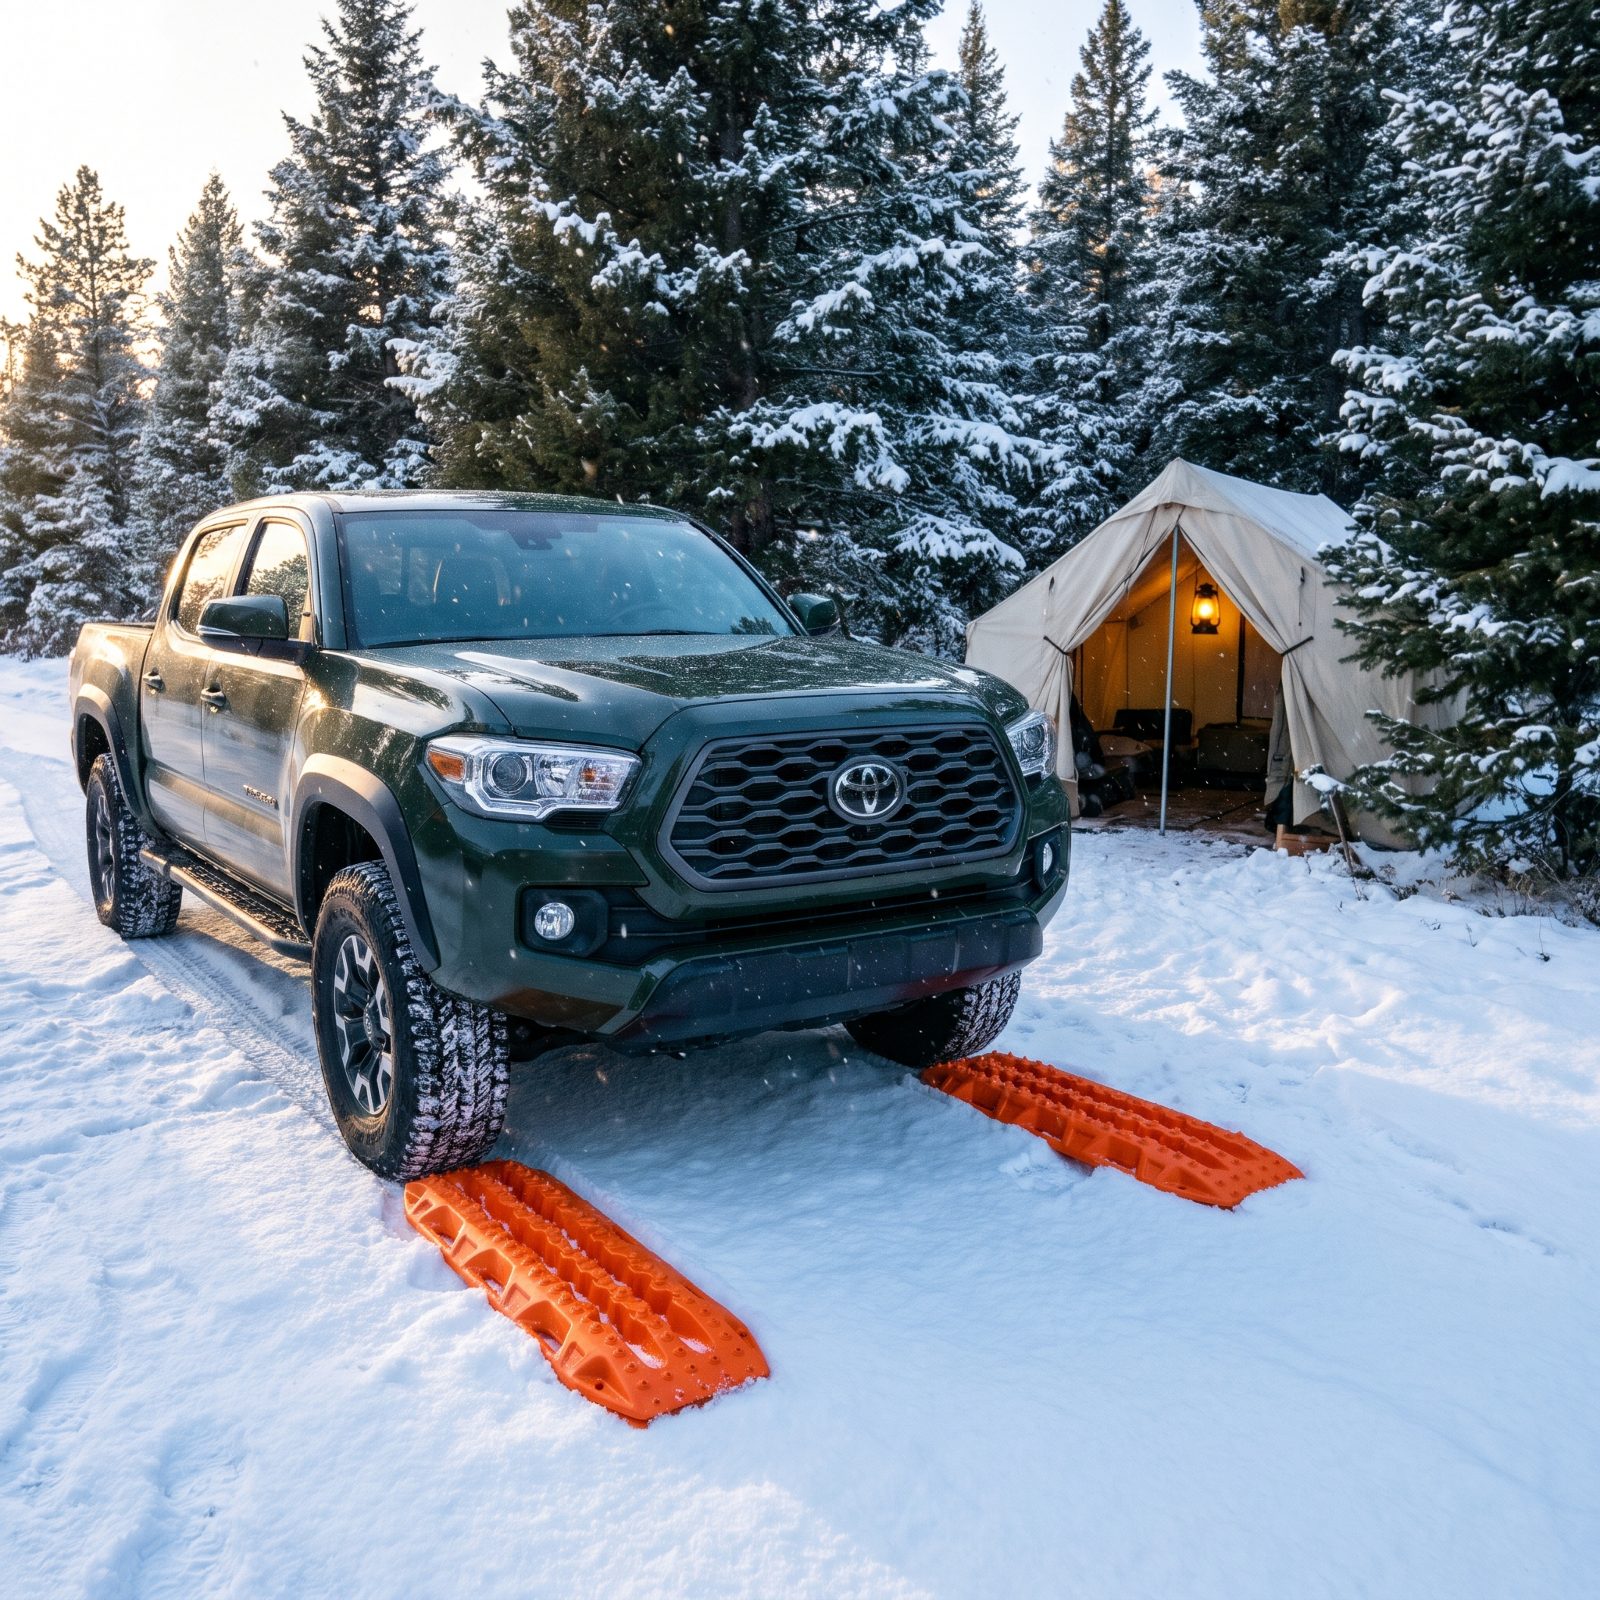
The worst time to dig out traction boards is after the snow buries them. There you are on your knees in a drift, cold and cursing, trying to wedge frozen plastic under a tire that’s only spinning itself deeper.
Set the boards in front of your drive tires before the storm hits, while you can still see the ground and work in gloves. Come morning you roll forward onto grip you already placed. That’s a five-minute exit instead of a two-hour ordeal in weather that’s getting worse, not better.
1. Decorate Camp With Low-Power USB Holiday Lights
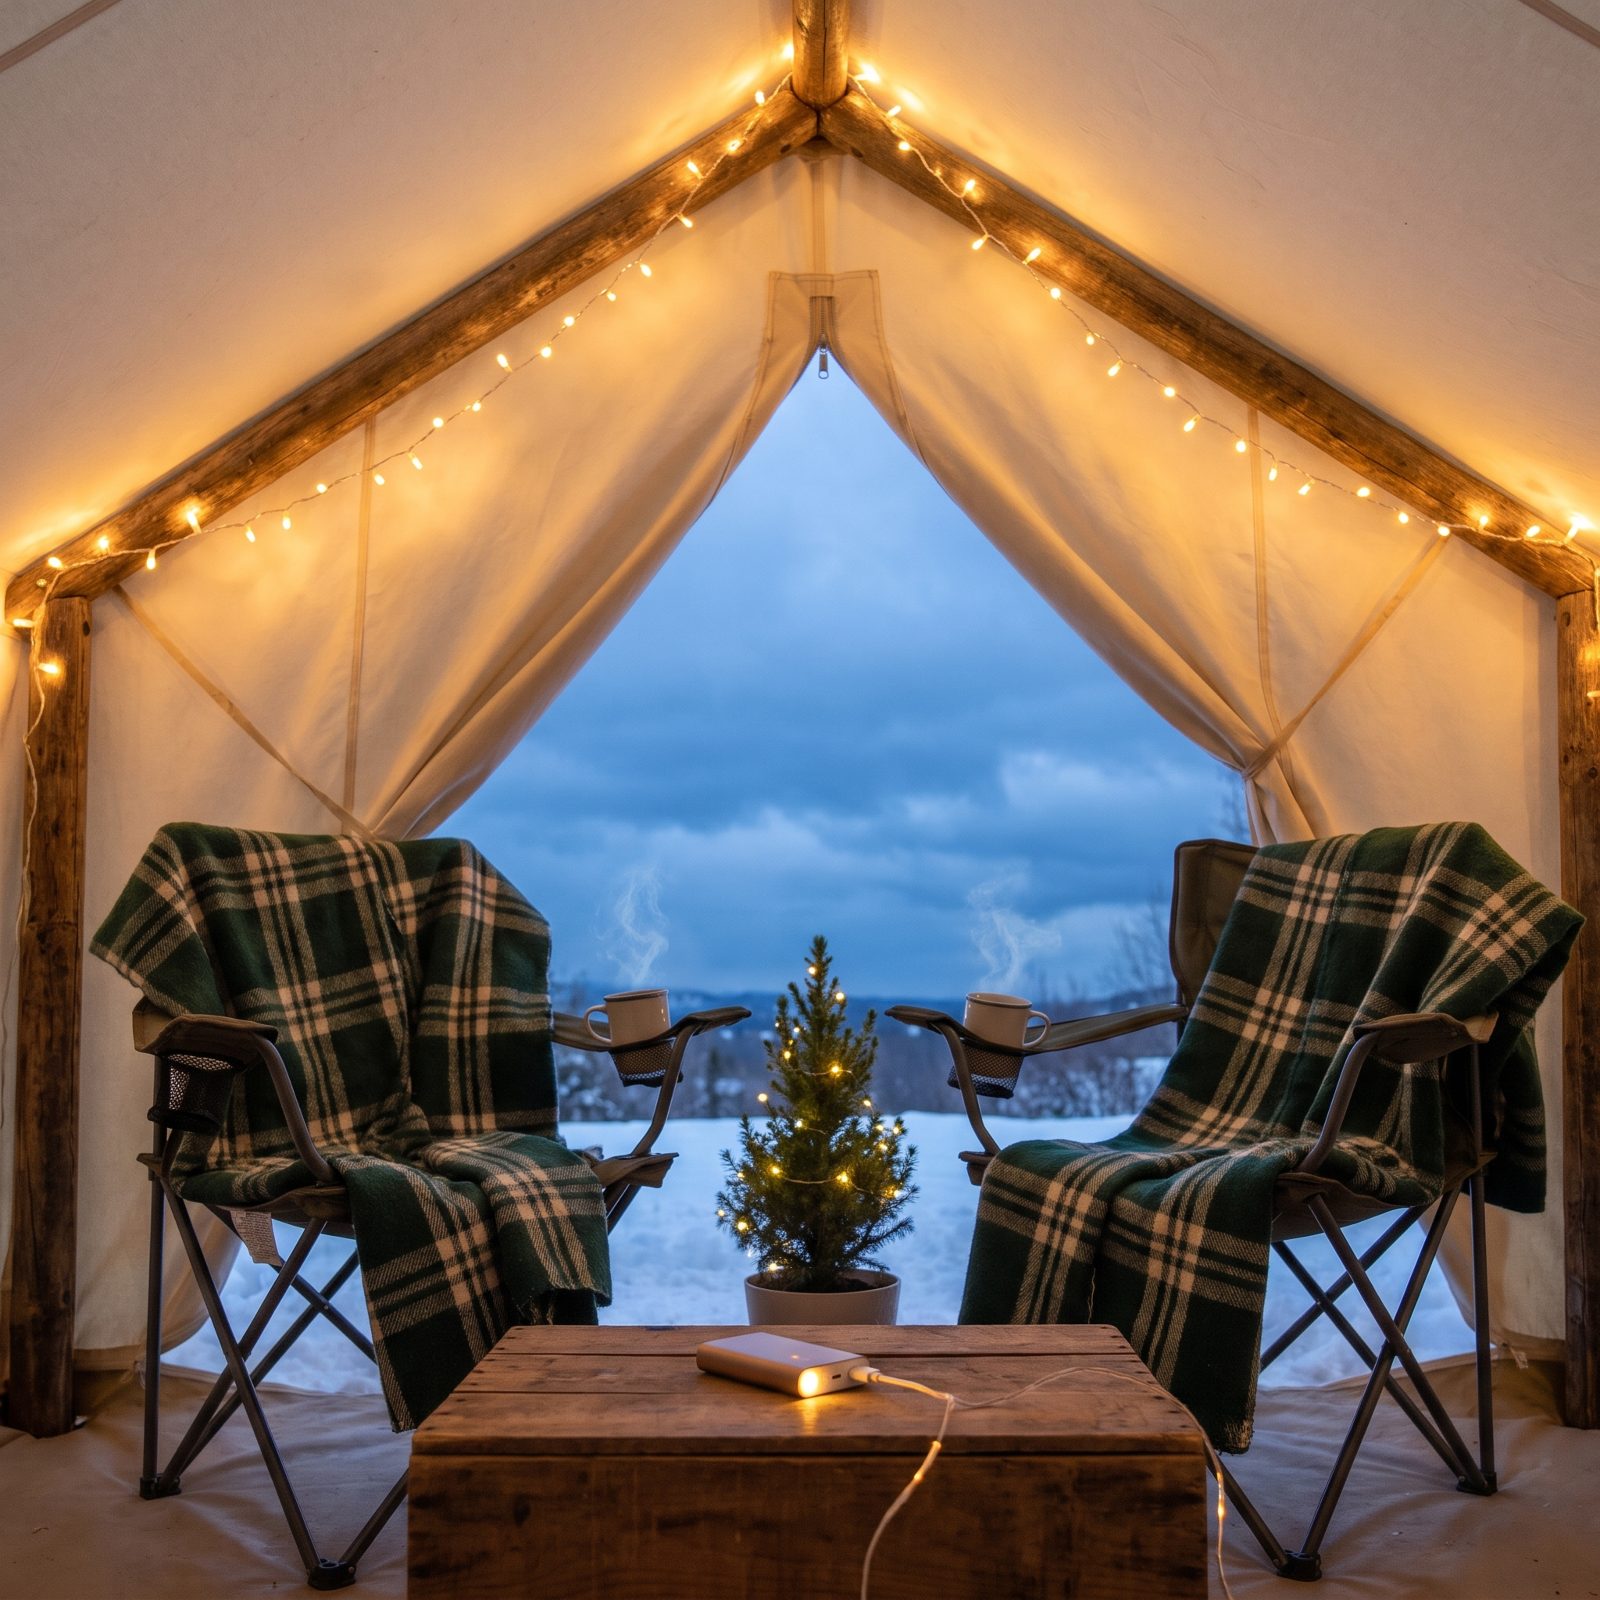
A string of warm USB fairy lights weighs almost nothing and runs for hours off the same power bank you’re already carrying. It turns a dim canvas tent into somewhere you actually want to sit after dark — which matters more in December than most gearheads will admit out loud.
Loop them along the ridgeline for soft, even light that won’t blind you the way a lantern on full will. A few feet of warm glow and a spruce sprig go a long way toward making a snowbound camp feel less like survival and more like somewhere you chose to be. Call it silly. I don’t care.
Morale is gear too. A camp that feels good keeps you out there longer and safer than one you can’t wait to leave.