The water line froze and split inside a wall we never saw, and by the time anyone noticed it had run for weeks. The cleanup cost more than the roof. That’s a seasonal cabin for you. Skip the small jobs in October and you’ll meet the expensive versions in April. This list is the stuff that actually saves you money and grief, from insurance paperwork to chimney caps. Work through it before the last drive out.
Please note that some of the images in this article were created with the assistance of AI.
44. Confirm Vacant-Cabin Insurance Requirements

Here’s the gut-punch most cabin owners never see coming. A standard homeowner’s policy can quietly stop covering a building once it sits empty past a certain stretch of consecutive days. That line often lands around 30 or 60, but every insurer writes it differently. Pipes burst in week nine, your policy capped at week four, and the whole bill is yours.
Call your agent before you leave. Ask three flat questions: how many vacant days are allowed, whether you need a vacancy endorsement, and whether they want minimum heat kept on. Get it in writing by email so there’s no he-said-she-said come spring.
43. Arrange Regular Winter Property Check-Ins
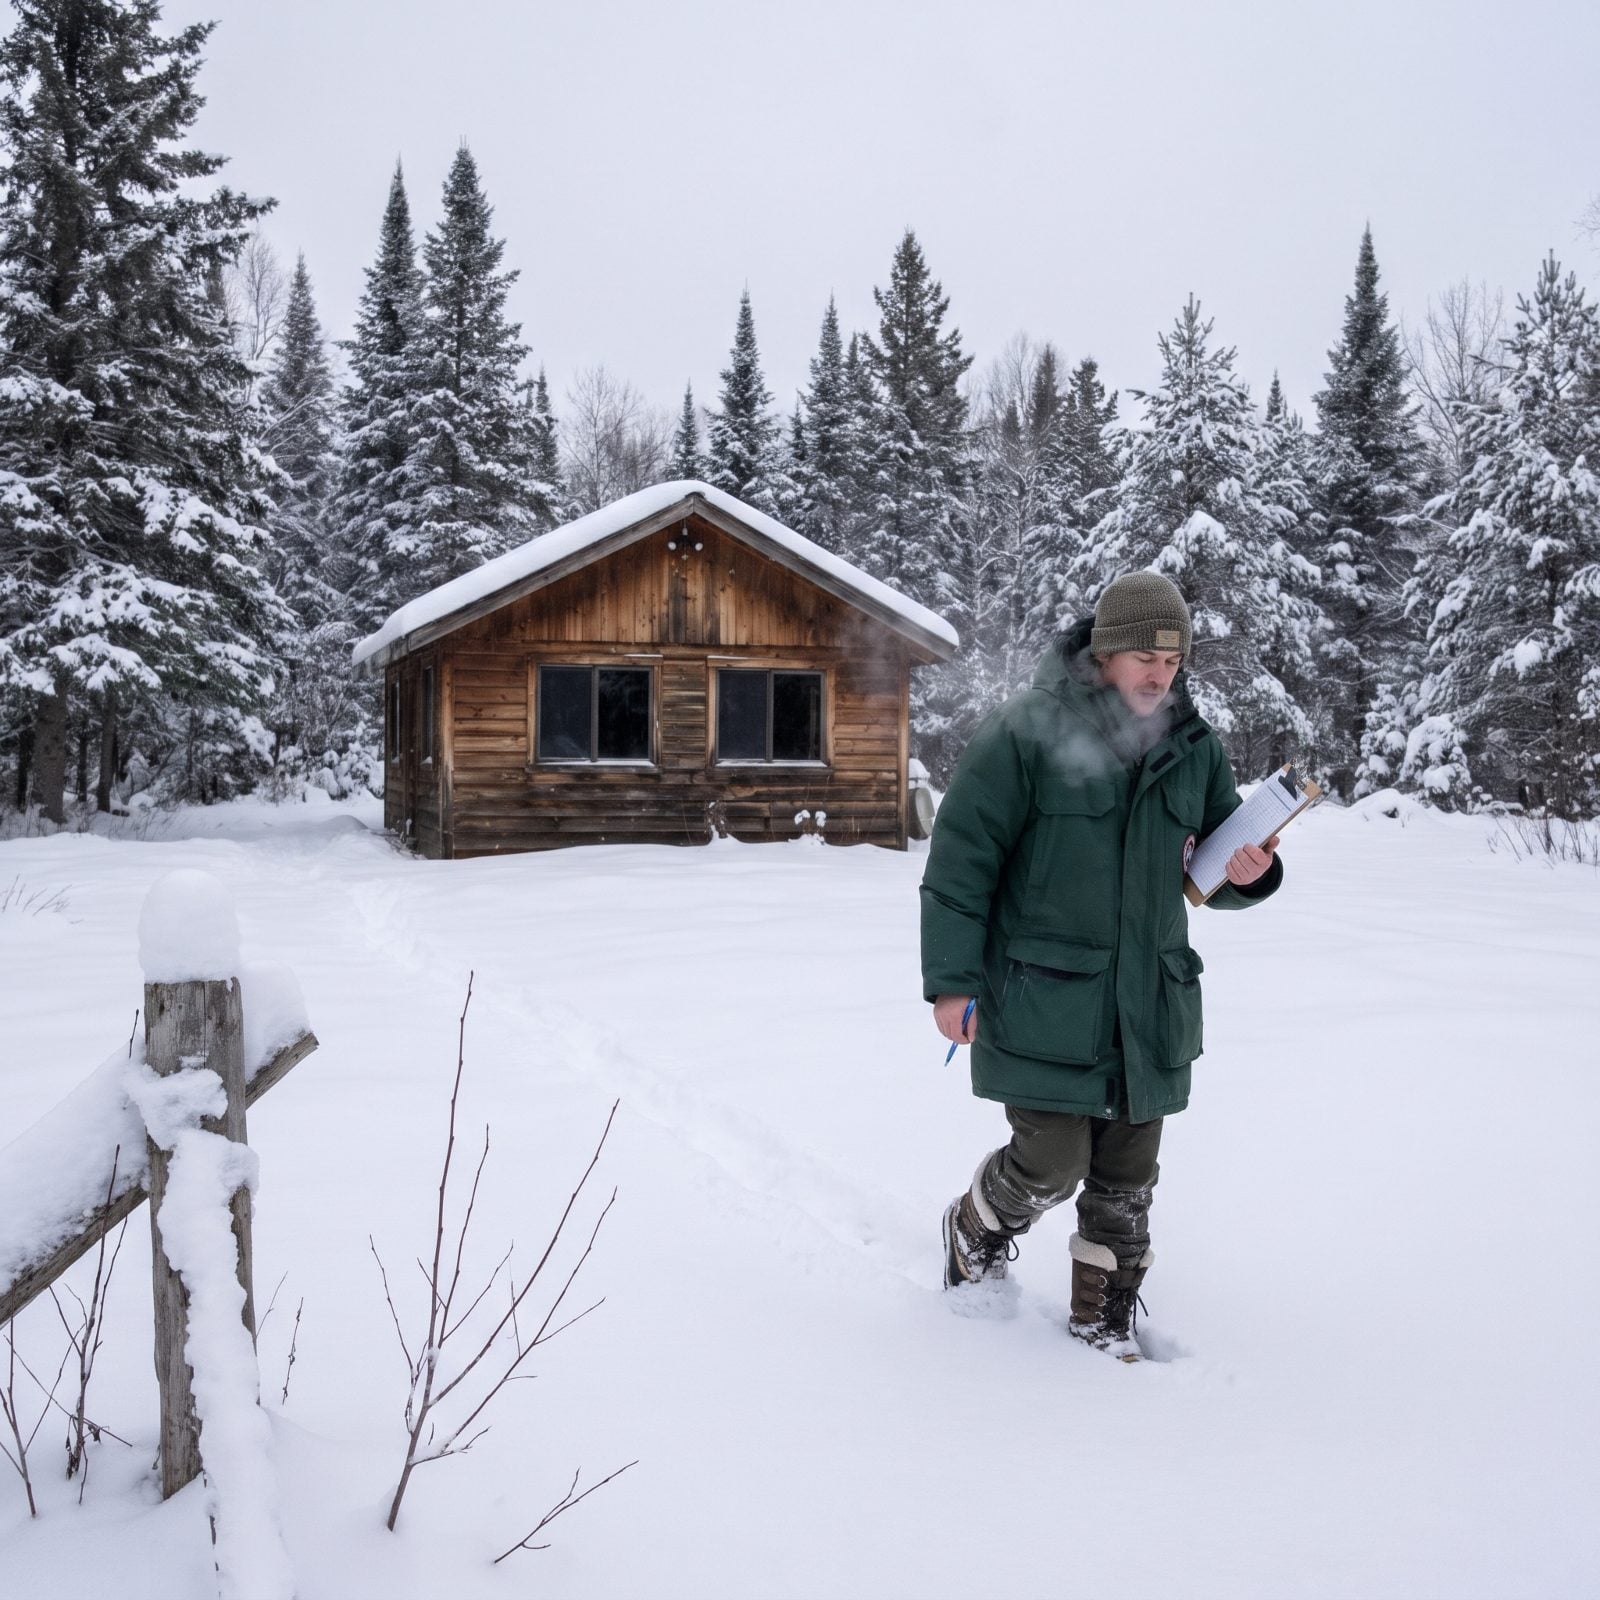
A cabin nobody looks at can leak, freeze, or lose power for weeks before you’d ever know, and the damage compounds the whole time. Catch a stalled furnace on day two instead of day forty and you’re looking at a service call rather than a gut renovation.
Line up a neighbor, a caretaker, or a property-watch service to walk the place at least twice a month, more when deep cold is forecast. Hand them a key, your number, and a short list: heat running, no water on the floor, no broken window, no critter sign. That’s it.
42. Book Chimney Inspection and Sweeping
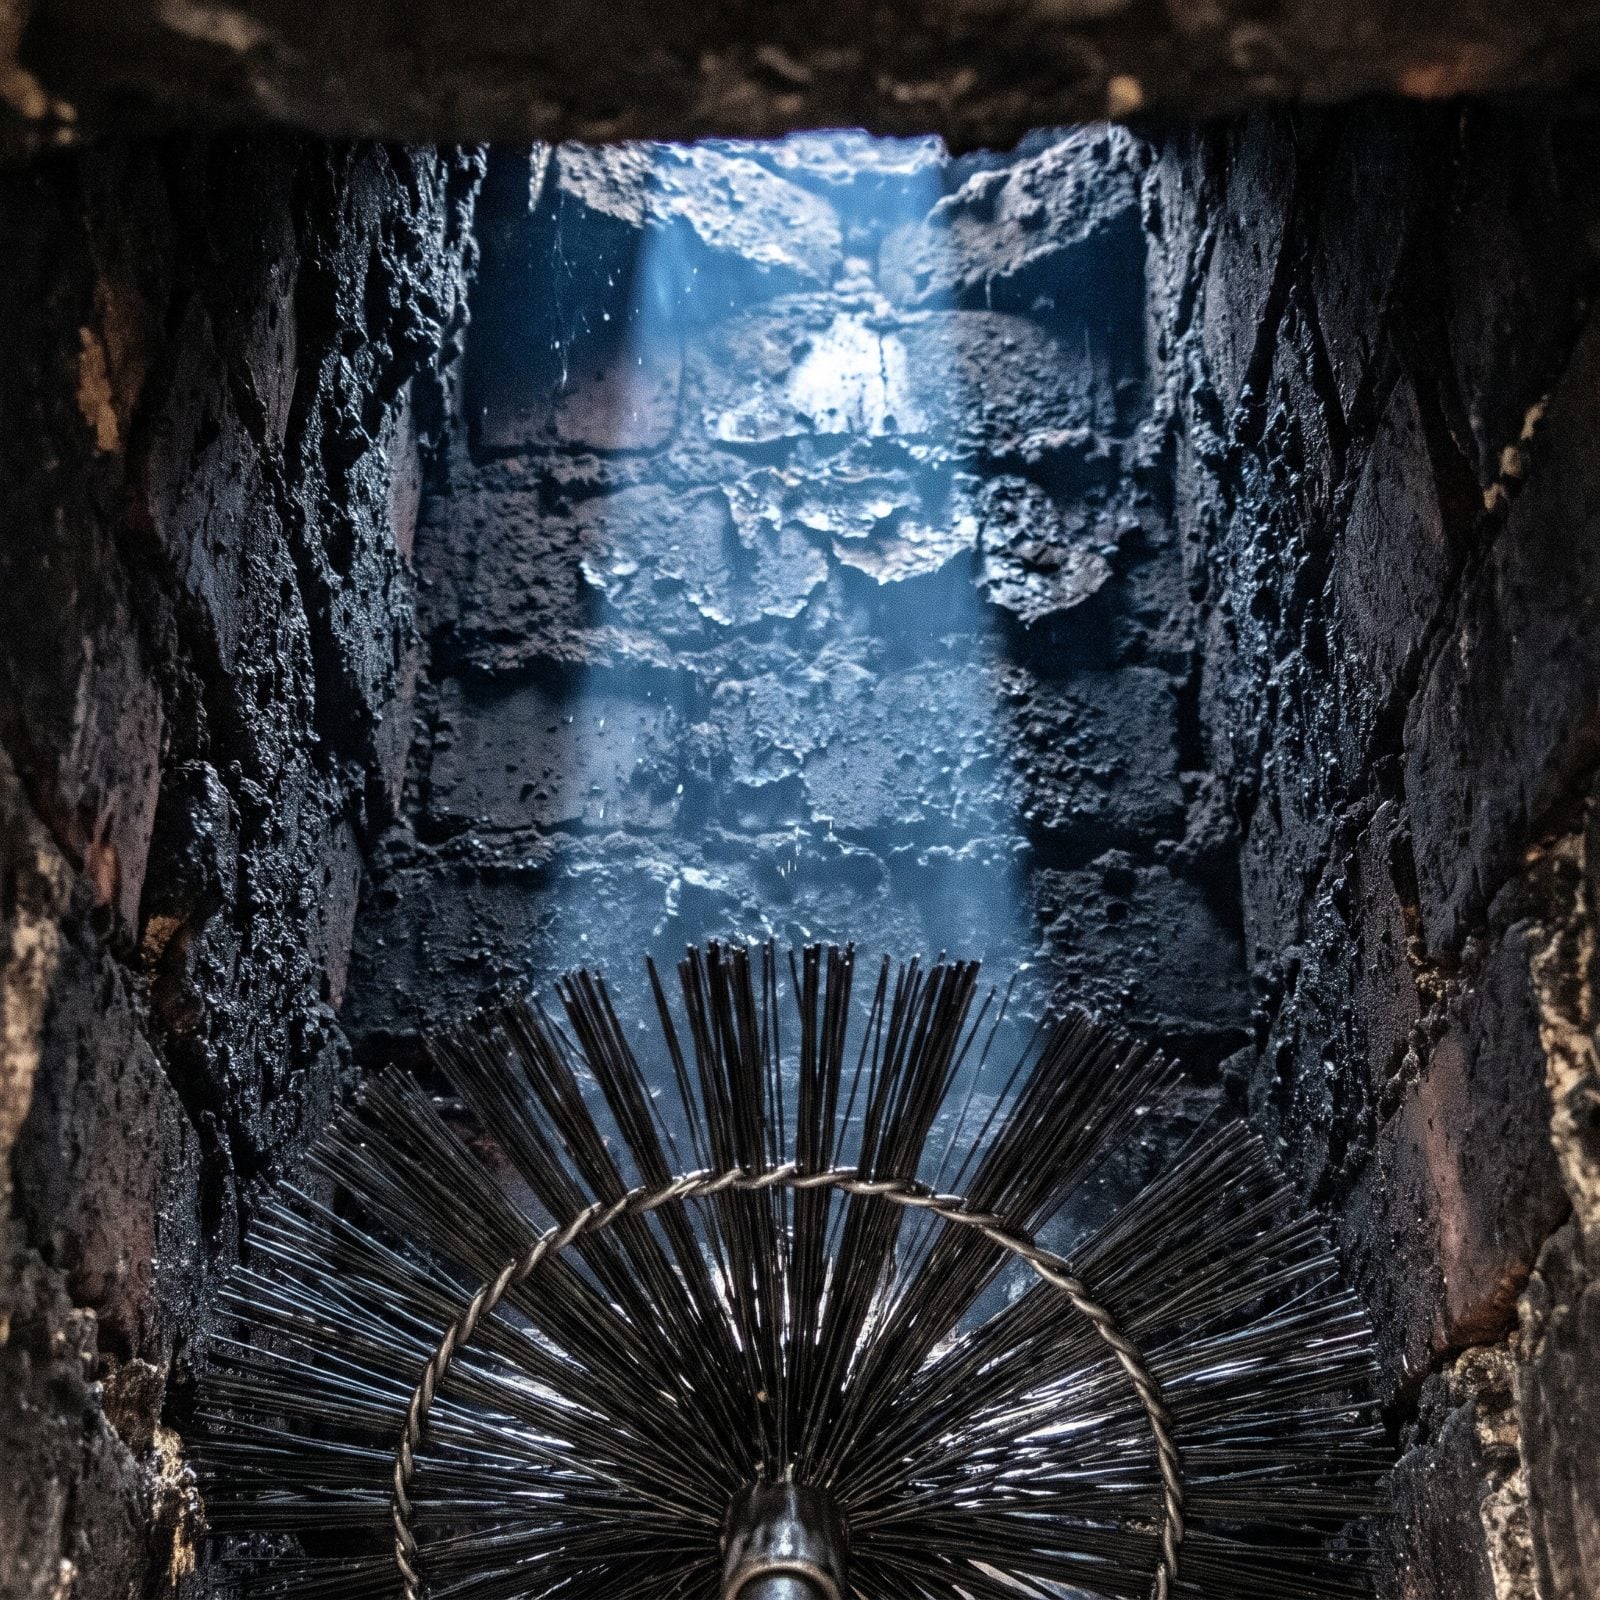
Creosote doesn’t wait for you to be home. It builds inside a flue every time you burn, and a thick glaze is exactly what a chimney fire feeds on. A cabin sitting all winter with a dirty flue is a slow fuse, and a fire in a place nobody’s watching can take the whole building with it.
Book a certified sweep before you close up, not next season. A real inspection looks past the soot at cracked flue tiles, a deteriorated liner, a loose damper, animal nests. Ask them to check the smoke chamber too. That’s the spot amateurs skip.
41. Photograph Cabin Condition Before Leaving

If a storm peels back the roof or a pipe lets go, your insurer will want to know what the place looked like beforehand. Memory is a terrible witness. Photos aren’t.
Walk every room with your phone and shoot wide, then close in on anything that matters: the furnace, the water heater, the electrical panel, visible plumbing, the roof from outside, and any existing cracks or stains so fresh damage reads clearly against the old. Most phones stamp the date automatically, which settles a surprising number of arguments.
40. Repair Loose or Missing Roof Shingles
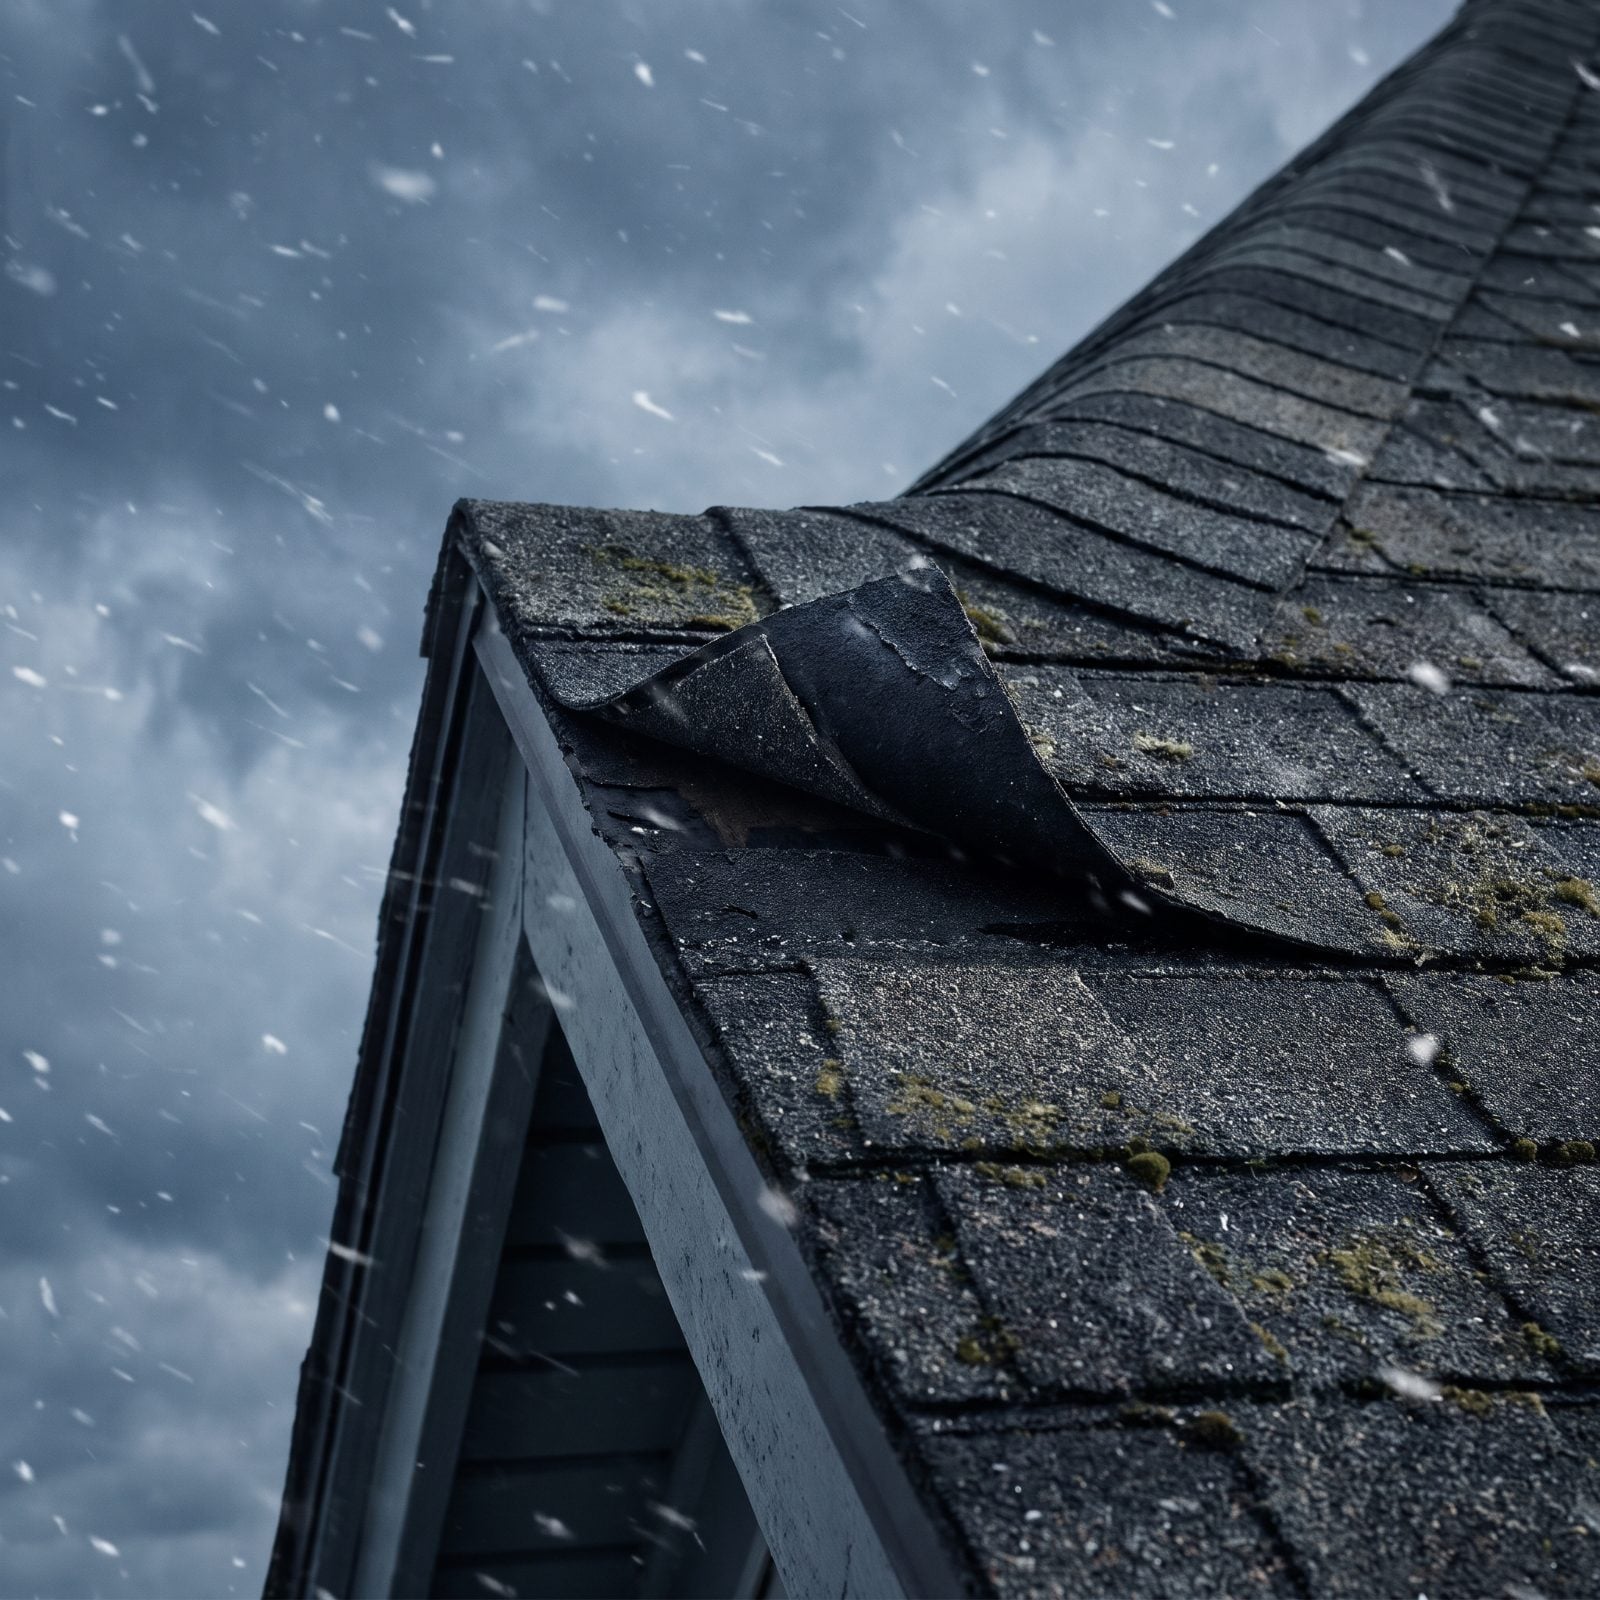
One lifted shingle is an open door. Wind-driven snow finds the gap, melts against the warm deck, refreezes, and works water under the whole field before a single stain shows up inside.
Walk the roof or glass it with binoculars on a dry, safe day. Look for curled corners, bald spots where the granules have washed off, and any shingle that flaps when the wind moves it. Replace the missing ones with matching shingles and tuck a dab of roofing cement under each tab so the first gale doesn’t undo your work.
Don’t do this on a steep, frosted roof alone. I’ve watched more than one weekend warrior learn that lesson the hard way. If it’s slick, hire it out.
39. Seal Flashing Around Roof Penetrations
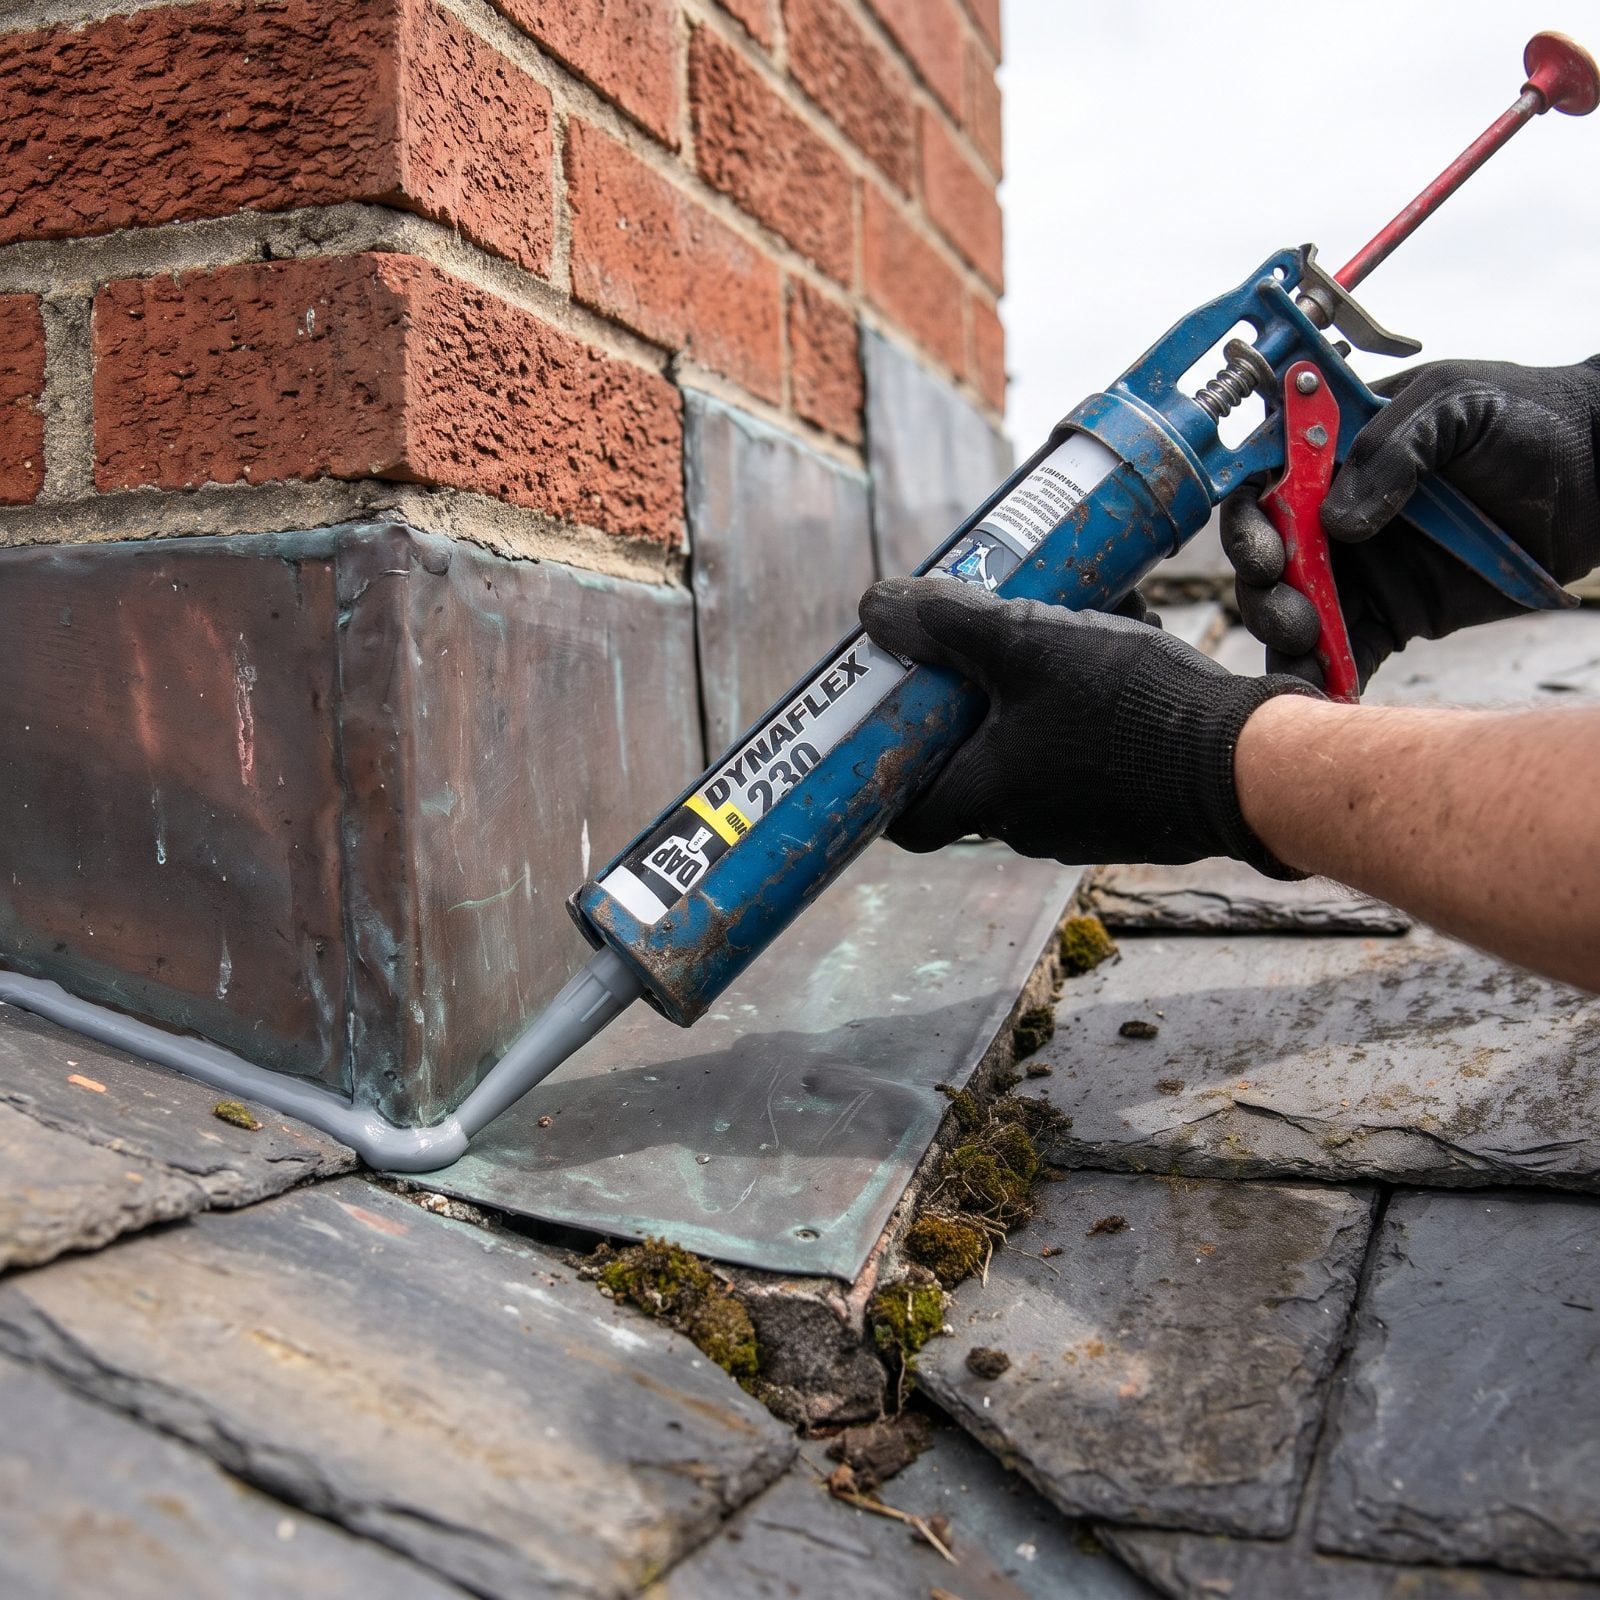
Shingles get all the attention, but a roof almost always leaks where something pokes through it. Chimneys, vent pipes, skylights, satellite mounts. The metal flashing at those joints is what keeps water out, and the sealant around it cracks and shrinks with every freeze-thaw cycle.
Check every penetration. Press on the plumbing vent boots, since the rubber ones split and rot first, and feel for flashing that’s lifted away from the surface. Scrape out the old failing caulk and run a fresh bead of roofing-grade sealant where metal meets shingle or stone.
38. Clean Leaves From Gutters
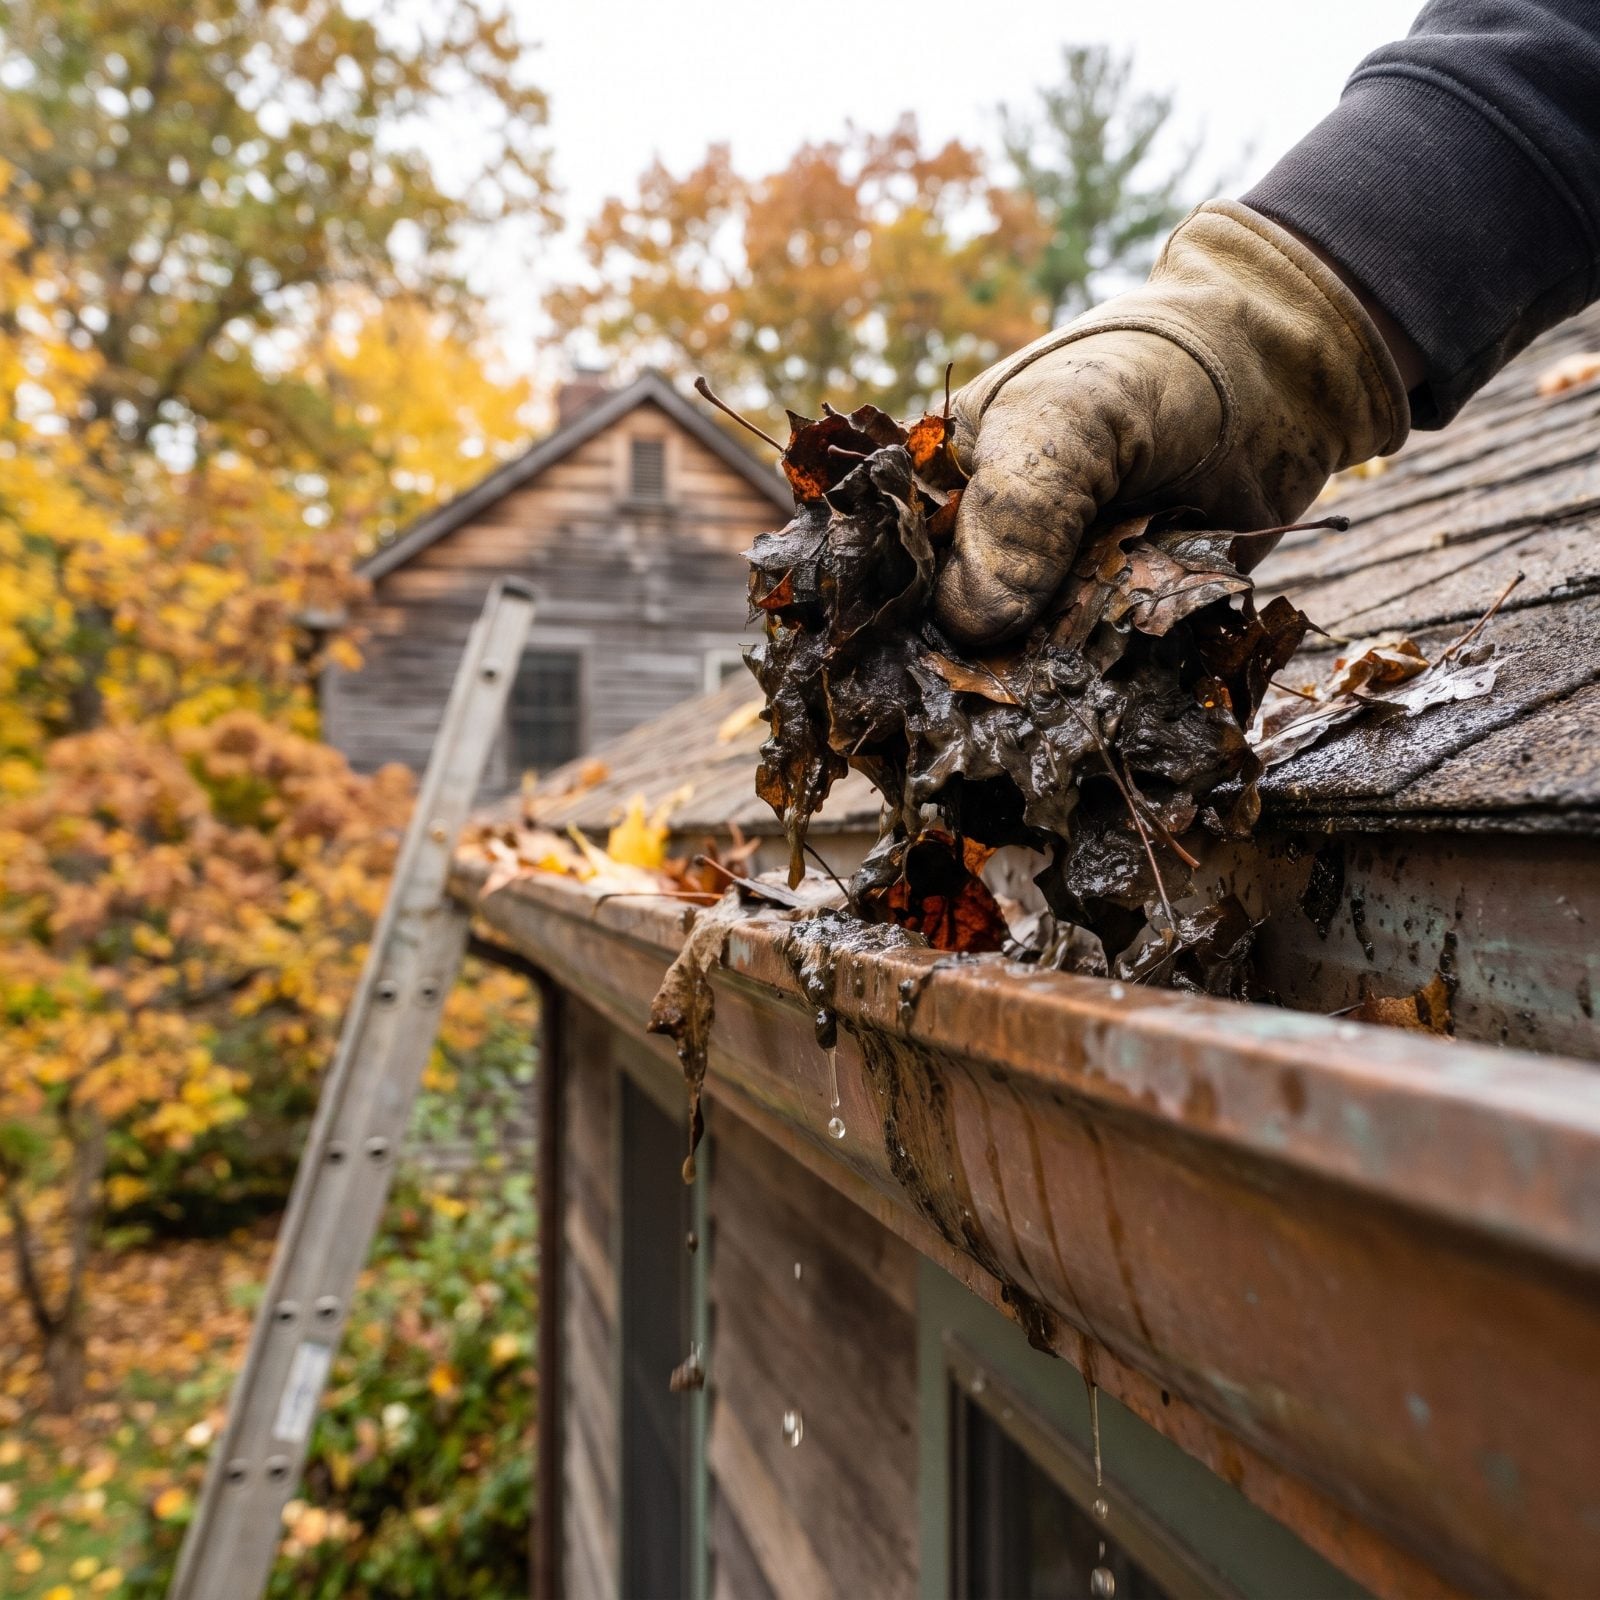
A gutter packed with leaves isn’t really a gutter. It’s a trough that holds water against your roofline until it freezes, backs up under the shingles, and builds the ice dams that chew through eaves and soffits.
Scoop the whole run by hand into a bucket, then flush it with a hose to confirm the downspouts actually run free. Wet leaf mush at the bottom of a downspout is the usual culprit, and water left sitting in a packed gutter all winter rots the fascia board behind it.
37. Point Downspouts Away From the Foundation
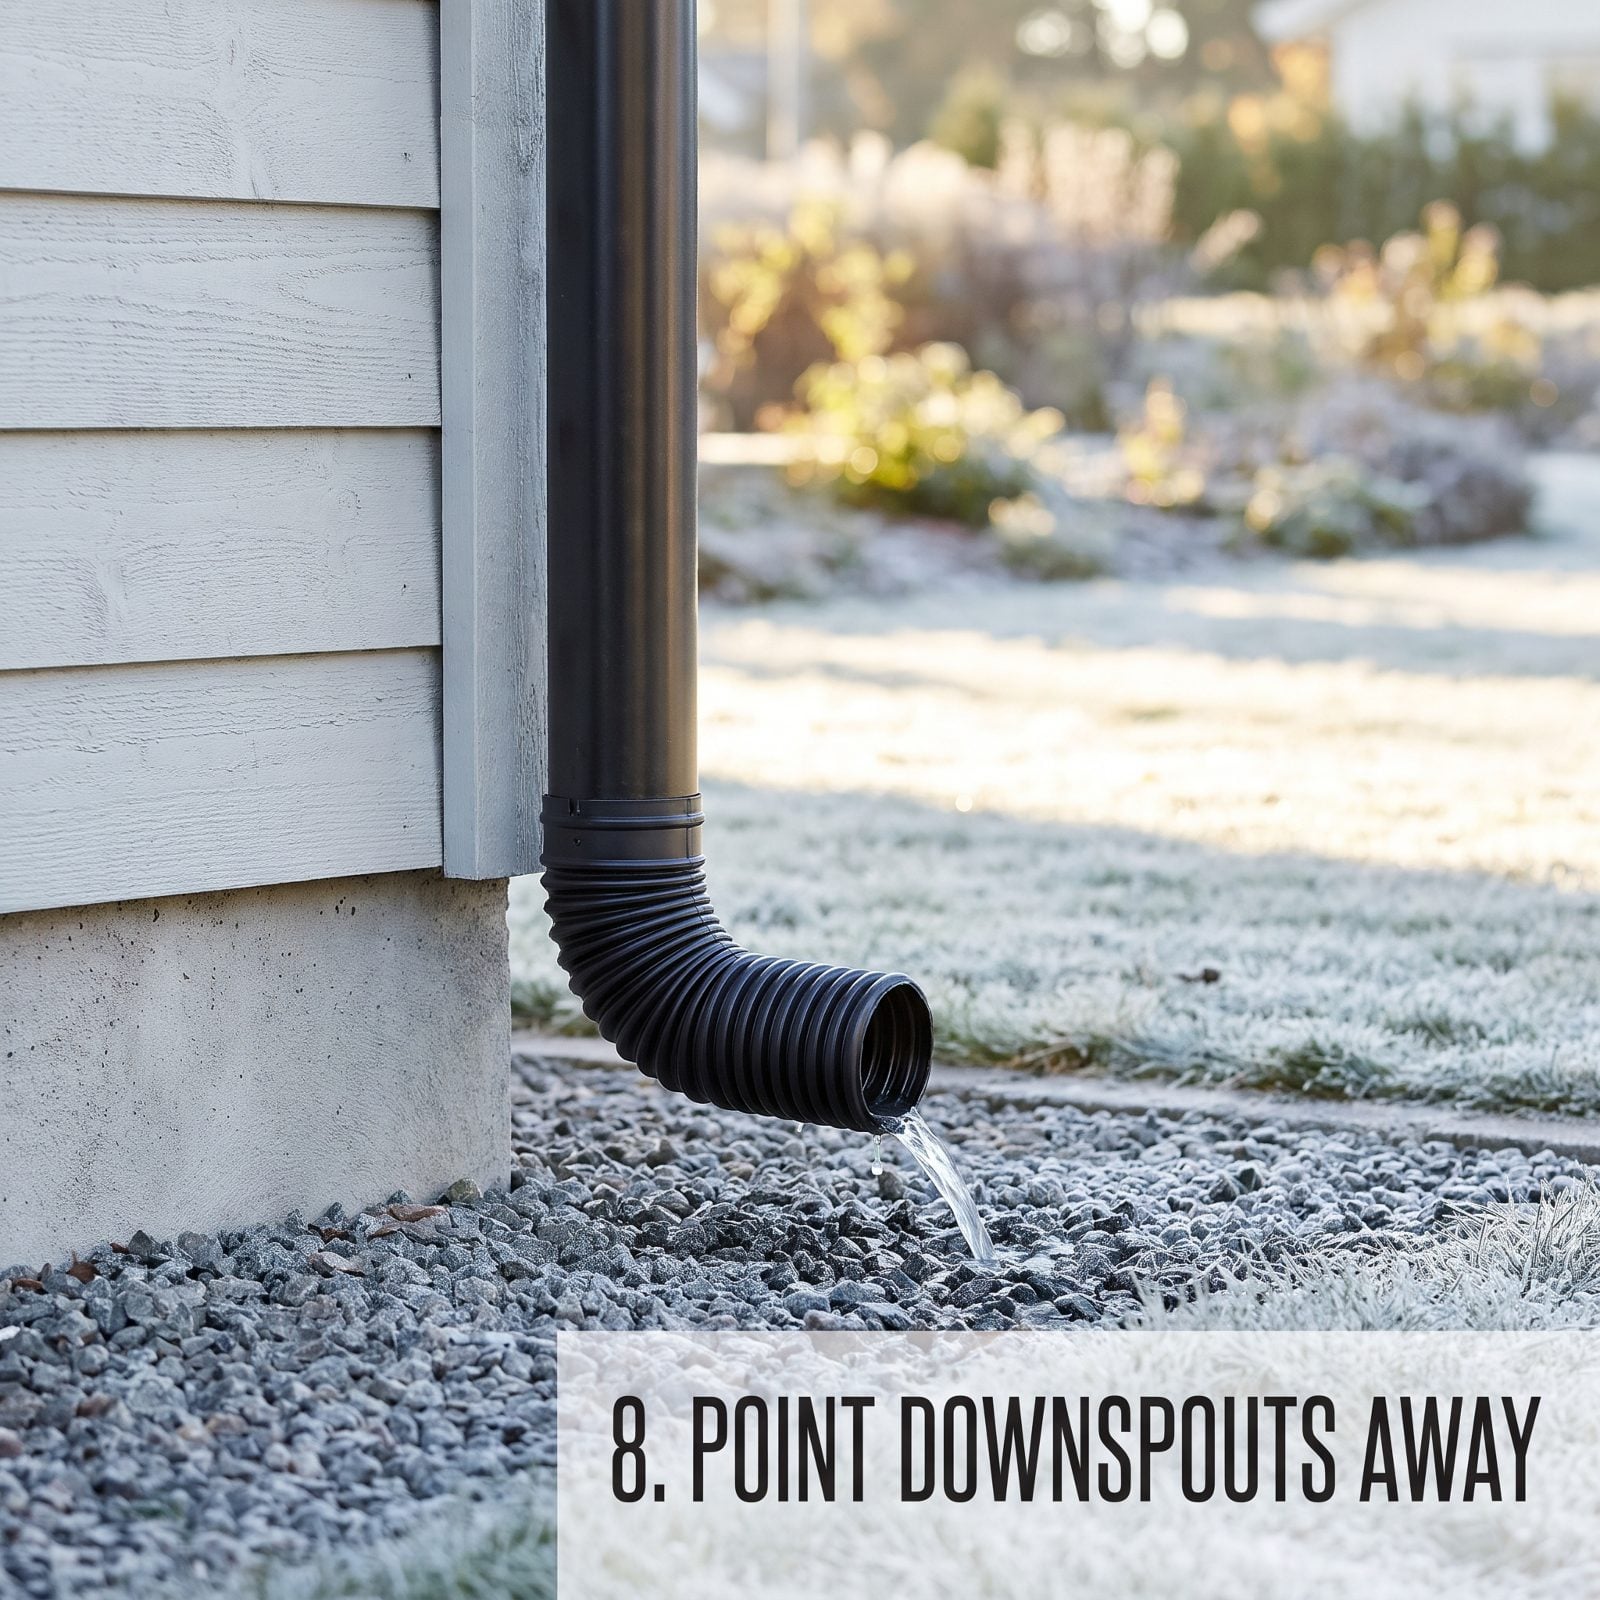
Water that dumps right at the foundation has one job all winter: find its way in. It pools, soaks the soil, freezes, and heaves against the footing. Down in a crawlspace or basement, it becomes standing water, and then it becomes mold.
Add extensions or splash blocks so every downspout carries water several feet out, onto ground that slopes away from the building. Then check that the soil around the foundation really does fall away from the walls and not toward them. A lot of settling cabins quietly tip the wrong direction over the years, and nobody notices until the spring thaw finds the low spot.
36. Trim Branches Threatening the Roof
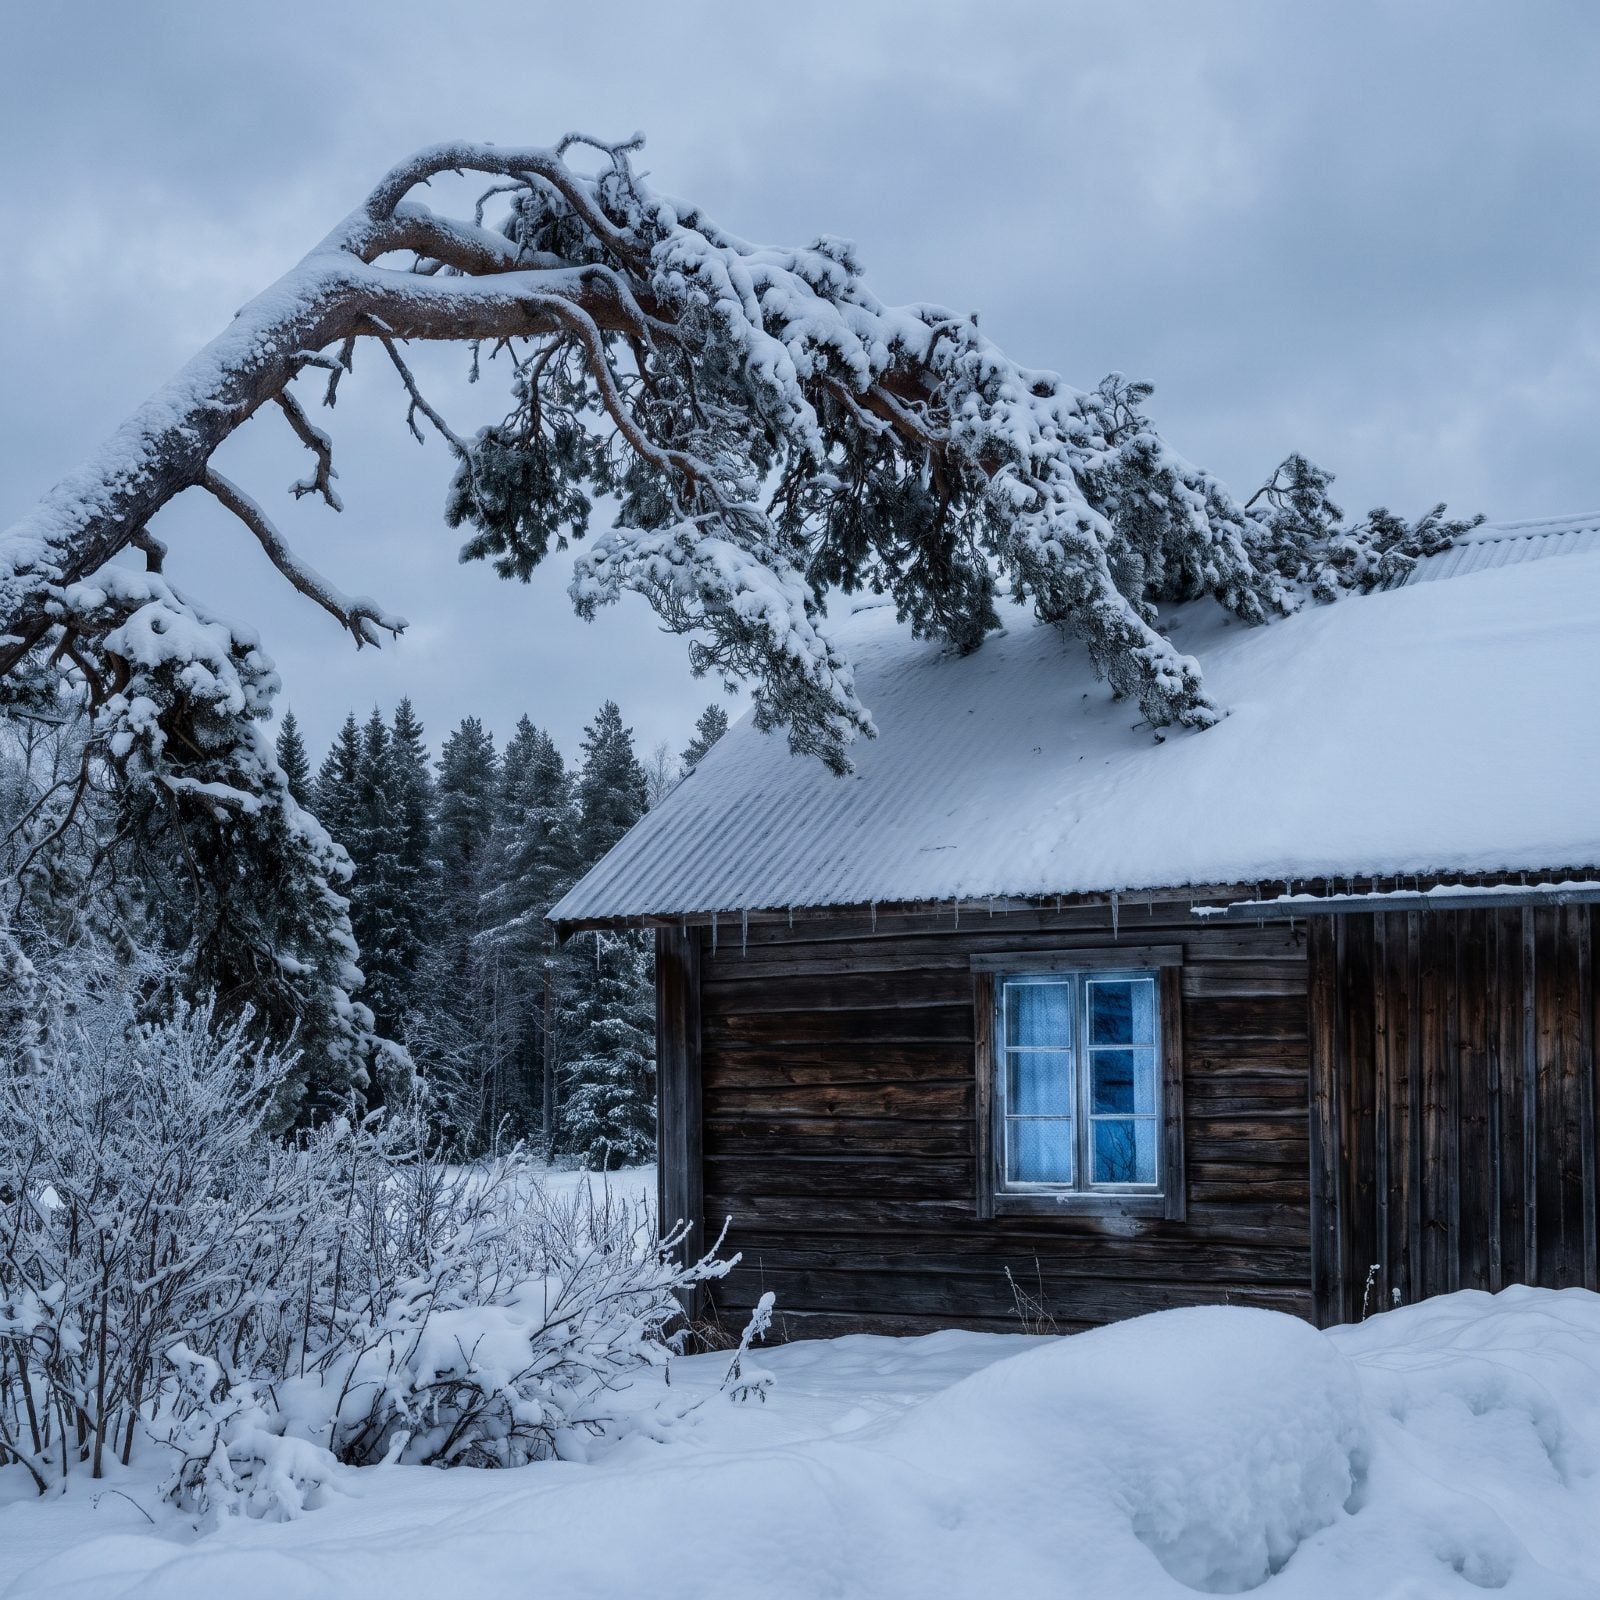
A limb loaded with wet snow or ice doesn’t need a storm to come down. It just needs enough weight. And the branch hanging over your roof in October is the one punching through it in February, when nobody’s there to tarp the hole.
Cut back anything overhanging the roof, and take out dead or cracked limbs within reach of the building entirely. Clearing branches off the roofline also keeps squirrels and raccoons from using them as a bridge into your soffit, which is a whole second headache.
Keep this to light pole-pruner work. Anything that needs a chainsaw up a ladder near a structure is a job for an arborist, full stop.
35. Check Chimney Cap and Spark Arrestor
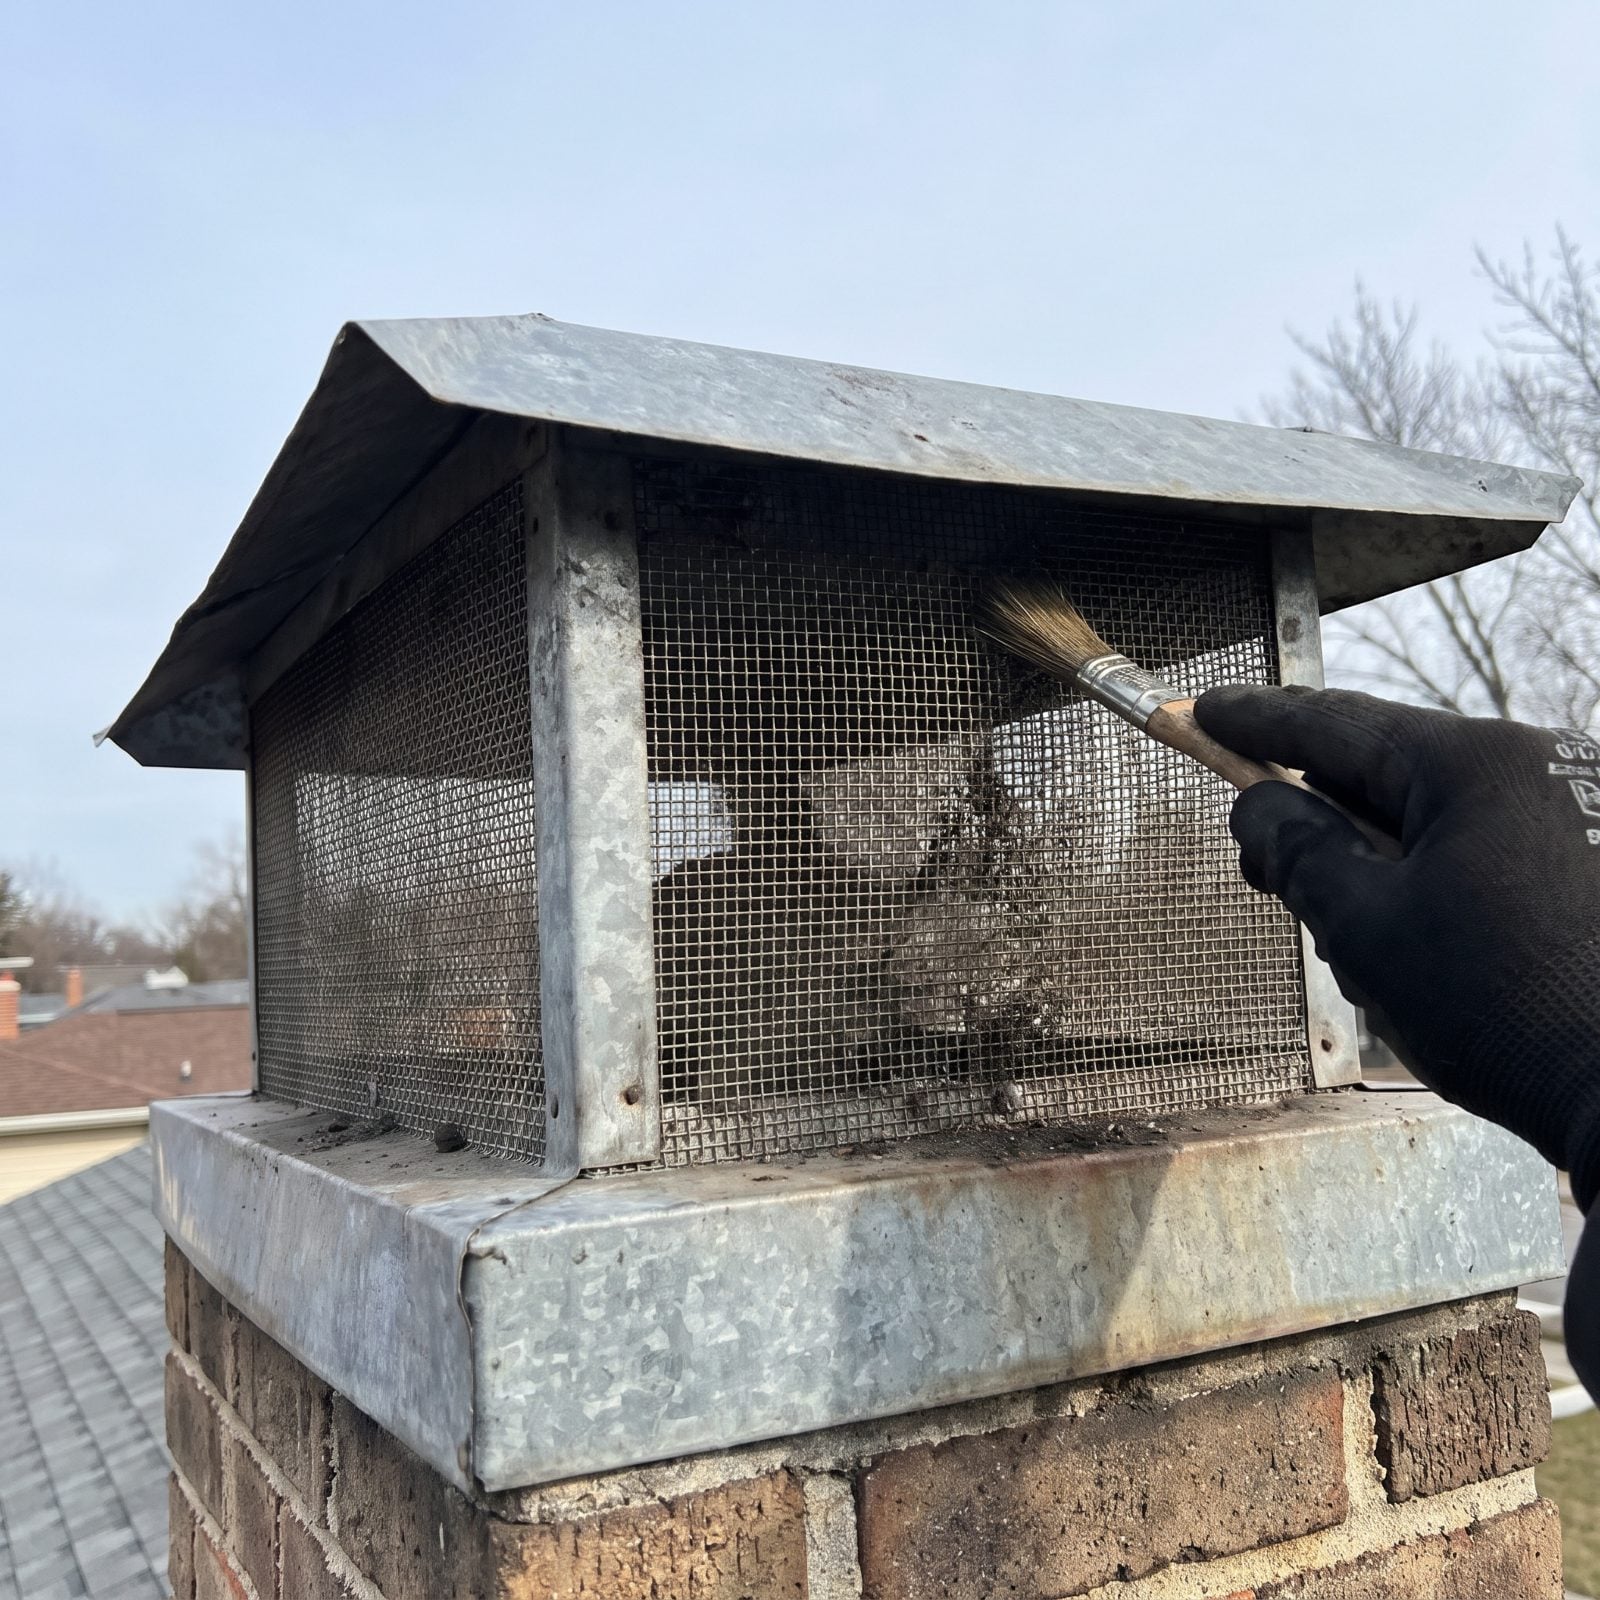
The cap is a small piece of metal doing three big jobs: keeping rain out of the flue, blocking animals from nesting inside, and stopping sparks from landing on a dry roof. A missing or damaged one invites all three at once.
Look up at the chimney top. The cap should be fastened tight and not rattling, and the spark-arrestor mesh should be intact and clear of soot and leaf litter. A clogged screen chokes the draft and backs smoke into the cabin.
34. Repair Gaps in Siding and Soffits
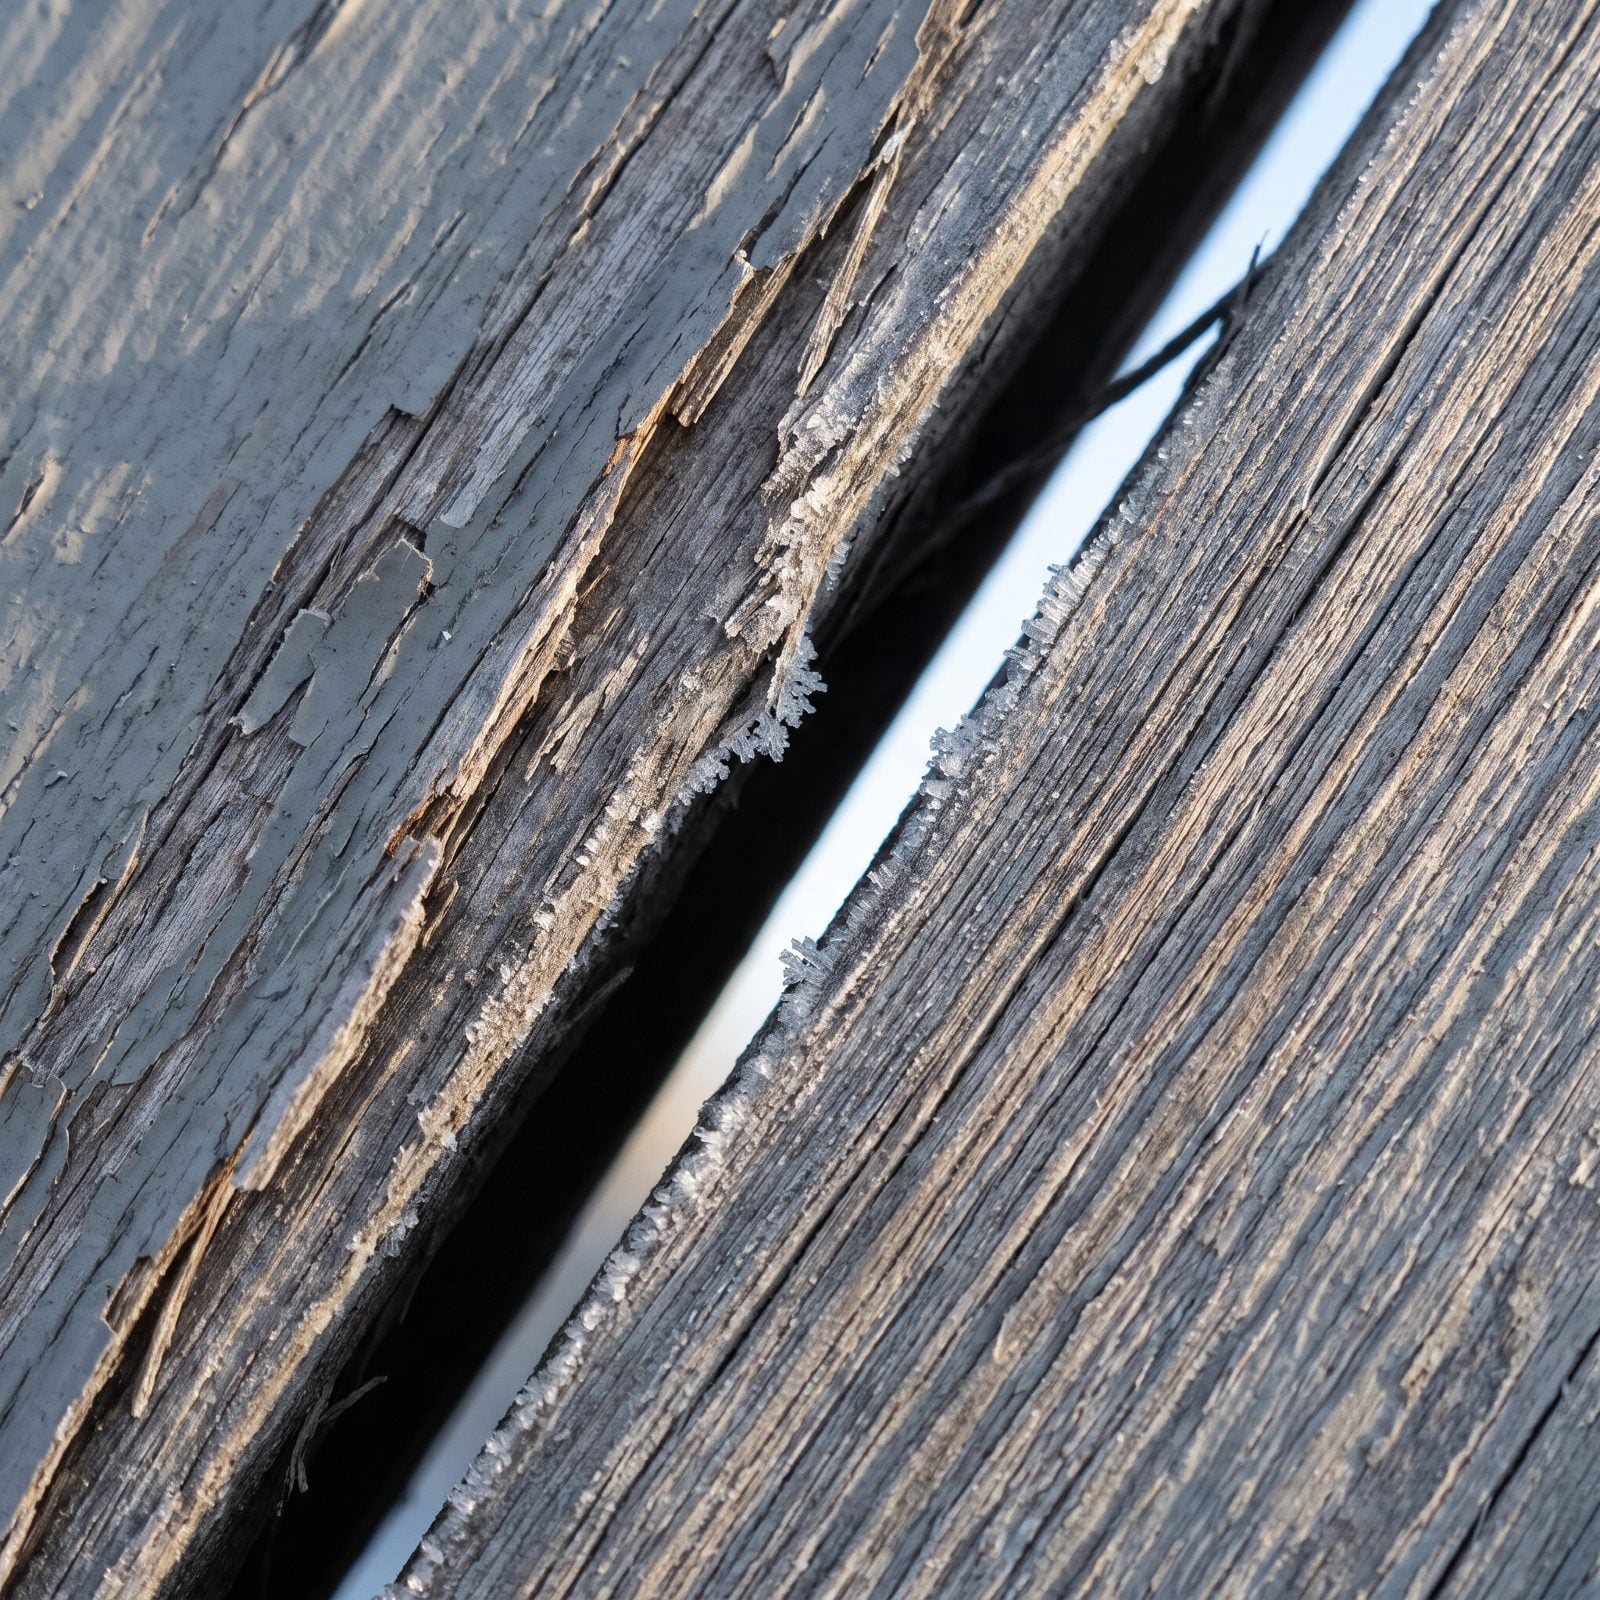
Every gap in your siding is an invitation. Wind drives moisture in, that moisture freezes, and come spring the crack is twice the size it was in October. A mouse needs about a quarter inch to get through, and carpenter ants need less than that.
Walk the whole perimeter at eye level, then look up. Check where soffits meet the wall, where trim boards butt together, around every pipe and wire penetration. Run your hand along the seams. See daylight through from inside? Seal it. Paintable exterior-grade caulk handles the small gaps; anything wider than a pencil wants backer rod underneath the caulk.
33. Inspect Vent Screens for Animal Entry
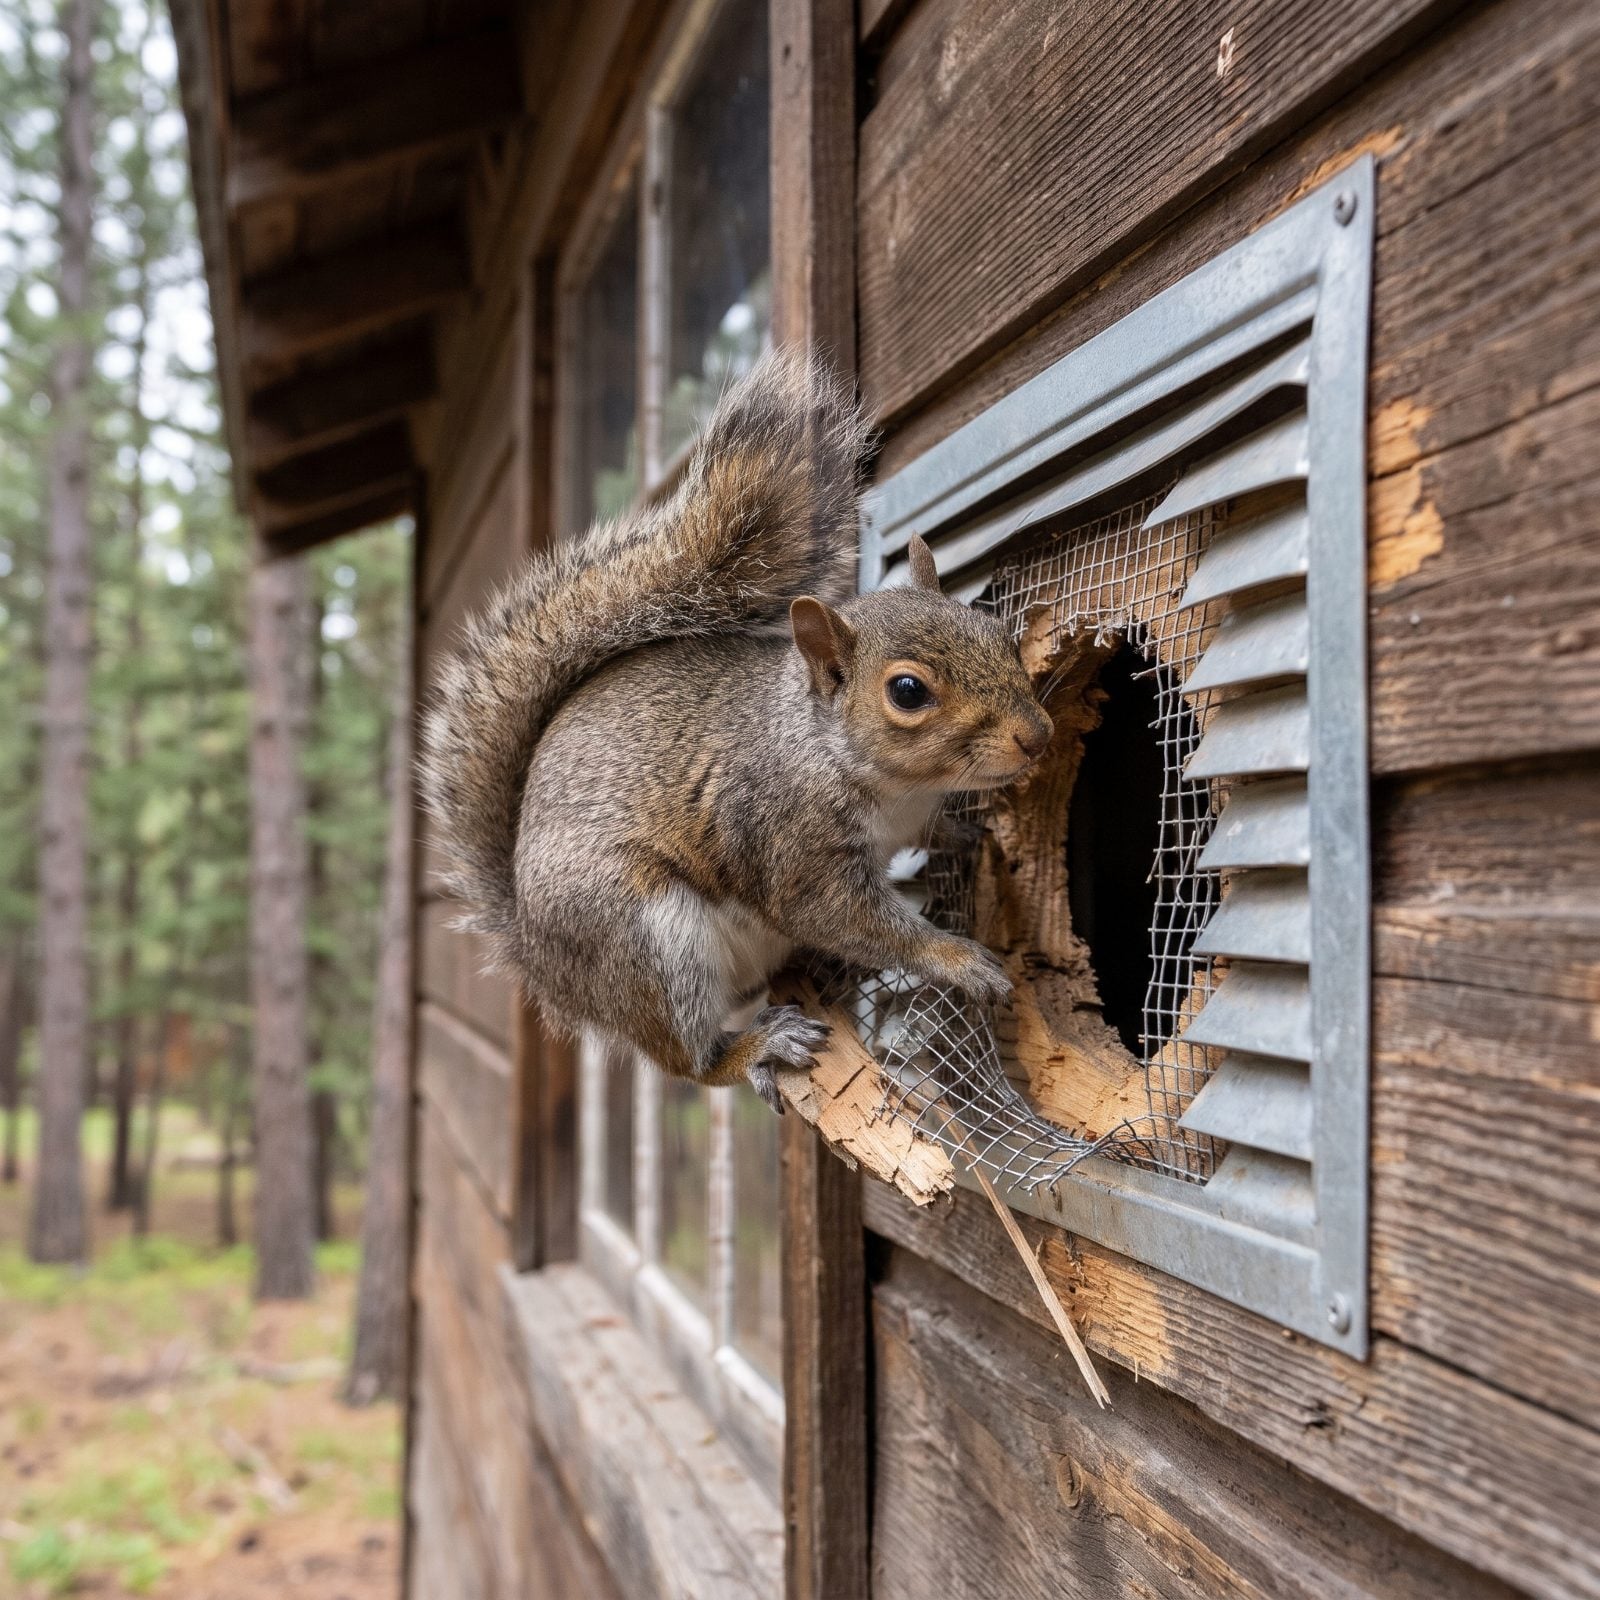
Squirrels, mice, bats, and wasps all read your vents as an open door. A screen that looked fine in July can have a chewed corner or a rust hole you never clocked. Once something moves into the attic for winter, you’re dealing with nests, chewed wiring, and a smell you won’t forget.
Check gable vents, ridge vents, soffit vents, and the dryer and bathroom exhaust flaps. Press on each screen. If it flexes, bulges, or gaps at the edge, back it with quarter-inch galvanized hardware cloth. Skip plastic window screen here — a determined squirrel goes through it like paper.
32. Drain and Store Rain Barrels
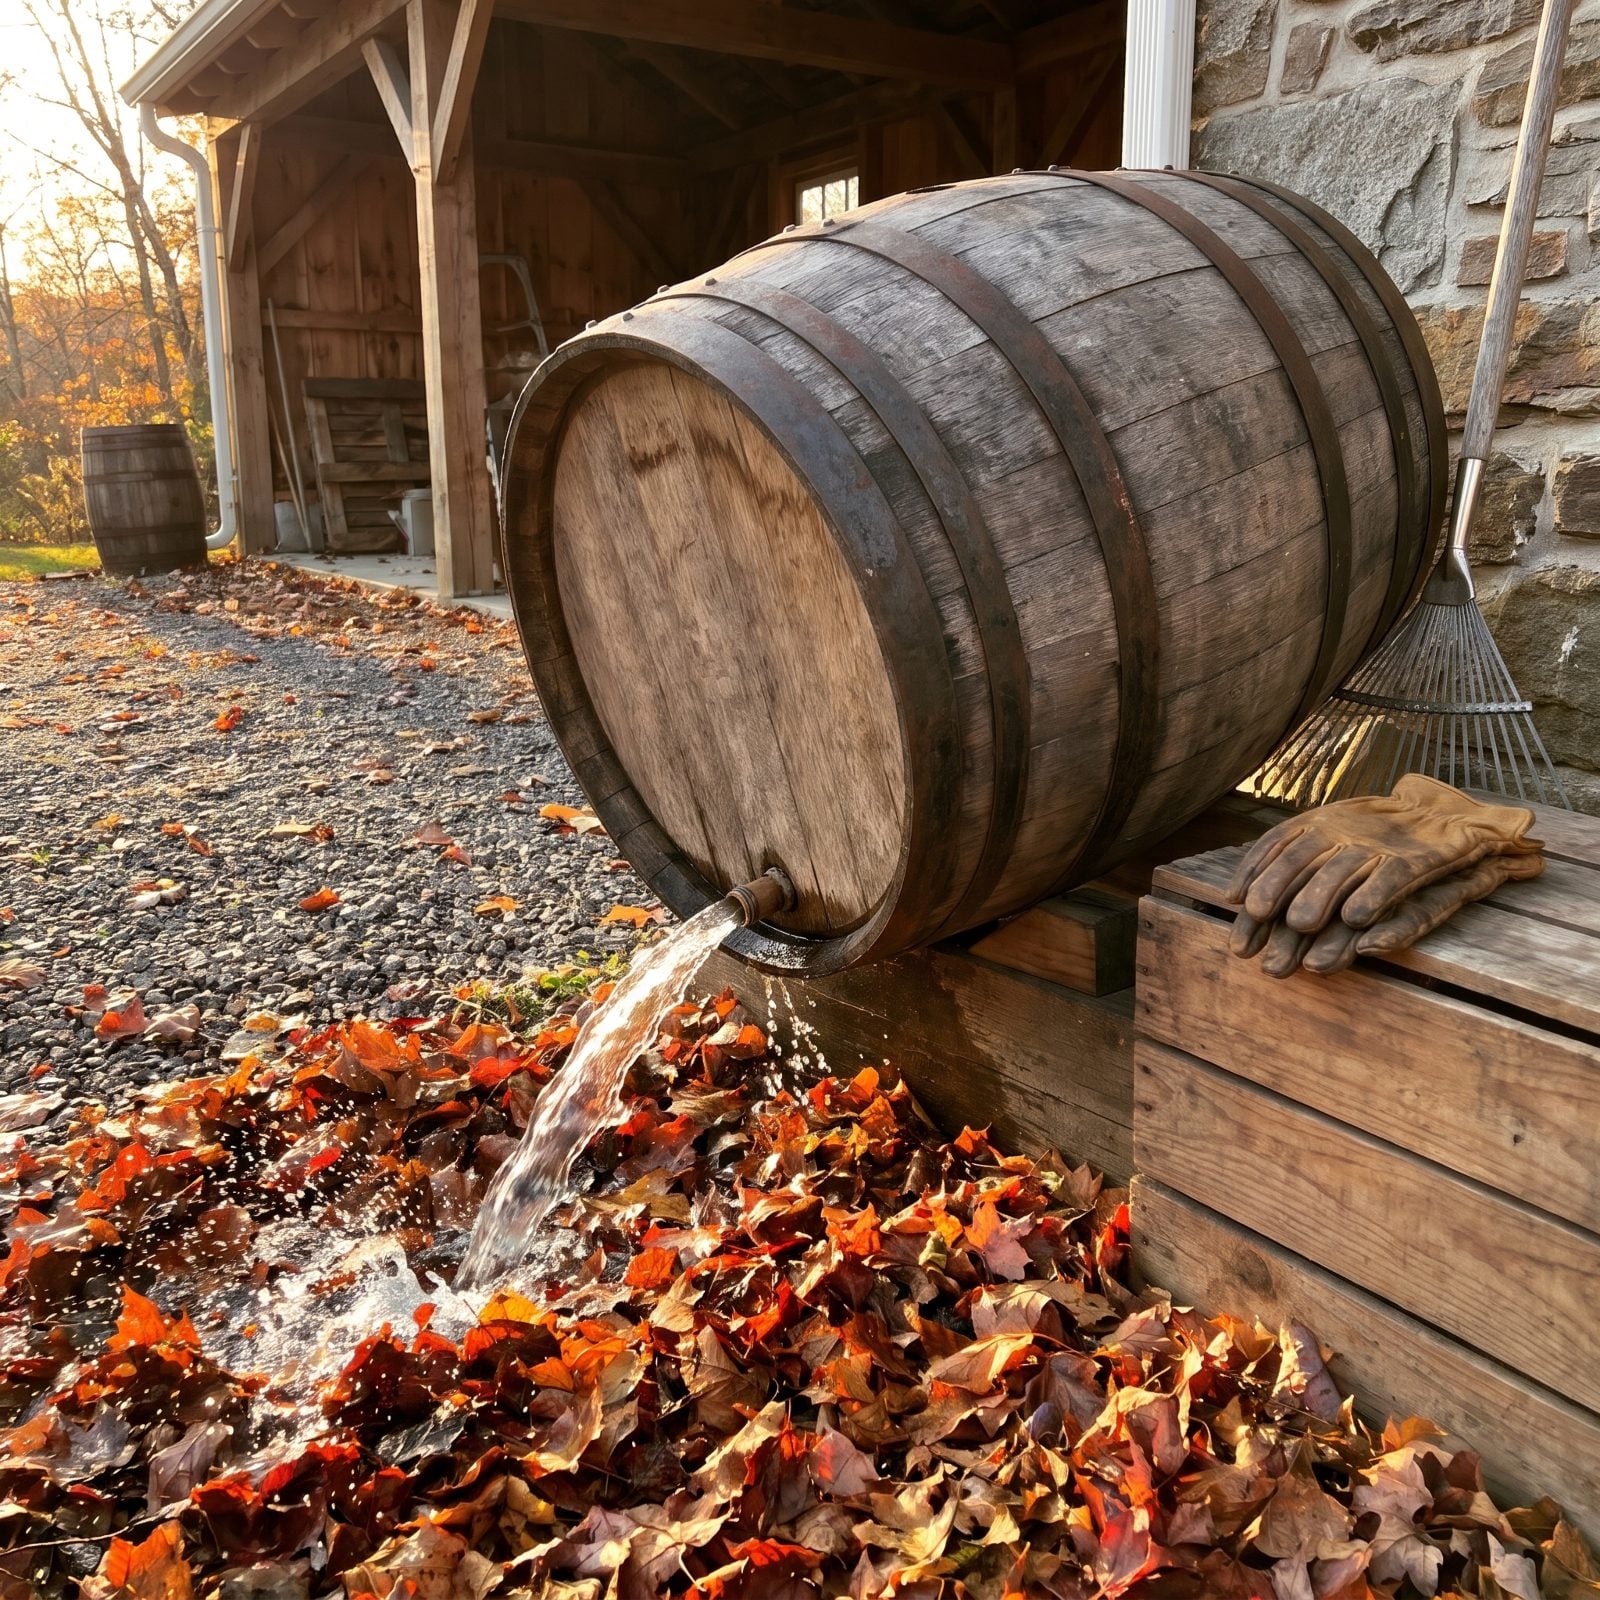
A full rain barrel left out all winter is a frost bomb. Water expands when it freezes, and that’s enough to split the seams or crack the spigot right off. Then you’re buying a new one in April.
Open the spigot and let it run dry. Flip the barrel to dump the last inch at the bottom, where sludge and leaf grit collect. Disconnect the downspout diverter and either cap it or swing the elbow back so winter runoff drains clear of the foundation. Store the barrel upside down under cover, or at least lidded so it can’t refill and freeze solid.
31. Move Firewood Away From Exterior Walls
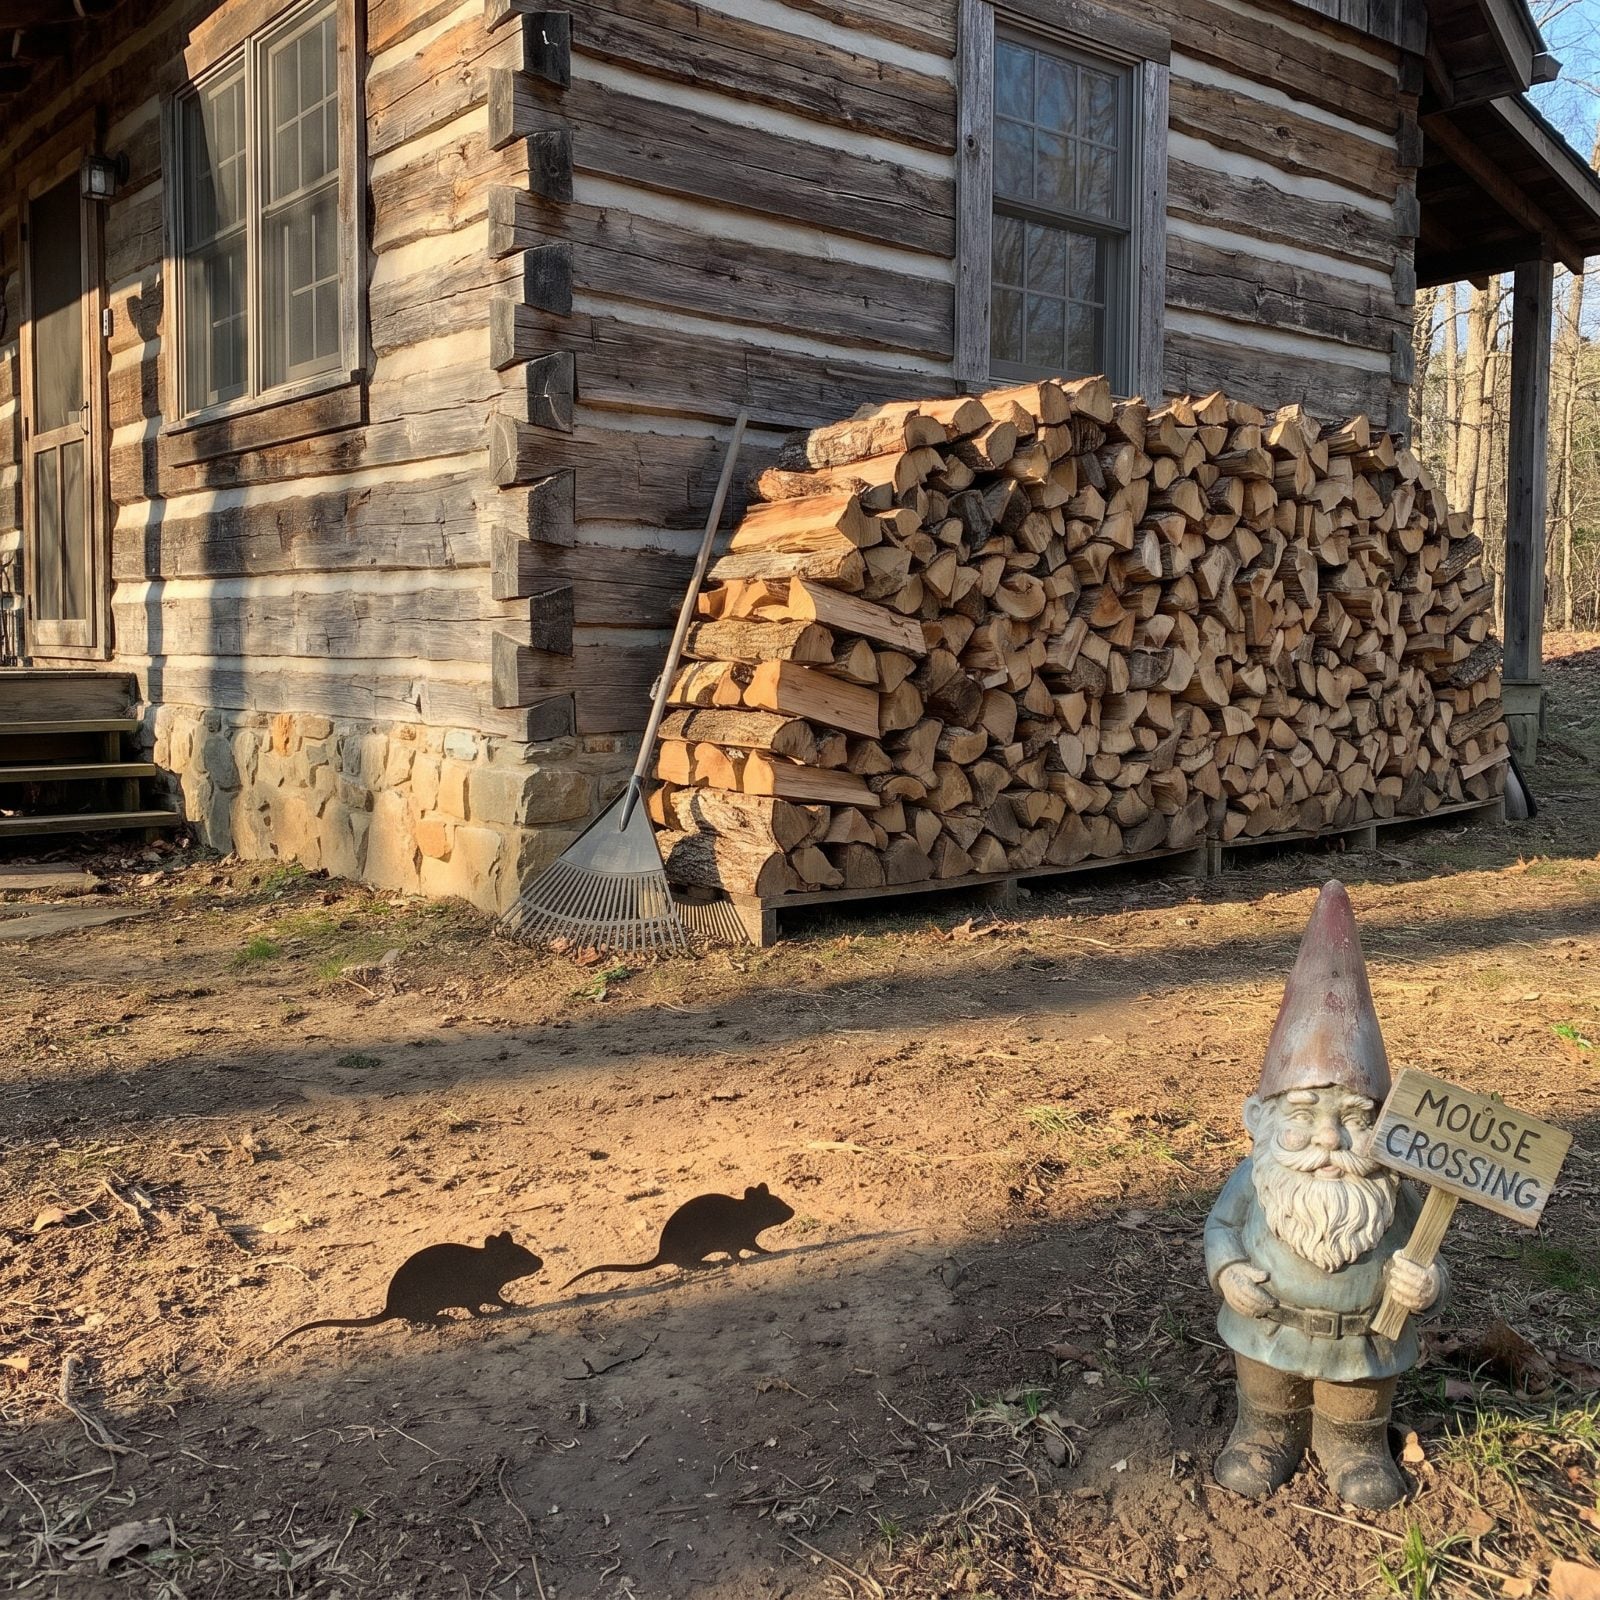
Firewood stacked against the cabin is a highway for trouble. Termites, carpenter ants, mice, and spiders live in that pile, and a wall gives them a dry route straight indoors. It also traps moisture against your siding and feeds rot where you can’t see it until it’s bad.
Pull the stack well away from the building — twenty feet is about right — and get it up off the ground on a rack or on pallets. Cover the top, leave the sides open so air moves through, and stack bark-side up so rain sheds off instead of soaking in.
And a quiet fire note: wood piled against the wall turns a small chimney spark or a stray cigarette into a structure fire. Distance buys you time nobody’s there to use.
30. Remove Window Air-Conditioning Units
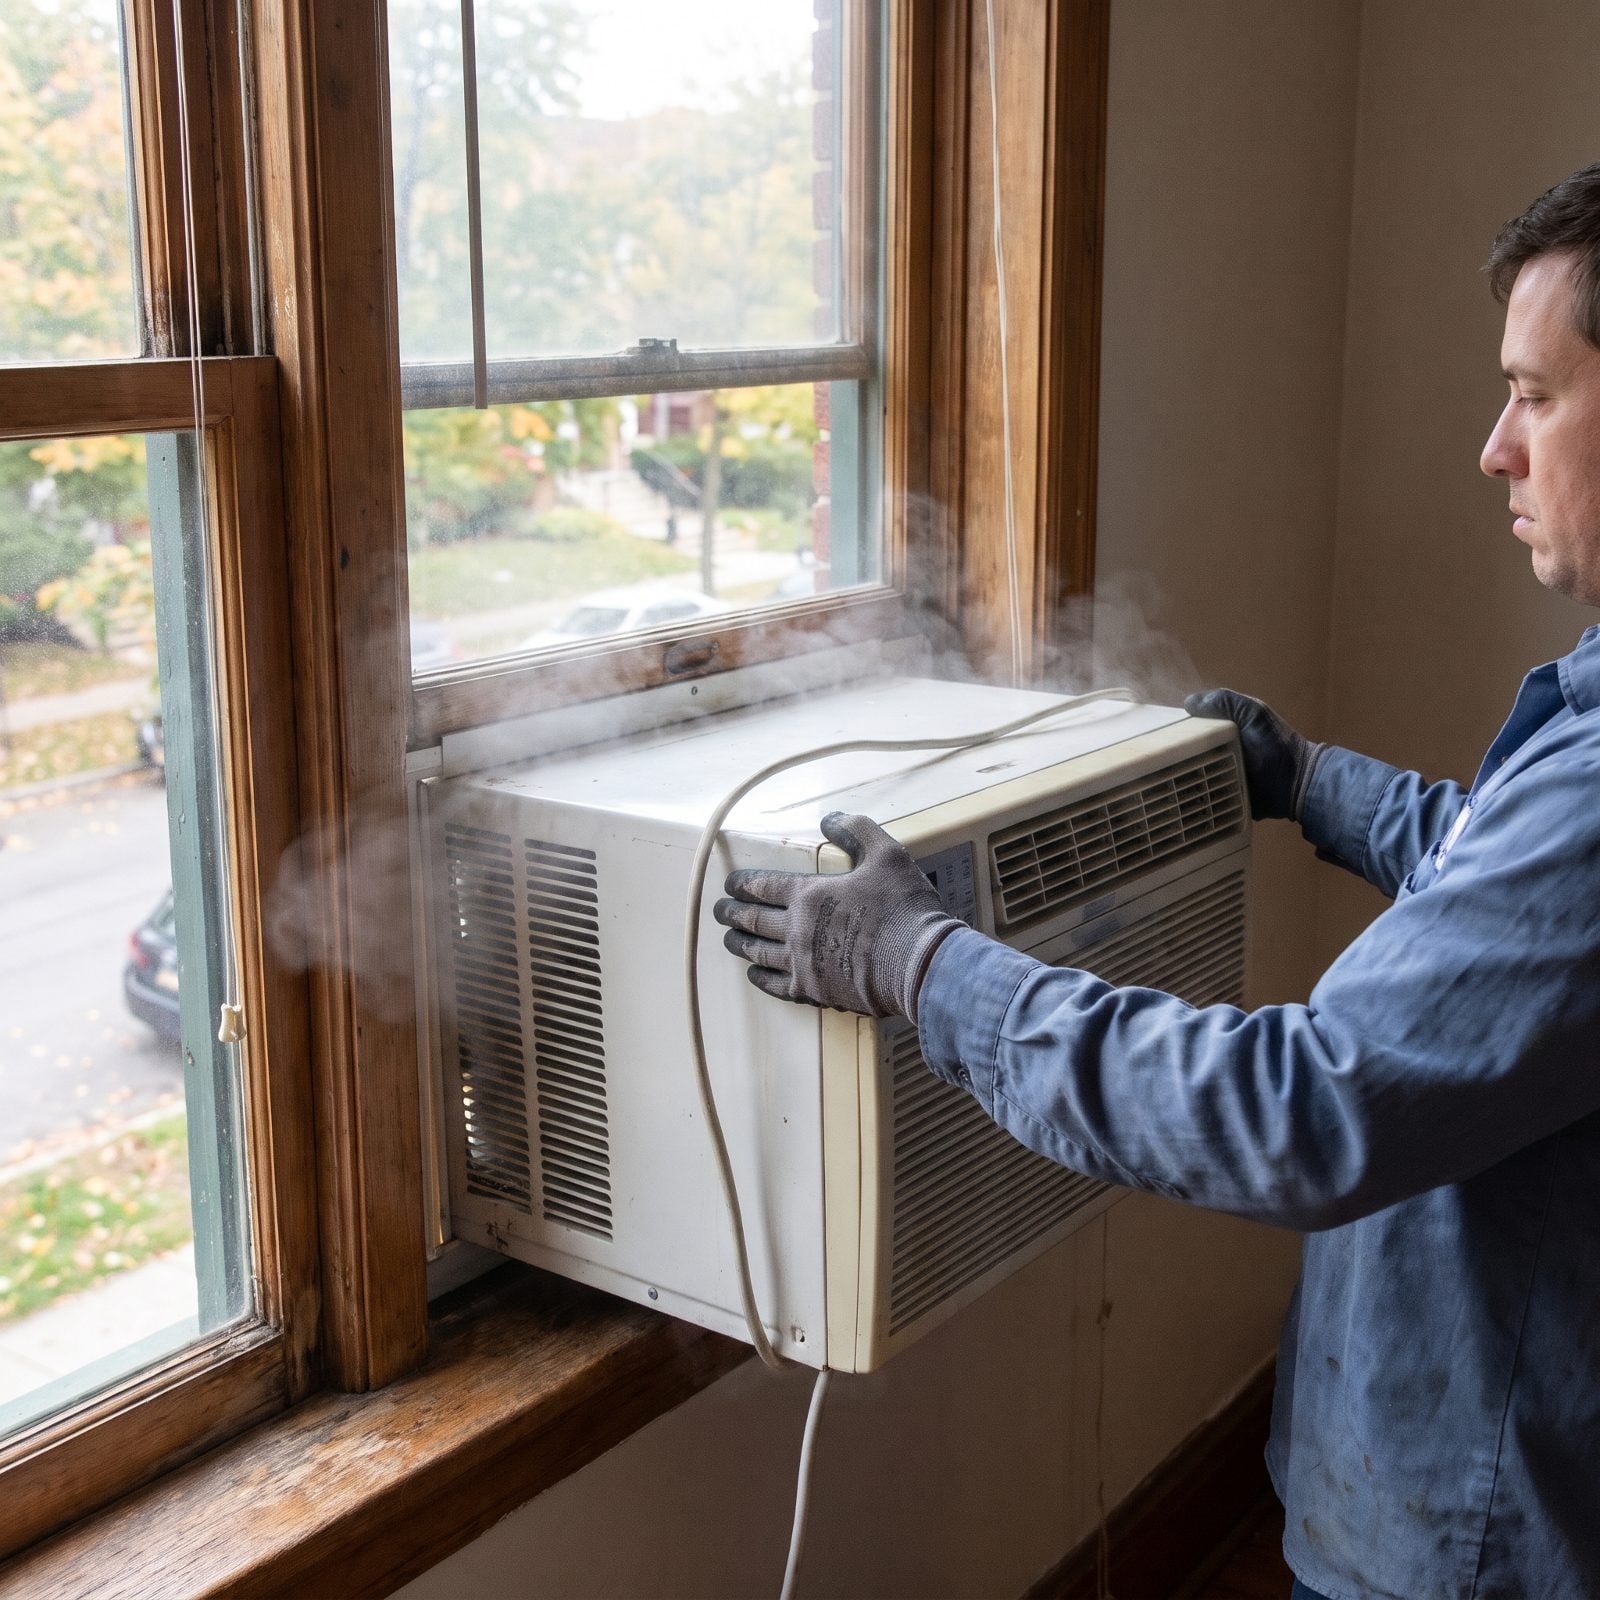
A window unit left in place all winter fails you three ways. It’s a gap in your insulation that bleeds heat and lets cold pour in, the sheet-metal shell and foam side panels are exactly where mice decide to spend the season, and an open vent flap gives wind-driven snow a straight shot inside.
Pull the unit, drain any water from the pan, and let it dry a day before you store it flat and covered. Shut the window, lock it, seal the frame. This is a two-person lift more often than people think — these things are heavier and more awkward than they look, and a dropped one off a second-story sill ruins everyone’s day.
29. Place Snow Stakes Along Access Routes
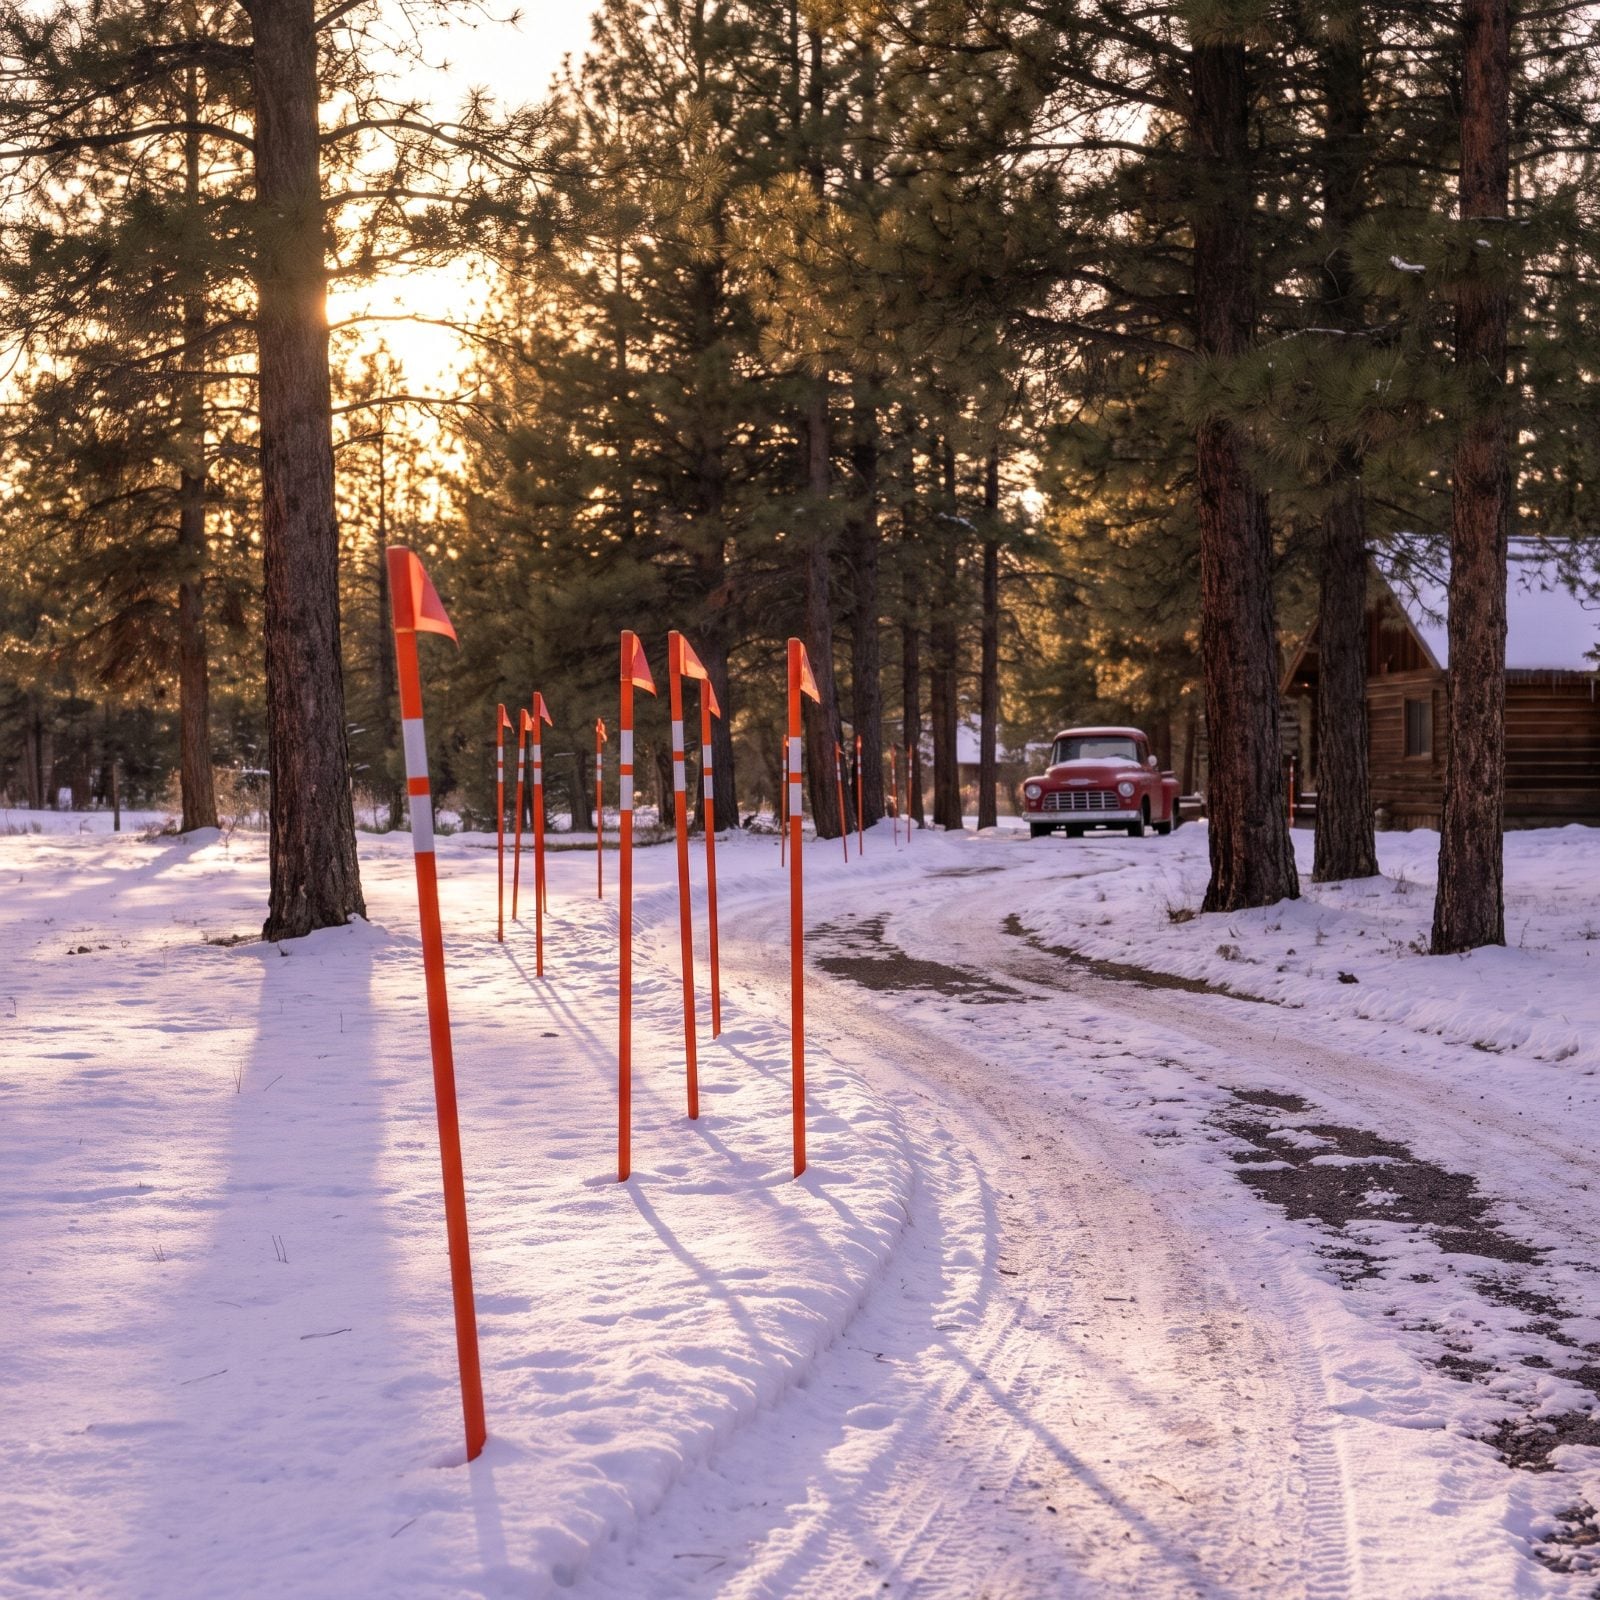
Snow erases a driveway. By January you won’t know where the gravel ends and the ditch begins, and neither will the plow truck you hired, or the utility crew, or the volunteer fire department if something goes sideways.
Walk your access route now and push tall orange flagged driveway markers into the shoulder and the yard beside it, grouping several together, some nearly side by side, wherever the edge is hardest to read. Mark anything a plow blade could catch: the septic lid, a low retaining wall, shallow buried lines, the propane tank.
A snowplow operator who can see the edges won’t take out your lawn, your sprinkler heads, or your mailbox. One who can’t, will.
28. Shut Off the Main Water Supply
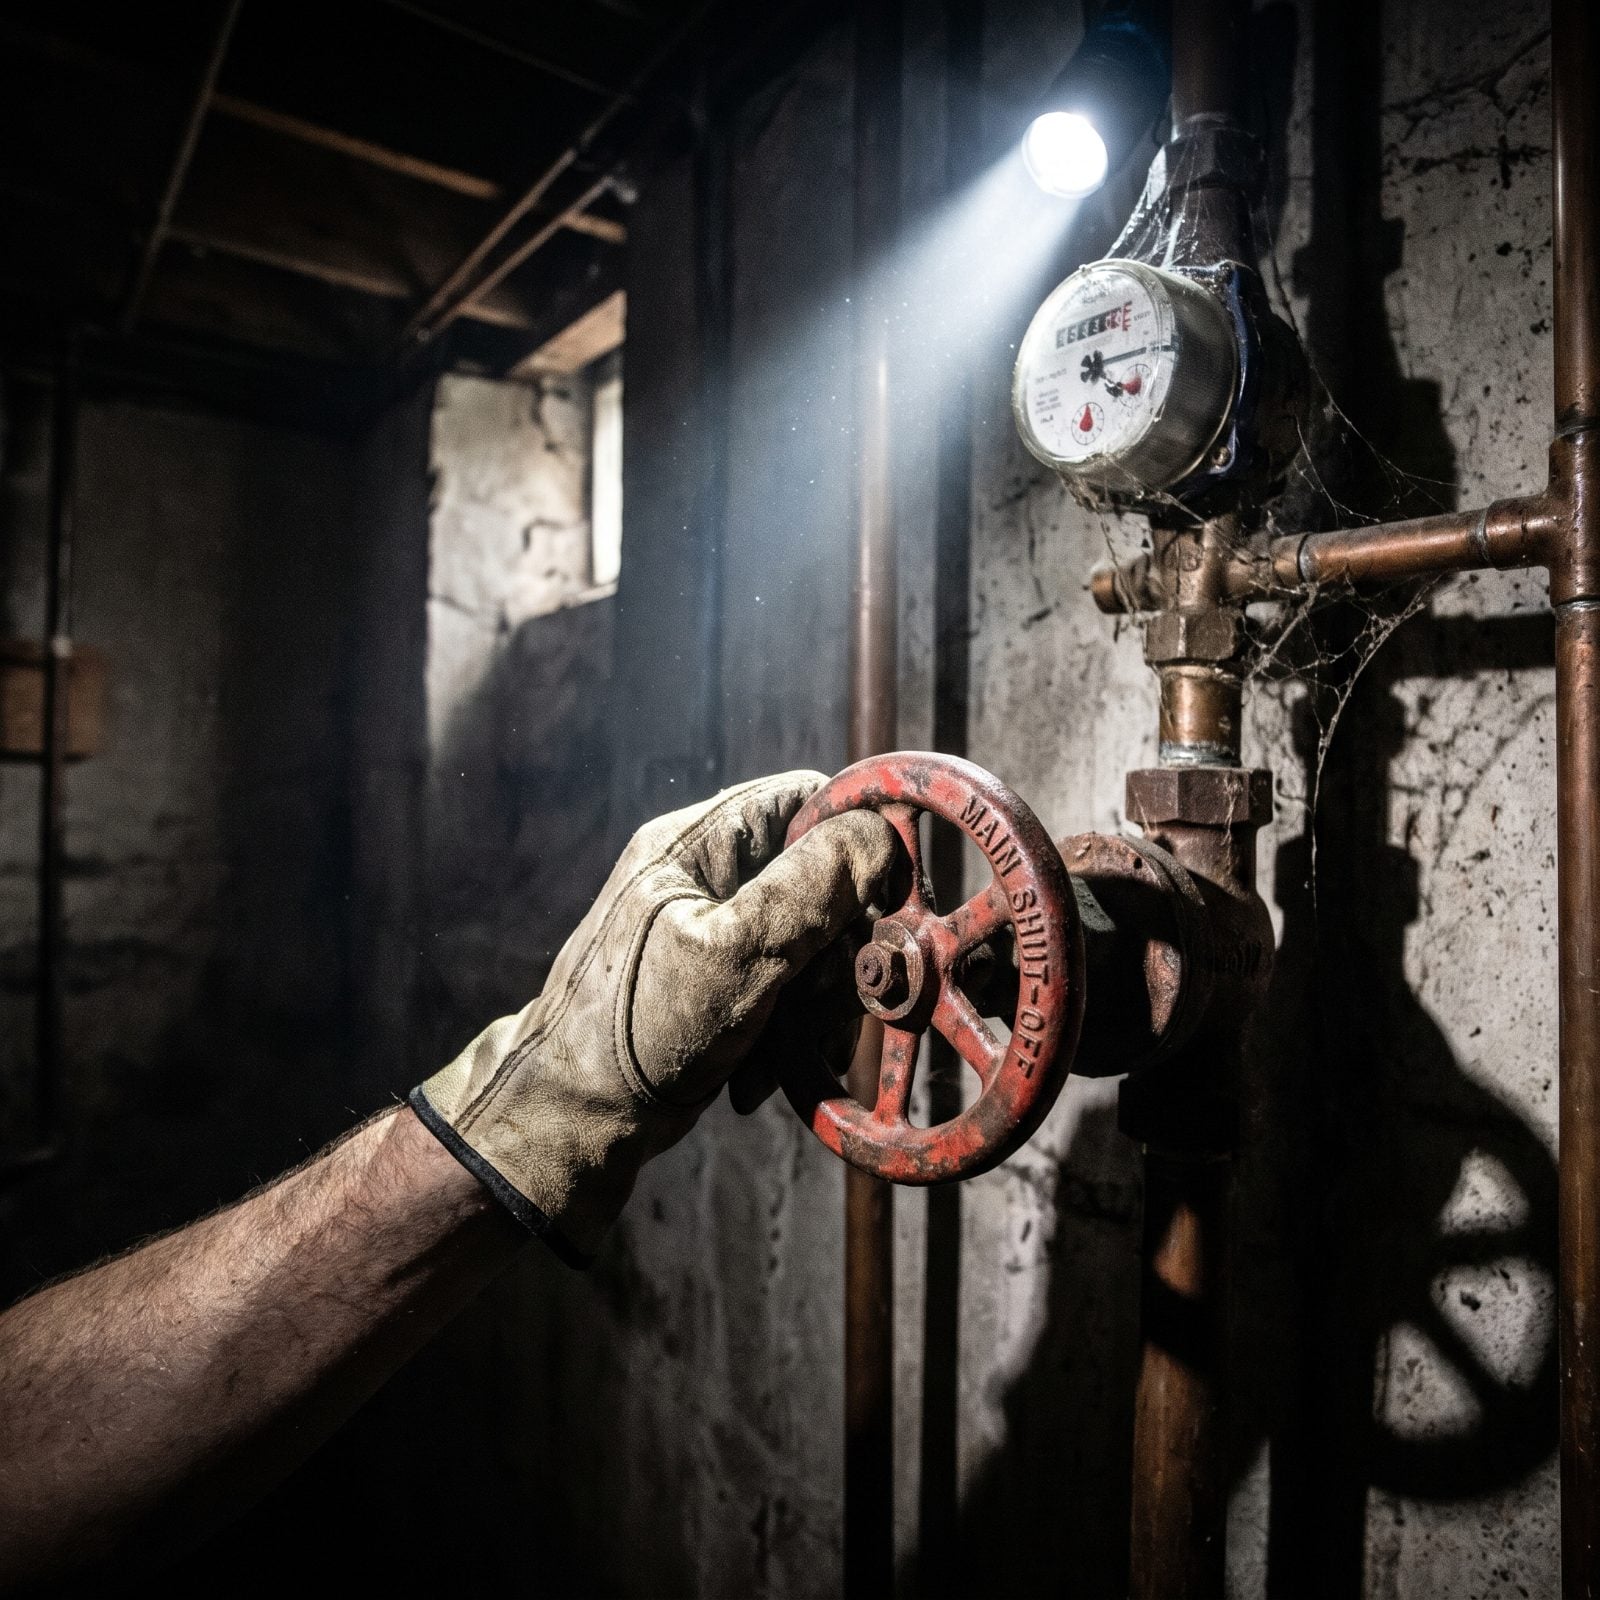
Of everything on this list, a frozen pipe does the most damage the fastest. One split line, days of pressurized water pumping into an empty cabin, and you come back in spring to collapsed ceilings and floors you have to rip out. Insurance adjusters see it constantly.
Find the main shutoff before you need it. Usually it’s near where the line enters the building, or at the well pressure tank. Turn it off, then open the lowest faucet in the house and the highest one too, to break the vacuum and let the lines drain. Flush every toilet and hold the handle until the tank empties.
27. Cut Power, Then Drain the Water Heater
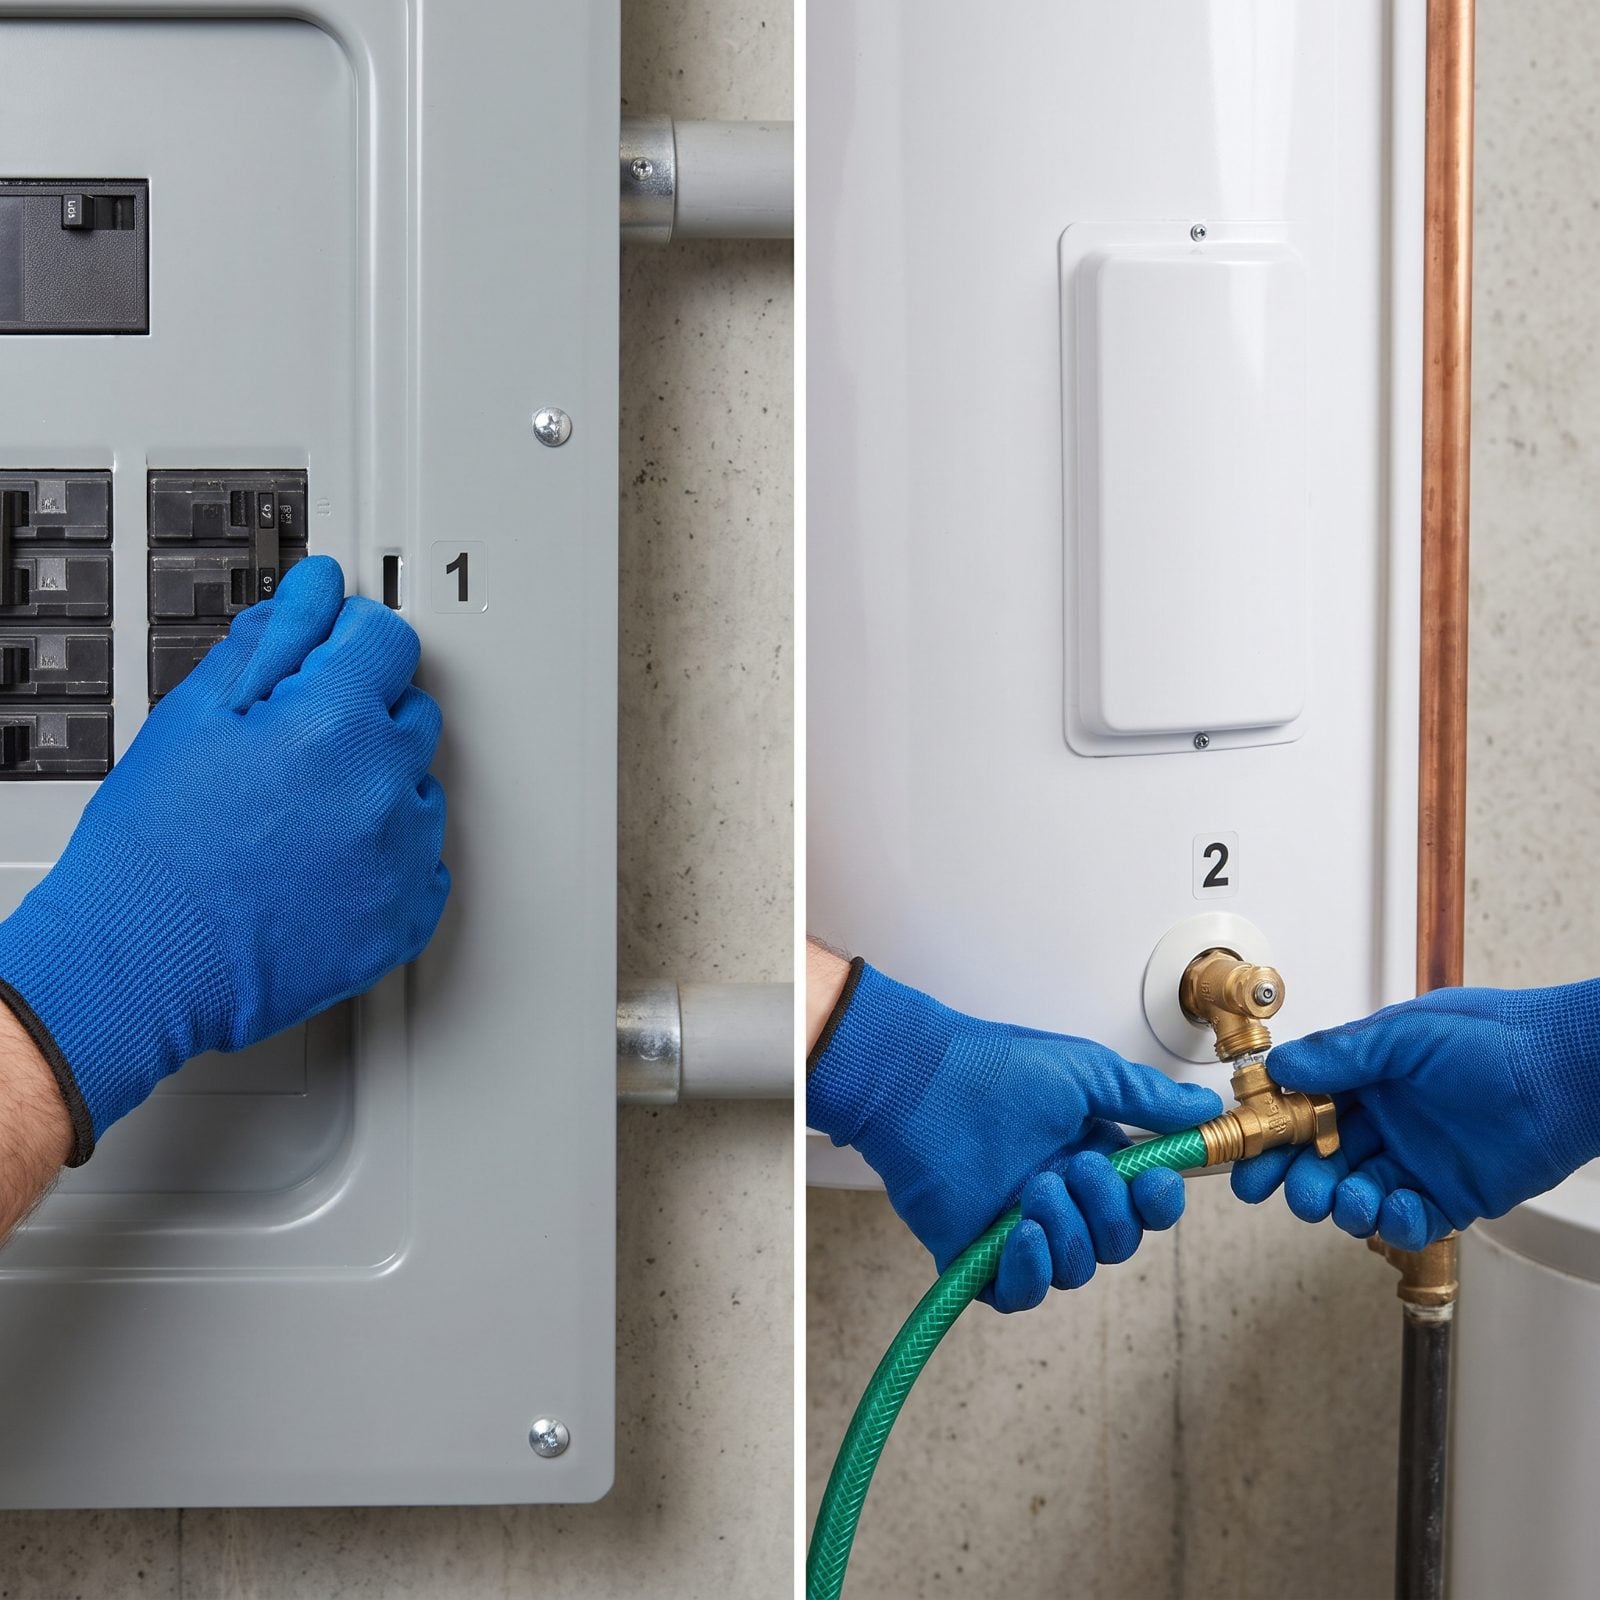
Order matters here, and getting it backwards wrecks the heater. Power first, water second. An electric element that fires with no water around it burns out in seconds. A gas unit left on can short-cycle and fail.
Flip the breaker for the water heater, or set a gas unit to pilot or off. Shut the cold-water inlet. Hook a hose to the drain valve at the bottom, run it to a floor drain or outside below the freeze line, then open the valve plus a hot tap upstairs so it drains clean instead of gurgling to a stop.
Here’s the part people skip: sediment settles in the bottom of that tank all year. A full drain flushes it out, so the heater runs quieter and lasts longer when you fire it back up in spring. Two jobs, one hose.
26. Disconnect and Drain the Water Pump
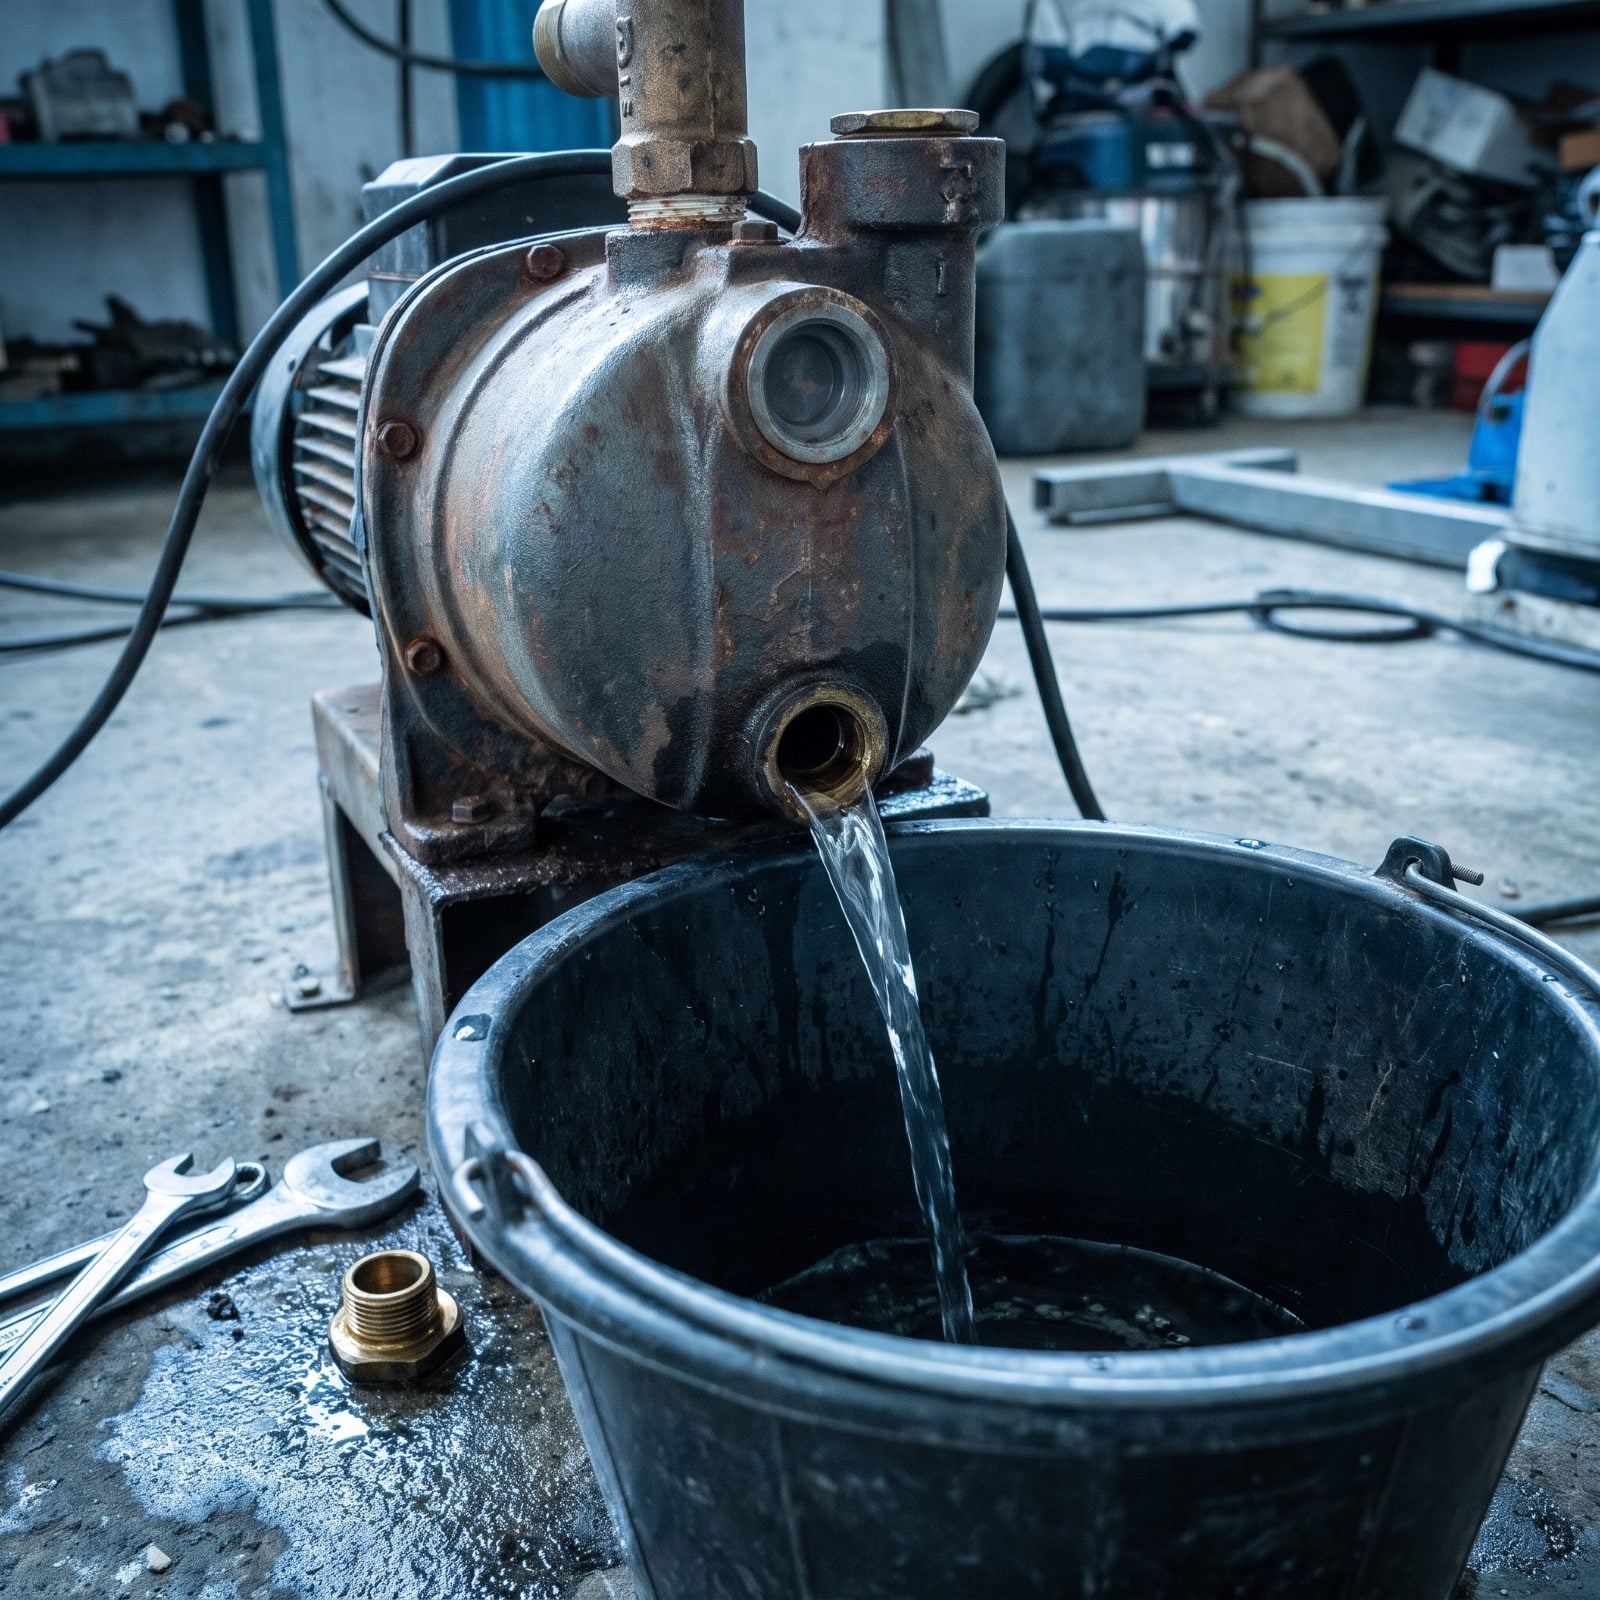
A jet pump holds water inside its housing, and that water freezes just as hard as the water in your pipes. A cracked pump casing isn’t a patch job. It’s a new pump, and a plumber’s visit to a remote cabin in the dead of winter.
Kill the power to the pump first — at the breaker, and by unplugging it if you can. Then find the drain plug on the pump body, open it, and let the housing empty into a bucket. Open any bleed or prime port too, so air gets in and it drains fully. Leave the plug out or loose for the season so condensation can’t pool and refreeze.
25. Drain the Water Pressure Tank
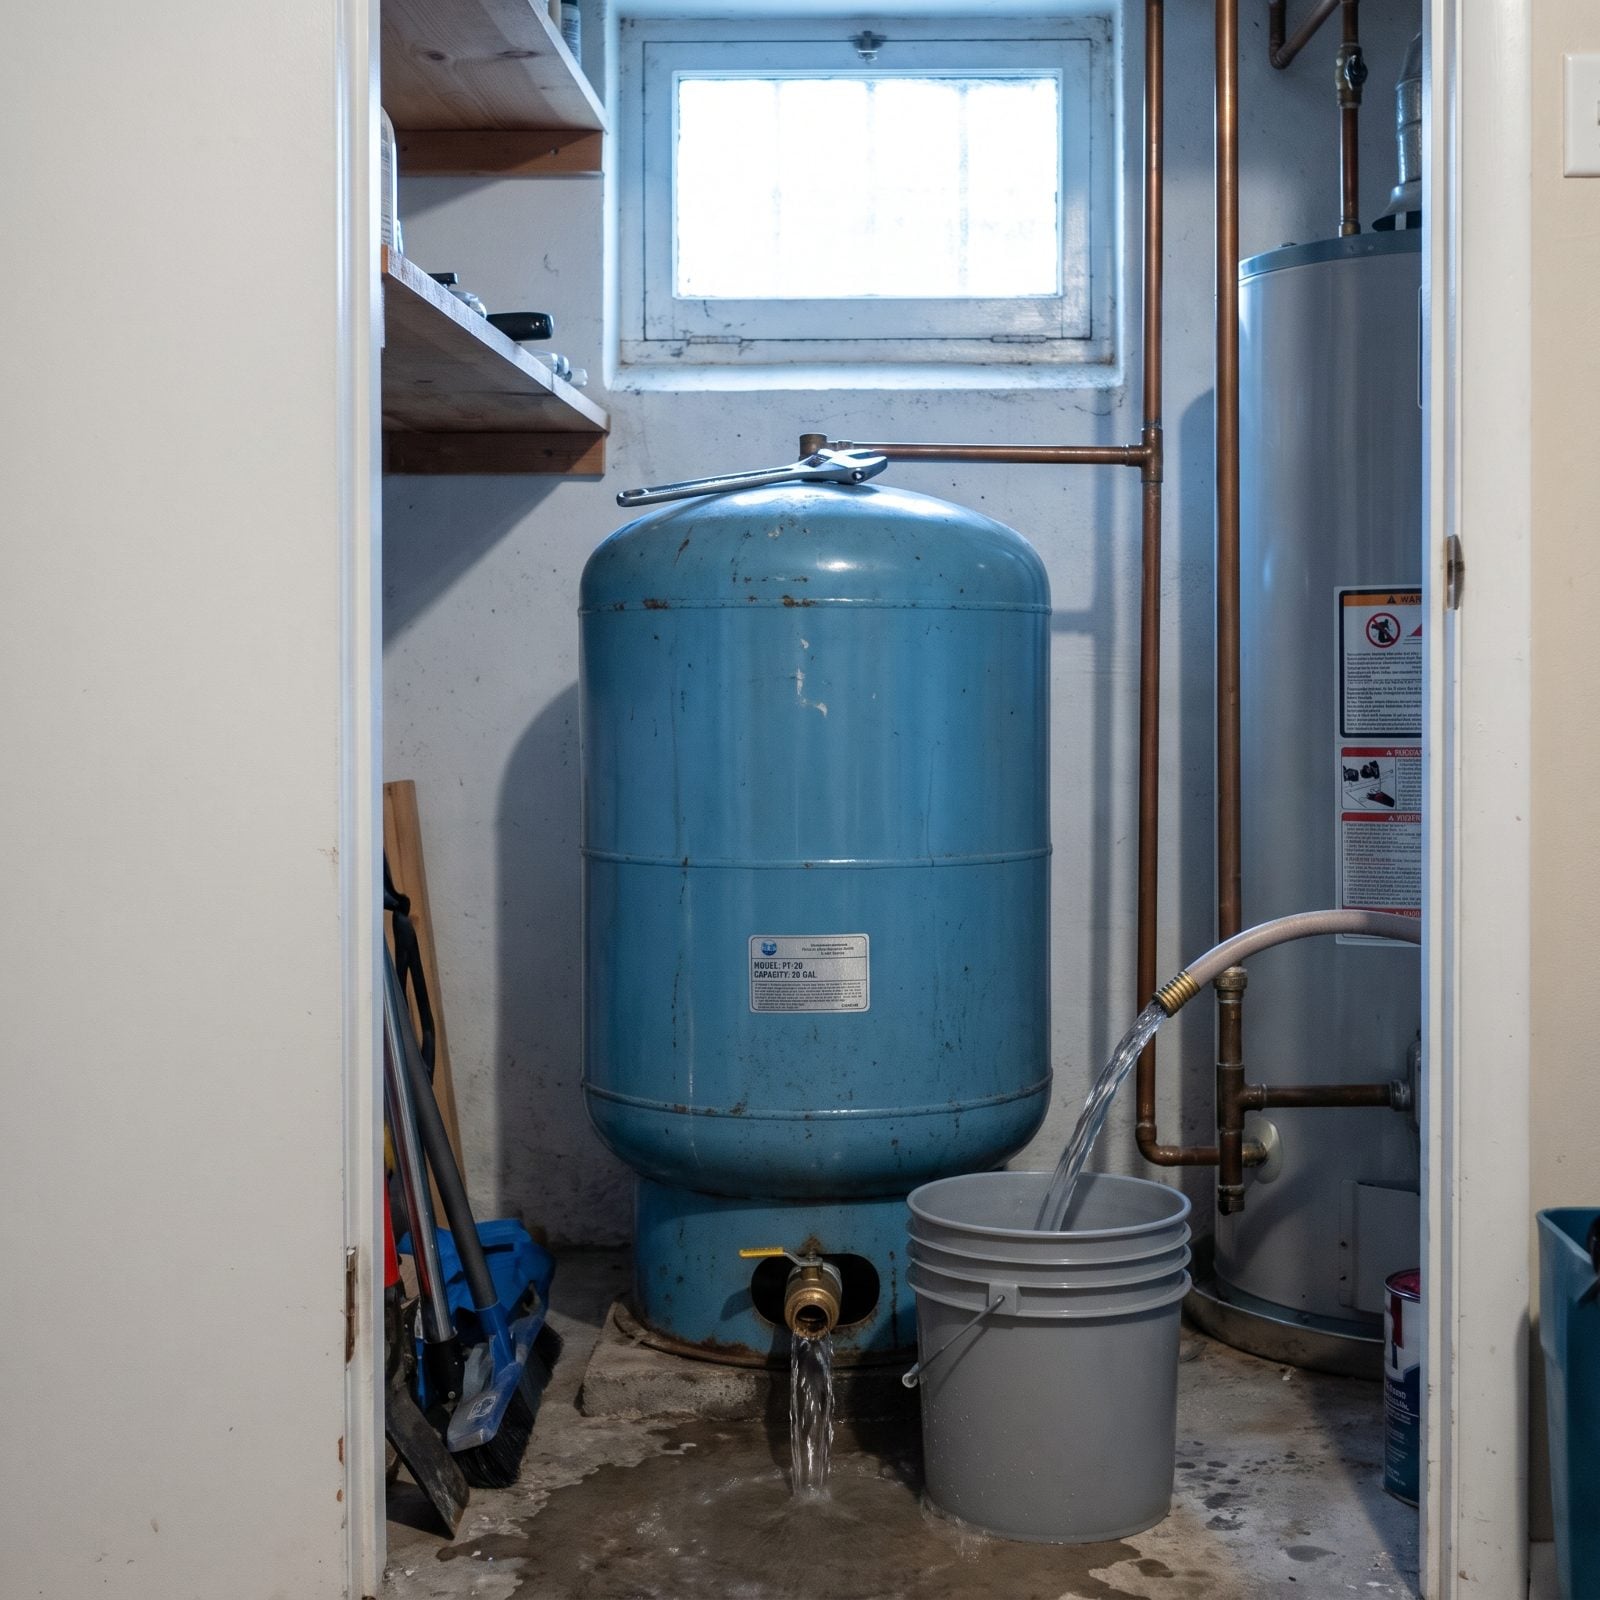
The pressure tank is the last water hiding in your system, and it’s the one most people forget. It holds several gallons under air pressure, and a frozen tank bulges, splits at the seam, or ruins the internal bladder.
With the pump off and the main shut, open the drain valve on the side of the tank and let it pour out onto the floor — have a mop ready for the puddle. Open a faucet somewhere in the house too — that breaks the vacuum so it empties fully instead of holding a slug of water at the bottom. Let it run until nothing but air comes through.
Once it’s empty, walk the system one more time. Any low spot, trap, or dead-leg line can hold just enough water to freeze. Blow the lines out with compressed air, or pour RV antifreeze into the traps if you want to be sure. Nobody ever regretted being thorough in November.
24. Open Every Faucet and Shower Valve

Don’t rush this one, because this is the one everybody half-does. You flick the kitchen tap, call it good, and forget the hall bath, the basement slop sink, the shower nobody’s used since July. Water trapped in a closed line has nowhere to go when it freezes, and a cracked pipe behind the wall is the sort of thing you don’t find until spring thaw, usually by the sound of something running where it shouldn’t.
So open every hot and cold handle in the place. Tub spouts, shower valves, the bar sink, all of them. Leaving them wide lets the system breathe while you drain it, and gives any trapped water a path out as it expands.
23. Drain Plumbing Low-Point Valves
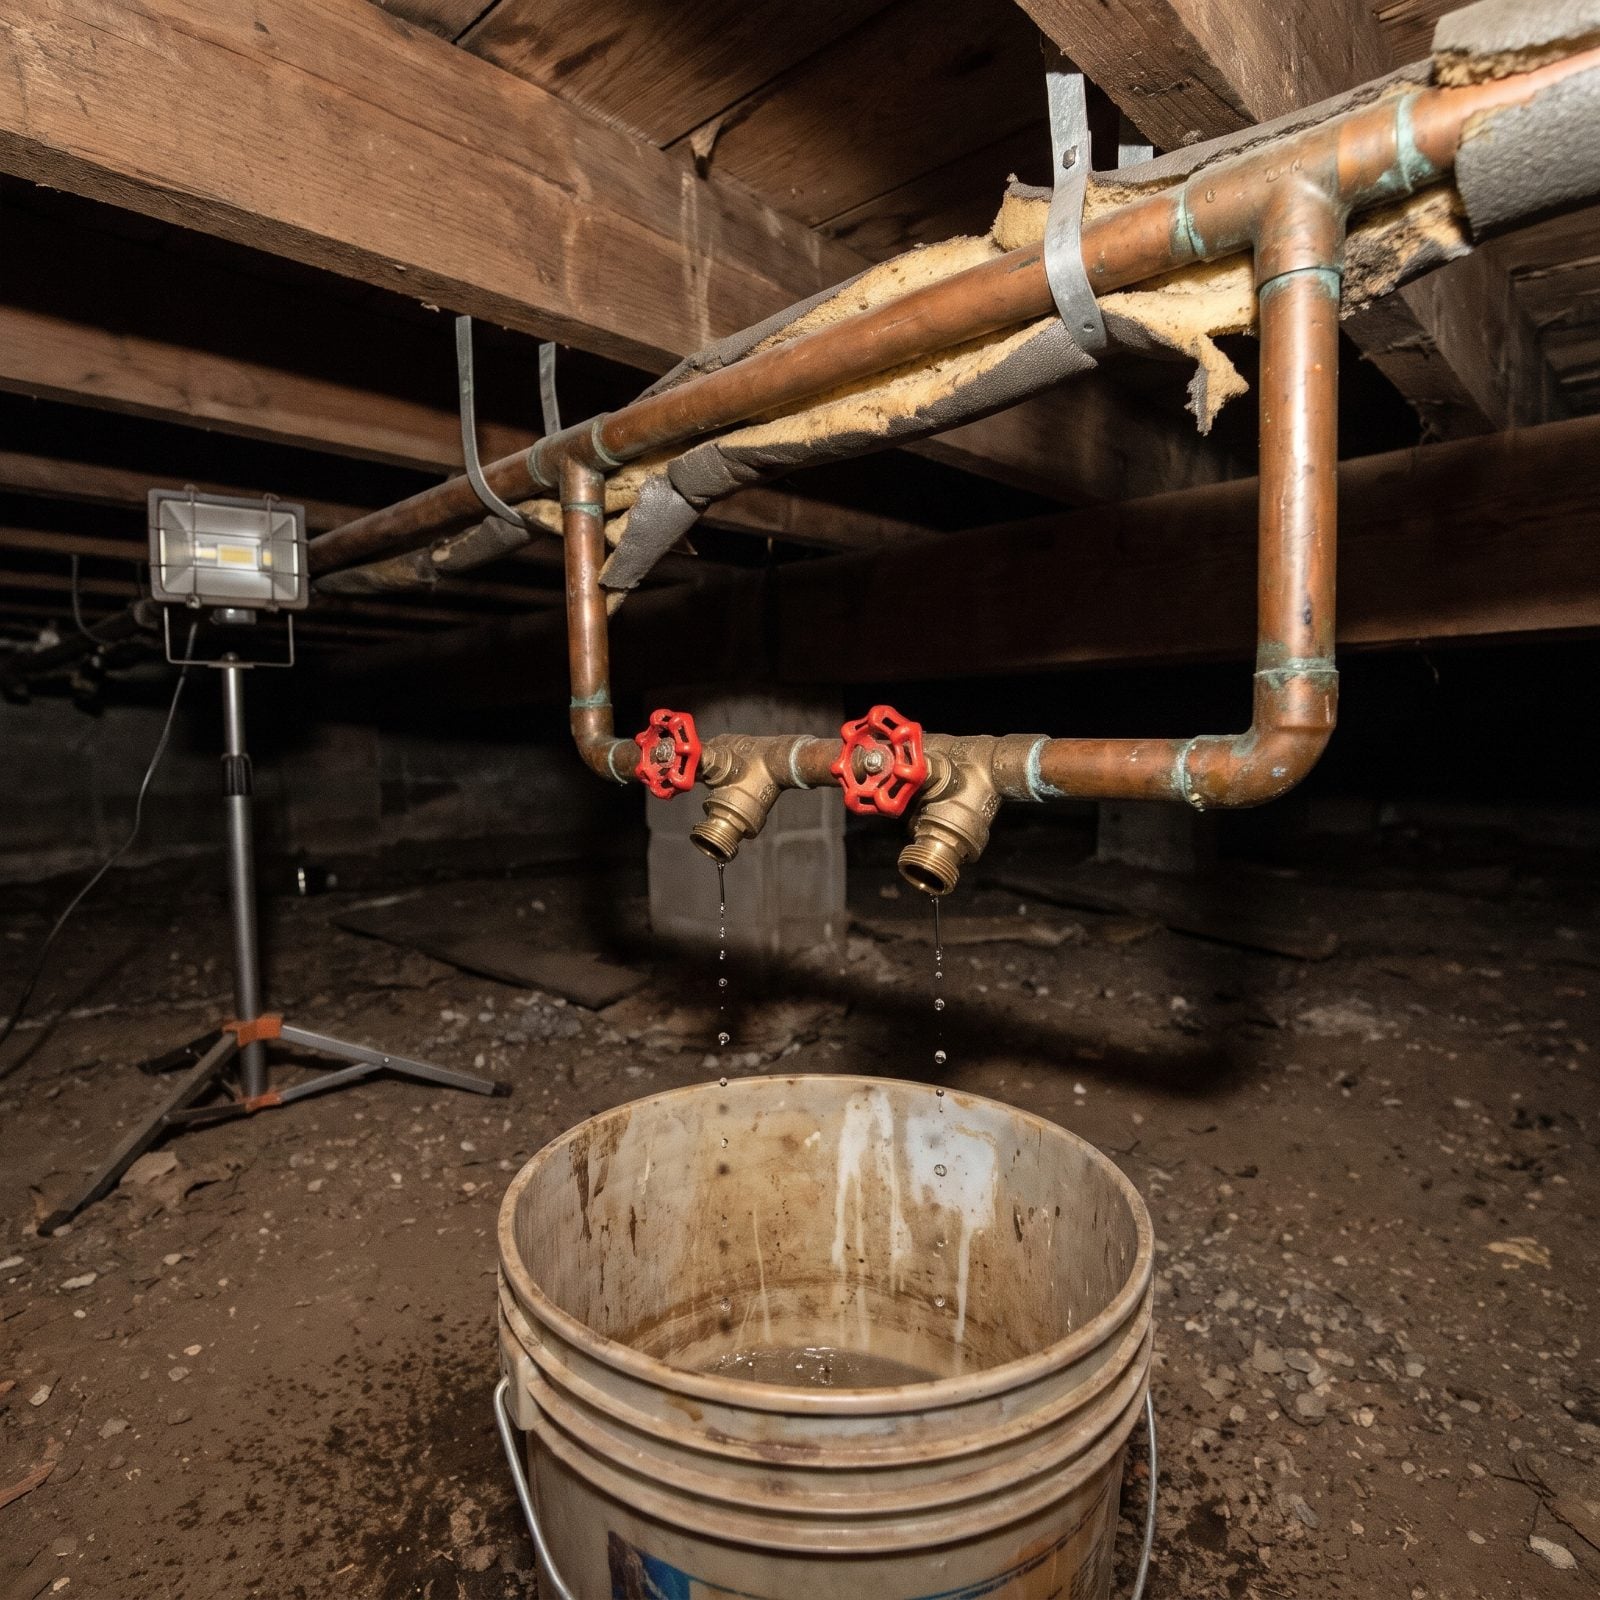
Every well-planned plumbing system has them, usually a pair: two valves side by side on the bottom run of a copper loop, often near the pressure tank or wherever the supply line dips down before climbing back up toward the fixtures. That’s where water pools once everything else has drained off by gravity.
Shut off the main first. Then open these two with a bucket underneath. You want to watch a real flow, then a trickle, then nothing. A valve that hasn’t been touched in a few seasons may weep or stick, so work it gently and plan to swap it before next summer if it won’t seat clean.
Quick test: once the flow stops, open an upstairs faucet. Hear a gulp of air and a little more water drains below? Gravity’s doing its job.
22. Blow Out Remaining Supply Lines
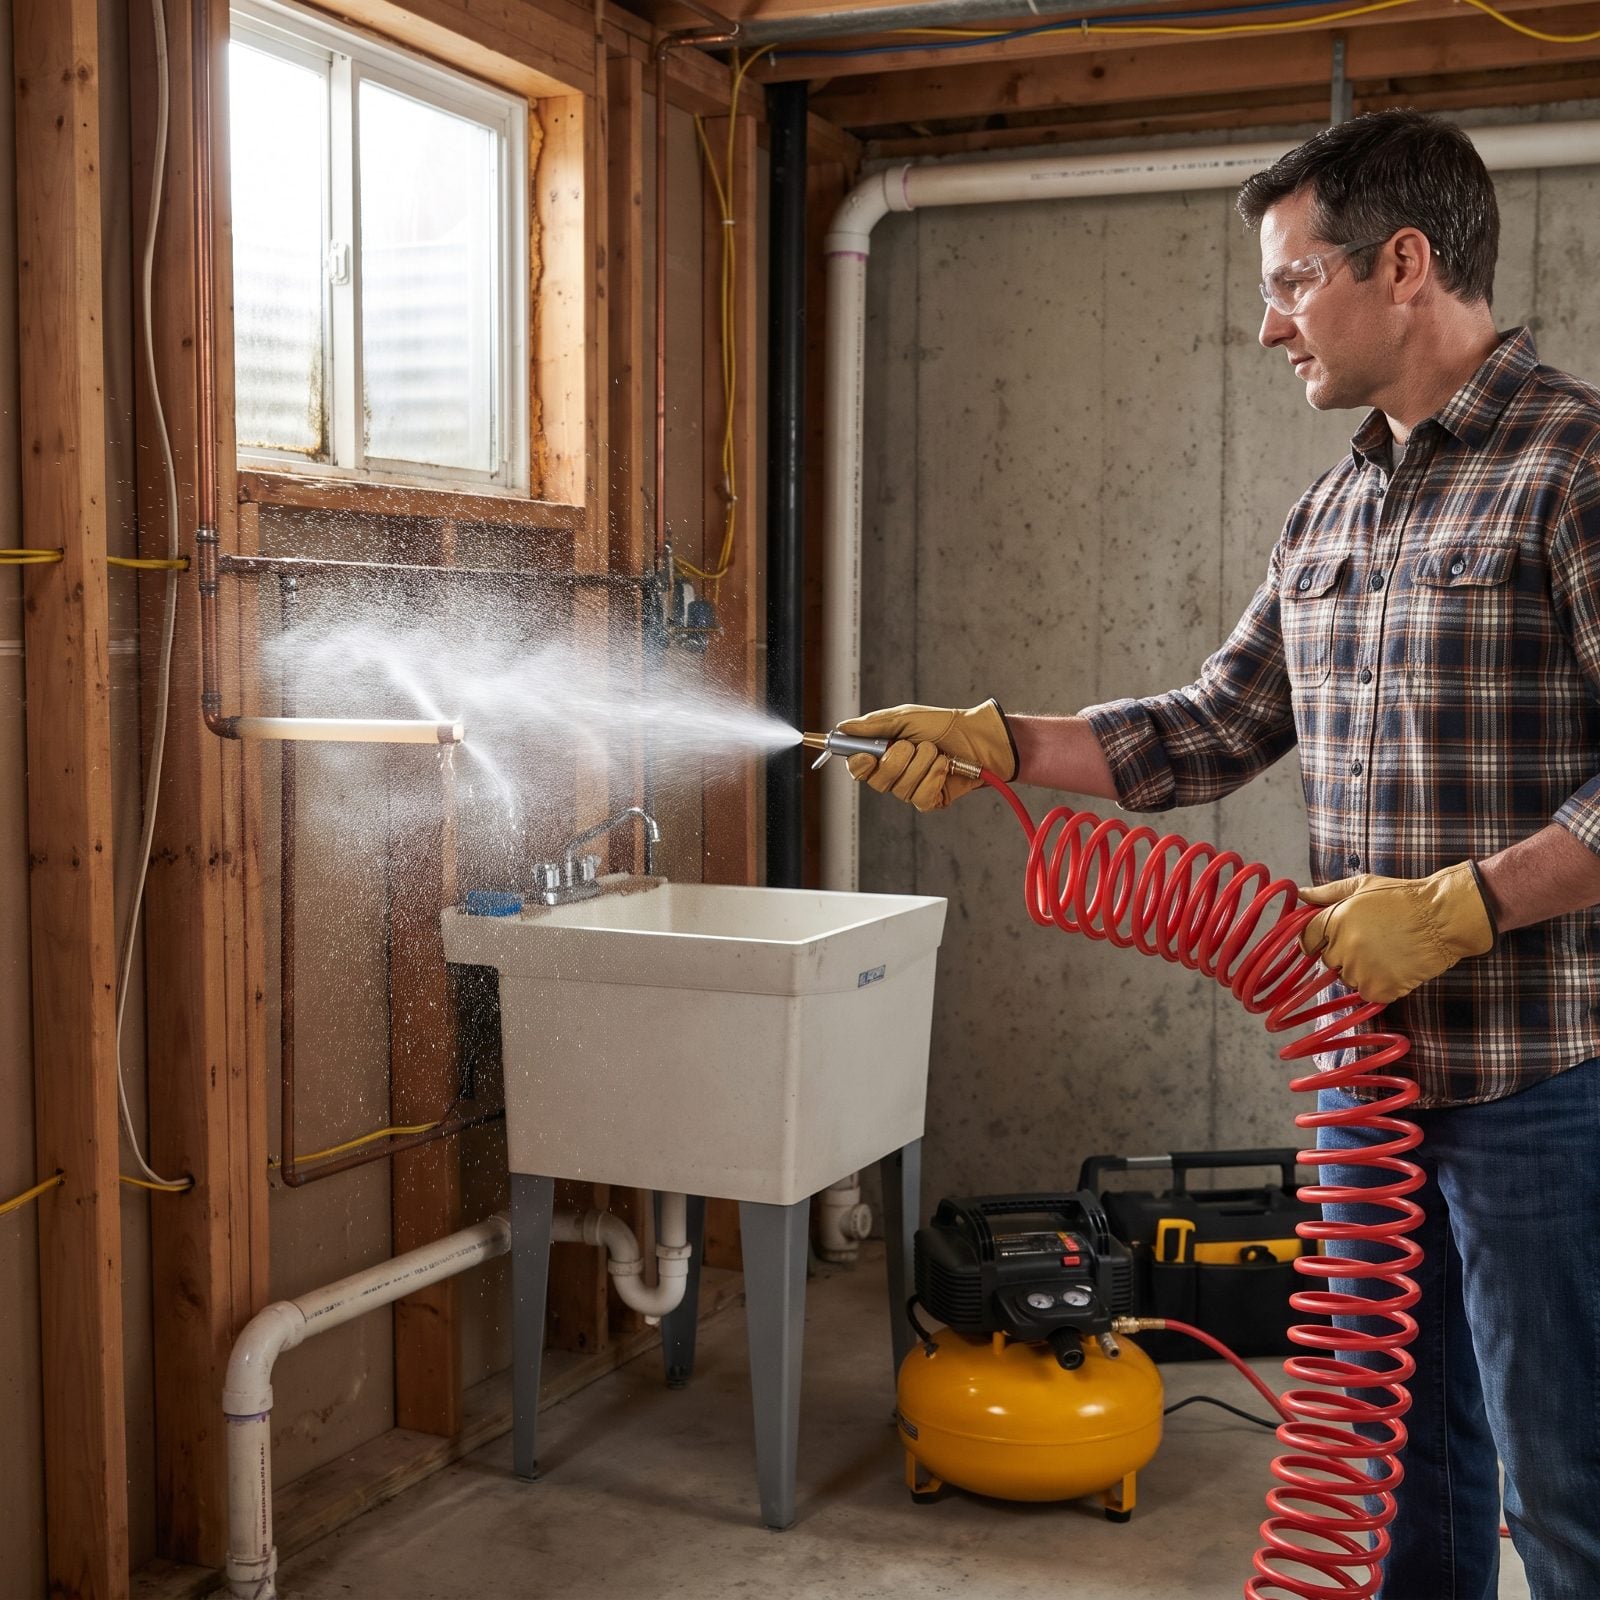
Gravity only gets you so far. Horizontal runs and little sags in the line hold water that’ll sit there all winter and freeze. A small compressor pushes that water out for good.
Here’s the part that costs people money: pressure. Set the regulator somewhere around 40 to 50 PSI, never more. Crank it to 100 and you’ll blow a joint or launch a cheap fitting across the room. Run a coiled air hose from the compressor to a handheld blow gun, aim the nozzle at the open end of a pipe stub, work one line at a time starting farthest from the compressor, and keep the air going until the spray sputters and goes dry.
Work the fixtures in order, hot and cold, and save the shower and tub for last.
21. Add RV Antifreeze to Drain Traps
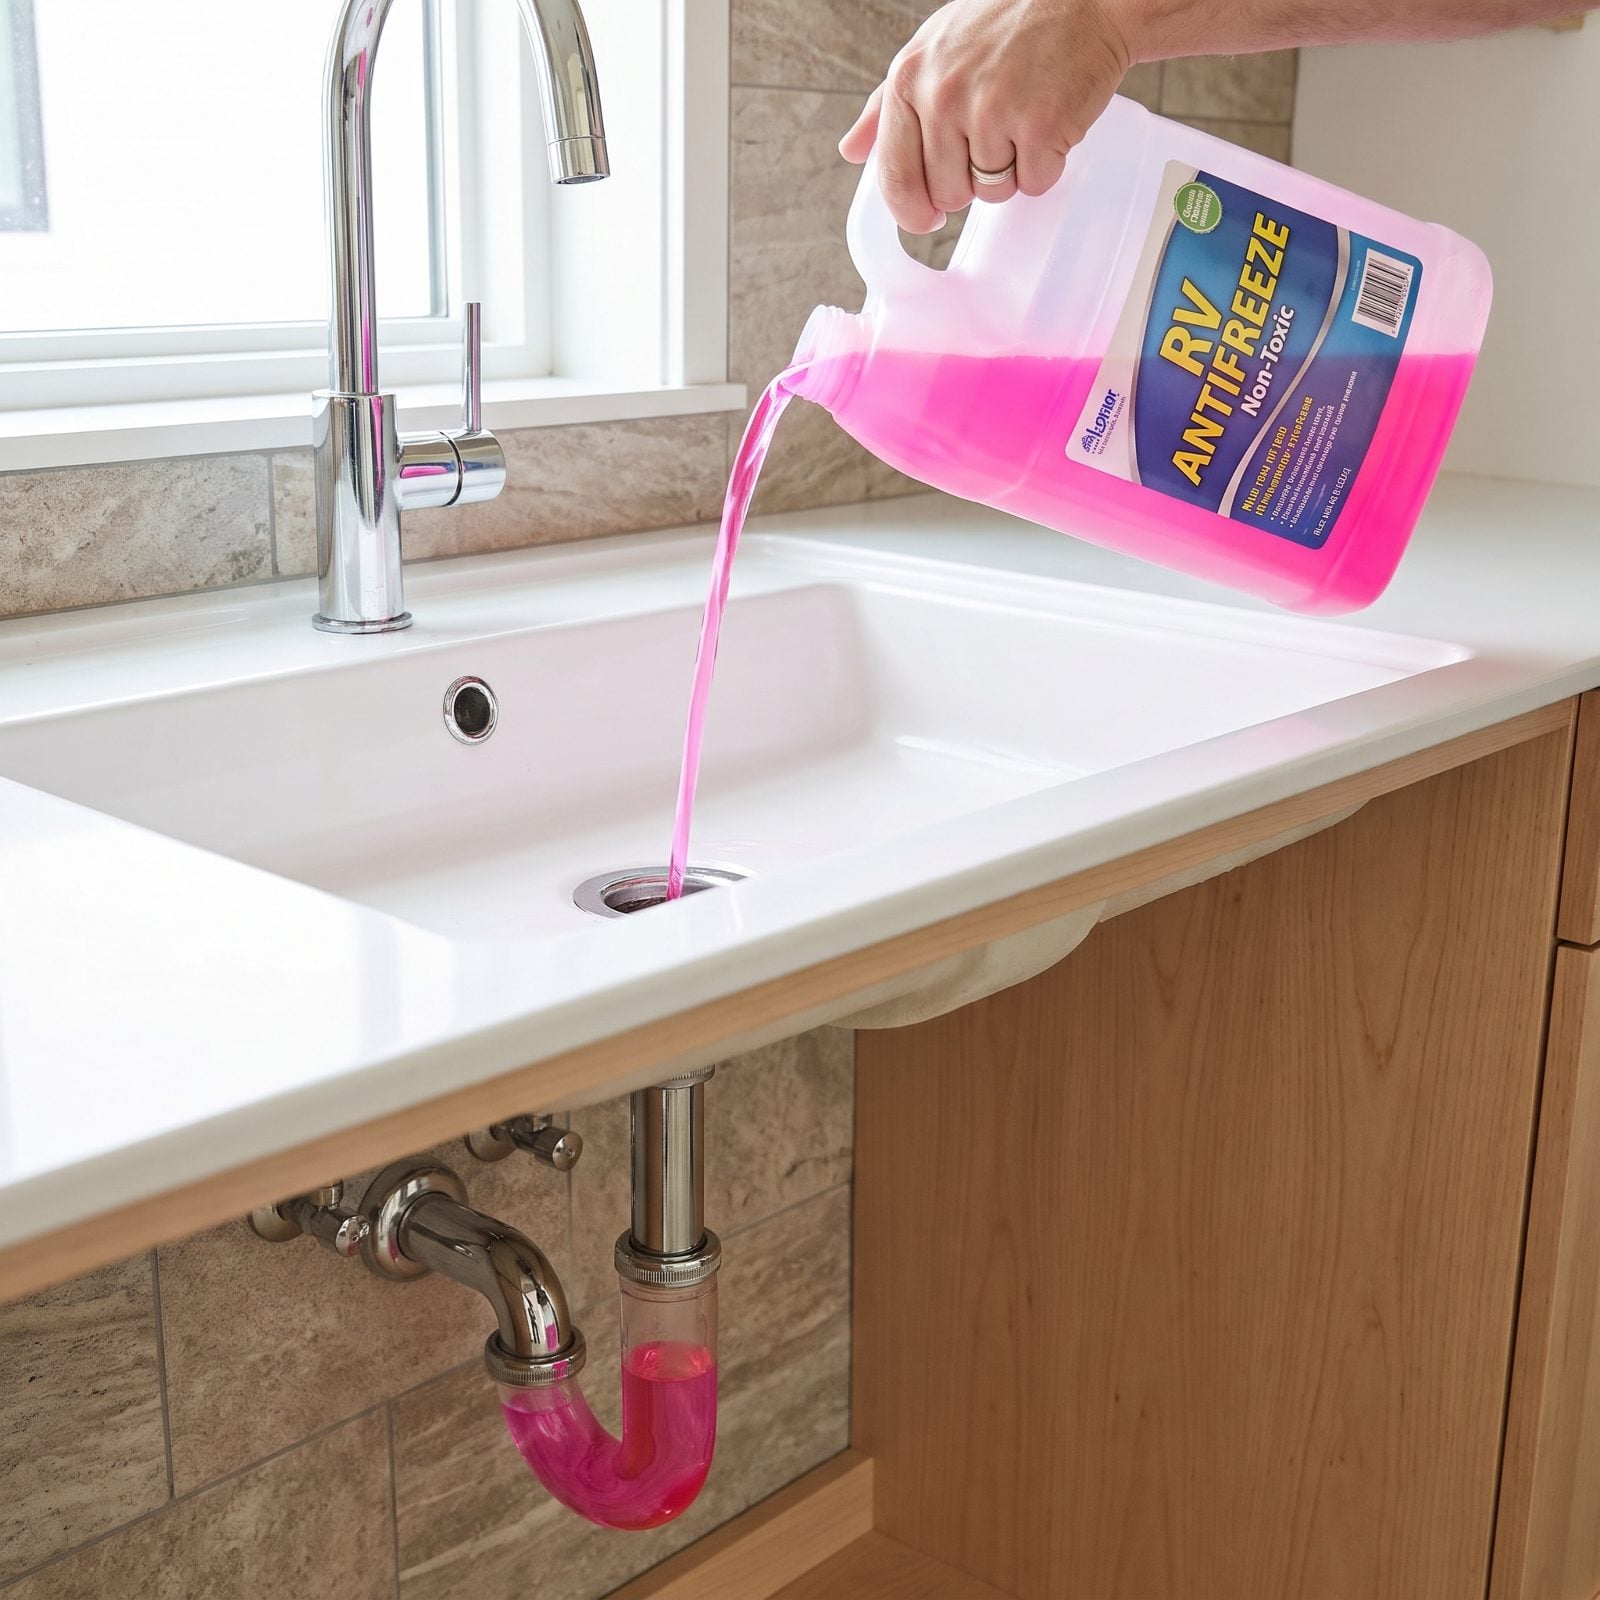
You drained the supply lines. But every sink, tub, and floor drain has a P-trap, that U-bend that holds water on purpose to block sewer gas, and blowing out the lines doesn’t touch it. That standing water freezes, cracks the trap, and now you’ve bought yourself a plumbing bill and a smell.
Pour a cup or so of pink RV antifreeze down each drain until you see the pink run through the trap and on down the drain. Use the plumbing-safe kind, not the automotive green stuff, which is flat-out toxic. It drops the freeze point of whatever’s left and keeps the trap whole.
Hit the ones you’ll never think of: the shower floor drain, the basement floor drain, the washing-machine standpipe. Those are the quiet ones that split on you.
20. Winterize Toilet Tanks and Bowls
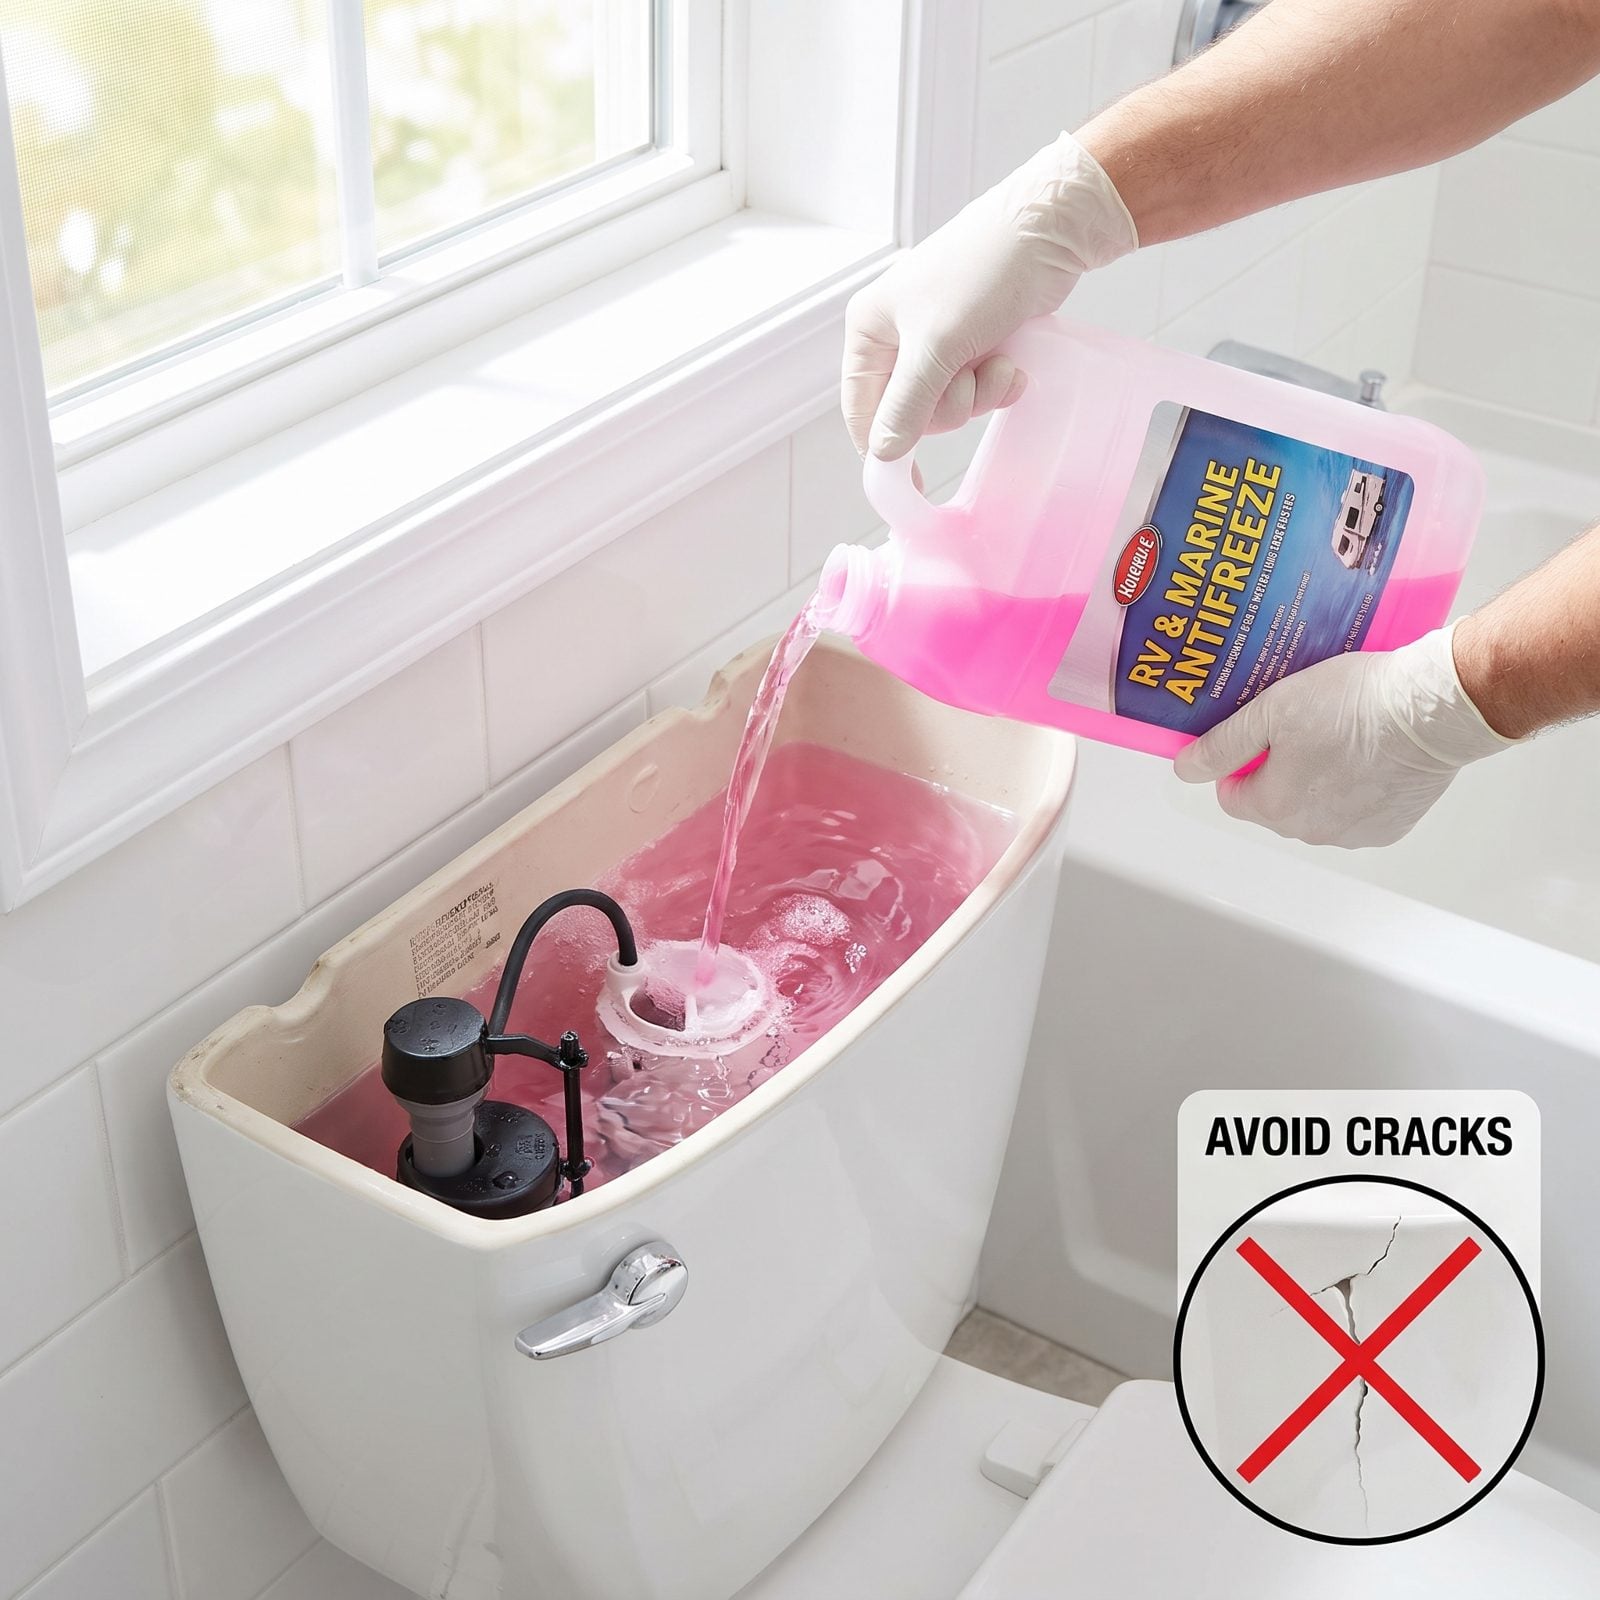
A toilet is really just a trap with two reservoirs, and both will crack if you ignore them. The tank and the bowl each hold enough water to split porcelain, and a new toilet plus install is no cheap spring surprise.
Shut the supply valve, then pour pink RV antifreeze into whatever water remains in the tank after flushing until it turns clearly pink. Pour more into the bowl until color shows in the trap at the base. The bowl’s own trap runs deep, so be generous.
The cracked cabin toilet is almost always one someone forgot to treat. The antifreeze only protects the standing water if you mix in enough of it.
Don’t skimp on the pour. A faint pink tint means the mix is too weak, so keep adding antifreeze until the tank water is solidly colored.
19. Drain Frost-Free Outdoor Faucets
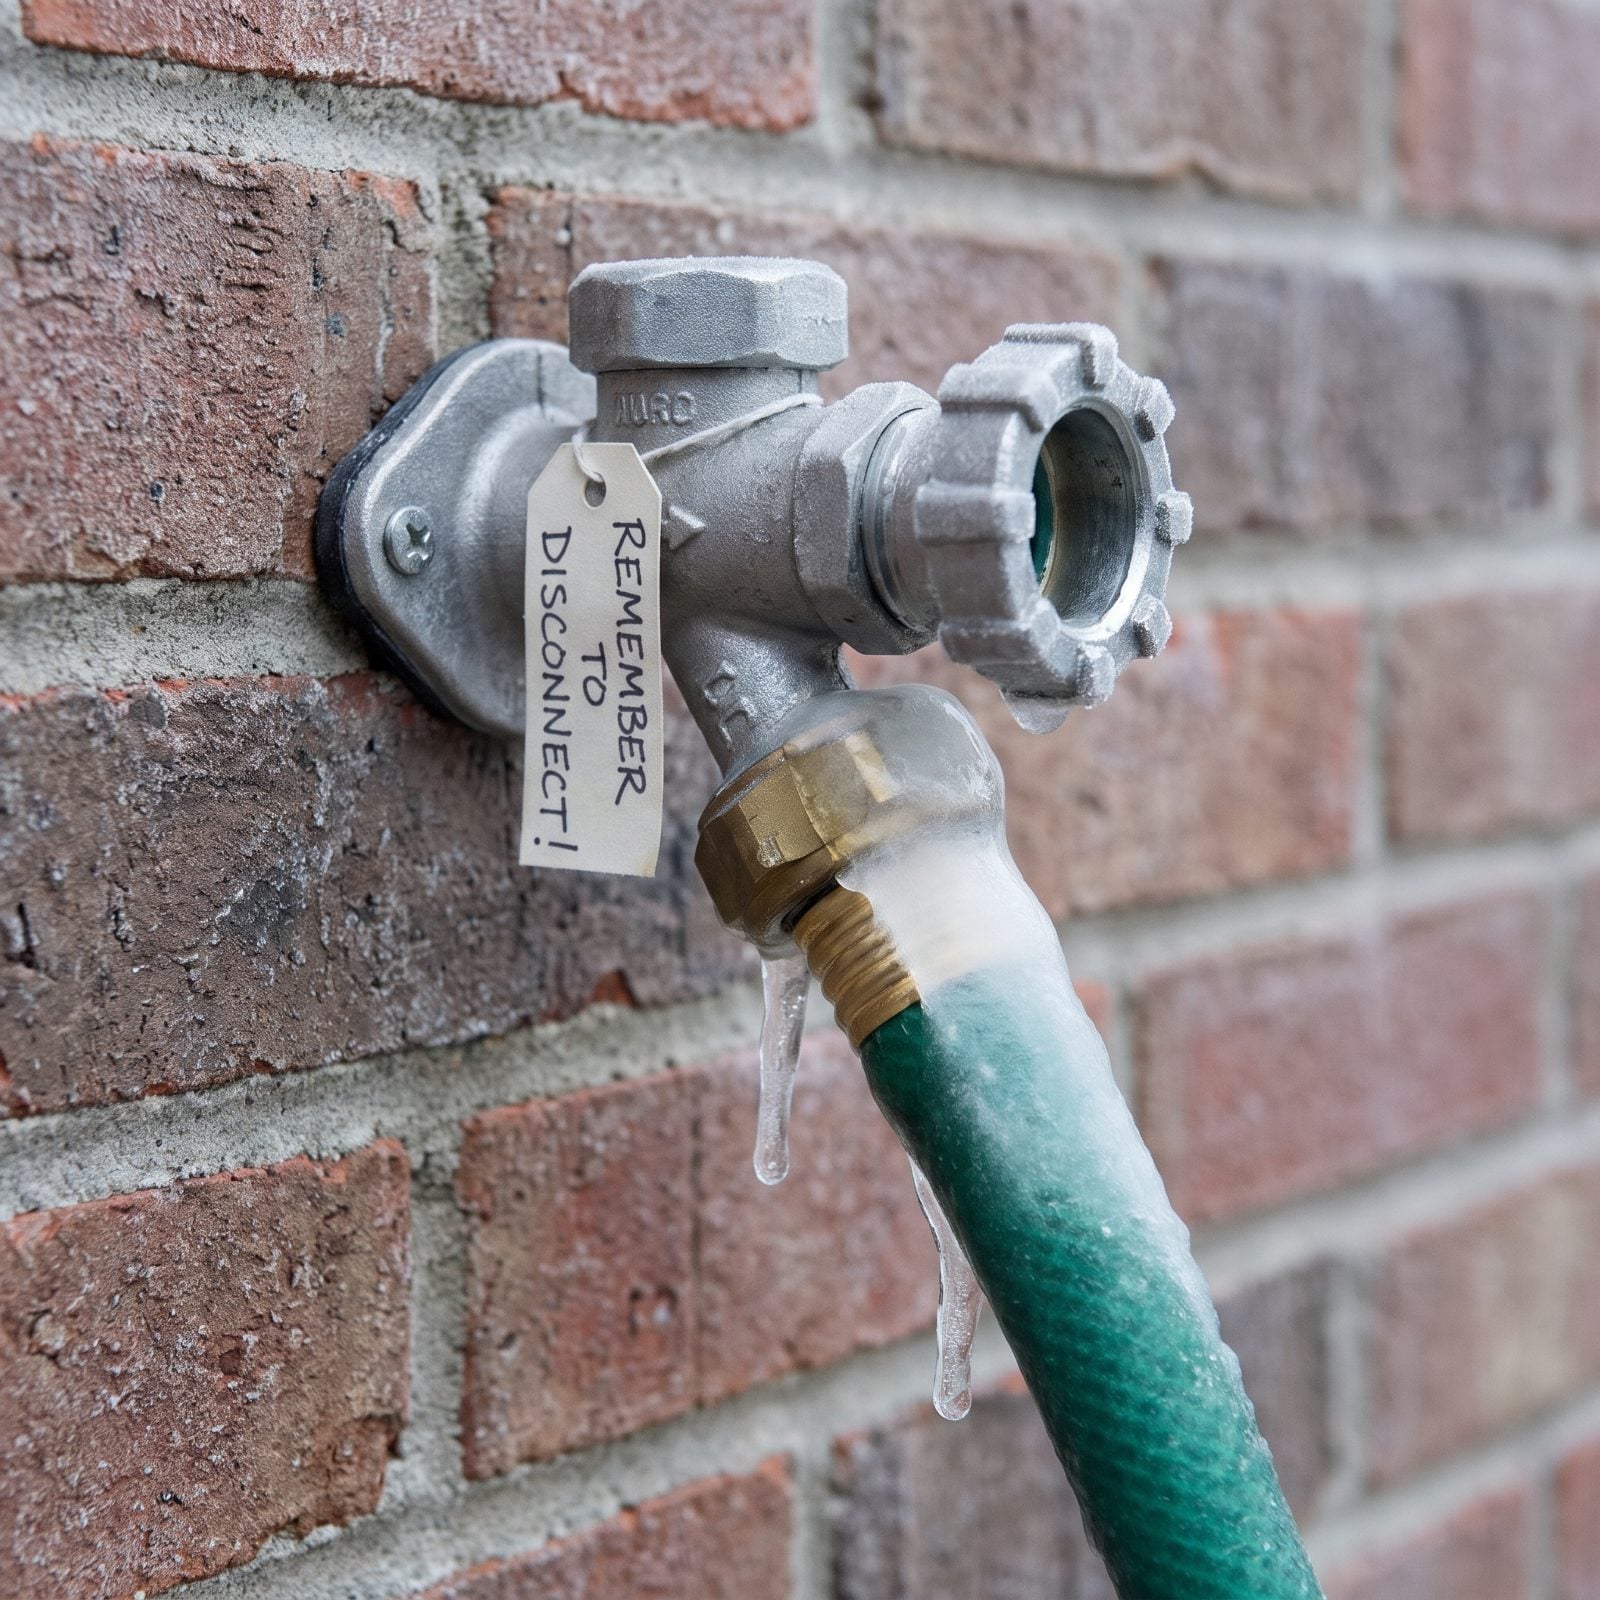
Frost-free sillcocks fool people into thinking they handle themselves. They don’t, not with a hose still attached. The whole design leans on the shutoff sitting back inside the warm wall while the water drains out the spout. Leave a hose connected and that water can’t escape, so it backs up into the stretch buried in the wall and freezes there, where you won’t notice until it floods.
Disconnect every hose. Open the faucet, let it drain, then leave it open for the season. Drain and coil the hoses themselves and store them off the ground so they don’t fill with ice and crack.
18. Drain Dishwasher Supply Lines and Pump
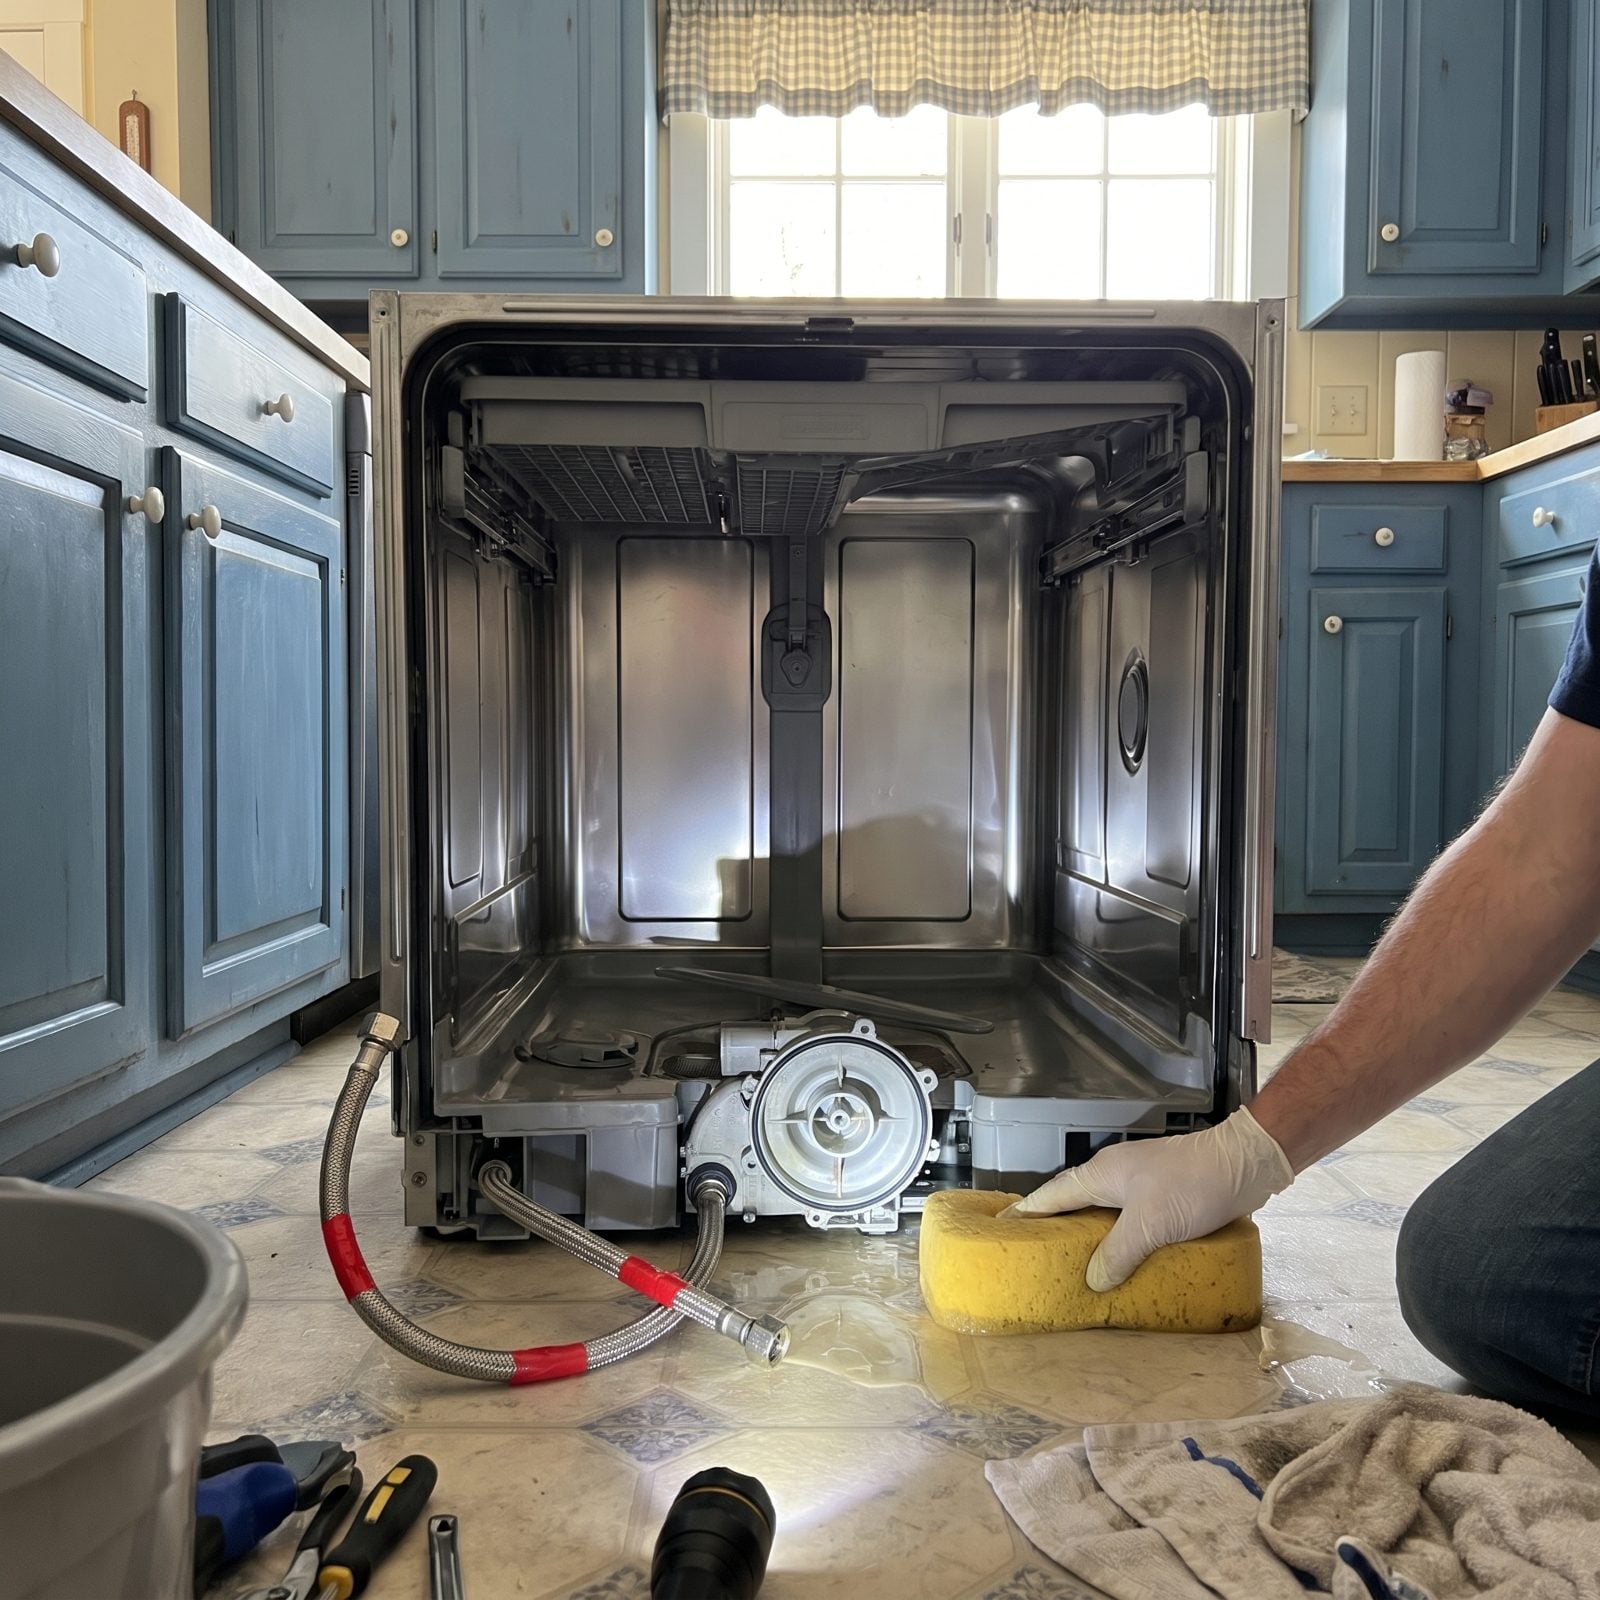
The dishwasher is the appliance everyone forgets, and it hides water in three places: the supply line, the inlet valve, and the little sump at the bottom of the tub. Any one of them can freeze and crack a plastic housing or split the valve.
Shut off and disconnect the supply line under the sink, then run the machine through a short cycle so it empties what it can. Open it up and sponge the sump dry. Pour a cup of pink RV antifreeze into the bottom and run it through a few seconds of a cycle so it coats the pump and valve.
I learned this one the expensive way. A hairline crack in a dishwasher inlet valve doesn’t announce itself. It just drips quietly into the floor the day you turn the water back on.
17. Drain Washing-Machine Hoses and Pump
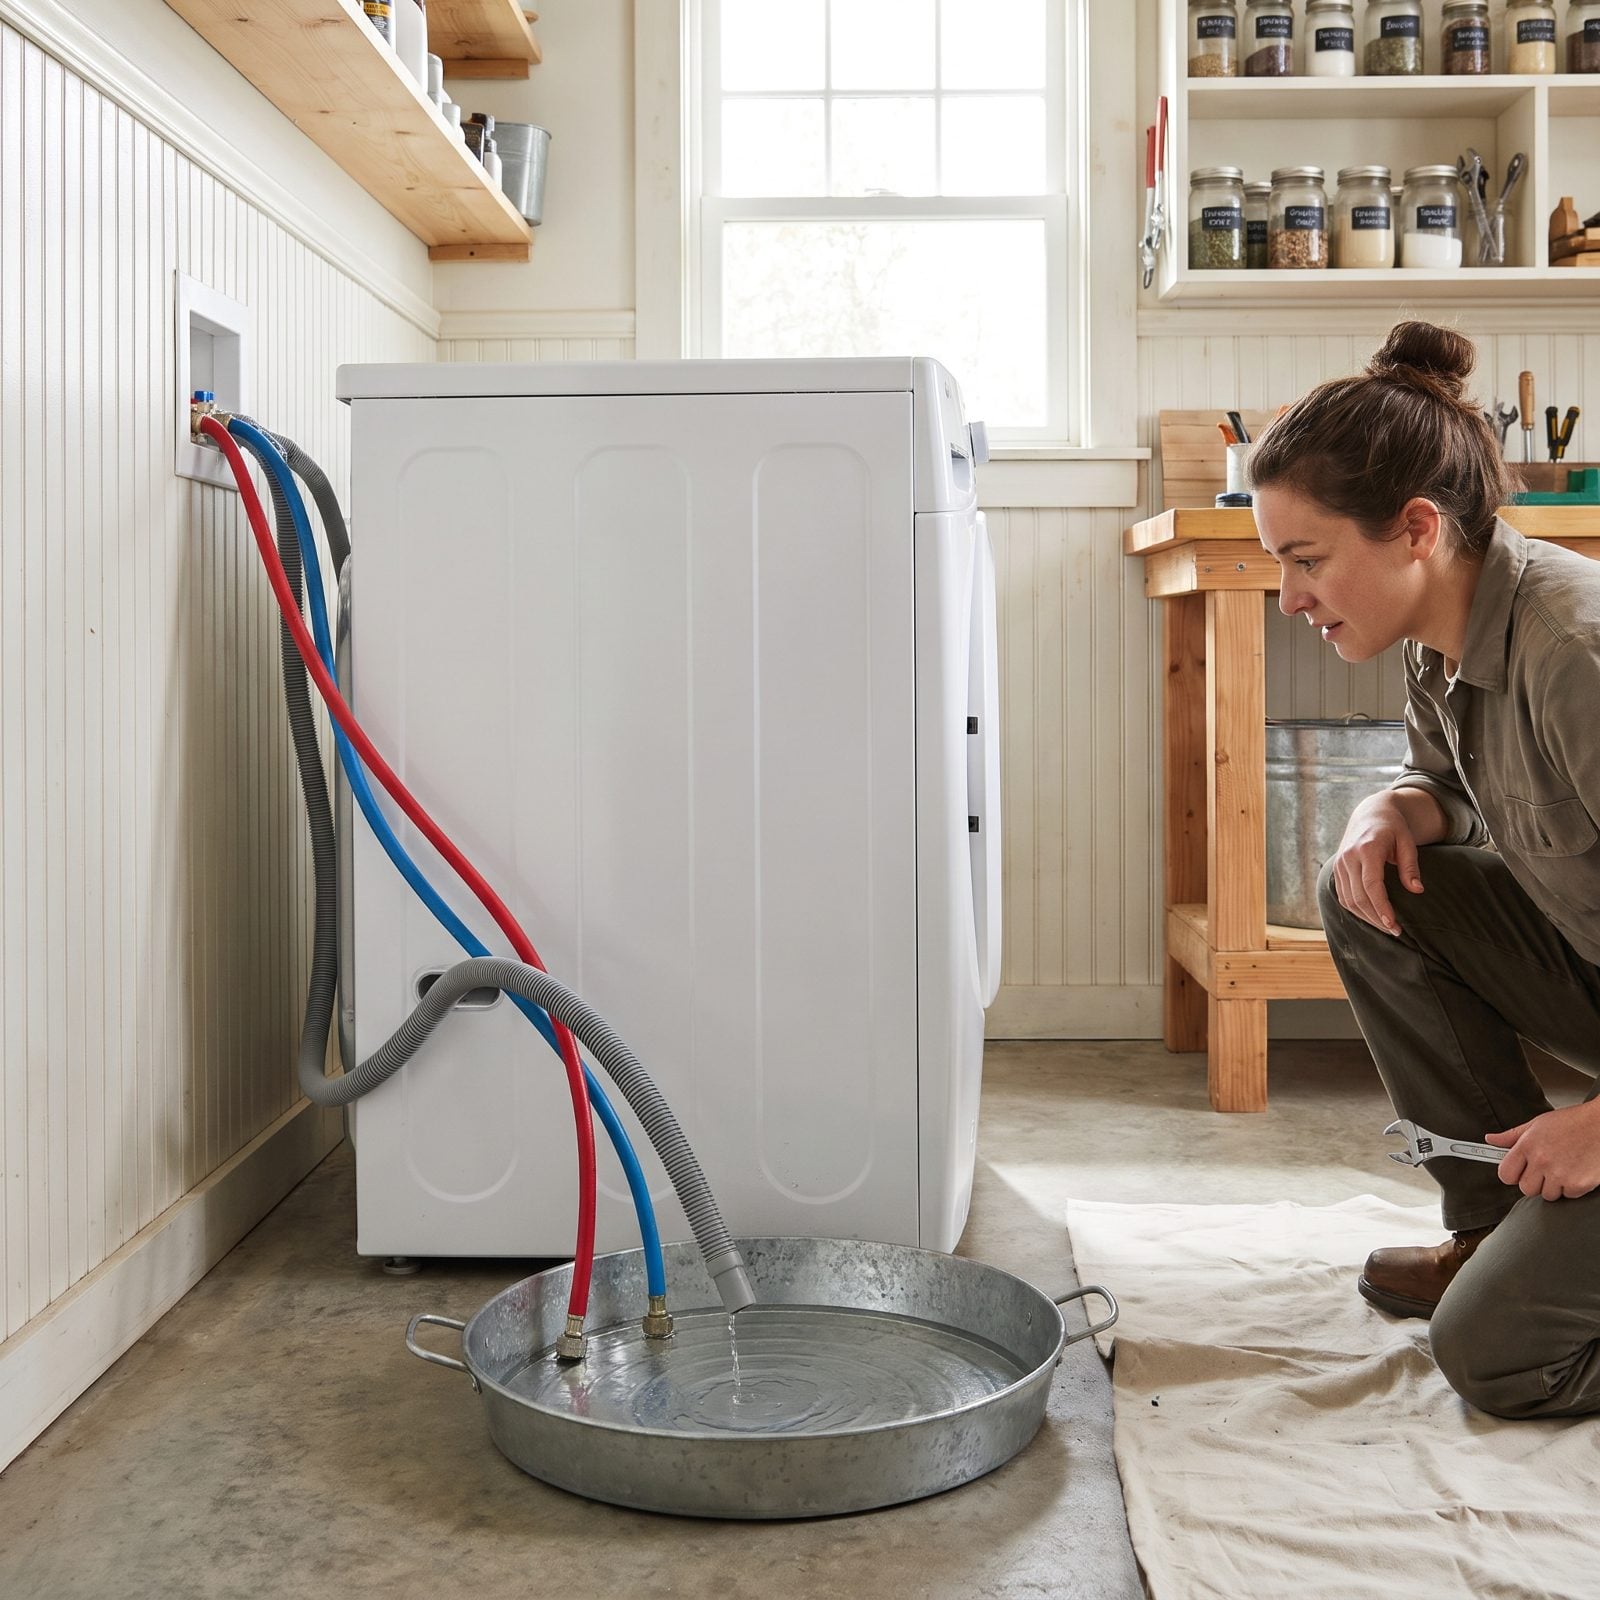
Two fill hoses, a drain hose, and an internal pump, every one of them holding water. Burst a fill hose in a hard freeze and you’ve got a flood risk the moment pressure comes back in spring.
Turn off both hot and cold supply valves. Unscrew the fill hoses from the back of the machine and let them drain into a bucket. Then run a rinse-and-spin on an empty load to clear the pump, pour a cup of pink RV antifreeze into the drum, and run another short spin so it pumps through the lines.
Leave the hoses disconnected and store them inside so the rubber doesn’t stiffen and crack.
16. Disconnect the Refrigerator Ice-Maker Line
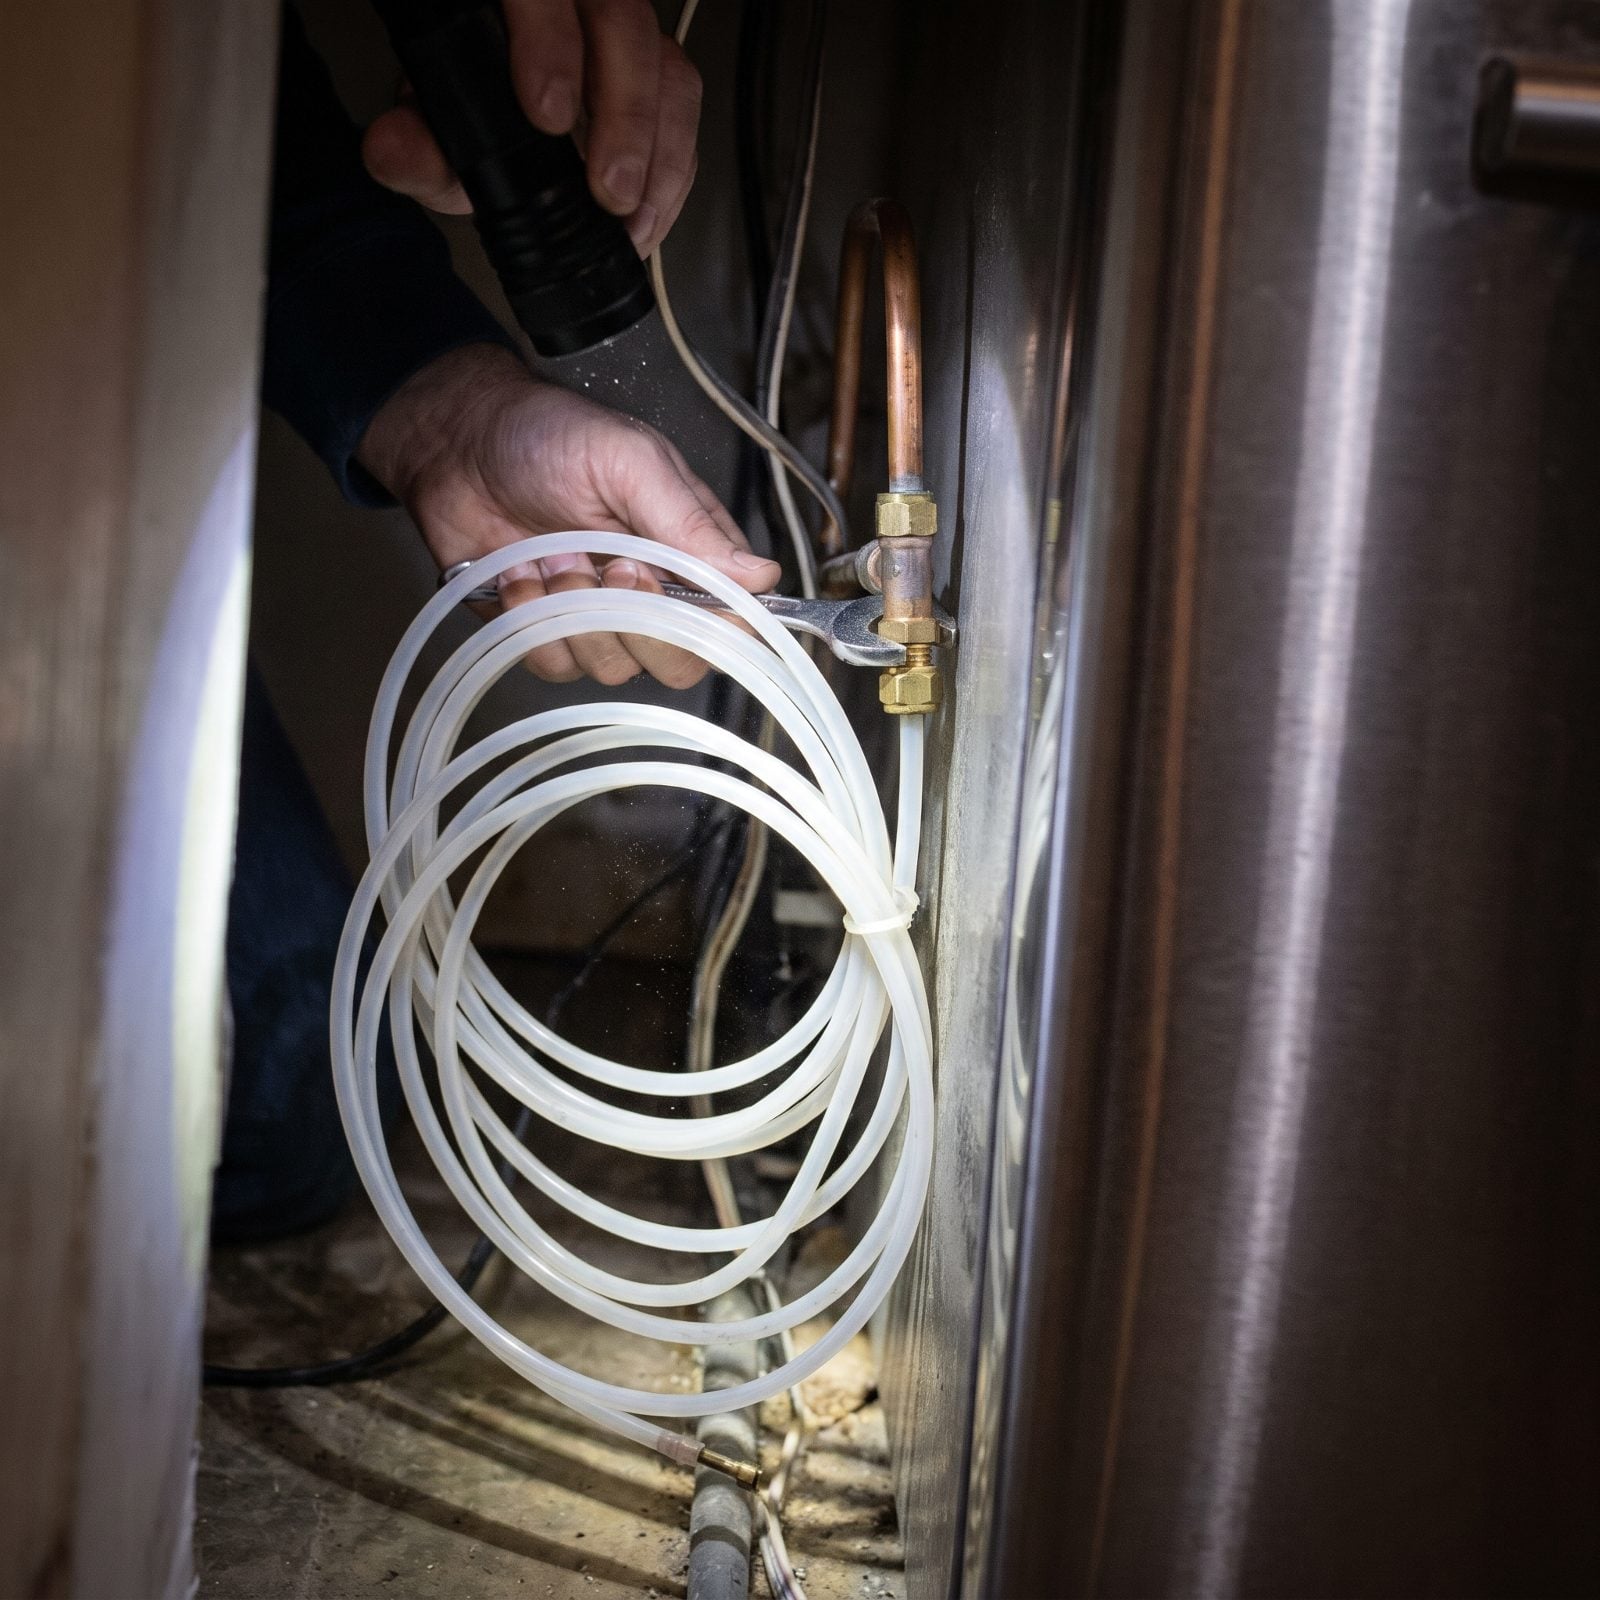
That skinny quarter-inch line feeding the ice maker is the sneakiest freeze point in the whole kitchen. Small, often run through an outside wall or an unheated cabinet, and it freezes fast. When it splits, it drips behind the fridge where you won’t spot it for months.
Shut the saddle valve or supply shutoff, disconnect the line, and blow or drain it clear. Empty the ice bin, switch the ice maker off, and prop the freezer door open a crack so it airs out instead of growing a science experiment.
While you’re back there, unplug the fridge for the season. No sense running a compressor in an empty cabin, and a stray mouse chewing a cord behind a live appliance is a fire I’d rather not sit around imagining.
15. Empty All Water-Filter Housings
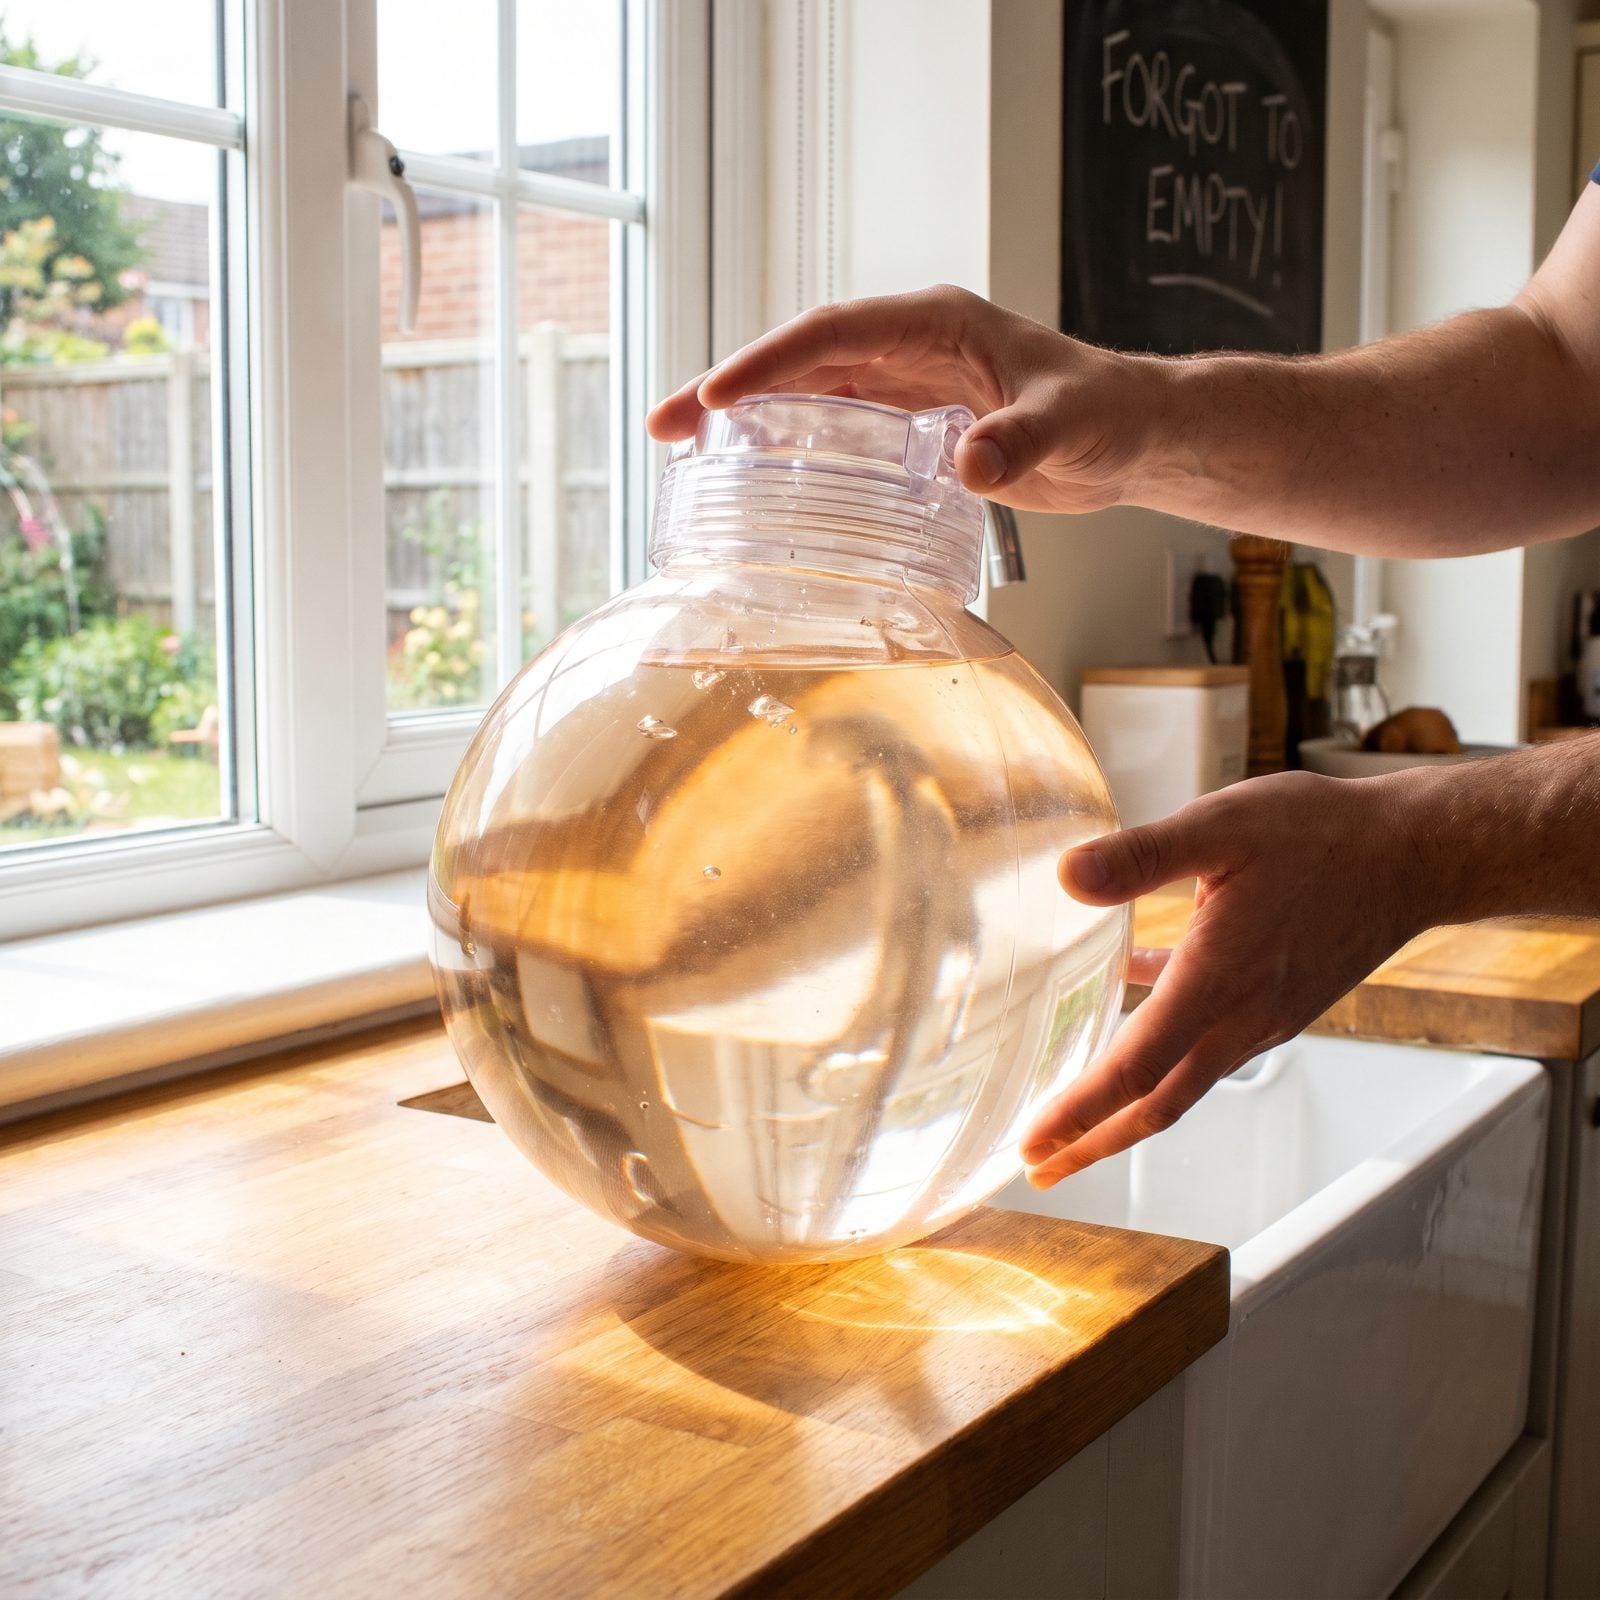
Filter housings are water balloons you forgot you own. Each canister holds a cup or two, and the clear plastic ones crack at the slightest provocation once that water freezes. A split sump flooding your kitchen counter is a sorry thing to come home to.
Set a bucket under each housing and unscrew the sump, using the housing wrench if it’s stuck. Dump the water, pull the cartridge if it’s old, and either leave the empty sump off or reinstall it dry and loose, never torqued down.
Hit the whole lineup. Sediment filter, carbon filter, any UV sleeve chamber, the softener bypass. People remember the big one and forget the little countertop cartridge by the kitchen sink, which is of course exactly the one that splits.
And that’s the water side buttoned up. Dry pipes don’t crack, and dry pipes don’t flood. Go pour the last of it down the sink and call it done.
14. Test Well-House Pipe-Heating Cables
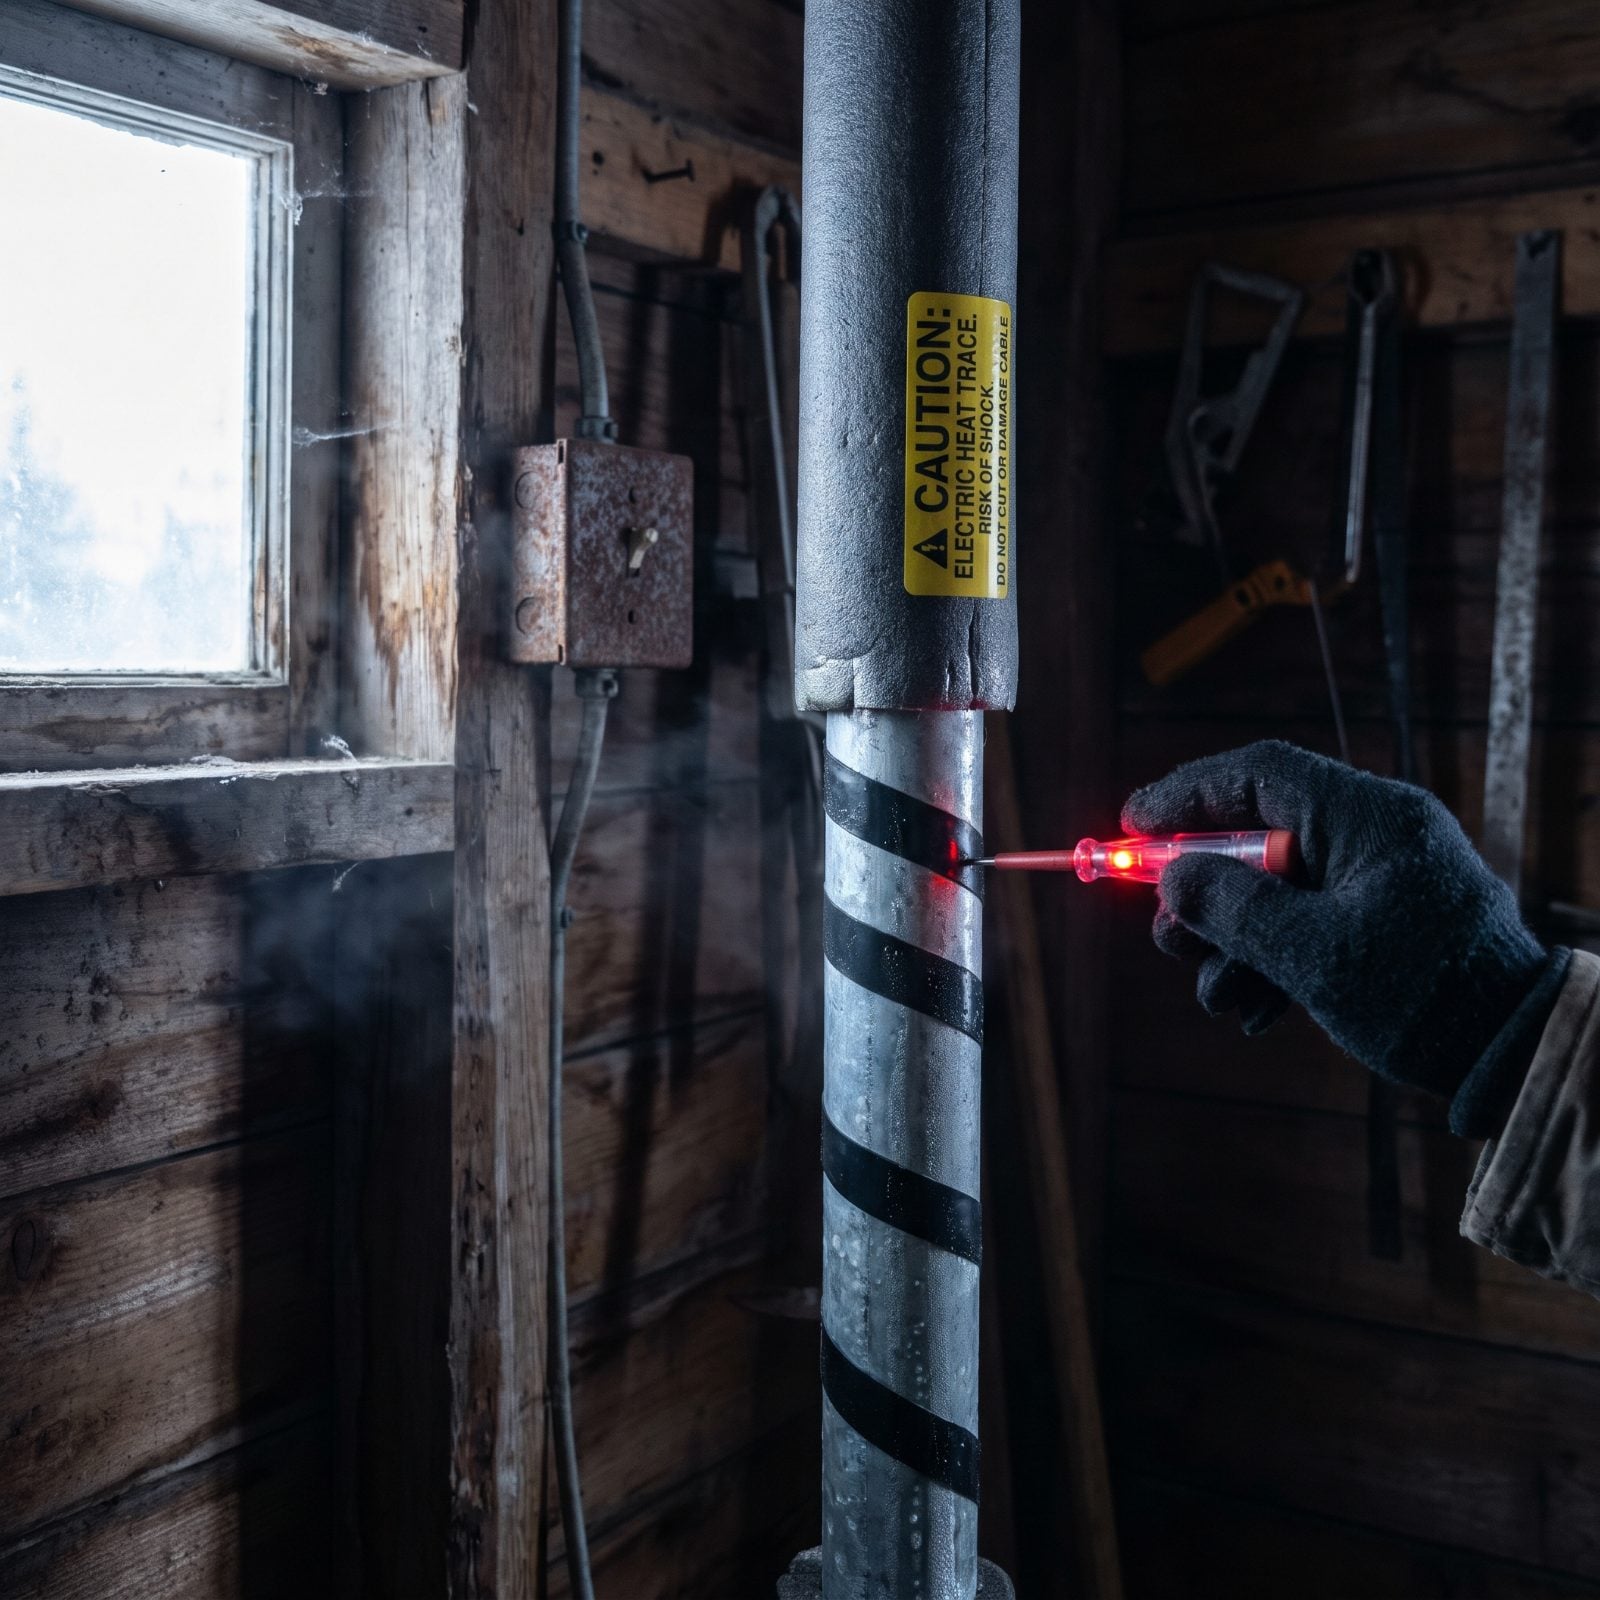
Heat tape fails silently. It’ll sit on your pipe looking perfectly fine and do absolutely nothing, and you won’t know until you open the cabin in March to a split copper line and a flooded well house. I’ve seen it happen twice, and both times the cable looked brand new.
Plug it into a GFCI outlet and confirm it draws power. Self-regulating cable warms gradually, so lay your palm along it after ten minutes — you want a faint, even warmth, not a hot spot where the cable’s cooking itself to death at a bad wrap. Make sure the thermostat line sits flush against the pipe and isn’t floating in air. Then look hard at the cord jacket for cracks. Mice treat it like a chew toy.
13. Service the Furnace or Boiler
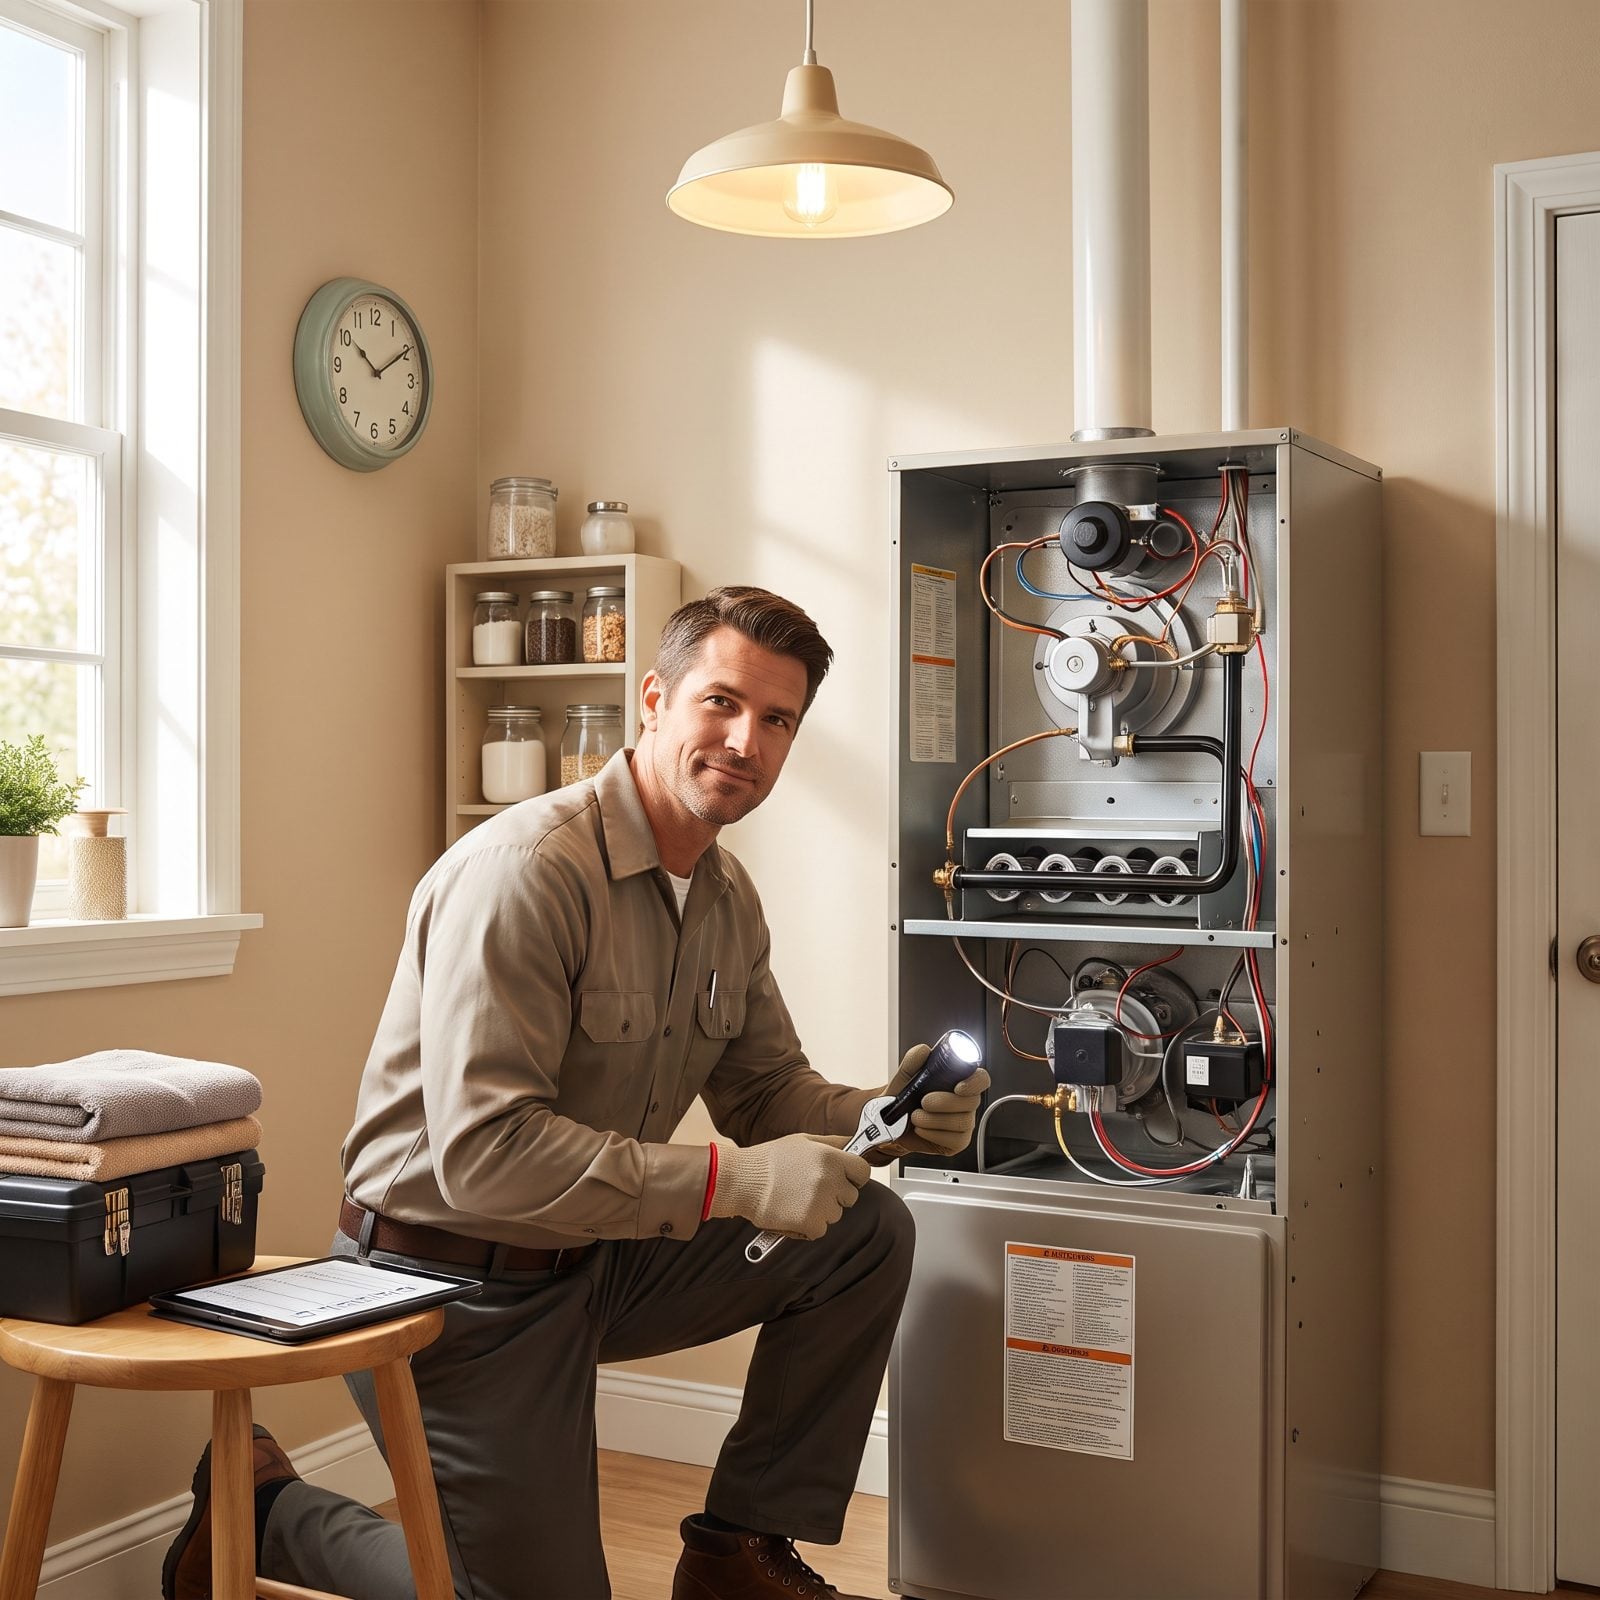
A seasonal cabin asks more of its furnace than a lived-in house does, because nobody’s around to catch the burning-plastic smell or the odd cycling. It runs for months on its own. Get it serviced before you leave, not after it quits on the coldest night of February.
Have a tech clean the burner, swap the filter, check the ignition, and confirm the flame reads clean and steady. Ask them specifically to test the safety shutoff and the flue draft. If it’s oil, a fresh nozzle and filter are cheap insurance. A tuned unit that cycles efficiently is also what holds your temperature stable when you’re three hours away and it’s snowing sideways.
12. Top Off the Heating Fuel Supply
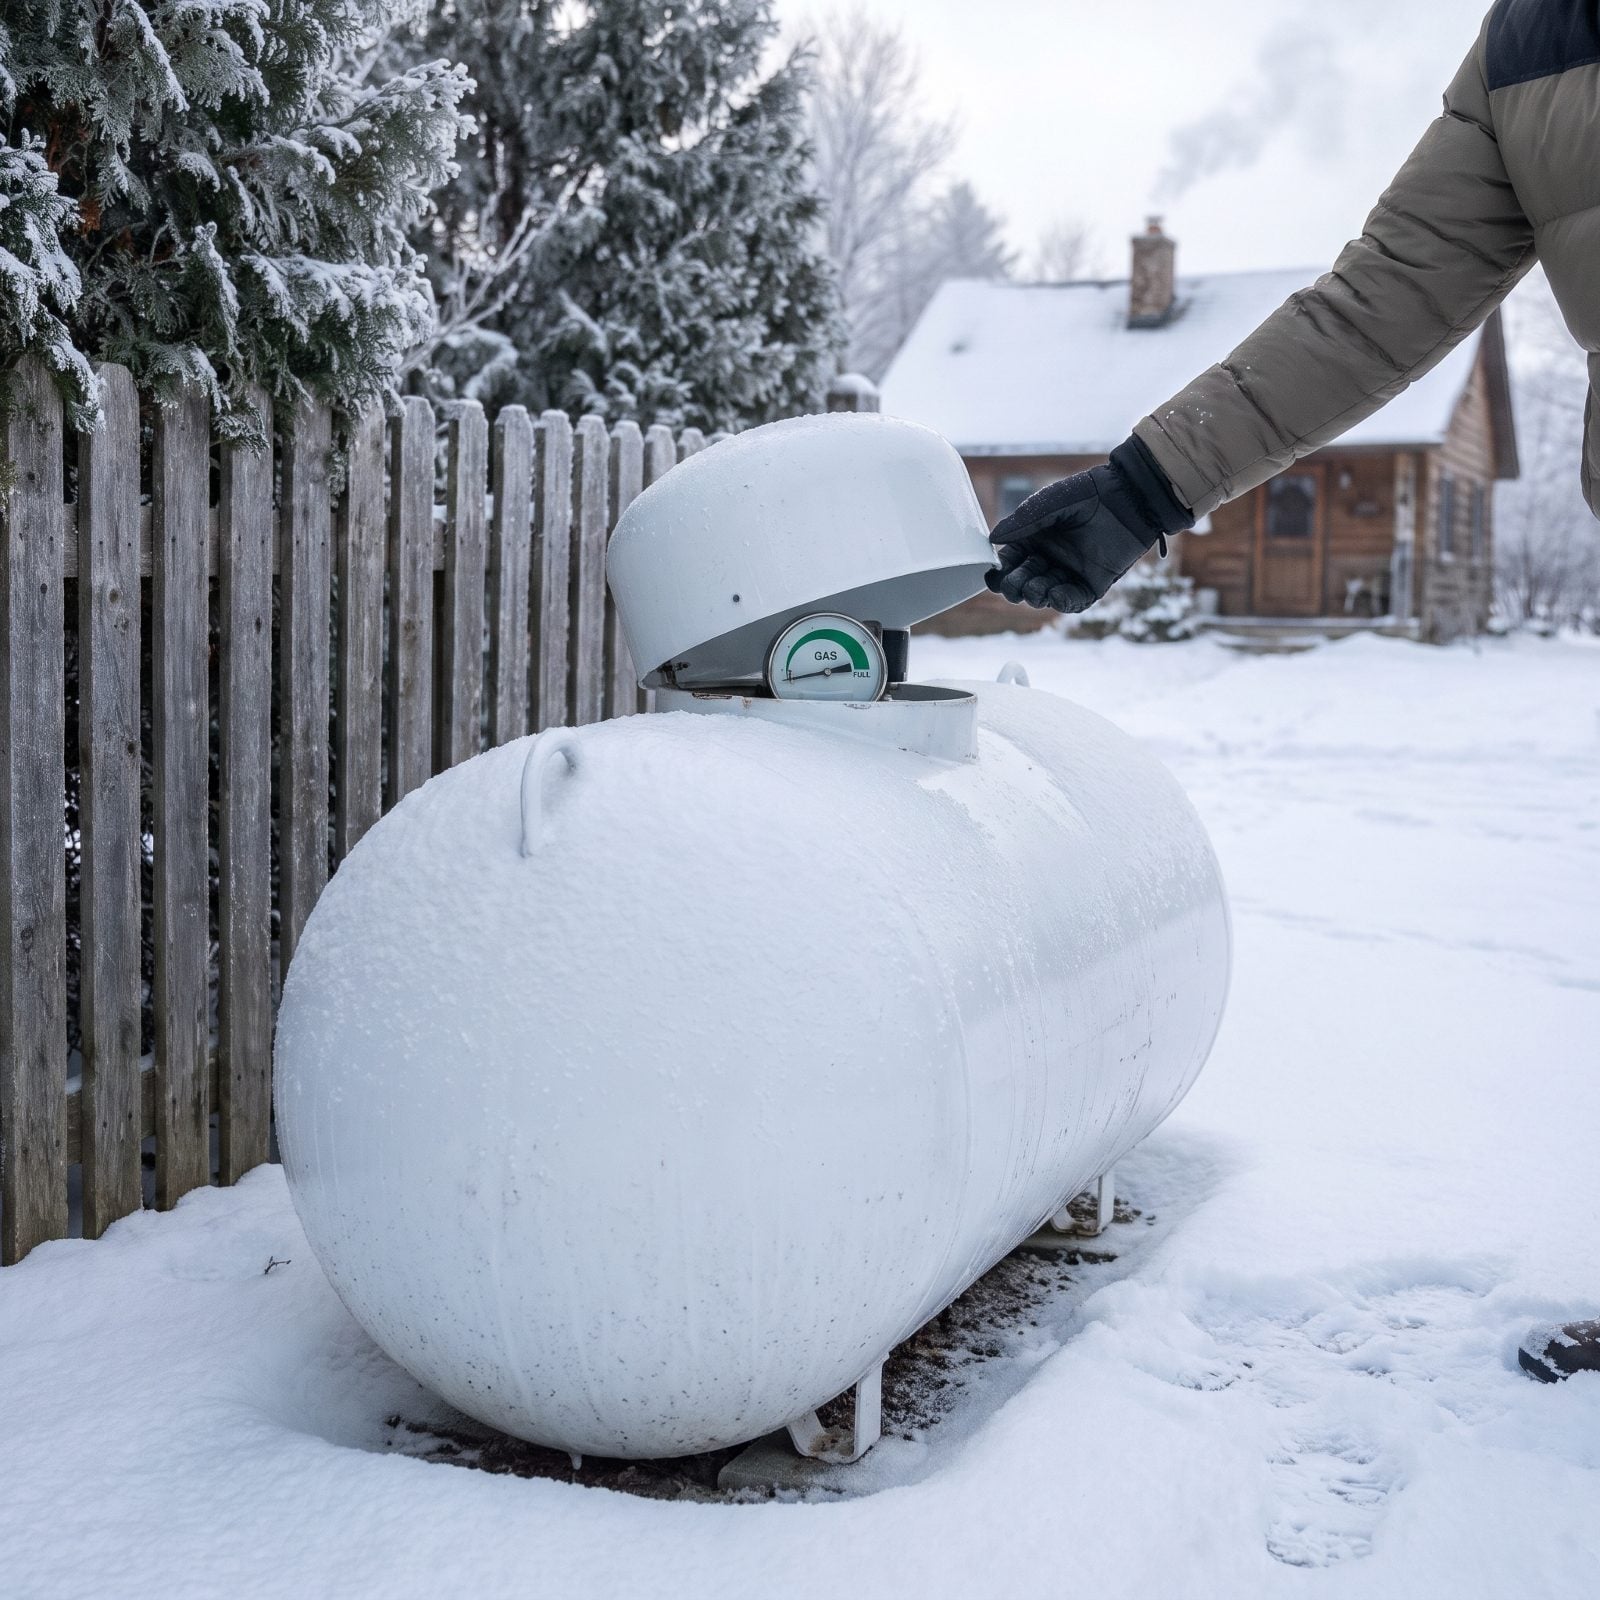
Running out of fuel in January isn’t just cold. An empty oil line sucks air, a propane system can lose line pressure, and now you’re paying for an emergency fill plus a restart call — assuming the road’s even plowed enough for the truck to reach you.
Fill it to the top now, while delivery is routine and cheap. For propane, aim for the gauge max, which leaves room for expansion. Do the math on your worst case: coldest stretch, lowest holding temp, longest you’ll be away. Then add margin. Fuel left in the tank over summer costs you nothing. Fuel you ran out of costs you a burst pipe.
11. Set a Safe Holding Temperature
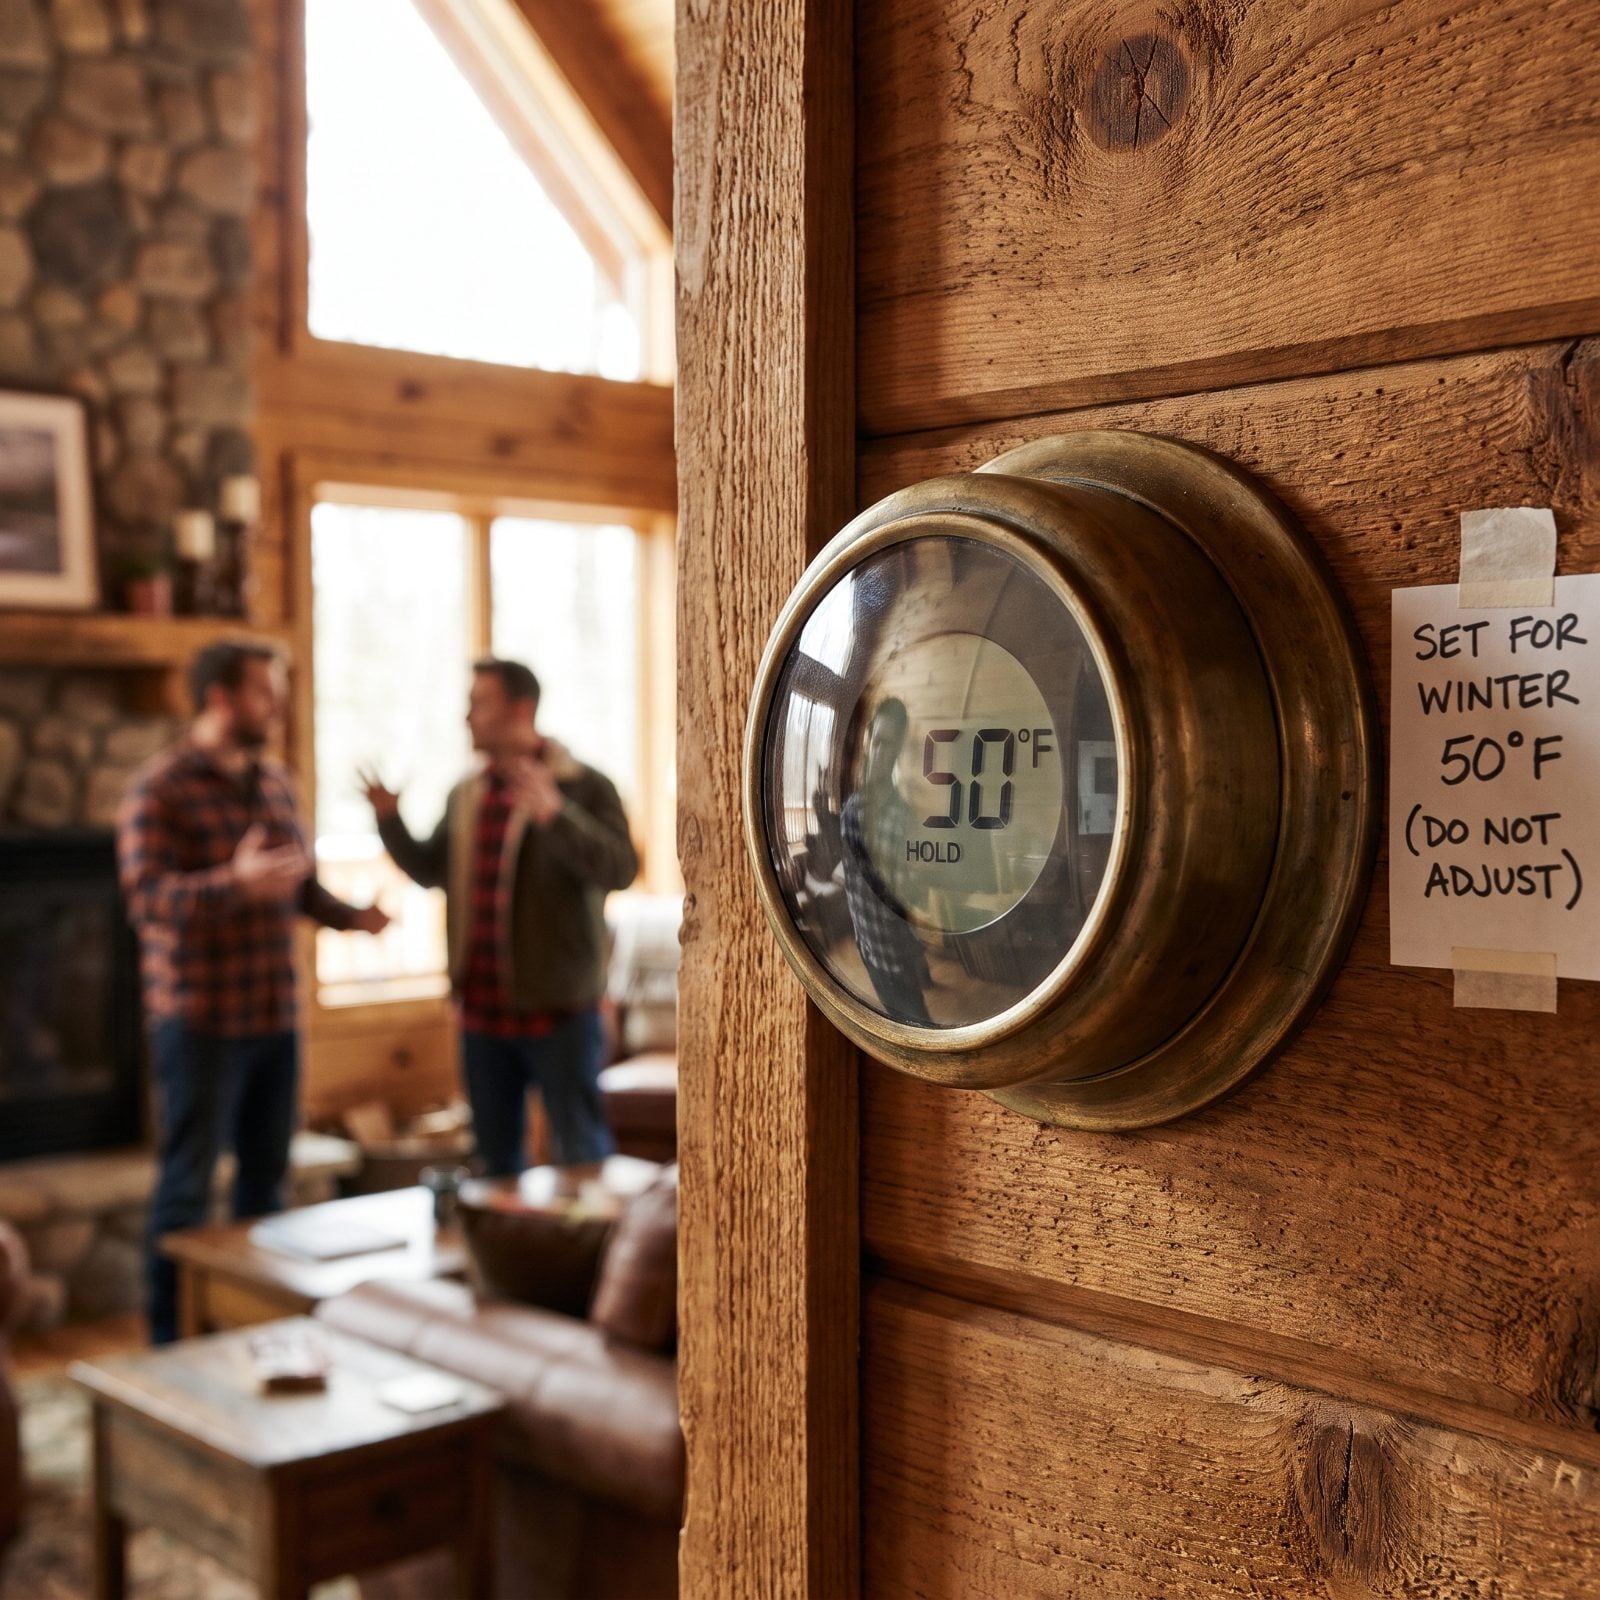
People love to argue about this one. Some swear by shutting the heat off entirely and draining every line; others keep the place warm all winter. If you’re leaving water in the system, there’s a middle ground, and it matters more than folks think.
Set the thermostat to 50 to 55 degrees. That holds the whole building — including the inside of exterior walls and the cabinet under the kitchen sink — safely above freezing, without you paying to run an empty cabin like a sauna. Go lower than 50 and the corners, the north wall, the pipe runs buried in uninsulated cavities all start creeping toward 32. And here’s the part people skip: open the cabinet doors under every sink so warm air can actually reach the traps and supply lines hiding behind them. A closed cabinet is a cold box.
10. Test the Remote Low-Temperature Alarm
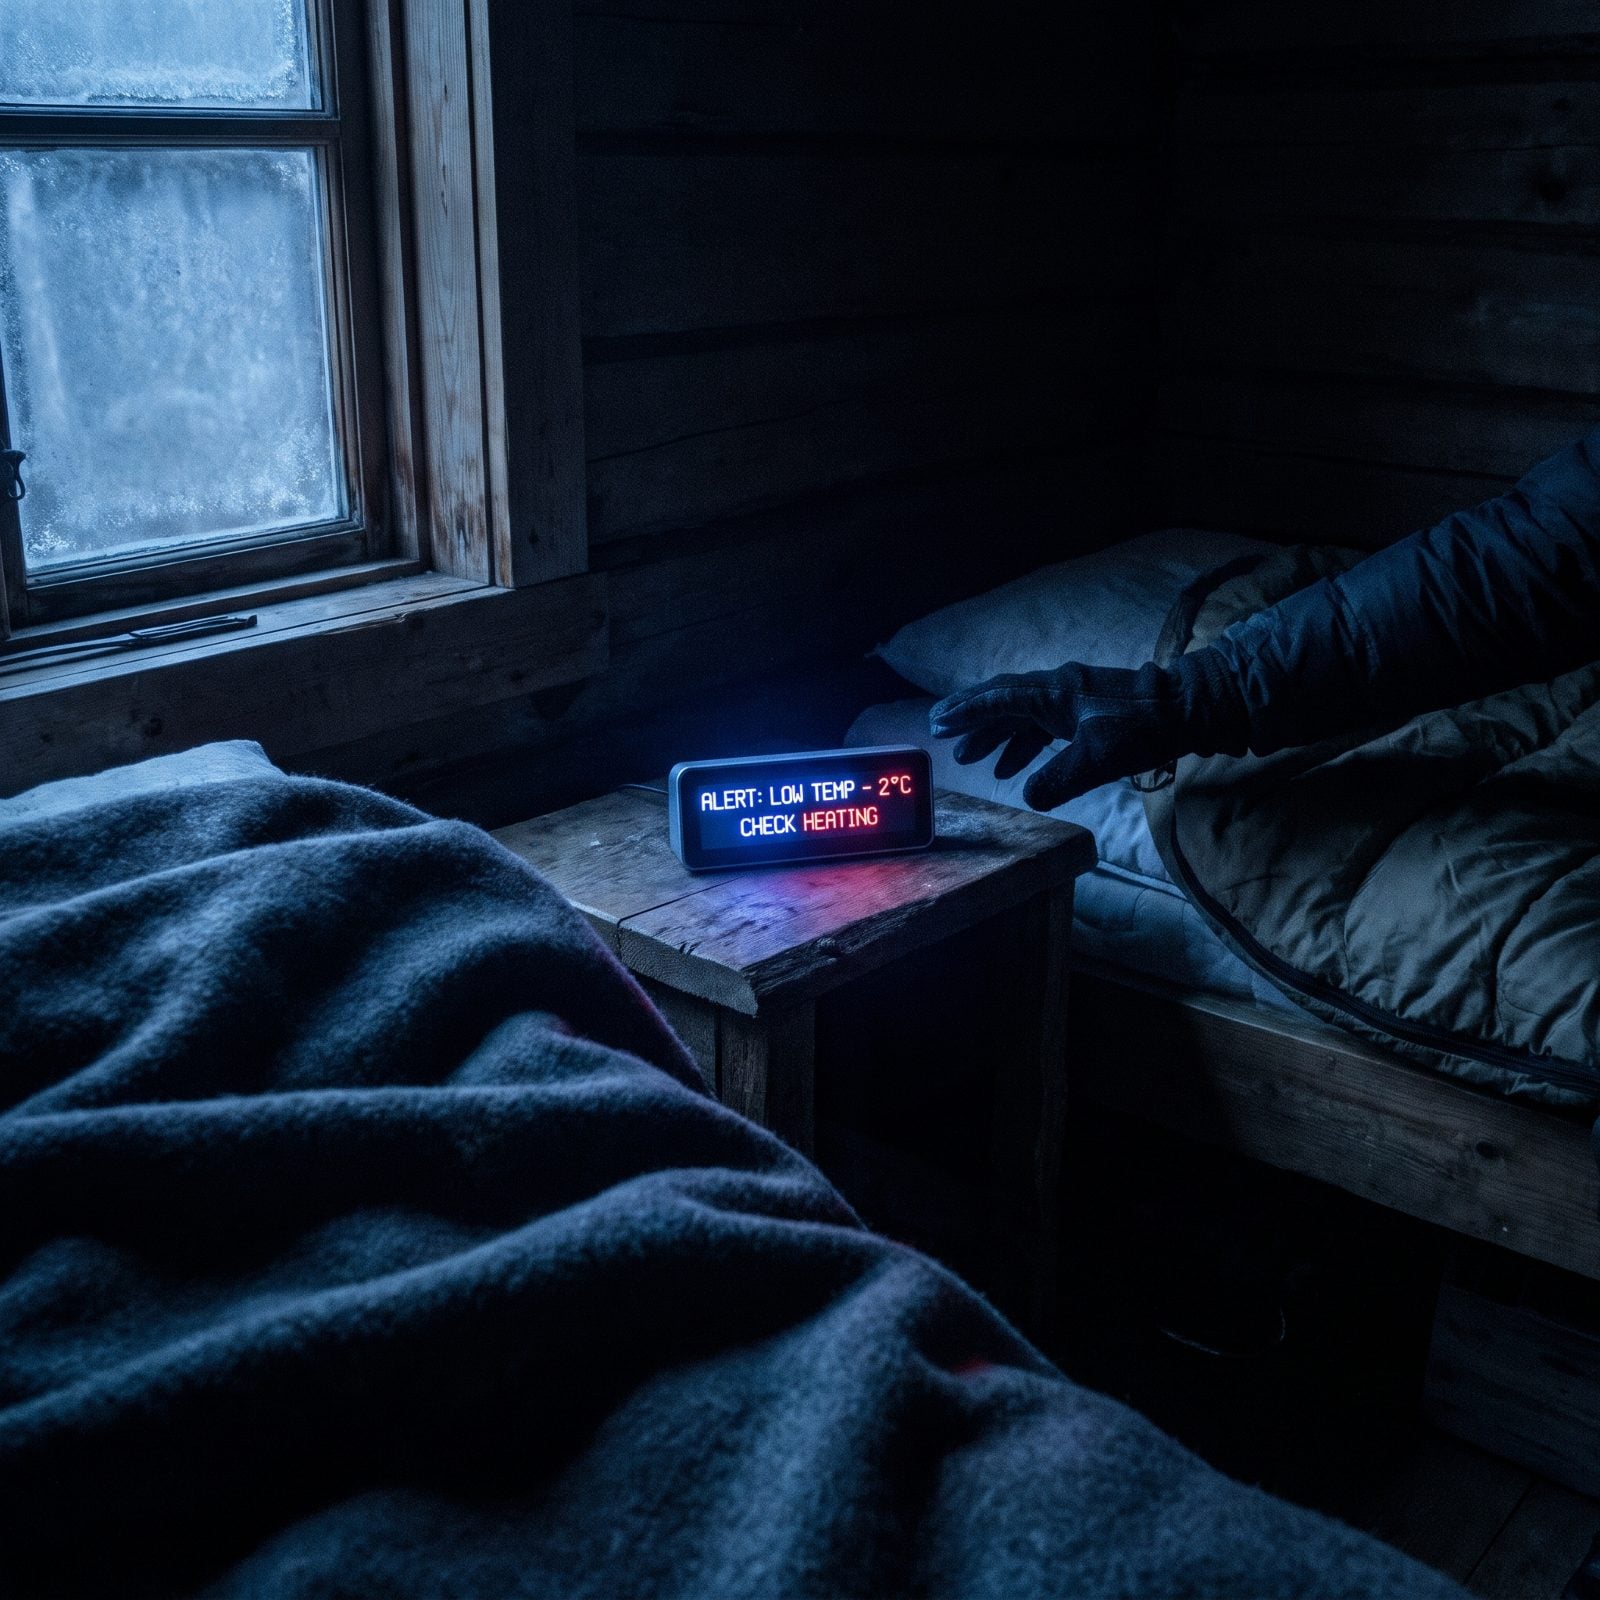
The furnace quits at 2 a.m. and you’re asleep while the cabin goes cold. A remote low-temp alarm is the one gadget that earns its keep the first time it wakes you.
A remote low-temp alarm texts or calls your phone when the interior drops below a set point — say 45°F — telling you to check the heating before anything freezes. Don’t just install it and trust it. Test it. Unplug the thing to confirm the low-battery and power-loss alerts actually trigger, and if you can, drop the threshold temporarily so you watch a real alert hit your phone.
And remember the part everyone forgets. These run on your cabin’s power. Lose power and a plug-in alarm dies right along with the heating — unless it carries its own backup battery. Buy the kind that does.
9. Shut Off Unused Appliance Gas Valves
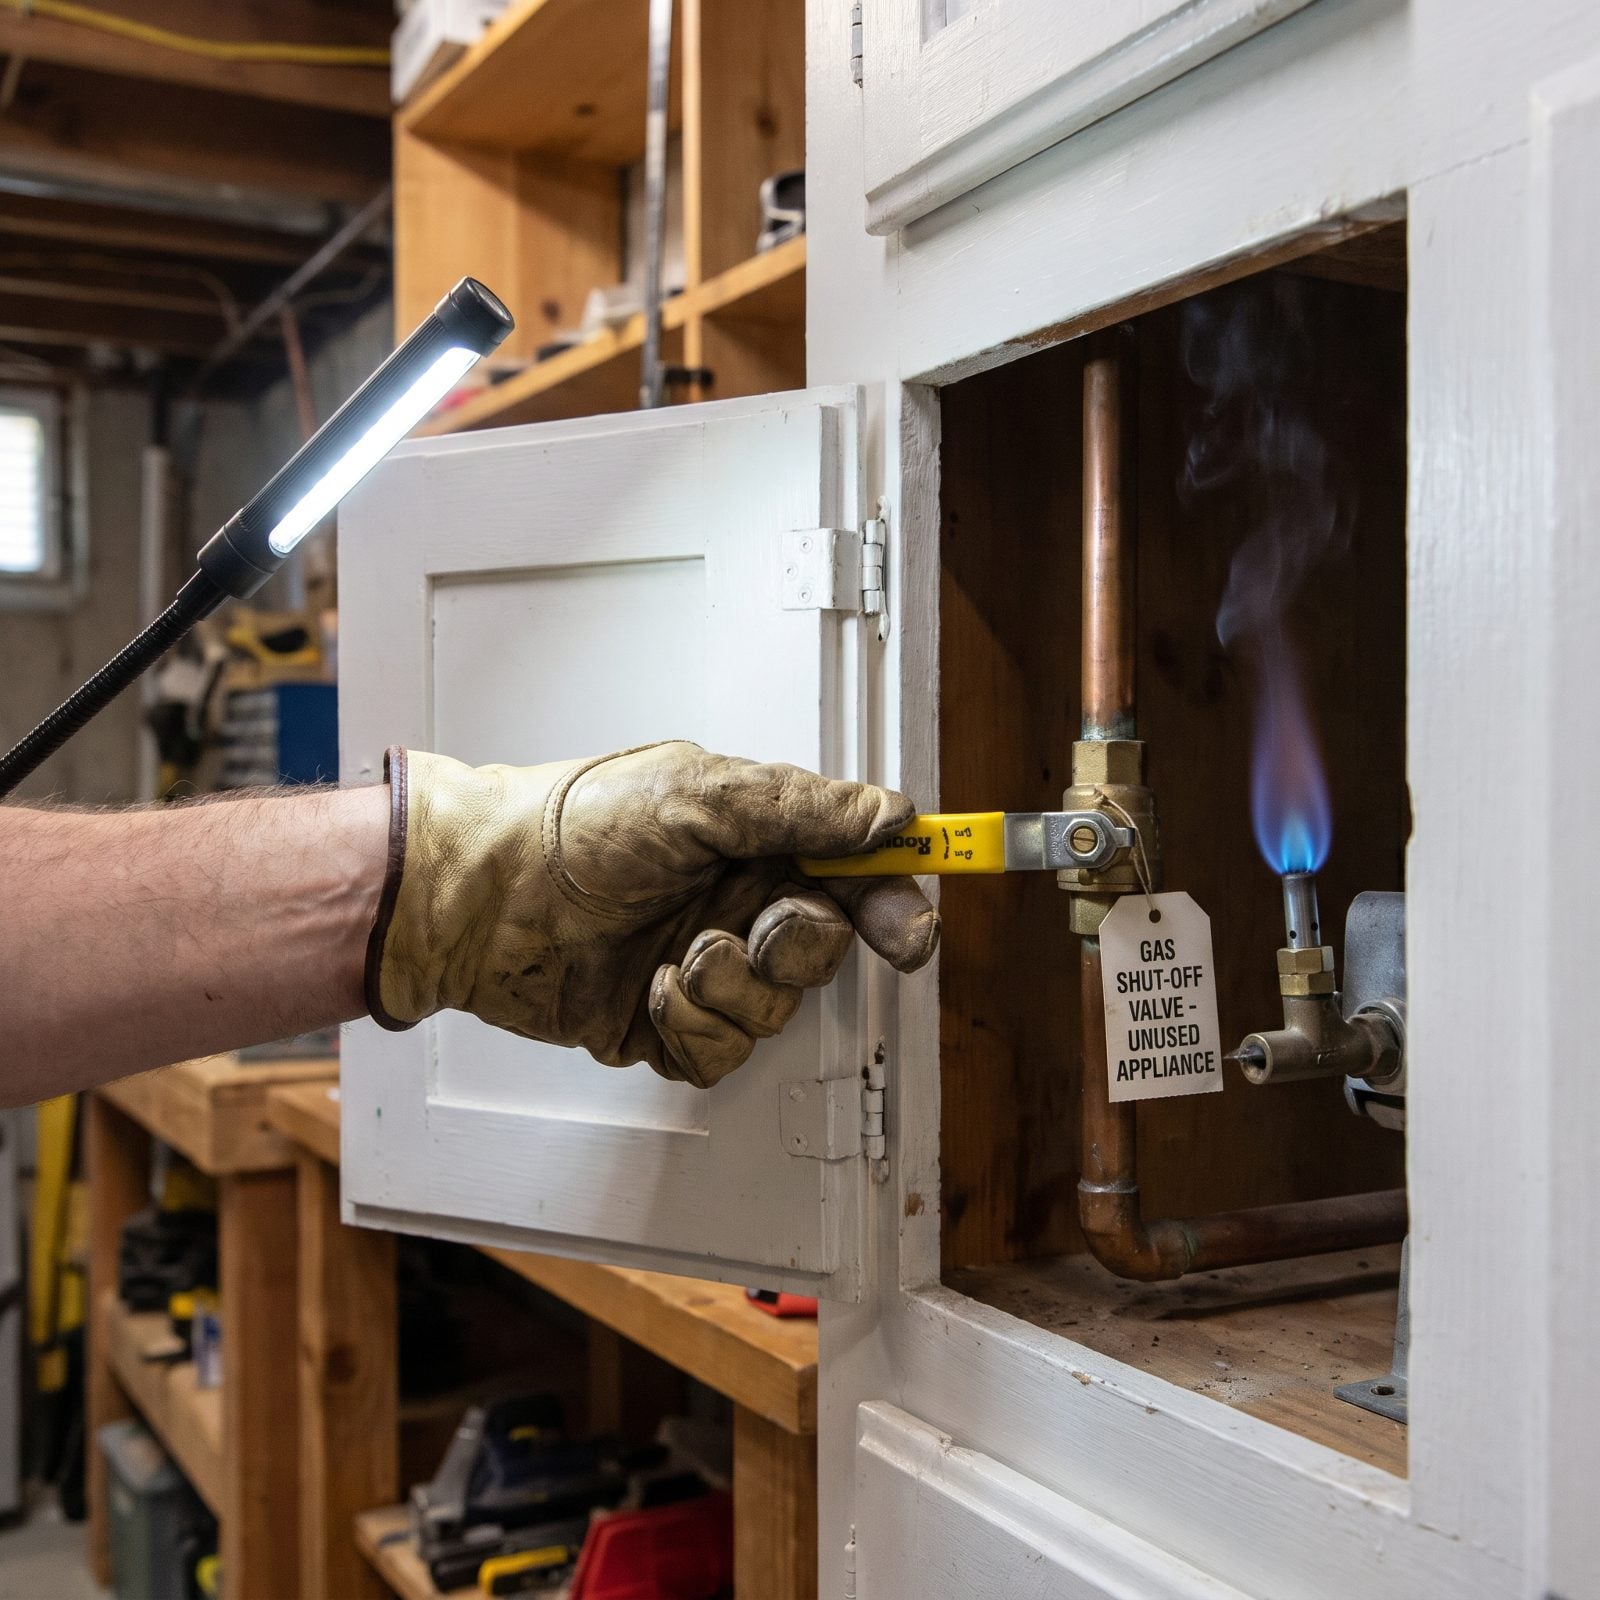
Gas appliances you won’t run all winter are just risk sitting idle. A pilot light drinks fuel for months doing nothing, and a slow fitting leak behind the stove has the whole season to fill a sealed-up cabin. Shut off what you don’t need.
Close the individual shutoff valves on the gas range, the standing-pilot water heater, and any unused space heater. The handle sits in-line with the pipe when open, crosswise when closed. Then watch the pilot: once the valve is closed, that little blue flame should die out within seconds. If it keeps burning, gas is still getting through, so call a pro. Leave the valves feeding your furnace or boiler open — those are the ones doing the work.
One habit worth keeping: mix a little dish soap and water in a spray bottle and mist the fittings you just touched. Bubbles mean a leak. No bubbles, you’re good. Two minutes, and it’s the kind of check a pro does without even thinking about it.
8. Test the Backup Generator Under Load
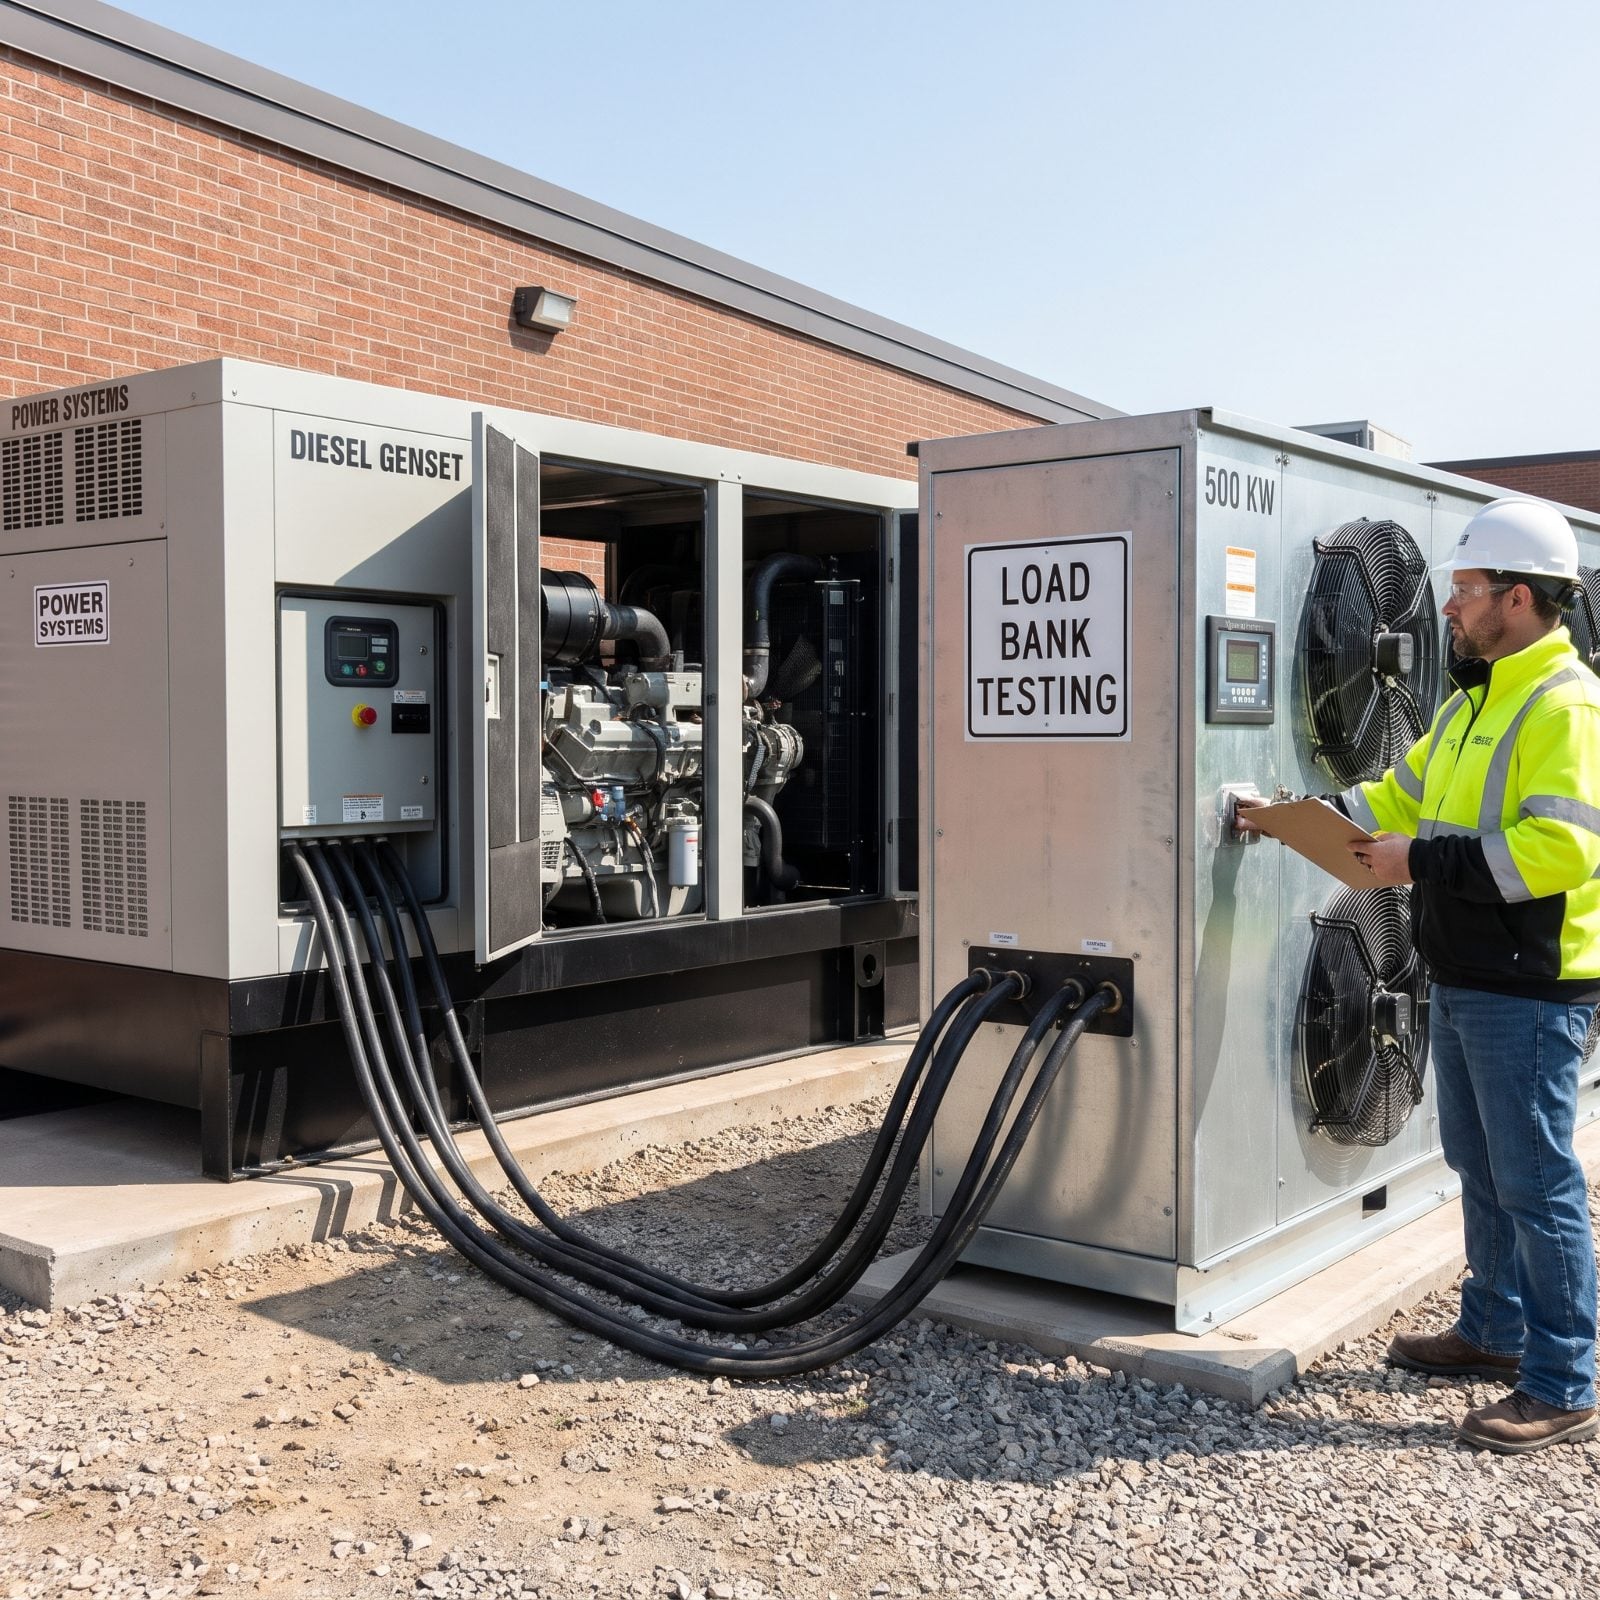
A generator that starts fine with nothing plugged in will happily tell you it’s healthy. It’s lying. Plenty of units fire right up at idle and then stumble, surge, or stall the second you ask them to carry real wattage. You want to learn that in October, not during a January ice storm when it’s the only thing keeping your furnace alive.
Start it and let it run under an actual load for 20 to 30 minutes — a resistive load bank cabled to the output terminals, something that makes it work for a living. Listen for steady governor speed, watch for surging, confirm with a meter that the voltage holds. Top off the oil, inspect the air filter, and treat the fuel if it’s going to sit in the tank.
7. Stabilize Stored Generator Fuel
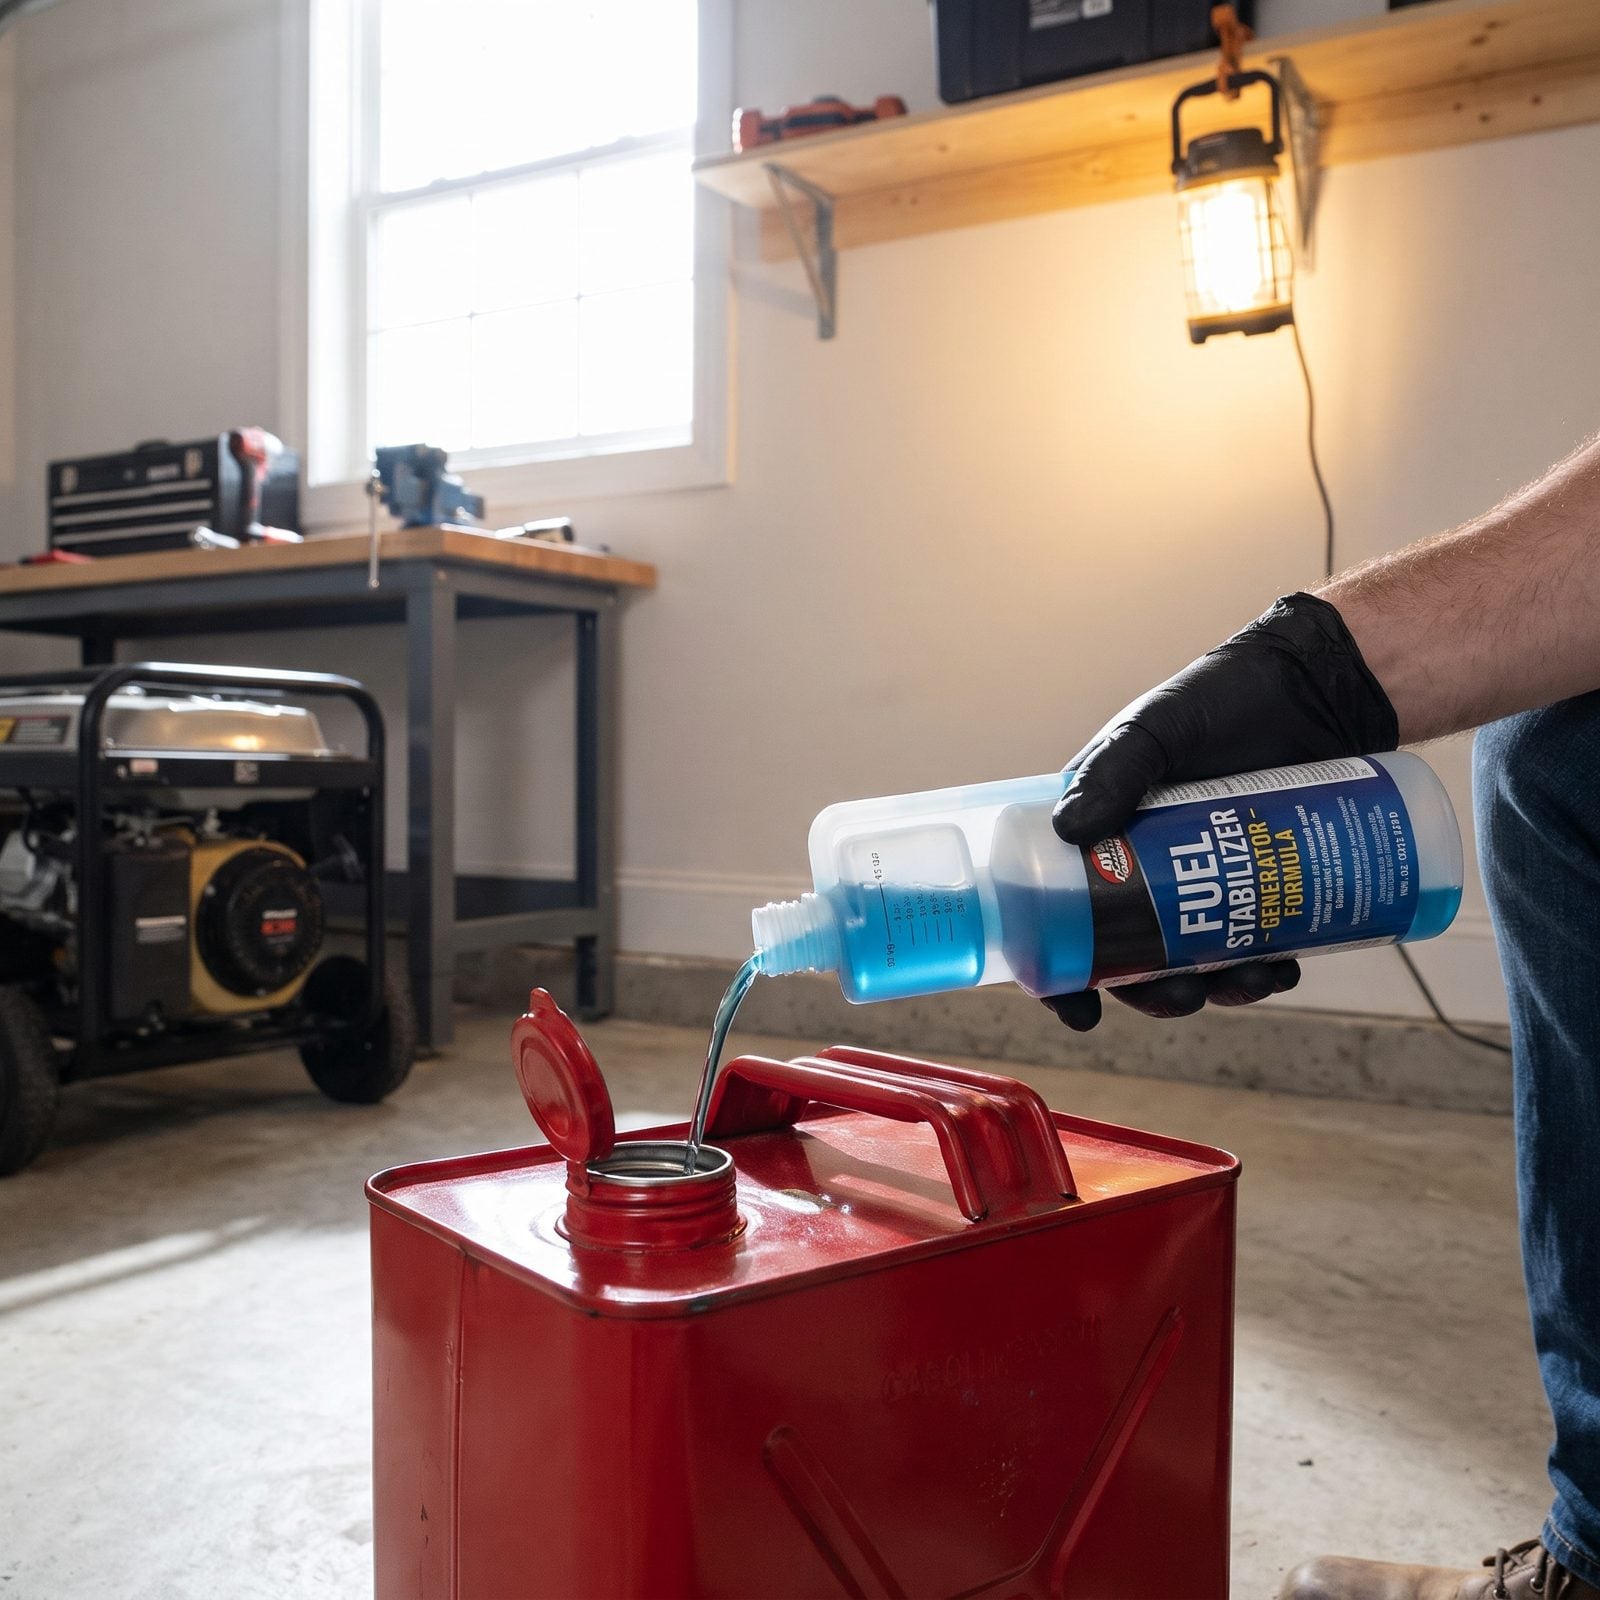
Gasoline goes stale. Left untreated, pump gas starts breaking down within a couple of months, and ethanol fuel is worse — it pulls moisture out of the air, and that water sinks straight into your carburetor. Come spring you’ve got a generator that won’t start and a carb full of varnish you’ll pay somebody to clean.
Add a fuel stabilizer to every stored can and to the tank, then run the engine a few minutes so treated fuel reaches the carburetor. Dose by the bottle’s ratio. Don’t eyeball it. For long storage, run the carburetor completely dry after you treat the tank, so no fuel sits in the bowl at all. And if you can find ethanol-free gas, it keeps far longer — for a backup unit, worth the extra few cents a gallon.
6. Test Smoke and Carbon-Monoxide Alarms
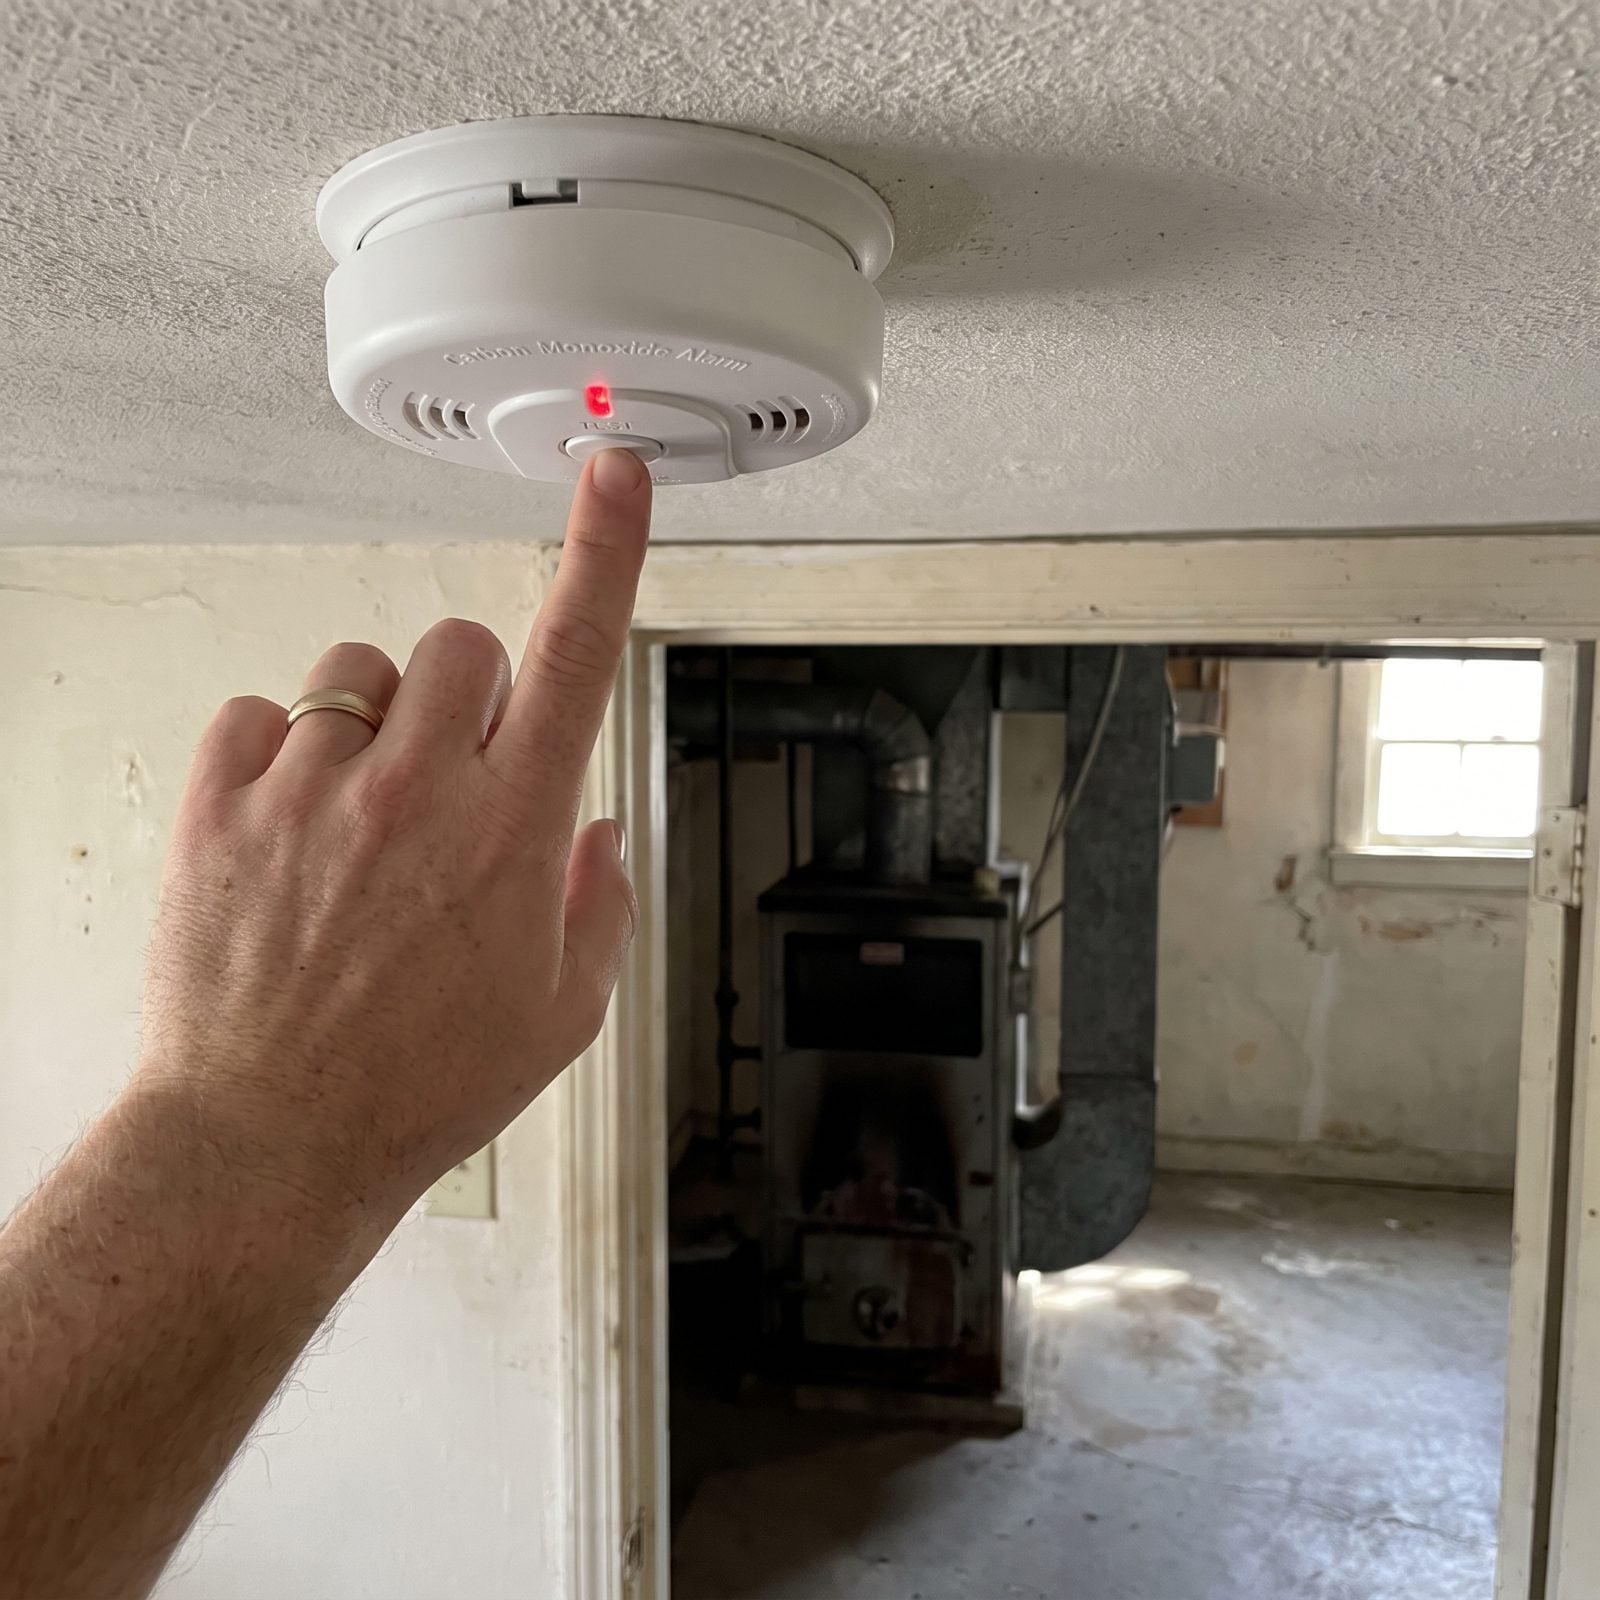
An empty cabin running a furnace all winter is exactly where a carbon-monoxide leak turns deadly — and you won’t be there to smell smoke either. These alarms matter more in a seasonal place than almost anywhere, precisely because no human is standing watch.
Hit the test button on every smoke and CO unit and confirm each one actually sounds off, not just blinks. Replace the batteries now even if they seem fine, because cold drains battery voltage fast, and a chirping low-battery warning in an empty cabin helps nobody. Then check the manufacture date stamped on the back. Smoke alarms are done at 10 years, CO units usually at 7, and the sensor degrades whether it ever saw a fire or not.
5. Seal Rodent Gaps With Metal Mesh
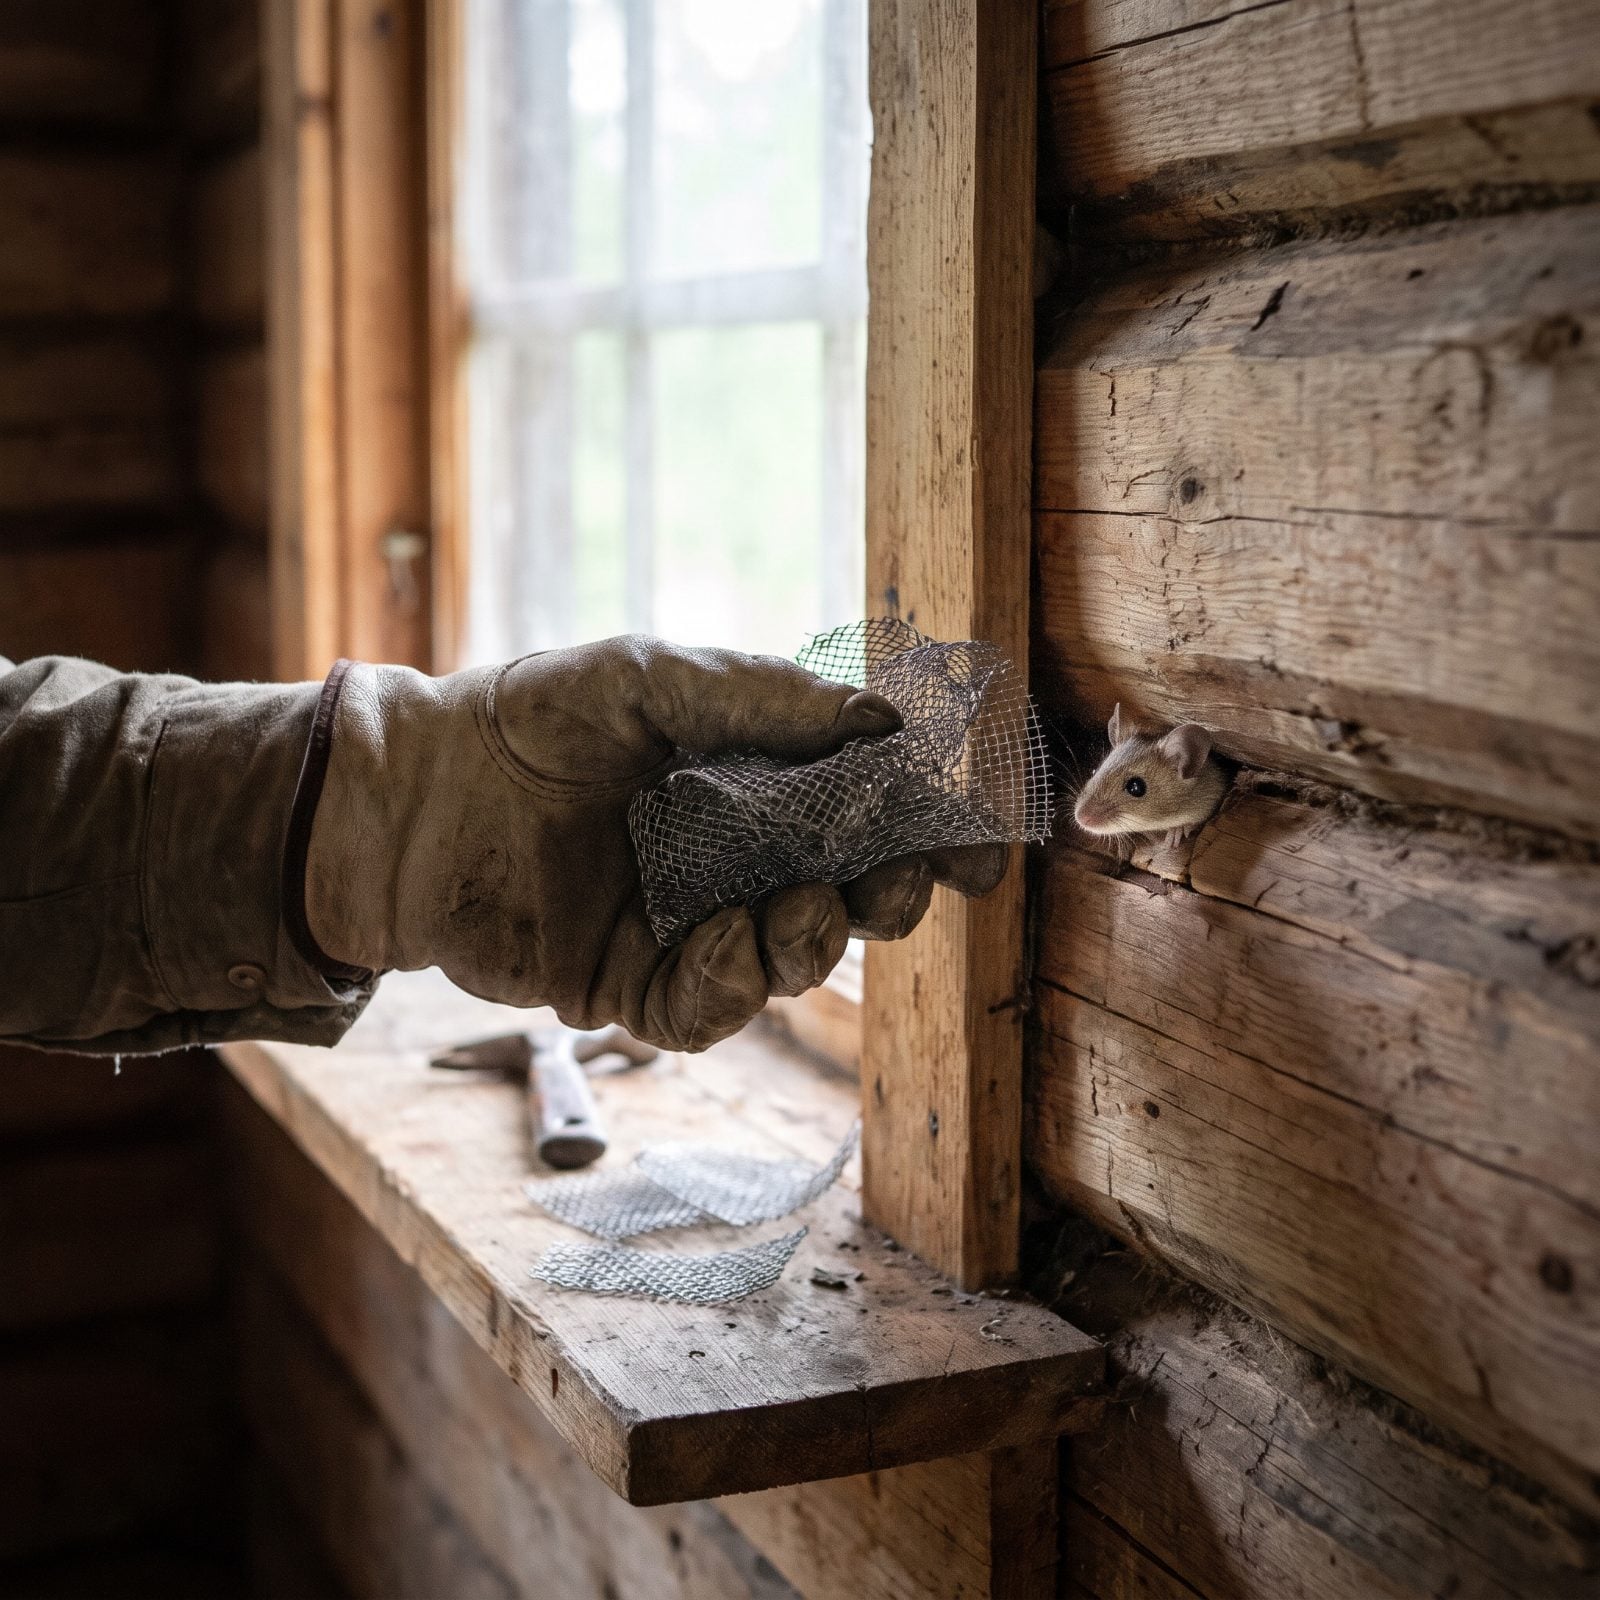
This is where plenty of owners lose a whole winter. They figure the cabin’s sealed tight, then come back in spring to chewed wiring, a ruined mattress, and droppings in every drawer. A mouse gets through a gap the width of a pencil, and they’ll chew foam and expanding spray like it’s a snack. The only thing they won’t beat is metal.
Pack coarse copper or stainless mesh into every gap where pipes, cables, and wires pass through exterior walls, then seal over it with caulk or expanding foam to lock it in place. Hit the usual suspects: the sink penetrations underneath, around the dryer vent, the gap under exterior doors, the chimney base. Steel wool works too, but it rusts and stains, so copper mesh is the smarter buy.
4. Check the Crawlspace for Standing Water
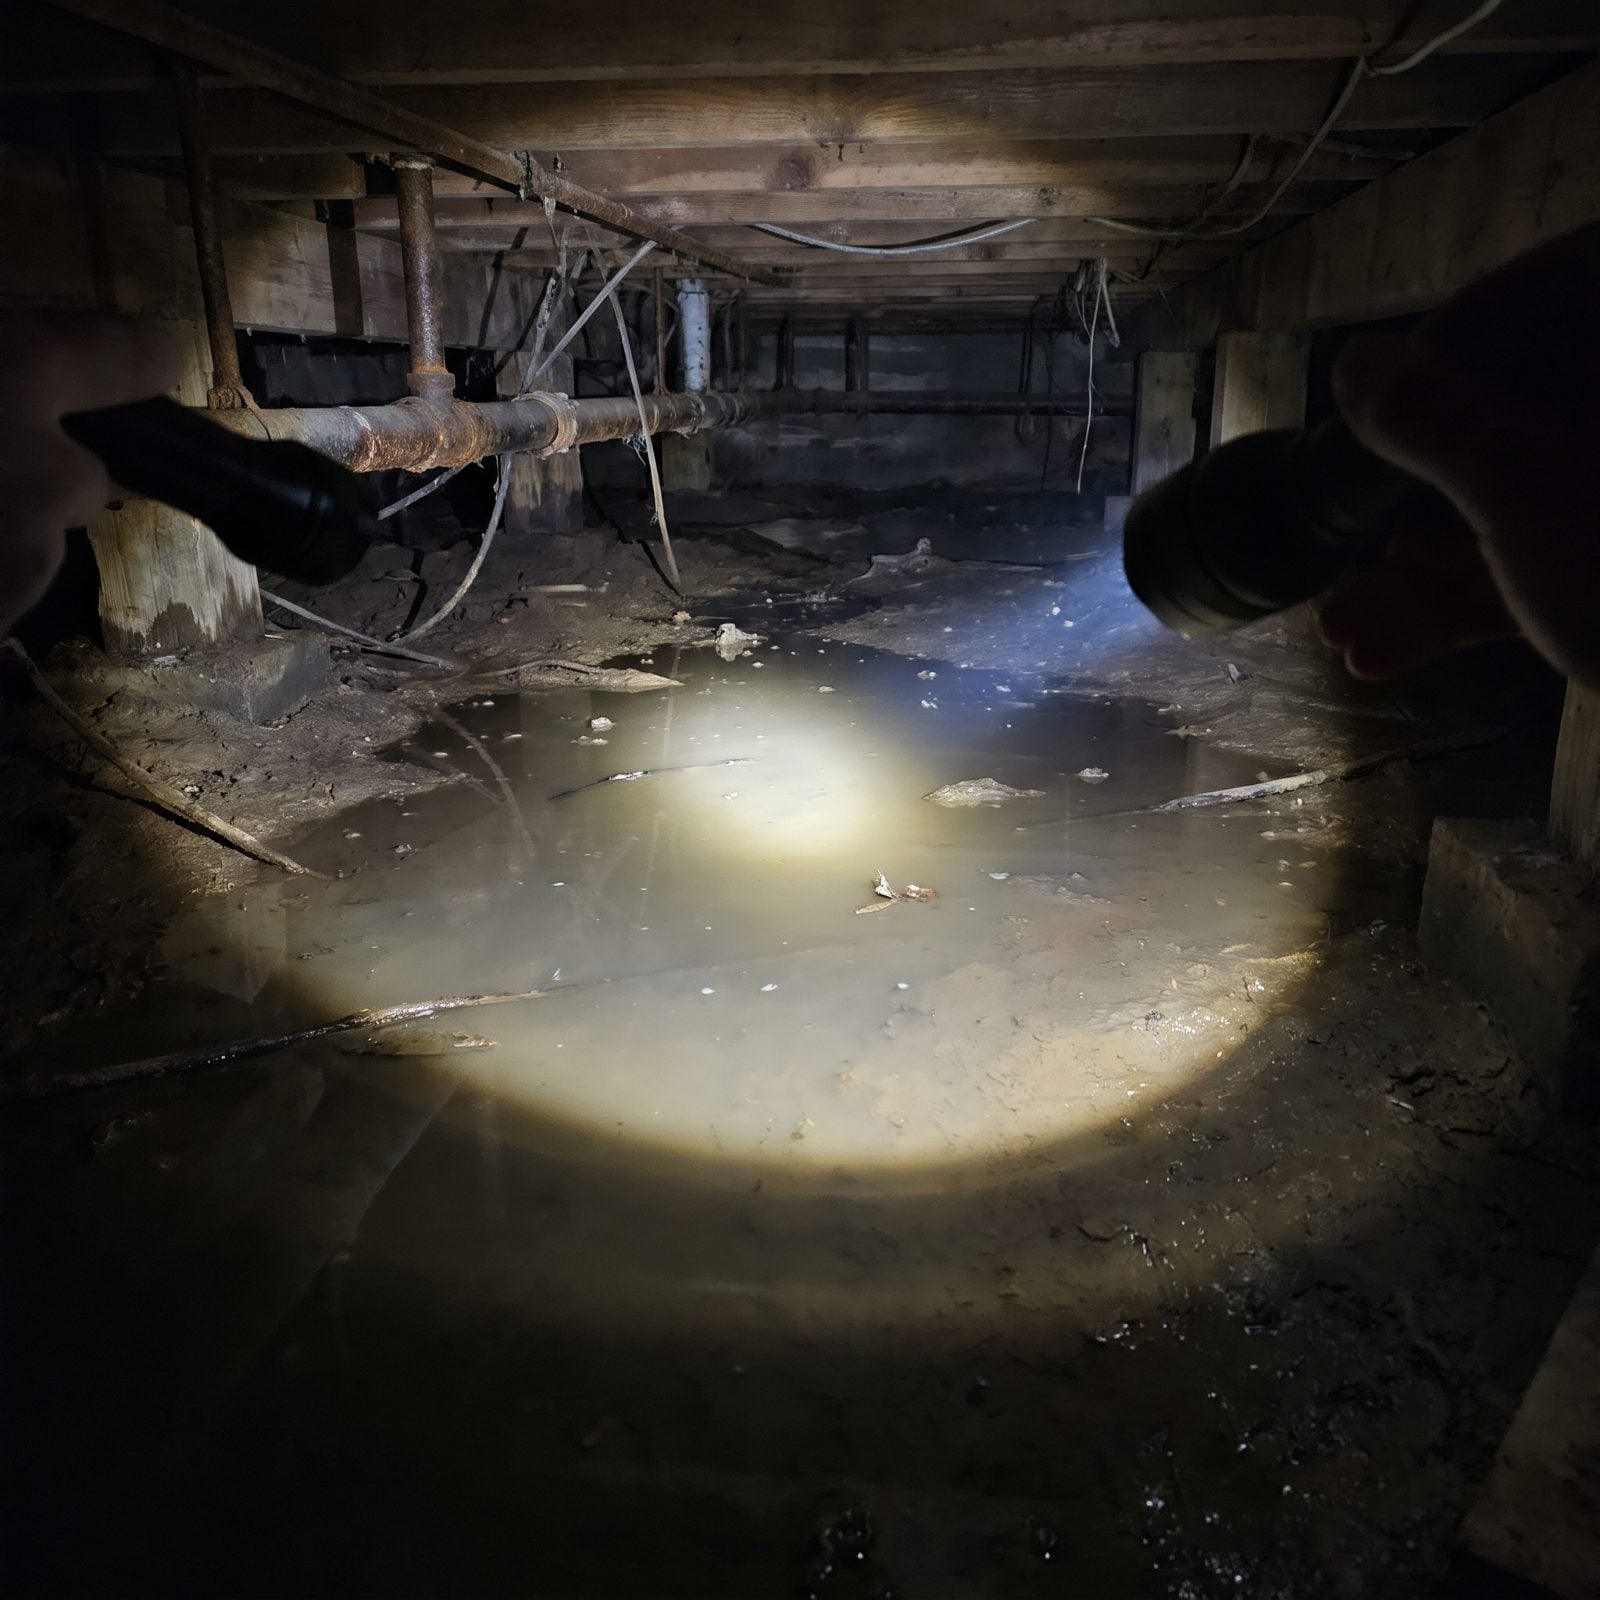
Water you can’t see is the water that ruins a cabin. A crawlspace holds cold air all winter, and any standing water down there feeds mold, rots your joists from below, and wicks moisture straight up into the floor you’ll be walking on come spring. So get down there with a good flashlight before you lock up for the season.
Look for dark patches in the soil, a shine on the vapor barrier, mineral stains on the piers, any drip on the water lines. Then press a bare hand to the dirt. Comes up muddy and cold-wet? You’ve got a drainage problem worth fixing now, not in April.
3. Empty, Defrost, and Prop Open Fridge and Freezer
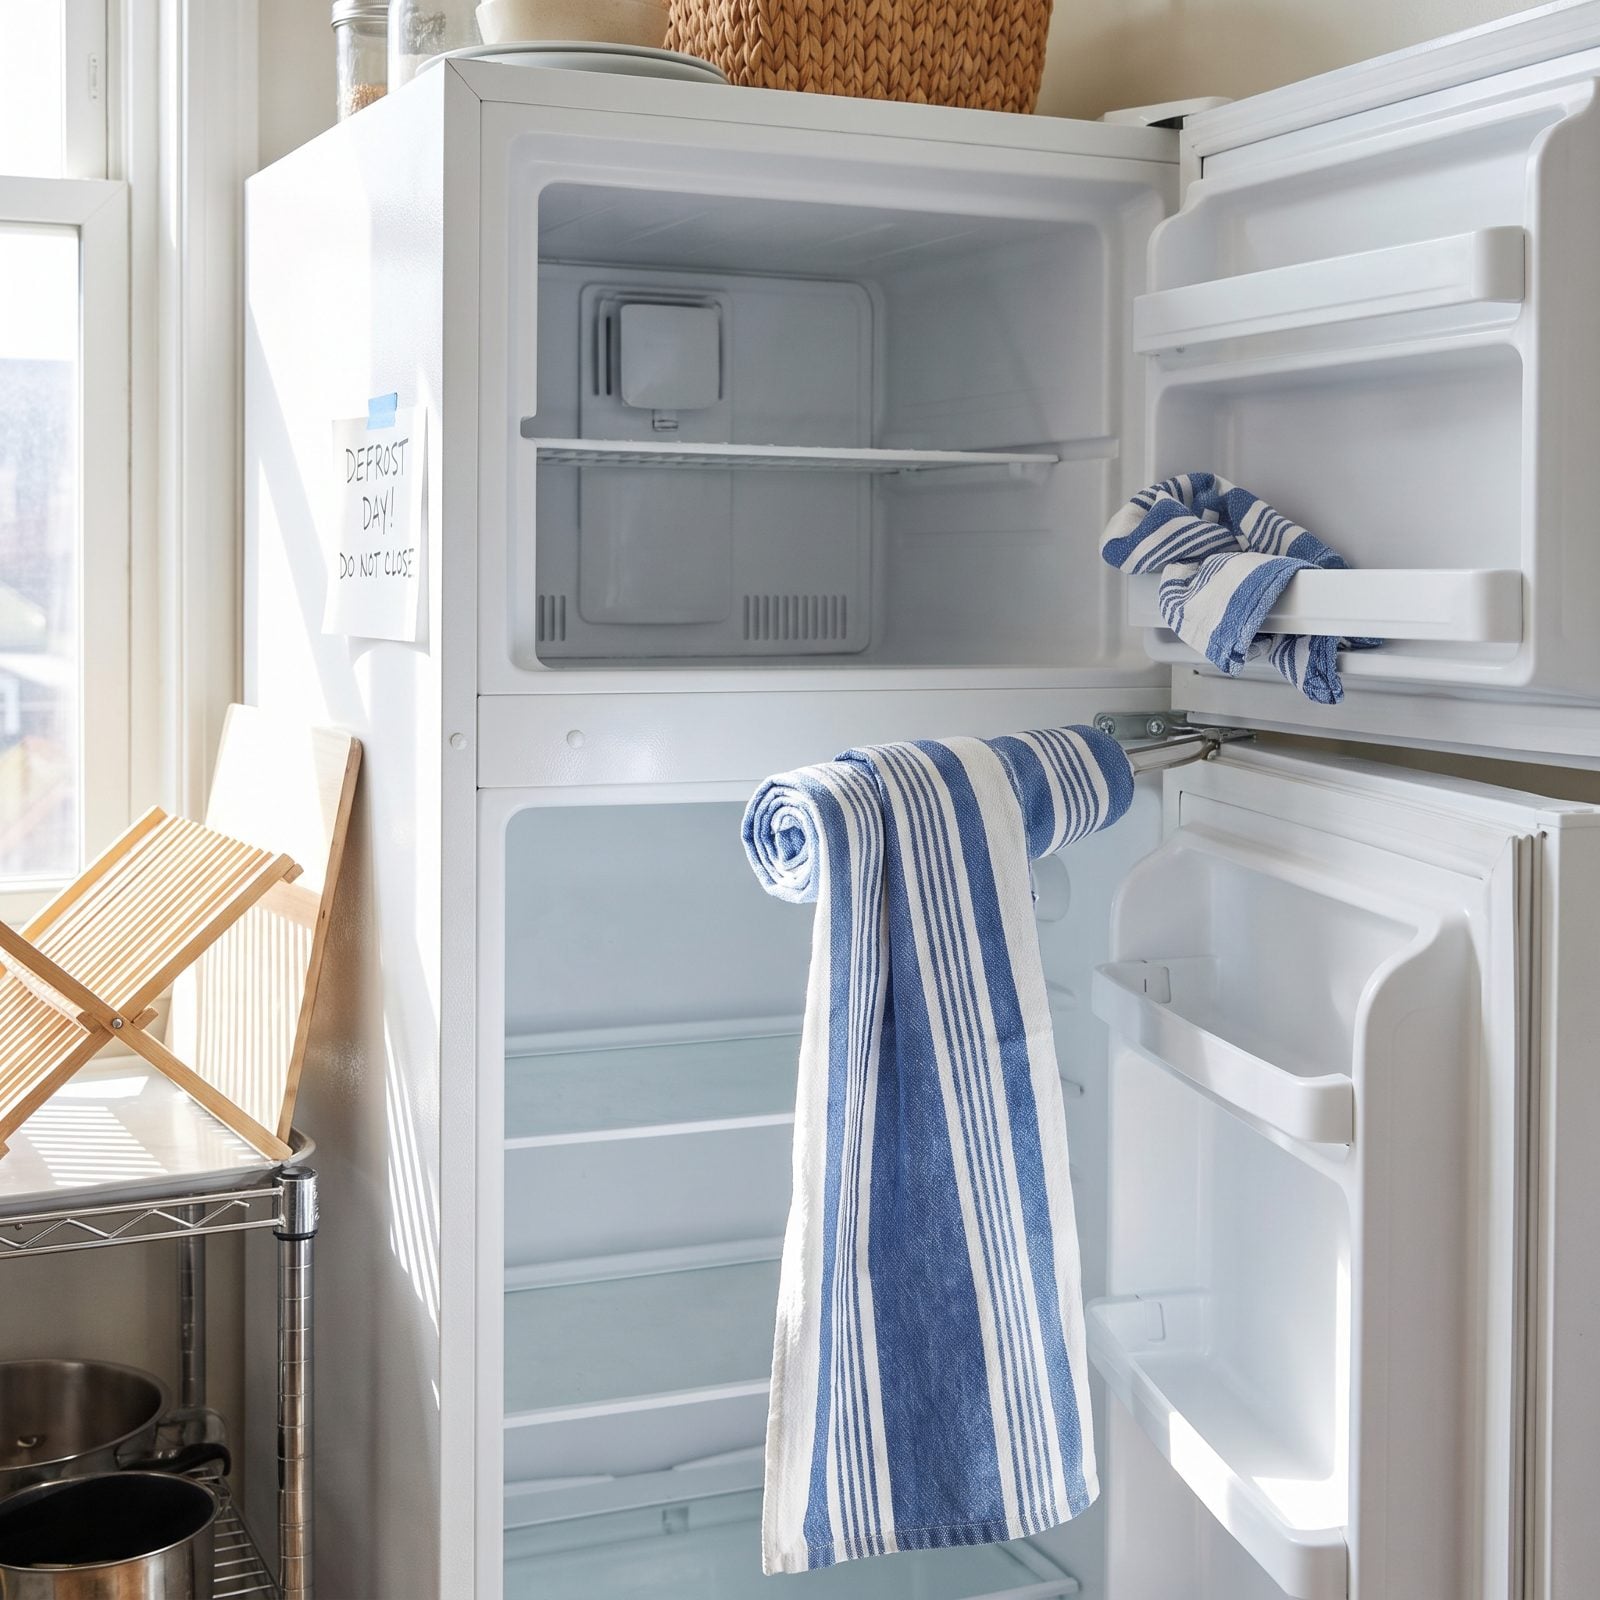
A sealed, unplugged fridge is a science experiment you don’t want to meet in May. Leave the door shut on a warm appliance with no power and the trapped moisture turns everything black inside a month. The smell gets into the seals and never fully leaves.
Pull everything out, defrost the freezer, soak up the melt, then wipe both compartments dry with a clean towel. Unplug it. Prop both doors open with a rolled towel, and set an open box of baking soda on a shelf to keep the air sweet.
Here’s the part most people skip: dry the rubber door gasket and the channel it seats into. That folded lip holds water, and water sitting in a dark fold all winter is exactly how mold gets a foothold.
2. Remove All Garbage and Pantry Perishables
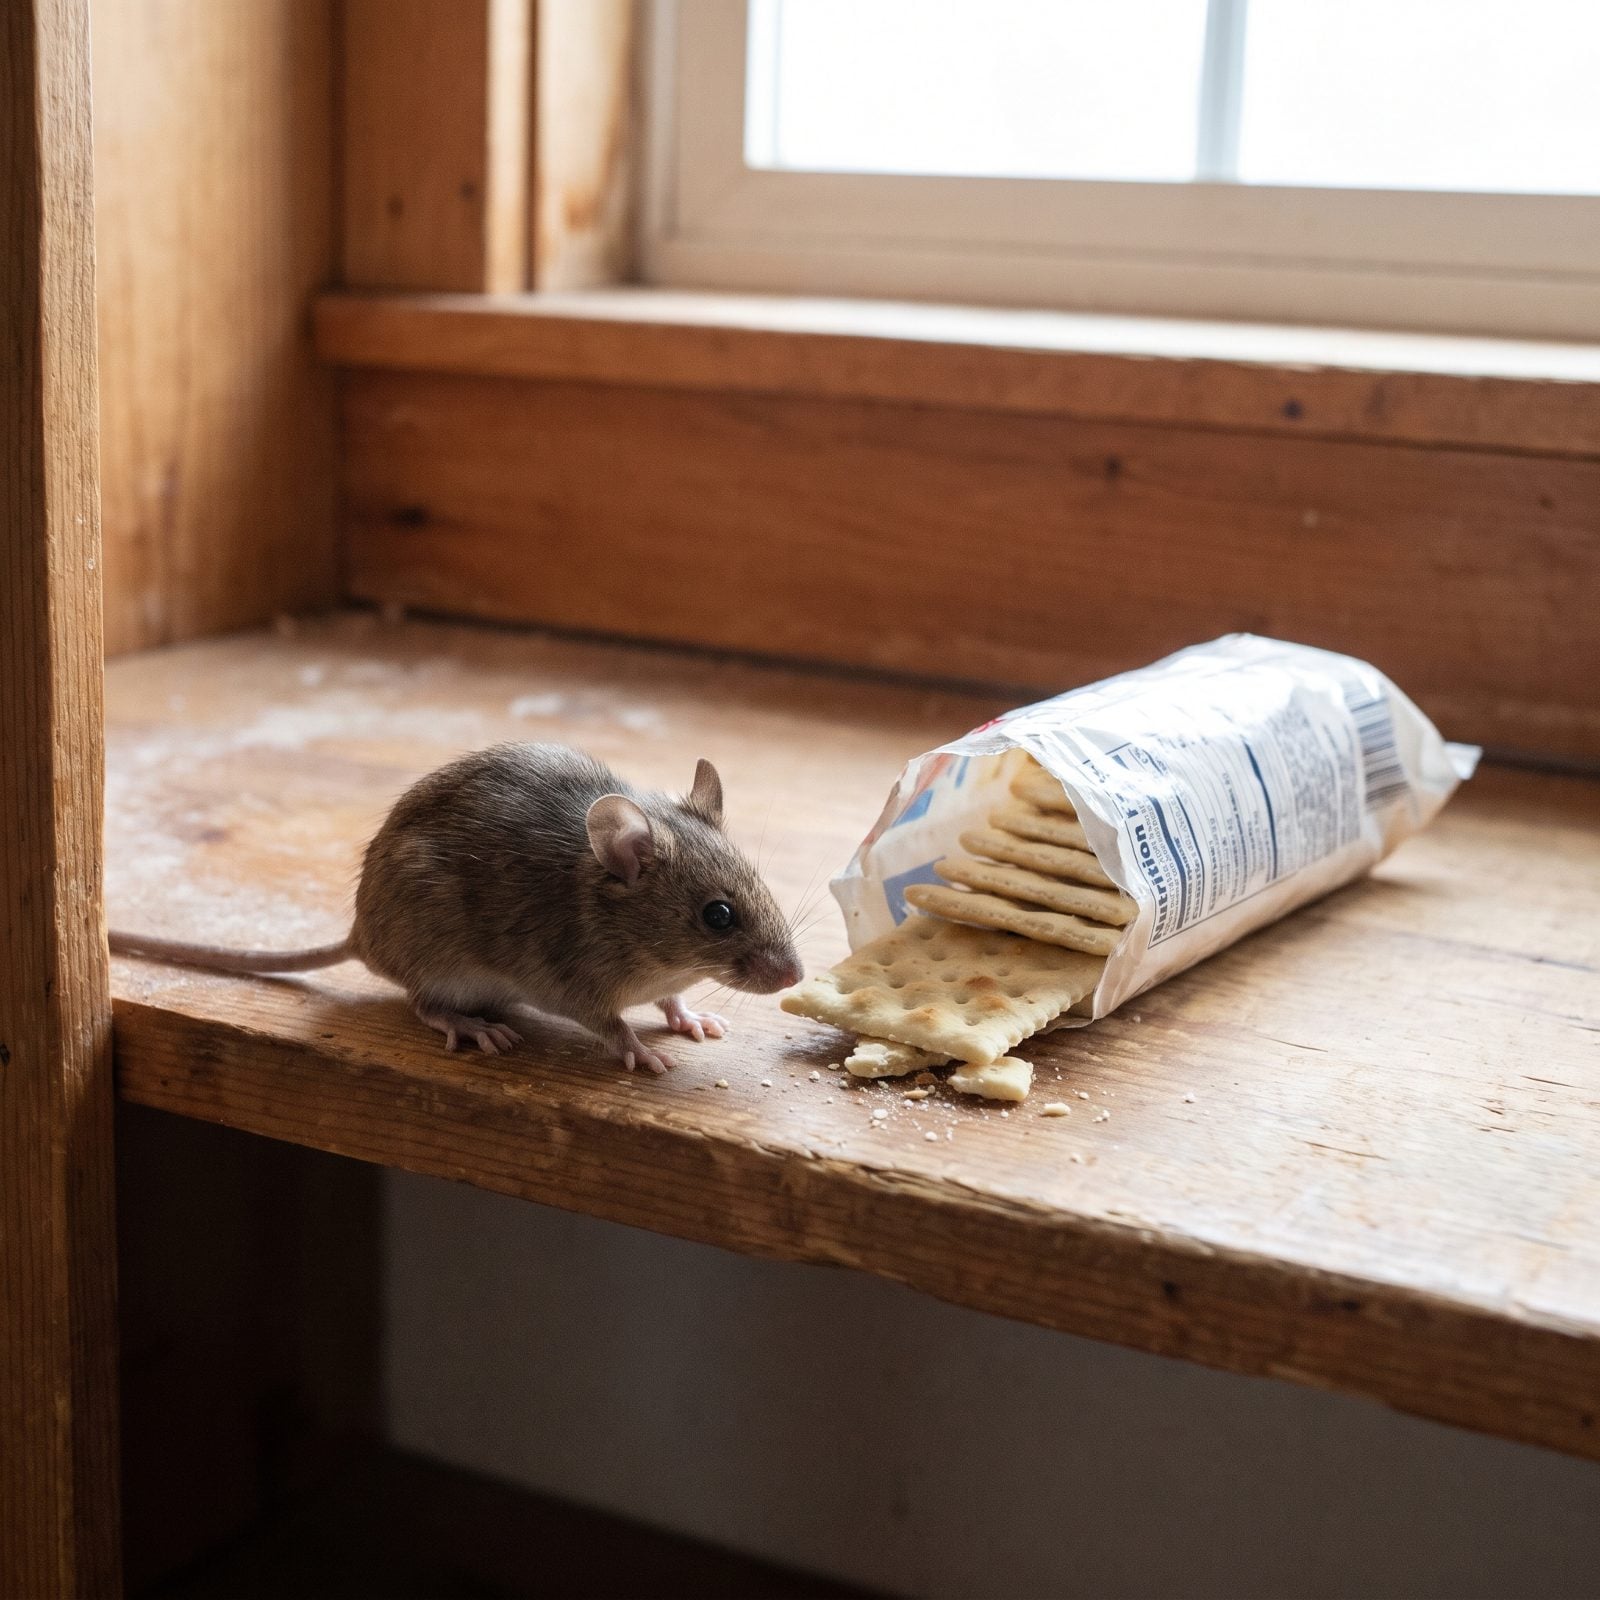
Mice can smell a forgotten sleeve of crackers from outside the cabin, and a seasonal place with nobody in it is a five-star hotel for them. One dropped pretzel behind the toaster becomes a nest, a nest becomes chewed wiring, and before long the whole place smells like a rodent died in the walls. Which, usually, one did.
Take every scrap of perishable food home. Bag and haul out all garbage, and don’t forget the liner in the can under the sink that everyone leaves behind. Anything that stays — coffee, pasta, dry goods — goes into glass or metal with a tight lid. Never a plastic bag or a cardboard box.
Last thing before you go: pull the toaster, wipe the crumb tray, sweep under the stove. That’s the stuff you never think about until March.
1. Activate Security Cameras and Alerts

An empty cabin in the off-season is a known quantity to the wrong people. Word gets around about which places go dark in November, and a camera that’s switched on and sending you alerts can be the difference between catching trouble early and finding a kicked-in door in spring.
Power up every camera, confirm each one is actually recording to the cloud or card, then walk the property to check that the angles cover doors, windows, and the drive. Test a motion alert by strolling the yard and watching for the ping on your phone.
And here’s what folks miss: your cameras are useless if the internet or power drops and you never hear about it. Set a low-battery warning, a connection-loss alert, and a cellular backup if you can swing one. A camera that quietly goes offline in December is worse than no camera at all, because you think you’re covered when you aren’t.
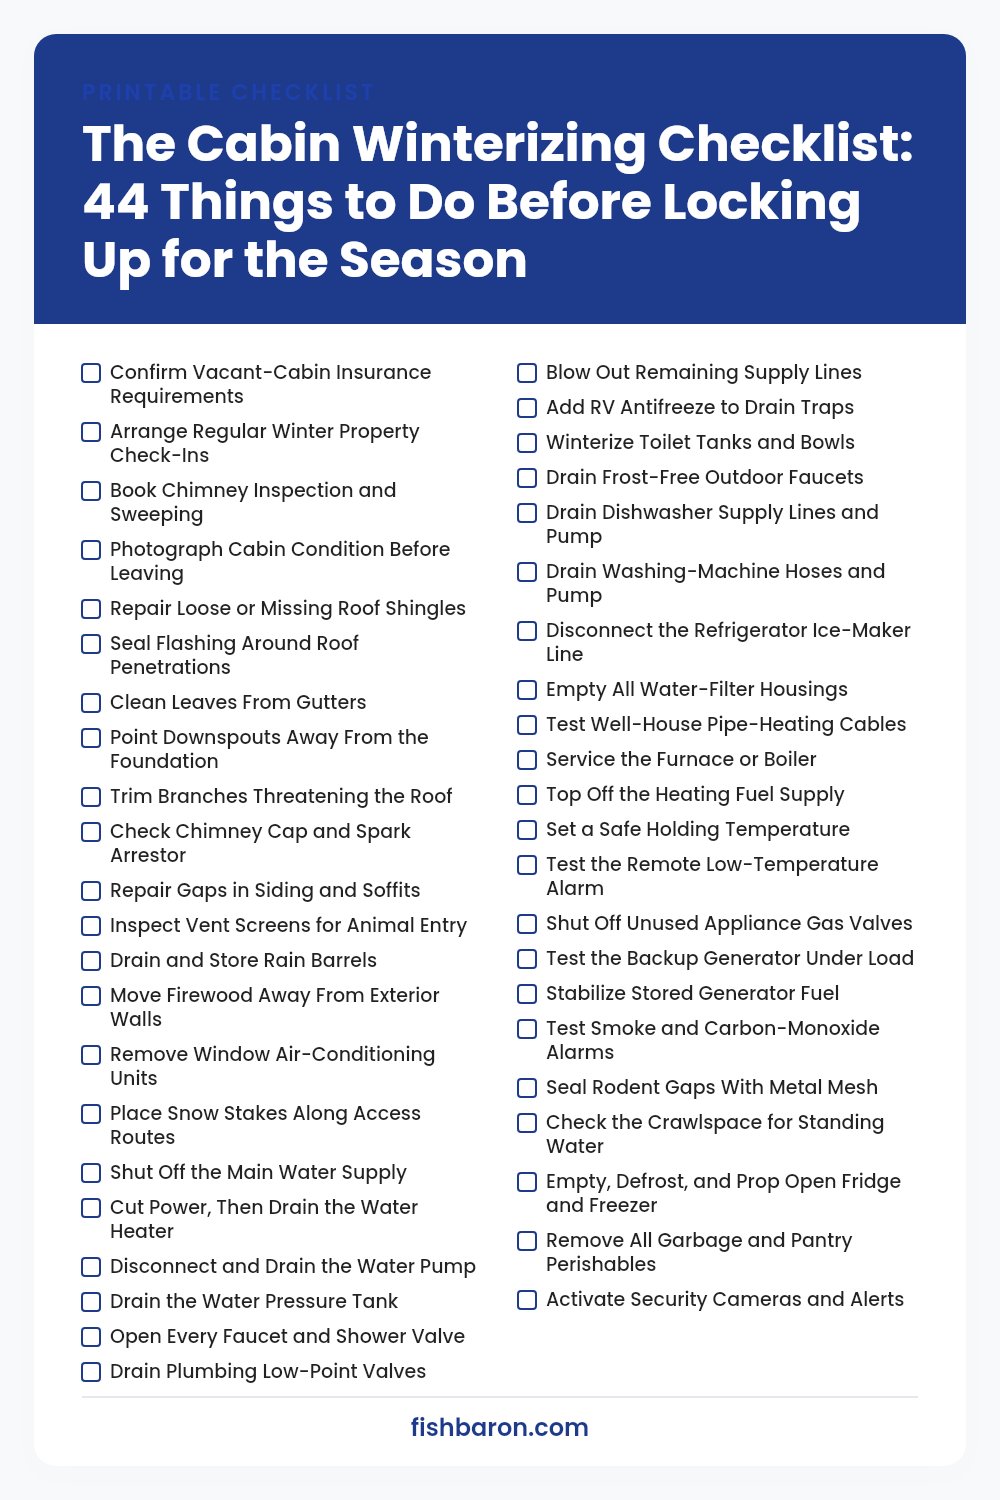
Your Printable Checklist
Save it to Pinterest or print it — every check from the list above on one page.